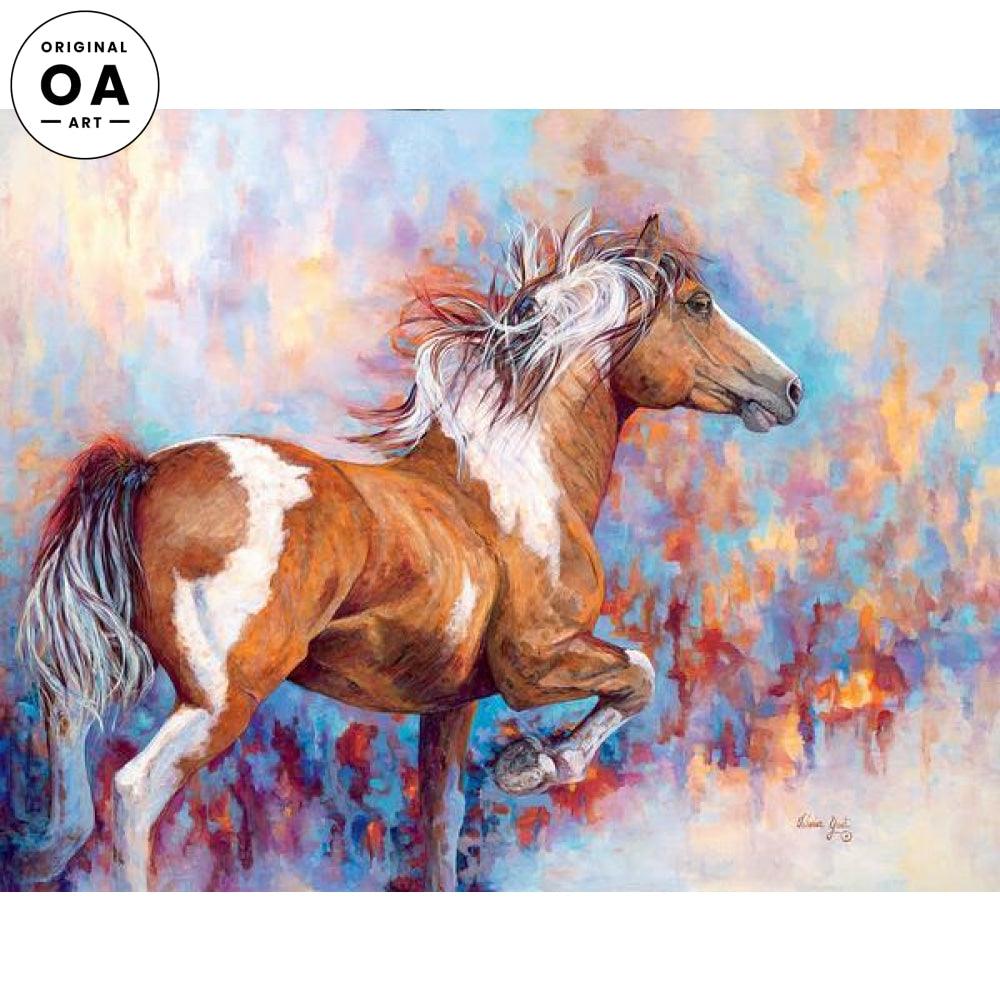
Are you ready to bring the majestic beauty of a horse to life on your canvas? Painting a horse with acrylic paint might seem challenging at first, but with the right steps, you can create a stunning piece that captures every detail—from the flowing mane to the soulful eyes.
This guide will walk you through easy-to-follow techniques, helpful tips, and essential materials you need to make your horse painting stand out. Whether you’re a beginner or looking to improve your skills, you’ll discover how to paint realistic fur, add depth with shadows, and highlight the features that give your horse character.
Keep reading, and soon you’ll be creating artwork that truly gallops off the canvas!
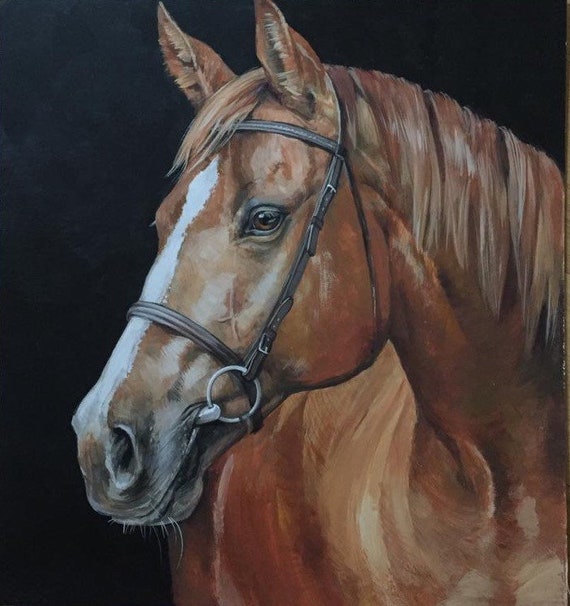
Credit: www.wildwings.com
Materials Needed
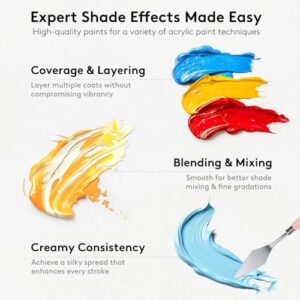
Gathering the right materials is key to painting a horse with acrylic paint. Quality supplies make the process smoother and the results better. Prepare everything before starting to avoid interruptions. This section covers the essential paints, brushes, and canvas preparation needed for your artwork.
Essential Paint Colors
Choose a basic set of acrylic paints for horse painting. Include white and black for mixing shades. Brown tones like burnt sienna and raw umber help create realistic fur colors. Add red and yellow for highlights and warm tones. Blue or gray can be useful for shadows and depth. Having these colors allows you to mix many natural horse shades.
Brush Types
Select brushes suitable for different painting stages. Use large flat brushes for background and broad areas. Medium round brushes work well for shaping the horse’s body. Fine detail brushes help paint eyes, mane, and small features. Synthetic brushes are durable and hold acrylic paint well. Clean brushes often to keep paint flowing smoothly.
Canvas And Surface Preparation
Pick a canvas or panel with a smooth surface. Acrylic paint sticks best to primed surfaces. Apply a layer of gesso to seal and prepare your canvas. Let the gesso dry completely before painting. Sketch the horse lightly with a pencil to plan your composition. Preparing the surface carefully ensures your painting lasts longer and looks vibrant.
Preparing Your Canvas
Preparing your canvas is the first step in painting a horse with acrylics. A clean, well-prepared surface helps your paint adhere better and last longer. It also gives you a smooth area to work on, making your painting process easier and more enjoyable.
Start by choosing the right canvas size for your project. Then, prime it with gesso to create a white, textured surface. This step prevents the paint from soaking into the canvas fibers and keeps colors bright.
Choosing A Reference Photo
Pick a clear photo of a horse that shows good details and lighting. The photo should have a good angle and show the horse’s shape well. Use this image as a guide to capture the horse’s form and features accurately.
Choose a photo that inspires you and fits your skill level. Simple poses work best for beginners. A sharp, high-quality image helps you see the horse’s muscles, fur, and eyes clearly.
Sketching The Horse Outline
Lightly sketch the horse’s outline on the canvas using a pencil or charcoal. Focus on basic shapes first, like circles and ovals, to map the head, body, and legs. Keep your lines soft and easy to erase.
Check proportions carefully. The eyes, nose, and ears must be positioned correctly to look natural. Avoid too many details at this stage. A simple outline is enough to guide your painting.
Underpainting Basics
Start underpainting by covering the sketch with a thin layer of paint. Use a neutral color like burnt sienna or raw umber. This base coat helps define shadows and shapes before adding details.
Apply the underpainting with a large brush in smooth, even strokes. Let it dry completely before moving on. This step builds depth and prepares the canvas for brighter colors later.
Blocking In Colors
Blocking in colors is an important step in painting a horse with acrylics. It sets the stage for the whole artwork. This phase helps you place the main colors and shapes quickly. It gives a clear idea of the horse’s form and light direction. You avoid getting stuck in details too early. It also makes later steps easier and faster.
Establishing Base Tones
Start by choosing the main color of your horse. Use a large brush to cover the canvas with this base tone. Paint the general shape of the horse, ignoring small details for now. Keep the strokes broad and loose. This helps block out the major areas of color. It creates a foundation for shadows and highlights later. Pick tones that match your reference or idea of the horse’s coat.
Adding Shadows And Values
Next, add darker colors to show shadows on the horse. Look at your reference to find where shadows fall. Use a slightly smaller brush and darker paint shades. Paint these shadow areas carefully, but still avoid fine details. Shadows give depth and volume to the horse. They make the shape look three-dimensional. Balance the dark and light areas to keep the painting natural. This step helps the horse start to come alive on your canvas.
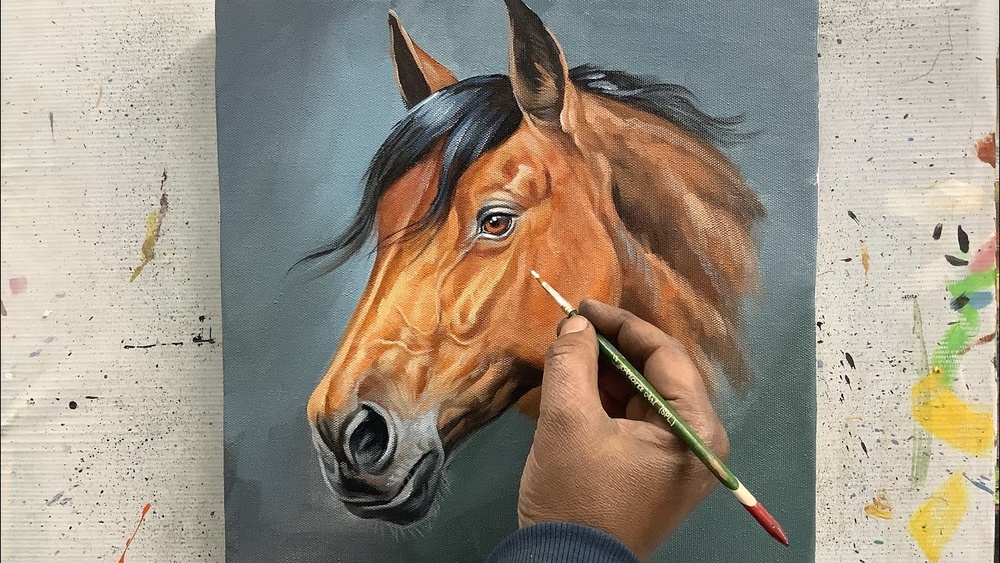
Painting Horse Details
Painting the fine details of a horse brings your artwork to life. Small touches make the difference between a flat image and a vivid portrait. Focus on key features like the eyes, mane, tail, and fur texture. These details show the horse’s character and mood. Use acrylic paint carefully to build layers and depth. Each stroke adds realism and charm.
Capturing The Eyes
The eyes express the horse’s spirit. Start with a small brush and dark paint for the pupil. Add a tiny white dot to mimic light reflection. This highlight creates a sense of life and depth. Paint the iris with subtle shades of brown or gray. Use soft strokes to blend colors smoothly. Avoid harsh lines to keep the eye natural. Shadows around the eye add realism.
Mane And Tail Techniques
Use thin brushes for the mane and tail. Paint long, flowing strokes to show movement. Mix different shades of the horse’s hair color for variety. Add lighter colors on top for shine and volume. Layer the paint to build texture. Work in the direction of hair growth. Avoid uniform strokes to keep the mane lively and natural.
Rendering Fur Texture
Fur texture adds depth and softness. Use short, light brush strokes to suggest hair. Change brush size for different body areas. Layer colors from dark to light for a realistic look. Dry brushing can create fine fur effects. Pay attention to muscle shapes under the fur. This adds strength and form to your painting.
Adding Highlights And Depth
Adding highlights and depth gives your horse painting a lifelike appearance. It creates contrast and brings out the horse’s muscle structure. This step helps the image pop off the canvas with realism and energy. Careful highlight placement combined with smooth blending makes the acrylic paint look natural and dynamic.
Highlight Placement
Focus on areas where light naturally hits the horse’s body. Common spots include the forehead, nose bridge, cheekbones, and muscles along the neck and legs. Use a lighter shade of the base color for highlights. Paint thin layers to build brightness gradually. Avoid harsh white unless the horse is very shiny or wet. Small highlights on the eyes and nostrils add sparkle and life.
Blending And Softening Edges
Blend the highlights into the base colors gently. Use a clean, dry brush or a soft blending brush to soften edges. This avoids sharp lines that look unnatural. Work while the paint is still wet for smooth transitions. Soft edges simulate the roundness of the horse’s body and fur texture. Blending also creates a sense of volume and depth in the painting.

Credit: www.youtube.com
Background And Final Touches
Completing your acrylic horse painting involves careful attention to the background and final touches. These elements bring depth and focus to your artwork. A well-painted background supports the horse without stealing attention. Final touches enhance details and sharpen contrasts. Small adjustments can make your painting more vibrant and lifelike.
Painting The Background
Choose a background color that complements your horse’s colors. Use broad, smooth brush strokes for an even finish. Avoid too many details; keep the background simple. Soft gradients or blurred effects help the horse stand out. Use lighter or darker shades to create a sense of space and distance behind the horse.
Enhancing Contrast
Contrast adds depth and draws the eye to the horse. Use darker tones around the edges of the horse to create separation. Lighten areas where the sun or light hits the horse’s body. This contrast makes the form clearer and more dynamic. Check the overall balance and adjust shadows or highlights as needed.
Final Adjustments
Inspect your painting for small details that need refining. Add fine lines for the mane and tail to increase texture. Touch up the eyes and nostrils to enhance realism. Smooth any rough edges or harsh lines. Let the paint dry fully, then apply a thin varnish layer to protect your work.
Common Mistakes To Avoid
Painting a horse with acrylics can be very rewarding. Avoiding common mistakes improves your results. These errors often cause frustration and reduce the painting’s realism. Focus on these key areas to create a lifelike horse painting.
Proportion Errors
Proportion is crucial in horse painting. Incorrect size and shape make the horse look unnatural. Study horse anatomy or use reference photos to check proportions. Pay attention to the head, neck, body, and legs. Small mistakes in size can ruin the overall look.
Ignoring Hair Direction
Horse hair flows in specific directions. Ignoring this creates a flat, fake appearance. Observe how hair grows around the face, neck, and body. Use brush strokes to follow these natural lines. This adds texture and life to your painting.
Overworking Details
Too much detail can overwhelm the painting. It makes the image busy and hard to focus on. Paint important features clearly but avoid overdoing every hair or shadow. Step back often to see the painting as a whole. Balance detail with simplicity for a fresh look.
Tips For Beginners
Starting to paint a horse with acrylics can feel challenging. Beginners need simple tips to get good results fast. Focus on basic techniques and color use. These tips help build confidence and improve your painting step by step.
Brush Stroke Techniques
Use different brush strokes to show the horse’s fur and muscles. Short, quick strokes work well for fur texture. Long, smooth strokes help paint the horse’s body shape. Try to keep your brush strokes loose and natural. Avoid overworking the paint to keep it fresh and lively.
Working Quickly With Acrylics
Acrylic paint dries fast, so work with speed. Plan your painting in sections to avoid dry edges. Mix enough paint before starting each area. If the paint dries too fast, spray water lightly to keep it wet. Use thin layers and build up color gradually.
Using Warm And Cool Colors
Mix warm and cool colors to add depth to your horse painting. Warm colors like reds and browns bring parts forward. Cool colors like blues and grays push areas back. Use warm colors on highlights and cool colors in shadows. This contrast makes your painting more realistic and interesting.
Credit: www.etsy.com
Frequently Asked Questions
What Are Common Mistakes When Drawing Horses?
Common mistakes when drawing horses include ignoring anatomy, incorrect proportions, stiff poses, unclear muscle definition, and neglecting hair direction. Avoid flat shading and inaccurate eye placement to create realistic, lively horse drawings.
How To Draw A Horse Easy And Beautiful?
Start with simple shapes to outline the horse’s body and head. Add details like eyes, mane, and tail using smooth, curved lines. Use reference images for accuracy. Shade lightly to create depth and highlight key features for a beautiful, realistic look.
Practice regularly for improvement.
How To Correctly Paint With Acrylic Paint?
Start with a clean, primed surface and choose quality synthetic brushes. Apply thin, even layers, letting each dry. Use broad strokes for backgrounds, fine brushes for details. Blend colors quickly to avoid drying lines. Add highlights and shadows with warm and cool tones for depth.
What Kind Of Paint Can I Use To Paint My Horse?
Use non-toxic, water-based acrylic or body paints safe for animals. Avoid oil-based or toxic paints to protect your horse’s skin and health.
Conclusion
Painting a horse with acrylics can be a fun and rewarding experience. Start with a clear sketch to guide your work. Use layers to build depth and texture in the fur and mane. Focus on details like eyes and highlights to bring the horse to life.
Keep your brushstrokes confident but gentle. Practice regularly to improve your skills and enjoy the process. With patience, your acrylic horse painting will look vibrant and realistic. Try different colors and techniques to find your unique style. Happy painting!