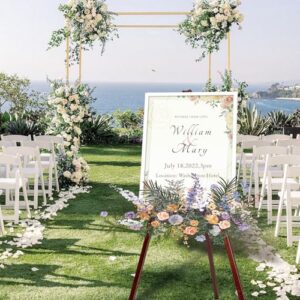
Bringing the ocean to your wall can turn a simple space into something special. One of the most charming ways to do this is by painting a seahorse for wall art. Seahorses are not just beautiful; their unique shape and calm vibe make them perfect for creative projects. Even if you have never painted before, you can make your own seahorse art with a few steps, some patience, and the right guidance. This article will walk you through everything you need to know, from choosing supplies to finishing your artwork, and will share tips that even beginners often miss. By the end, you’ll have the confidence and skills to create a stunning piece of seahorse wall art.
Why Paint A Seahorse For Wall Art?
Seahorses are symbols of peace, patience, and mystery. Their shape stands out, making them an ideal subject for wall art. A seahorse painting fits in almost any room—kids’ rooms, bathrooms, living areas, or even offices. Unlike complex ocean scenes, a single seahorse is simple to paint but still looks elegant and artistic.
You can also play with colors and patterns, giving your piece a personal touch.
Another great reason to paint a seahorse is that you don’t need to be an expert artist. The process is about enjoying creativity, not just the final result. Painting can reduce stress, improve focus, and give you a sense of accomplishment.
Plus, you’ll have a unique piece of art you made yourself.
Essential Supplies And How To Choose Them
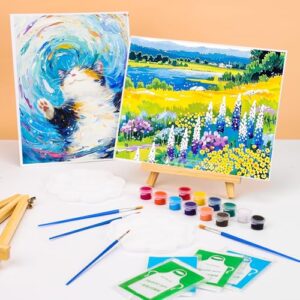
Before you start, gathering the right materials is key. Using good supplies makes painting easier and helps your artwork last longer. Here’s a breakdown of what you’ll need:
| Item | Recommended Type | Why It Matters |
|---|---|---|
| Canvas or Paper | Stretched canvas (12″x16″) or thick watercolor paper (140 lb+) | Sturdy surfaces prevent warping and hold paint well. |
| Paints | Acrylic or watercolor | Acrylics are forgiving and dry fast; watercolors are good for soft effects. |
| Brushes | Small round, detail, and flat brushes | Different shapes help with outlines, details, and backgrounds. |
| Pencil & Eraser | HB pencil and kneaded eraser | Helps sketch the seahorse without damaging the surface. |
| Palette | Plastic or ceramic | For mixing paint colors smoothly. |
| Water Cup | Any clean cup | For cleaning brushes (especially with water-based paints). |
| Rag or Paper Towels | Lint-free cloth | Wipe off excess paint or clean mistakes. |
| Reference Image | Photo or drawing of a seahorse | Keeps your painting accurate and consistent. |
| Optional: Masking Tape | Artist’s tape | Creates clean borders for your painting. |
Pro tip: Don’t use thin paper; it often wrinkles when wet, making your painting look messy. Even affordable student-grade canvas is better for beginners.
Credit: www.beachhouseart.co.uk
Planning Your Seahorse Design
Before your brush touches the canvas, spend some time planning. This step is often skipped by beginners, but it makes painting much smoother.
1. Choose Your Style
Do you want your seahorse to look realistic, cartoonish, or abstract? Look at some photos or art online for inspiration. If you want a simple project, start with a basic shape and add details later.
2. Pick Your Colors
Seahorses can be almost any color. For wall art, choose colors that match your room or stand out for a bold look. Ocean blues and greens are popular, but yellows, purples, and even metallics can look amazing.
3. Set Your Composition
Decide where you want the seahorse on your canvas. Centering works for a classic look. Placing it to one side gives a modern feel. You can also add bubbles, seaweed, or coral for extra detail.
4. Gather References
Use a clear seahorse reference image. You can find free photos on sites like Unsplash or Pixabay, or draw your own outline.
5. Sketch Lightly
Use your pencil to draw the main shape. Don’t press hard; you’ll paint over these lines.
Non-obvious insight: Plan for negative space—the empty area around your seahorse. A well-balanced negative space makes your artwork look more professional.
Step-by-step Guide To Painting A Seahorse
Now let’s move to the main event: painting your seahorse. The steps below use acrylic paint, but you can adapt them for watercolor or other mediums.
1. Prepare Your Surface
Set up your canvas or paper on a flat table or easel. If you want clean edges, tape the borders with masking tape. Make sure your work area has good light.
2. Sketch The Seahorse Outline
With your reference image nearby, lightly draw the seahorse shape. Focus on the head, curved neck, body, and the spiral tail. Keep details simple—add the fin, snout, and eyes. If you make a mistake, gently erase and try again.
3. Paint The Background
Painting the background first helps your seahorse stand out. Mix a light blue or turquoise and use a large flat brush to cover the area. Let the paint dry before moving to the next step. If you’re using watercolor, keep the background soft by blending with more water.
4. Block In The Main Colors
Start filling in the seahorse with your main color using a medium brush. Paint in the direction of the seahorse’s body (top to bottom). Don’t worry about small details yet—just cover the shape.
5. Add Shading And Highlights
Give your seahorse a three-dimensional look by adding shadows and highlights. Mix a darker color for the edges and curves, and a lighter color for the top of the head and back. Blend gently where the colors meet. This step adds depth and makes your seahorse pop from the wall.
6. Paint The Details
Switch to a small detail brush. Paint the eye with black and white for shine. Add patterns along the body—small dots, lines, or squiggles. Paint the fin with gentle strokes, using a lighter color for a transparent look.
7. Add Extra Elements (optional)
If you want, add seaweed, bubbles, or small fish around your seahorse. These can be simple shapes and colors. They make the artwork richer and more interesting, especially for children’s rooms.
8. Final Touches
Check your painting for any uneven spots or missing details. Add a thin white line along one side of the seahorse for a shiny effect. Carefully remove the masking tape if you used it.
9. Let It Dry And Display
Let the painting dry completely. For acrylics, this usually takes 1-2 hours. Once dry, you can frame your artwork or hang the canvas directly.
Beginner’s mistake to avoid: Many people rush to paint details before the background or main colors are dry. This causes colors to blend and look muddy. Always let layers dry before adding new ones.
Comparing Painting Mediums For Seahorse Wall Art
Choosing between acrylic, watercolor, or oil paint affects your painting process and result. Here’s a quick comparison:
| Medium | Drying Time | Ease for Beginners | Best For |
|---|---|---|---|
| Acrylic | Fast (15-60 min) | Easy | Bright colors, layering, quick results |
| Watercolor | Very fast (5-15 min) | Moderate | Soft blends, light backgrounds |
| Oil | Very slow (hours-days) | Hard | Rich textures, blending, advanced work |
Acrylics are the top choice for most beginners. They are easy to use, dry quickly, and mistakes can be covered up. Watercolors are great for soft looks but are harder to fix if you make a mistake. Oils give beautiful effects but require more skill and patience.
Tips For Making Your Seahorse Wall Art Stand Out
1. Use Contrasting Colors:
Make your seahorse pop by choosing a background color that contrasts with the body color.
2. Add Texture:
Use a dry brush to create rough skin texture or small dots for the bumpy surface seahorses have.
3. Outline For Emphasis:
A thin black or dark blue outline can make your seahorse stand out, especially if your style is more cartoonish or modern.
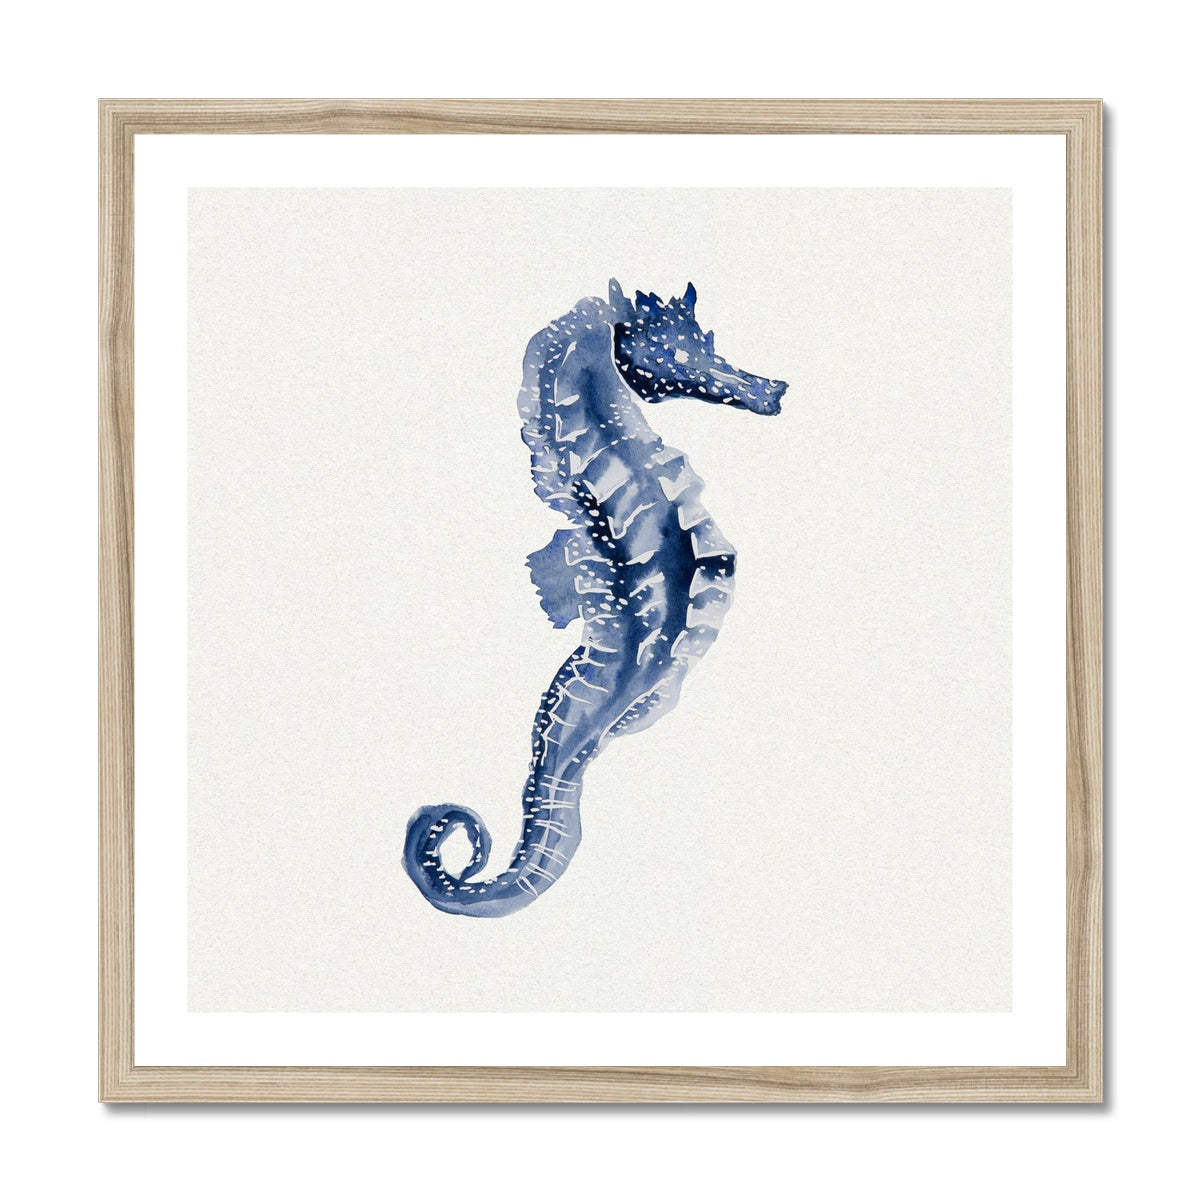
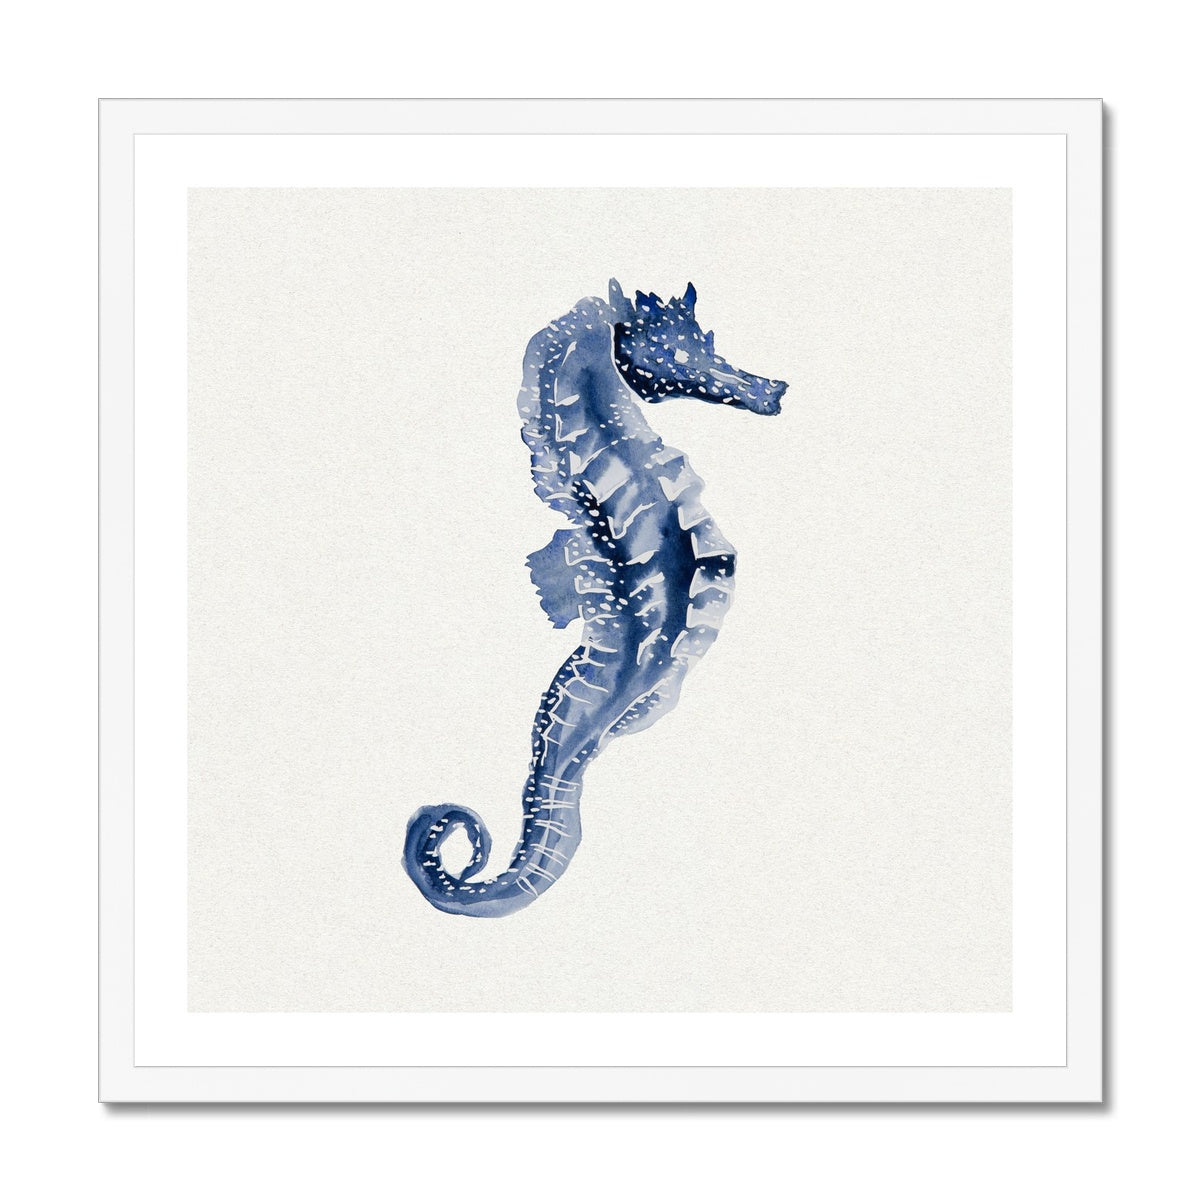
4. Frame Your Art:
A simple white or wooden frame makes your painting look polished and ready to hang.
5. Personalize It:
Add your initials, a date, or a small message in the corner for a personal touch.
Non-obvious insight: The direction of light in your painting matters. Decide where your “sun” is (top left, top right, etc.) and keep your highlights and shadows consistent. This small detail makes your seahorse look much more realistic.
Credit: www.beachhouseart.co.uk
Common Mistakes And How To Fix Them
Using Too Much Water
If you’re using acrylics, adding too much water makes the colors pale and can damage the canvas. Use just enough to thin the paint, not to drench it.
Overworking The Painting
Beginners often keep painting over the same area. This can make colors muddy and tear the paper. Paint in layers, letting each one dry before adding the next.
Ignoring The Background
A plain white or unpainted background can make the art look unfinished. Even a simple color wash adds a lot to the final piece.
Skipping The Reference
Trying to paint from memory usually leads to odd shapes or proportions. Always keep a reference nearby, even if you change some details.
Not Protecting The Finished Painting
If you want your seahorse art to last, spray it with a clear acrylic sealer or frame it behind glass. This step protects from dust, sunlight, and moisture.
Creative Variations For Your Seahorse Wall Art
Painting a seahorse doesn’t have to mean just one style. Here are some fun ideas to try:
- Rainbow Seahorse: Paint in bright, rainbow stripes for a playful kids’ room.
- Minimalist Line Art: Use only black lines on a white background for a modern look.
- Mixed Media: Add glitter, sand, or collage elements for extra texture.
- Pair or Group: Paint several seahorses together, each in a different color or size.
- Night Ocean: Use dark blues and purples for a nighttime underwater scene.
How To Hang And Display Your Seahorse Painting
After your painting is dry, think about the best way to show it off. Here’s a quick guide:
| Display Option | Best For | Tips |
|---|---|---|
| Framed Art | Paper or canvas | Use a mat for extra space; glass protects from dust |
| Unframed Canvas | Stretched canvas | Hang directly with hooks or nails; no need for glass |
| Gallery Wall | Multiple paintings | Arrange with other ocean art for a themed look |
| Clip or String Display | Lightweight paper art | Use clips on a wire for a casual, changeable display |
Extra tip: Avoid hanging your painting in direct sunlight; it can fade the colors over time.
Frequently Asked Questions
How Long Does It Take To Paint A Seahorse For Wall Art?
For beginners, the whole process usually takes 2–3 hours. This includes sketching, painting layers, drying time, and adding details. More complex designs or larger canvases can take longer.
Can I Paint A Seahorse Even If I’ve Never Painted Before?
Yes! Seahorses are simple shapes and forgiving subjects. If you follow clear steps and use a reference image, you can create beautiful wall art even as a first-time painter.
What Is The Best Paint For Seahorse Wall Art?
Acrylic paint is best for most people. It’s easy to work with, dries fast, and mistakes can be fixed by painting over them. Watercolor is good for soft looks, but it’s less forgiving.
How Do I Make My Seahorse Painting Last Longer?
Protect your finished art with a clear acrylic spray or frame it behind glass. Keep it away from direct sunlight and moisture for the best results.
Where Can I Find Good Reference Images For Seahorse Wall Art?
Free reference images are available on sites like Unsplash, Pixabay, or even Wikipedia. For more scientific detail, check this Wikipedia seahorse page.
Creating your own seahorse wall art is more than just painting—it’s a way to add personality and ocean spirit to your space. With a little planning and these tips, anyone can make art worth displaying. Dive in and enjoy the process; your wall will thank you!

Credit: www.youtube.com