If you want to speed up your coloring process in Procreate and keep your line art crisp and clean, using reference layers is a game changer. Imagine filling in colors quickly without worrying about crossing the lines or accidentally painting over your sketches.
With reference layers, you can do exactly that—work smarter, not harder. Whether you’re a beginner or looking to sharpen your digital art workflow, understanding how to use reference layers will save you time and give your artwork a professional touch.
Ready to unlock this powerful feature and transform the way you color in Procreate? Let’s dive in and explore how you can make the most of reference layers in your next project.
Credit: adventureswithart.com
Setting Reference Layers
Setting reference layers in Procreate helps artists color and fill areas without affecting the original line art. This feature makes coloring easier and more precise. It separates the line work from the coloring layers.
Using reference layers improves workflow and keeps art organized. It also saves time by allowing you to fill colors outside the lines quickly. Understanding how to set these layers is key for effective use.
Selecting Line Art Layer
Start by choosing the layer with your line art. This layer contains the outlines you want to protect. Tap the layer to select it in the layer panel.
Make sure your line art is clean and fully visible. This will help Procreate recognize the edges for filling colors.
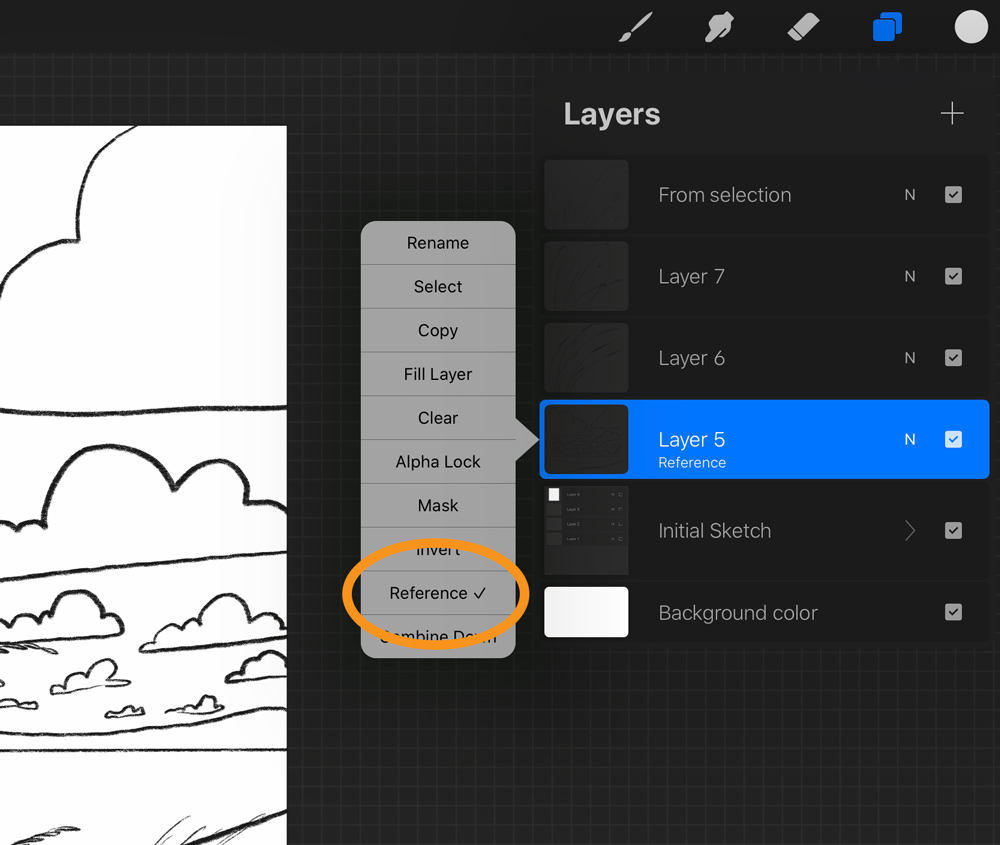
Activating Reference Mode
After selecting the line art layer, tap the small lighthouse icon next to the layer. This sets the layer as a reference layer.
Now, other layers will use this reference to fill colors accurately. You can paint on different layers without changing the line art.
Layer Panel Tips
Keep your layers organized by naming them clearly. Use separate layers for line art, base colors, and shading.
Lock the reference layer to avoid accidental changes. Use the visibility icon to hide or show layers easily.
Group related layers for better control. This makes editing your artwork faster and simpler.
Credit: bardotbrush.com

Credit: www.thecreativitycity.com
Frequently Asked Questions
How Does The Reference Layer Work?
The reference layer in Procreate lets you fill colors on other layers while respecting the line art. Set a layer as reference by selecting it and tapping the lighthouse icon. This helps you color within lines without affecting the original drawing, improving workflow and accuracy.
How Do Artists Use Reference Photos?
Artists use reference photos to study details, improve accuracy, and inspire original compositions. They avoid copying and create unique artwork based on observations.
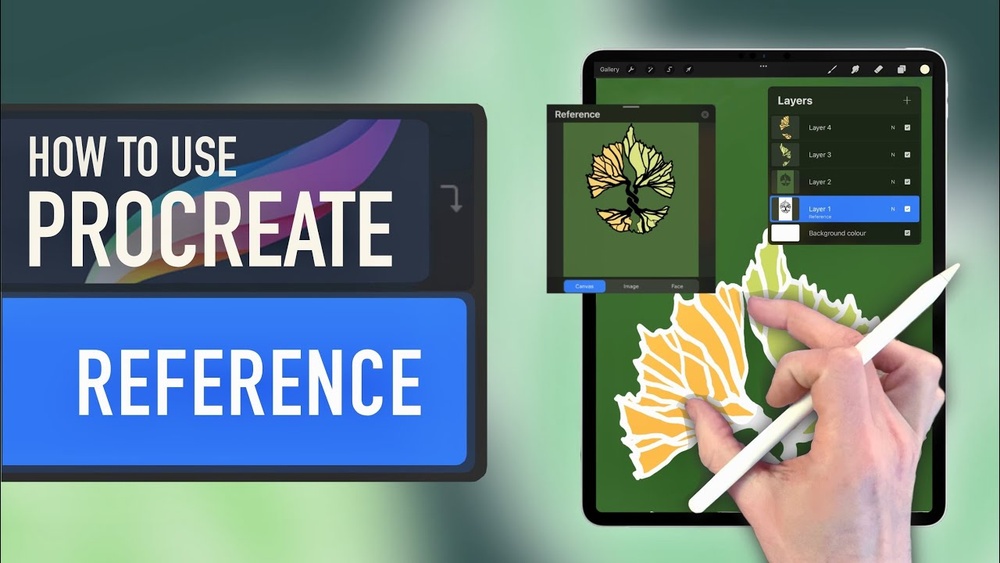
How To Reference An Image In Procreate?
Open your canvas and go to Actions > Canvas, then enable ‘Reference’. Import an image via Image > Import Image. Resize and move the reference window as needed for easy access while drawing.
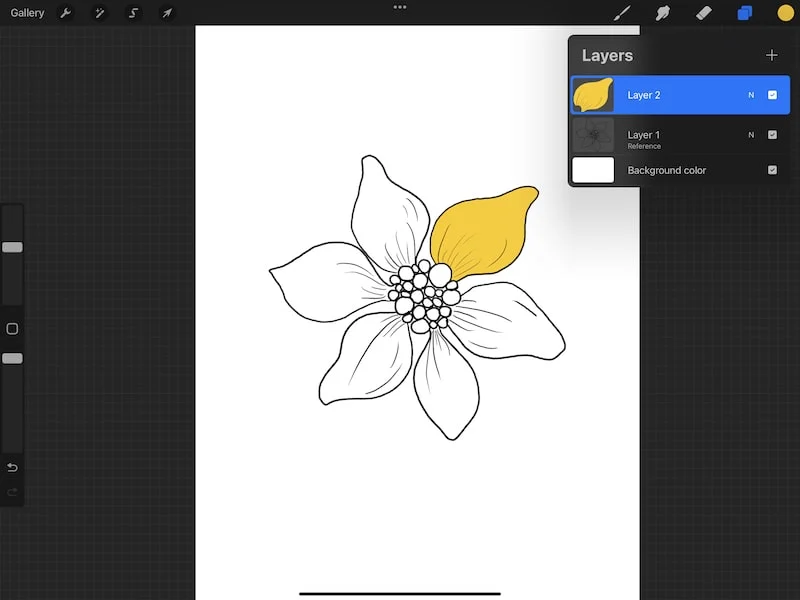
How To Color Pick From Reference In Procreate?
Tap your line art layer, select “Reference. ” Create a new layer, pick a color, then drag it into the area to fill it.
Conclusion
Using reference layers in Procreate simplifies your coloring process. It helps keep your line art clean and separate. This tool saves time and reduces mistakes. You can fill areas quickly without affecting other layers. Experiment with reference layers to improve your digital art.
Practice often, and you will see better results. Keep your workflow smooth and organized with this feature. It’s a useful skill for any Procreate user. Try it today and enjoy easier coloring!