Painting Hacks: Achieve A Professional Finish

Painting Hacks

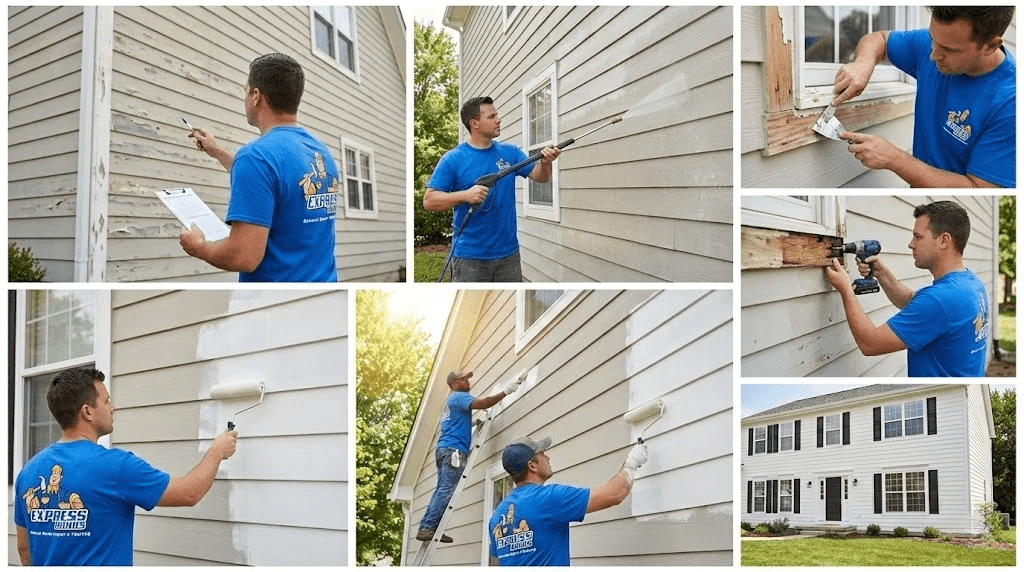
The key to a professional finish is preparation, technique, and using the right tools.

When it comes to transforming your living space with paint, achieving a professional finish might seem challenging. However, with a few strategic painting hacks, you can achieve stunning results without hiring a professional. From mastering the right brush technique to choosing quality materials, this guide covers all you need to transform any room in your home into a masterpiece. Dive deeper into these painting hacks to elevate your painting skills and give your home that polished look.

Essential Preparation Steps

Preparation is crucial for a professional finish. Skipping this step can result in uneven applications and subpar results. Follow these steps for optimal preparation:

  • Clean the Surface: Ensure all surfaces are dust-free and clean. Use a mild detergent solution to remove any grime or grease.
  • Repair and Sand: Fill holes or cracks with a suitable filler, and sand the surfaces smooth. This creates a uniform base for your paint.
  • Use Painter’s Tape: Protect trim and edges with painter’s tape for clean, sharp lines.

A well-prepared wall not only makes application easier but also enhances the longevity of your paint job.

Essential Preparation Steps
Source: youtube.com

Selecting the Right Tools and Materials

Equipping yourself with the right tools can make all the difference. Consider the following:

  • Quality Brushes and Rollers: Invest in high-quality brushes and rollers for a smooth and even finish. Cheap tools can shed, leaving bristles or lint on the wall.
  • Choose the Right Paint: The type of paint matters. Use water-based paint for easy application and cleanup, or oil-based paint for a durable finish.
  • Primers Matter: Depending on your surface type, a primer can help the paint adhere better and enhance the color payoff.

Choosing the right materials ensures a smoother application process and a professional finish.

Selecting the Right Tools and Materials
Source: expresshandsgeneralrepairs.com

Mastering Painting Techniques

Technique is just as important as preparation and tools. Here are some expert tips:

  • Cutting-In First: Before rolling, use a brush to paint around the edges and corners. This is known as cutting-in and creates a seamless boundary for rolling.
  • Use the “W” Technique: When using a roller, apply paint in a “W” pattern. This ensures even coverage and eliminates lines.
  • Don't Oversaturate: Avoid overloading your brush or roller with paint. This prevents drips and uneven application.

Improving your technique can dramatically improve your results, making your work look professional.

Mastering Painting Techniques
Source: finishpainting.au

Tips for Enhancing the Finish

Beyond the basics, some hacks can further enhance your finish:

  • Work in Natural Light: Painting in natural light helps you spot any missed spots or uneven layers.
  • Double-Coat for Depth: Apply two coats of paint for a richer, more vibrant finish. Ensure the first coat is completely dry before adding the second.
  • Use a Clear Finish on High-Traffic Areas: For added durability, consider a clear topcoat in areas that undergo frequent cleaning or wear.

These hacks can add depth and durability to your paintwork, ensuring it lasts longer.

Tips for Enhancing the Finish
Source: angelamariemade.com

Frequently Asked Questions of Painting Hacks for a Professional Finish

How do I prevent brush strokes in paint?

Use a high-quality brush and apply thin coats of paint. Sand between coats to smooth out any strokes.

What's the best way to deal with drips or runs?

Quickly run a brush lightly over the drip while it's wet. If it's dry, sand it smooth and repaint the area.

How can I achieve clean lines with painter’s tape?

Press the tape firmly to the surface and remove it before the paint fully dries to avoid pulling off fresh paint.

Should I paint trim or walls first?

Paint the trim first. This allows any splatters on the wall to be covered when you paint the walls.

Why is my paint peeling?

Peeling often occurs due to an unclean or poorly prepared surface. Ensure thorough cleaning and priming before painting.

Conclusion

Achieving a professional finish in your painting projects is within reach by focusing on preparation, using quality tools, and mastering your technique. By incorporating these expert painting hacks, you can revolutionize the appearance of any room in your home. Take action now—transform your space into a beautifully painted masterpiece. Explore additional resources, subscribe for more tips, or share your own painting experiences in the comments below.

Facebook
Pinterest
Twitter
LinkedIn
Reddit
Telegram
Picture of paintingproguide

paintingproguide

Related Post

Acrylic paint sets are perfect for adding a personal touch to your

Transform your space with our DIY guide to painting a room. Easy

Finding the best canvas for acrylic paint kids can be challenging with

Acrylic Art Tutorials Acrylic art is a fun and creative way to

Leave a Reply

Your email address will not be published. Required fields are marked *

Picture of Paintingproguide

Paintingproguide

Painting

Welcome to PaintingProGuide, your ultimate resource for all things related to painting! Whether you’re a seasoned artist or just starting out, our mission is to inspire, educate, and empower you to create your best work. We believe that everyone has the potential to be an artist, and our goal is to help you unlock your creativity and achieve your artistic dreams.

Recent Posts