Painting a moon for wall art can turn a plain room into something magical. Whether you want a realistic full moon above your bed or a dreamy crescent in your child’s room, this DIY project is much easier than it looks.
You do not need to be a professional artist. With the right tools, simple steps, and a little patience, you can create a moon mural that feels both personal and professional.
This guide covers everything you need: choosing the right materials, preparing your wall, picking the best moon style, and detailed painting steps. You will also learn how to add shadows and highlights for a realistic effect, plus tips for fixing common mistakes. By the end, you’ll be ready to paint a moon that glows with character and brings joy to your space.
Why Paint A Moon For Wall Art?
A moon mural brings a sense of calm, wonder, and beauty to any room. The moon is a universal symbol—sometimes it means hope, sometimes mystery, sometimes just the love of the night sky. Many people choose a moon for wall art because:
- It fits all ages, from nurseries to adult bedrooms.
- It works with many styles: Modern, bohemian, minimalist, or classic.
- It can be bold or subtle, depending on your color choices and size.
A hand-painted moon is also a unique way to express your creativity, and it can become a beautiful focal point in your home.
Materials And Tools You Need
Before you start, gather these essential items:
- Acrylic wall paint (white, black, gray, and optional blue or yellow)
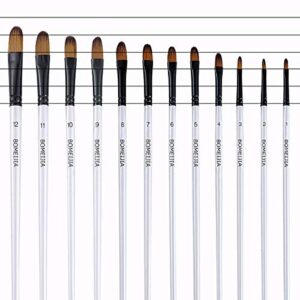
- Paintbrushes (small round, medium flat, large flat)
- Sponge (for blending and texture)
- Painter’s tape
- Pencil and compass (or string and pushpin for a big circle)
- Palette or disposable plate
- Plastic sheet or old newspapers (to protect the floor)
- Step ladder (for high walls)
- Ruler or measuring tape
- Water cup and paper towels
Quality matters. Use good wall paint, not craft paint, for better coverage and durability. Brushes should be clean and not shedding bristles.
Paint And Color Options
The most common moon mural uses white, black, and gray. These shades make it easy to show shadows and craters. For a more artistic look, you can add blue for a cool moon or yellow for a harvest moon. Choose colors that match your room’s theme.
Acrylic wall paint is best because it dries fast and is easy to layer.
Brush And Tool Guide
Here’s a quick look at what each brush or tool does:
| Tool | Purpose | Best For |
|---|---|---|
| Large flat brush | Covers big areas | Moon base color |
| Small round brush | Details and craters | Shadows, highlights |
| Sponge | Blending, texture | Clouds, crater effect |
| Pencil & compass | Draw circle outline | Moon shape |
Using the right tool makes your work easier and the result smoother.
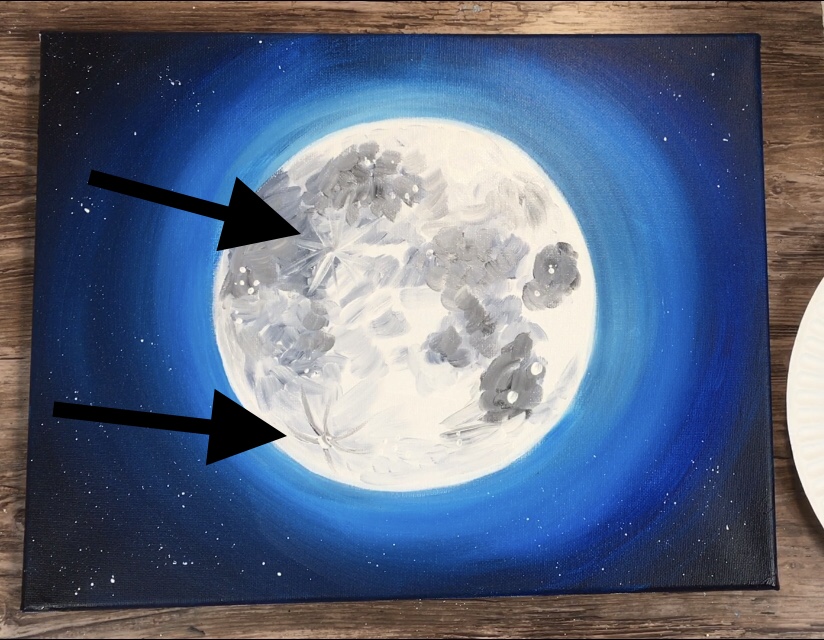
Credit: stepbysteppainting.net
Planning Your Moon Mural
Choosing The Right Wall
Pick a wall that is clean, dry, and not textured. Flat walls work best. Avoid walls with wallpaper or uneven surfaces, as paint may not stick well.
Think about the location:
- Over a bed or crib for a calming effect
- In a playroom for imagination
- Living room as a conversation piece
Make sure there is enough space for the moon’s size, and that the wall gets enough light to show off your art.
Deciding The Moon’s Size And Position
A moon can be as small as a dinner plate or cover the whole wall. Standard sizes:
- Small: 1–2 feet (accent)
- Medium: 3–4 feet (focal point)
- Large: 5 feet or more (dramatic)
Position the moon off-center for a modern look, or right in the middle for balance. Use painter’s tape to mark the spot before you start drawing.
Picking Your Moon Style
There are many ways to paint a moon. Here are the most popular options:
| Moon Style | Look & Feel | Good For |
|---|---|---|
| Full moon (realistic) | Detailed, shadowed, textured | Adult bedrooms, living rooms |
| Crescent moon | Simple, dreamy, iconic | Children’s rooms, nurseries |
| Abstract moon | Stylized, bold colors | Modern or creative spaces |
| Minimalist outline | Clean, thin line | Hallways, small rooms |
Pick the style that matches your taste and skill level. Realistic moons need more steps but look impressive. Simple outlines are quick and modern.
Preparing The Wall
This step is often rushed, but it is key for a clean result.
- Clean the Wall: Wipe with a damp cloth to remove dust and oils. Let dry fully.
- Protect the Area: Lay old newspapers or a plastic sheet on the floor. Cover outlets with painter’s tape.
- Prime if Needed: If your wall is dark or stained, use a white wall primer. This helps your moon colors show up bright and even.
- Mark the Center: Use a ruler and pencil to lightly mark the center of your moon.
Drawing The Moon Shape
Use a pencil and compass for small moons. For large moons, tie a pencil to a string, fix the other end with a pushpin at the moon’s center, and draw a perfect circle.
Tips:
- Press lightly so marks erase easily.
- Double-check the size and position before painting.
For crescent moons, draw a large circle, then a smaller overlapping one to create the crescent shape.
Painting Steps: Creating Your Moon
Step 1: Paint The Base Layer
Start with your main moon color (usually light gray or off-white).
- Use a large flat brush.
- Fill inside the pencil outline.
- Cover evenly, but don’t worry about perfection—texture comes next.
Let the base dry completely, usually 30–60 minutes.
Step 2: Add Shadows And Texture
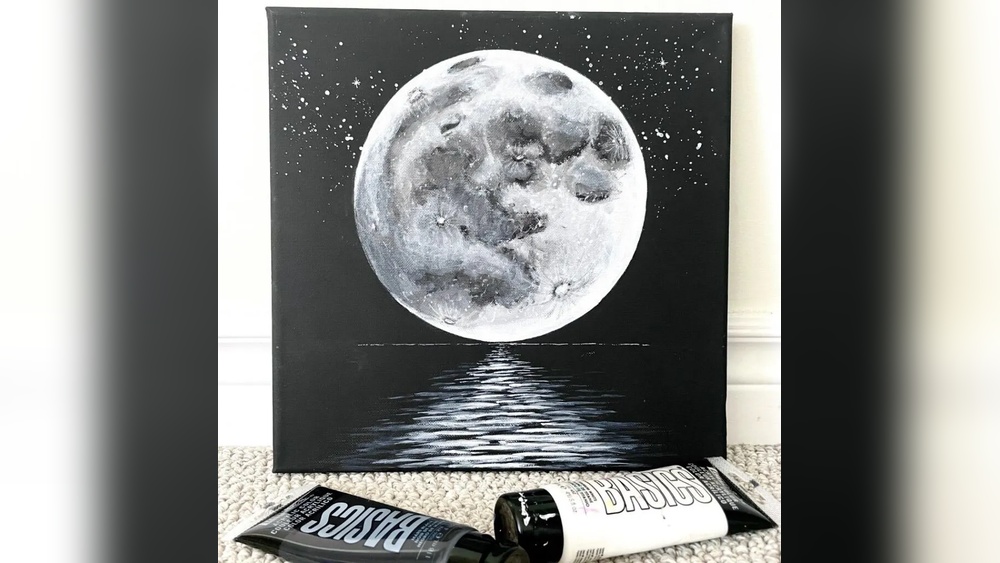
This is where your moon comes to life. The moon’s surface has shadows, craters, and soft spots. Use a photo of the real moon for reference if you want realism.
- Mix a medium gray on your palette.
- Dab a sponge in the paint, blot off extra, and gently press on the moon area for a mottled effect.
- Focus on one side (usually the lower left or right) for shadows.
- Add darker spots for craters with a small round brush.
Pro tip: Real moon shadows have soft, not sharp, edges. Blend gently with a clean sponge or brush.
Step 3: Highlight And Glow
Highlights make your moon look round and glowing.
- Mix white with a tiny bit of yellow or blue for a soft highlight.
- With a small brush, sweep this color on the side opposite your shadow.
- Add dots or small ovals for bright crater edges.
You can softly blend with your finger or a clean dry brush for a glowing effect.
Step 4: Outline And Final Touches
Depending on your style, outline your moon with a thin line of white or black paint for a crisp finish. For a soft look, skip the outline and let the color fade into the wall.
Remove any visible pencil lines with a clean eraser once the paint dries.
Step 5: Add Stars Or Clouds (optional)
For extra magic, paint small white dots for stars around your moon, or use a sponge to dab on light clouds.
Common Mistakes And How To Fix Them
Even careful painters make mistakes. Here’s how to handle the most common issues:
- Uneven Circle: Paint outside the line? Let it dry, then touch up with your wall color.
- Blotchy Texture: If your sponge leaves harsh marks, dab with a clean, damp sponge to soften.
- Paint Drips: Quickly blot with a dry paper towel, then repaint once dry.
- Wrong Color: Mix a new shade and paint over once the first layer is dry.
Insight: Don’t try to fix everything while wet. Let paint dry between steps—it is easier to correct and less likely to smudge.
Creative Variations For Your Moon Wall Art
You don’t have to stick to a plain gray moon. Here are ideas to make your mural unique:
- Galaxy Background: Blend purples, blues, and blacks outside the moon for a night sky effect.
- Phases of the Moon: Paint several moons in different phases (new, crescent, half, full) across the wall.
- Gold or Silver Leaf: Add metallic touches for a luxurious look.
- Personal Meaning: Hide a date or initials in the craters for a secret message.
Beginners often forget: It’s okay to test colors and effects on paper before painting the wall. This saves time and avoids surprises.
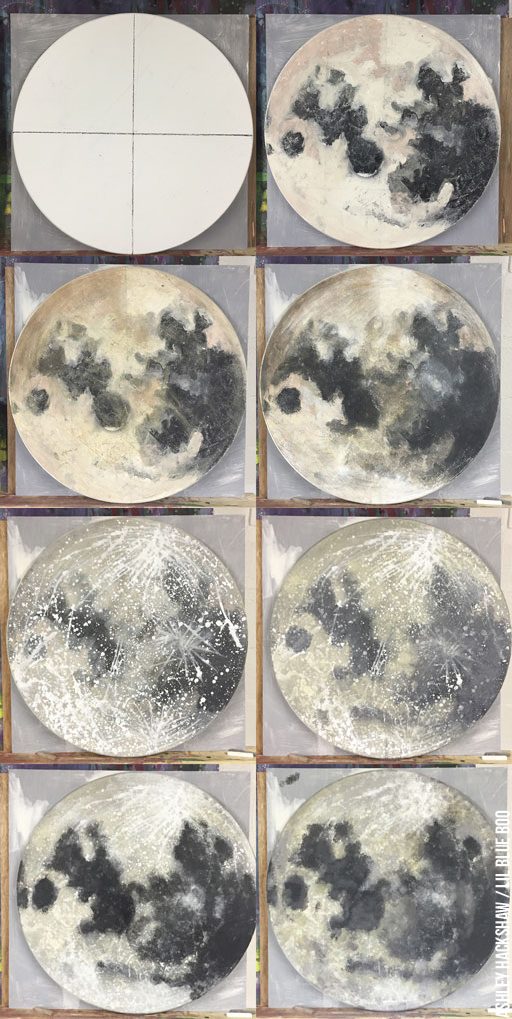
Credit: www.lilblueboo.com
Caring For Your Moon Mural
A finished moon mural needs little upkeep. Here’s how to keep it looking fresh:
- Dust gently with a soft, dry cloth. Do not scrub.
- Avoid moisture if possible—bathrooms or steamy kitchens can cause paint to peel.
- Touch up chips with leftover paint using a small brush.
Acrylic murals last for years with basic care.
Comparison: Diy Moon Mural Vs. Wall Decals
Wondering if you should paint or just buy a sticker? Here’s a quick comparison:
| Feature | DIY Painted Moon | Wall Decal |
|---|---|---|
| Customization | Unlimited; any size, color, or style | Limited to designs sold |
| Durability | 5–10 years with care | May peel after 1–3 years |
| Skill needed | Beginner to advanced | None |
| Cost | Low–moderate (paint & tools) | Moderate–high (large decals) |
| Removability | Needs repainting to remove | Peel off; may leave marks |
A painted moon is more personal and lasts longer, while decals are fast but less durable.
Safety Tips For Diy Wall Painting
- Always use water-based acrylic paint—it’s safe and low-odor.
- Open windows for ventilation.
- Keep paint and tools away from children and pets.
- Use a sturdy ladder for high walls, and never stretch too far.
If you want more information on paint safety, check the CDC’s art safety guidelines.
How To Photograph Your Moon Wall Art
When your mural is done, you’ll want to share it! For best photos:
- Use natural light if possible.
- Stand back to capture the whole moon and some of the room.
- Avoid using a flash—it creates glare.
- Take close-ups of texture and color details.
A good photo will show off your work and inspire others.
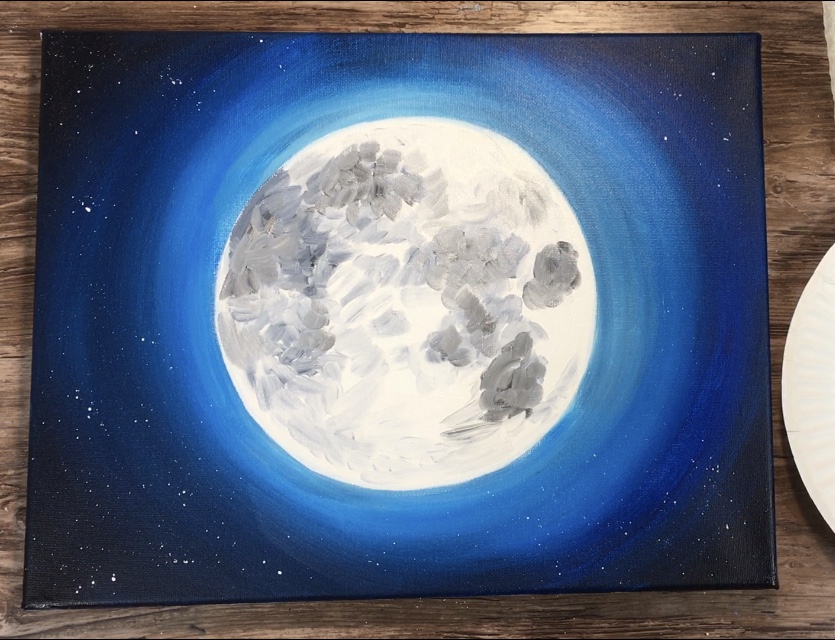
Credit: stepbysteppainting.net
Frequently Asked Questions
How Long Does It Take To Paint A Moon Mural?
Most moon murals take 2–4 hours, including drying time between layers. Detailed or large moons may take longer, especially if you add backgrounds or stars.
What Is The Best Paint For A Moon Wall Mural?
Acrylic wall paint is best. It’s easy to use, dries quickly, and cleans up with water. Avoid oil paints—they are harder to work with indoors.
Can I Paint A Moon Mural On A Textured Wall?
Yes, but it’s harder to get clean lines and smooth blending. Use more paint and a heavier brush, and be patient. If the texture is very rough, try a simple or abstract moon style.
How Do I Remove A Moon Mural If I Move Or Redecorate?
Just repaint the wall with your original wall color. If you used good acrylic paint and primed the wall first, it will cover in 1–2 coats.
Do I Need To Seal My Moon Mural?
Sealing isn’t needed for most rooms. If your mural is in a high-traffic area or kitchen, you can use a clear, matte acrylic sealer for extra protection. Test first, as some sealers can change the color.
Creating a moon mural for your wall is a rewarding DIY project. With planning, patience, and creativity, you can make art that lifts your space and your mood—every time you turn off the lights and look up.