Painting trees in oils can seem tricky at first, but with the right approach, you’ll soon create beautiful, lifelike branches and leaves that bring your artwork to life. Whether you’ve never picked up a brush before or want to improve your skills, this guide is made just for you.
You’ll discover simple steps, easy techniques, and expert tips that will help you confidently paint trees with oils. Ready to turn your canvas into a vibrant forest scene? Let’s get started and unlock your artistic potential!
Materials Needed
Starting to paint trees in oils requires the right materials. These tools help you create beautiful, natural-looking trees. Having quality supplies makes your work easier and more enjoyable. Below, find the key materials you need before you begin.
Essential Brushes
Choose brushes that work well with oil paint. A flat brush helps cover large areas quickly. Round brushes allow detailed strokes for leaves and branches. Fan brushes create texture for foliage. A small liner brush is useful for thin branches. Select brushes with sturdy bristles for better control.
Choosing Oil Paints
Pick oil paints with rich pigment and smooth consistency. Start with basic colors like green, brown, yellow, and white. These cover most tree shades. Use artist-grade paints for stronger colors and longer-lasting work. Avoid cheap paints that may crack or fade over time.
Preparing Your Canvas
Prime your canvas with gesso before painting. This creates a smooth, absorbent surface. Let the primer dry fully to avoid paint peeling. Stretch or buy a pre-stretched canvas for best results. Proper canvas preparation ensures your painting lasts and looks vibrant.

Credit: shop.zenartsupplies.co
Basic Tree Shapes
Understanding basic tree shapes is the first step in painting trees with oils. Trees have simple forms that help you capture their essence. Focusing on these shapes makes the painting process easier and more natural. Start by observing the main trunk and the overall shape of the foliage. These core elements guide your brush strokes and color choices.
Sketching The Outline
Begin with a light sketch of the tree’s outline on your canvas. Use simple lines to mark the trunk and main branches. Do not worry about details at this stage. Focus on the height and width of the tree shape. Keep your lines loose and flowing to create a natural look. This step forms the base for your oil painting.
Branch Direction Techniques
Branches grow in various directions but follow a natural flow. Study how branches spread from the trunk and twist upward or outward. Paint branches that lead the viewer’s eye through the composition. Avoid straight, stiff lines. Use curved strokes that mimic real branch growth. This technique adds life and movement to your tree painting.
Using Z-shapes For Branches
Z-shapes create a dynamic and interesting branch structure. Paint branches with zigzag lines to suggest natural growth patterns. This method breaks the monotony of straight lines. It also helps to create depth and texture. Use the Z-shape technique to make branches look more realistic and lively. It is a simple trick that improves your tree painting greatly.
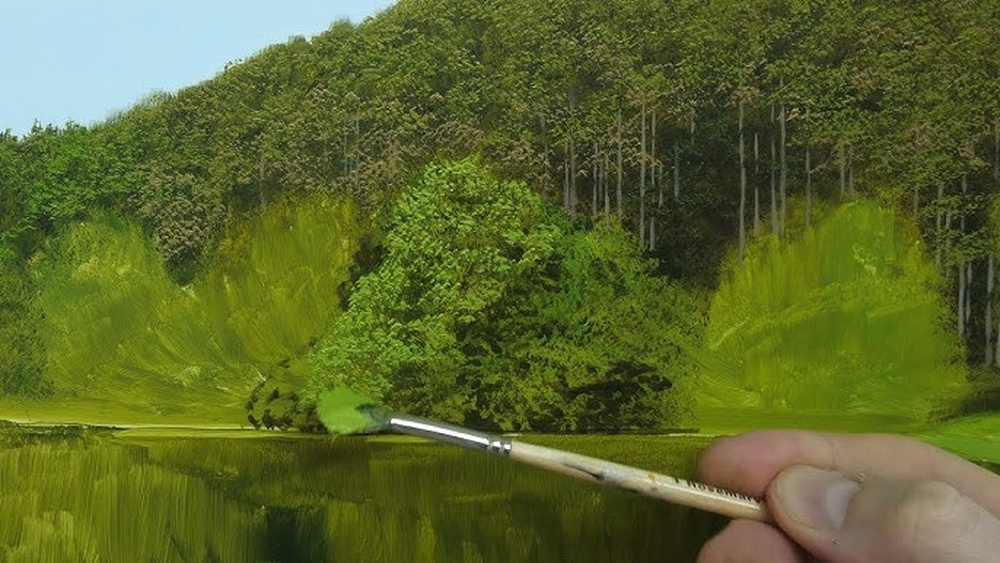
Layering The Background
Layering the background is a key step in painting trees with oils. It sets the scene and adds depth to your work. The background helps your trees stand out and gives your painting a natural feel. Start with broad shapes and colors. Then build details slowly. Keep your strokes loose and soft for a smooth blend.
Blocking In Colors
Begin by choosing the main colors for your background. Use large brushes to cover the canvas quickly. Paint the sky and ground with simple, flat colors. Avoid details at this stage. Focus on where light and dark areas will go. This step creates a base for later layers.
Painting Sky And Ground
Paint the sky using light blues or warm tones, depending on your scene. Use horizontal strokes for a calm effect. For the ground, add greens, browns, or yellows. Blend these colors softly to avoid harsh lines. This creates a smooth transition between sky and earth.
Adding Shadows
Shadows bring life to your background and add depth. Use darker tones under trees and near the ground. Apply shadows with a soft brush and gentle strokes. Shadows help define space and give your painting a three-dimensional look. Keep shadows subtle to maintain balance.
Credit: samuelearp.com
Building Tree Structure
Building the structure of a tree is the first step in oil painting. It helps create a strong base for the whole artwork. Understanding how to shape the trunk and branches makes your tree look natural. This structure guides where leaves and details will go later.
Start simple. Focus on the main parts. The trunk holds the tree up, and the scaffold branches spread out. Adding shadows gives depth and form. These steps bring life to your painting and make it believable.
Painting The Trunk
Begin with the trunk using a medium brush. Use vertical strokes to show bark texture. Keep the shape slightly irregular for a natural look. Mix brown and gray tones for realism. Paint the trunk wider at the base and narrower at the top.
Adding Scaffold Branches
Next, add the scaffold branches that grow from the trunk. Use thinner brushes and shorter strokes. Branches should taper as they extend outward. Paint them in a zig-zag pattern for a natural flow. These branches hold the smaller twigs and leaves.
Creating Depth With Dark Shades
Use dark shades to add depth around the trunk and branches. Paint shadows where branches overlap or bend. Blend softly to avoid harsh lines. This contrast makes your tree appear three-dimensional. Dark areas also suggest space behind the tree parts.
Painting Leaves And Foliage
Painting leaves and foliage in oil requires careful attention to shape, texture, and color. These elements bring life and depth to your tree paintings. Leaves are not just green blobs; they have form and movement. Capturing this can make your painting more realistic and vibrant.
Start by understanding how leaves cluster and overlap. This helps create a natural look rather than a flat surface. Use different brush strokes and colors to show variety and light effects in the foliage. This section covers key techniques to paint leaves effectively.
Brush Techniques For Leaves
Select brushes with stiff bristles for better control. Fan brushes and round brushes work well for leaf shapes. Dab the brush lightly to create leaf textures. Use quick, short strokes to mimic the randomness of leaves.
Try pressing the brush at different angles. This changes the shape of the leaf marks. Avoid painting every leaf; suggest clusters instead. This saves time and keeps the painting lively.
Using Color Variations
Mix different shades of green for a natural look. Add hints of yellow, blue, or brown to show light and shadow. Use darker greens in shaded areas and lighter greens where the sun hits. This contrast adds depth and realism.
Don’t use pure green alone. Leaves reflect many colors depending on the season and light. Blending colors on the palette or canvas creates smooth transitions and natural tones.
Adding Highlights And Details
Highlights bring leaves to life by showing sunlight. Use a small brush with light yellow or white paint. Apply highlights sparingly on the edges or tips of leaves. This creates a sparkling effect.
Paint tiny branches or veins with thin brush strokes. These details add realism without overwhelming the image. Step back often to see if highlights and details balance well with the overall painting.

Credit: www.youtube.com
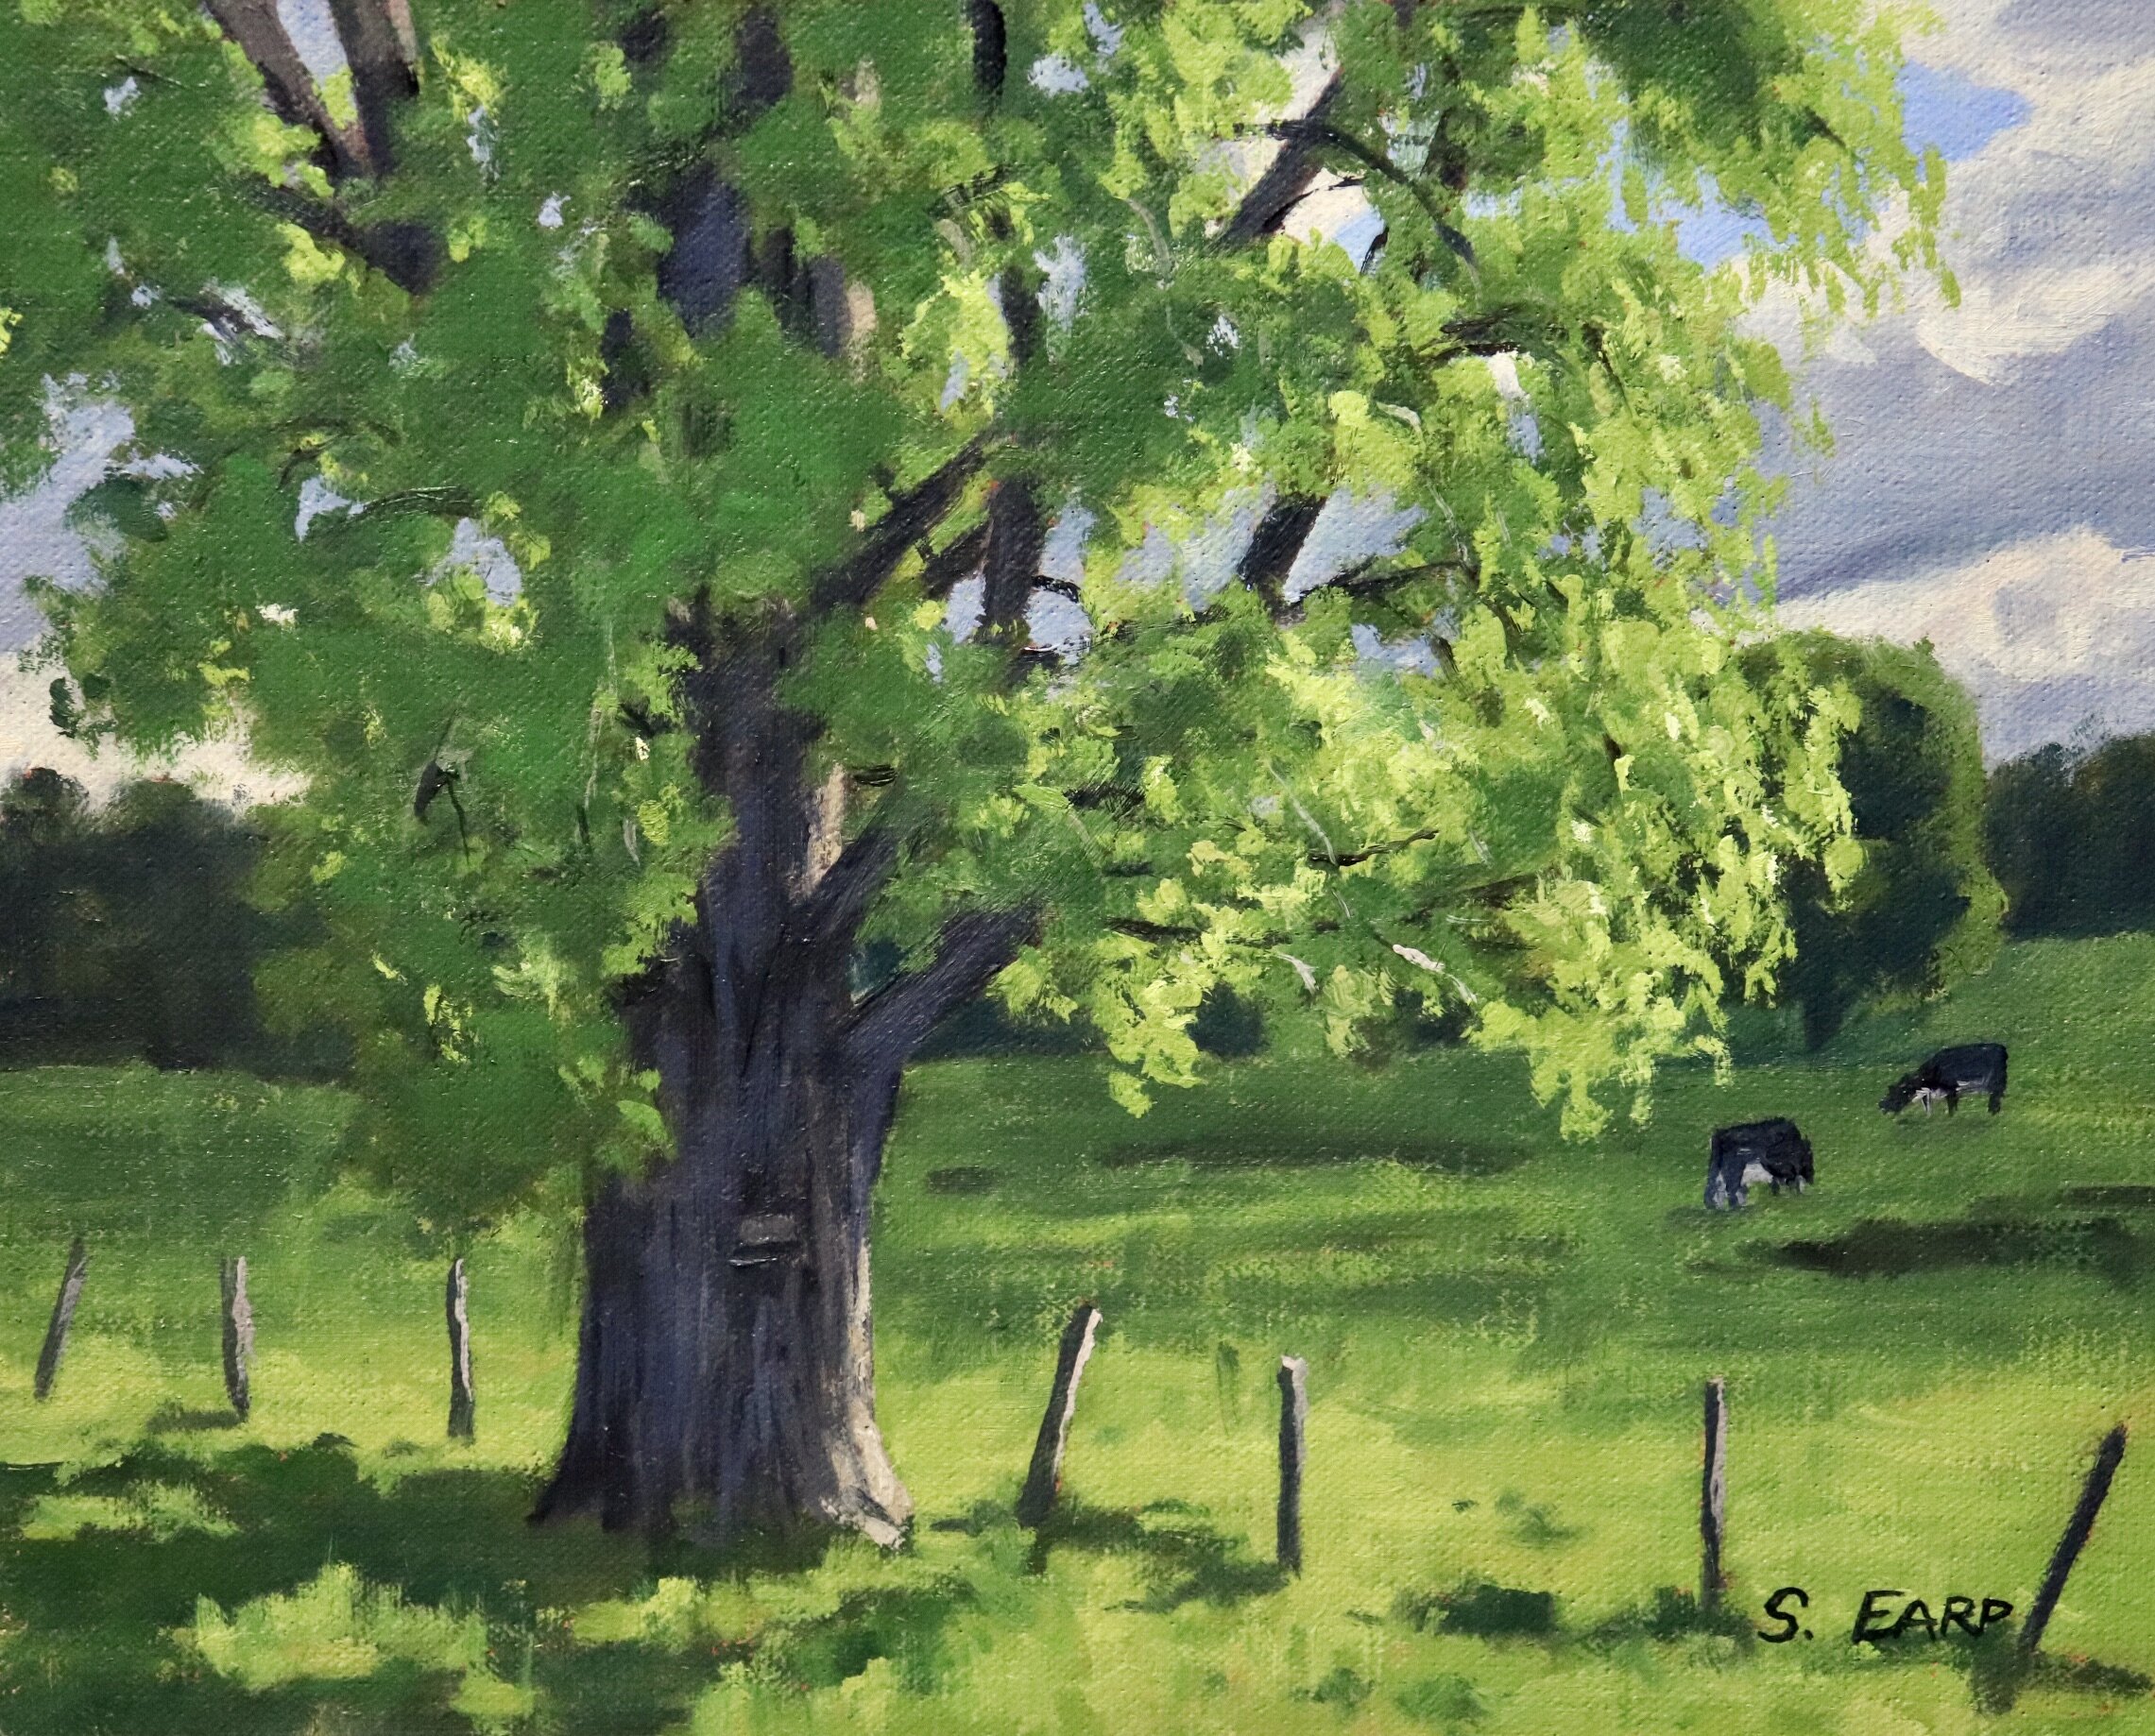
Capturing Seasonal Effects
Capturing seasonal effects in oil paintings adds depth and realism to tree landscapes. Each season brings unique colors, shapes, and moods. Learning to paint these changes helps your artwork feel alive and true to nature. Observe how trees look in different seasons. Notice color shifts, light quality, and textures. These details create strong visual stories in your paintings.
Painting Autumn Trees
Autumn trees glow with warm colors like red, orange, and gold. Use rich, earthy tones to show this change. Apply paint in loose, layered strokes to mimic falling leaves. Focus on the contrast between bright leaves and dark branches. Capture the soft light of autumn afternoons. This light adds warmth and a peaceful mood to your scene.
Creating Winter Tree Looks
Winter trees often stand bare and stark against pale skies. Use cool colors such as blues, grays, and muted browns. Paint thin, delicate branches with fine brushes. Show snow or frost by adding small white highlights. Keep the background simple to enhance the cold, quiet feeling. This approach brings out the beauty of winter’s simplicity.
Adjusting Colors For Light And Mood
Light changes the way colors appear on trees. Bright sunlight makes colors vivid and sharp. Cloudy days soften colors and reduce shadows. Adjust your paint tones to match these effects. Use warmer colors for sunrise or sunset scenes. Cooler colors suit overcast or shaded settings. These choices set the mood and draw the viewer into your painting.
Final Touches
Adding final touches to your oil painting of trees brings your artwork to life. This stage sharpens the image and enhances realism. Small adjustments here can make your trees stand out beautifully. Focus on refining details, balancing light and shadow, and sealing your painting for protection.
Refining Details
Examine your tree closely. Use a fine brush to add small twigs and leaves. Paint subtle textures on the bark. These little details give depth and interest. Keep strokes light and varied to avoid stiffness. Avoid overworking; just add enough to create realism.
Balancing Light And Shadow
Check the light source in your painting. Darken shadows under branches and leaves. Highlight areas where light hits the tree directly. Soft transitions between light and dark create volume. Use a gentle touch to blend edges. This balance adds dimension and natural feel.
Sealing Your Painting
Wait for your painting to dry completely. Apply a thin layer of varnish to protect the surface. Choose a varnish with the finish you prefer, matte or glossy. This step preserves colors and prevents dust buildup. Work in a clean, dust-free area for best results.
Frequently Asked Questions
What Brushes Are Best For Painting Trees In Oils?
Flat and fan brushes work best for painting trees in oils. Flat brushes help create sharp edges on branches. Fan brushes are excellent for adding texture to leaves. Using the right brush enhances realism and detail in your tree paintings.
How Do Beginners Start Painting Trees In Oils?
Beginners should start by sketching the tree shape lightly. Then block in large color areas before adding details. Focus on shadows and light to create depth. Practice layering paint to achieve natural textures and forms.
What Colors Should I Use To Paint Realistic Trees?
Use a mix of greens, browns, and yellows for realistic trees. Add blues or purples for shadows and depth. Mixing complementary colors creates natural variations in foliage. Adjust colors based on lighting and season for authenticity.
How Can I Paint Tree Branches Realistically In Oils?
Paint branches using a thin brush and follow natural growth patterns. Use zig-zag or irregular lines to mimic real branches. Start with darker colors for shadows, then add lighter highlights. Layering helps achieve a three-dimensional effect.
Conclusion
Painting trees in oils can be simple and fun. Practice the basic steps often. Choose the right brushes and colors carefully. Observe real trees to understand their shapes. Don’t rush; take your time with details. Enjoy the process of creating your own tree art.
Keep practicing, and your skills will grow. Painting trees helps improve your overall oil painting. Stay patient and open to learning new techniques. Each tree you paint will look better than before.