Are you ready to transform your blank canvas into a stunning swirl of colors with paint pouring? Whether you’re a complete beginner or looking to spice up your art skills, paint pouring offers endless possibilities to express your creativity.
Imagine creating mesmerizing patterns with just a few simple techniques—no brushes needed! You’ll discover easy and exciting paint pouring ideas and techniques that anyone can try. Get ready to unlock your artistic potential and create vibrant, fluid masterpieces that will amaze you and everyone who sees them.
Keep reading, and let’s dive into the colorful world of paint pouring!
Basic Paint Pouring Techniques
Basic paint pouring techniques form the foundation of fluid art. These methods allow beginners to create beautiful and unique designs with ease. Each technique uses different ways of pouring paint onto a canvas. The effects vary based on how paint flows and mixes. Practicing these basics helps improve control and creativity.
Puddle Pour
The puddle pour is simple and popular. Pour one color on the canvas first. Then add other colors in the center. Paint spreads out, creating layered puddles. The colors blend softly at the edges. This method shows clear color separation and flow.
Tree Ring Pour
The tree ring pour creates concentric circles. Start by pouring paint in the center. Add colors in rings around the middle. The result looks like tree rings or ripples. Each ring shows different colors clearly. This technique suits abstract and nature-inspired art.
Marble Pour
The marble pour mimics marble stone patterns. Pour paint in random spots on the canvas. Use a stick or tilt the canvas to swirl colors. The paint mixes with soft, flowing lines. This method creates elegant, natural marble effects.
Dutch Pour
The Dutch pour uses air to move paint. Pour paint in lines or puddles on the canvas. Use a hair dryer or straw to blow the paint. This spreads colors quickly and creates interesting shapes. The Dutch pour is great for bold, dynamic designs.
Flip Cup Pour
The flip cup pour involves layering paint in a cup. Place the cup upside down on the canvas. Lift the cup to let paint flow out freely. Paint spreads and blends in organic patterns. This technique offers surprise and variety in every pour.
Advanced Pouring Methods
Advanced pouring methods take acrylic painting to a new level. These techniques offer fresh ways to explore color, texture, and flow. They challenge artists to use larger surfaces and create complex designs. Each method brings unique effects and requires some practice.
Dutch Pour On Large Canvases
The Dutch pour uses a hairdryer or fan to move paint across the canvas. This method works well on large surfaces. It creates smooth blends and sharp lines. Artists layer colors in a cup, then pour them on the canvas. The air tool pushes the paint, forming waves and cells. This technique results in dynamic, flowing abstract art.
Triptych Acrylic Pour
A triptych is a set of three connected paintings. Acrylic pour triptychs allow artists to tell a story across panels. Each canvas connects with the next through color and design. Pour paint on each panel using similar colors and patterns. The challenge is to keep the flow consistent. This method creates a striking visual impact in any room.
Planet Painting With Hoop
Planet painting uses a circular hoop as a guide. The hoop helps create a perfect round shape. Paint is poured inside the hoop, then tilted to spread. This method mimics planets or bubbles with vibrant colors. Artists can add details after the paint dries. Planet paintings are great for beginners and advanced artists alike.
Cascade Gradient Colors
Cascade gradients blend colors smoothly from one tone to another. Pouring paint in layers creates this effect. Start with a light color and add darker shades gradually. Tilt the canvas to make colors flow and merge. This technique gives a soft, flowing look. It works well on vertical or horizontal surfaces.
Color And Texture Tips
Color and texture play a vital role in paint pouring art. They bring your canvas to life and add depth to your work. Small changes in color choices and texture techniques can make a big difference. Experimenting with these tips helps create unique effects that catch the eye.
Using Contrasting Colors
Contrasting colors create bold and exciting designs. Pair colors opposite each other on the color wheel, like blue and orange or red and green. This contrast makes each color pop. It adds energy and movement to your painting. Use contrasting colors in layers to highlight shapes and patterns.
Creating Texture With Additives
Additives like silicone oil or coarse sand add interesting textures. Silicone creates cells that look like bubbles or spots. Sand adds rough, grainy areas to your work. Mix these additives into your paint before pouring. They give your piece a tactile quality and make it more dynamic.
Incorporating Metallic Accents
Metallic paints add shine and luxury to your art. Gold, silver, and copper tones work well with most colors. Use them sparingly to highlight certain areas. Metallic accents catch light and add a shimmering effect. This technique adds richness and sophistication to your pour painting.
Achieving Vibrant Color Splits
Vibrant color splits create sharp lines between colors. Use thin layers of paint and pour slowly to control the flow. Tilt the canvas to help colors separate naturally. Avoid mixing colors too much to keep the splits clear. This technique adds drama and contrast to your painting.
Creative Pouring Ideas
Creative pouring ideas bring fresh energy to acrylic art. These techniques inspire unique designs and vibrant colors. Experimenting with themes makes paint pouring exciting and personal.
Try different methods to create flow and texture. Each idea offers a new way to explore color blending and movement. The results can be stunning and unexpected.
Floral Flow Designs
Floral flow designs mimic the soft curves of petals. Use pastel shades like pink, lavender, and green for a natural look. Pour paint in circular motions to form flower shapes. Add small details with a brush after pouring. These designs suit spring themes and gentle decor.
Ocean Shore Inspired Art
Ocean shore art captures waves and sandy beaches. Blend blue, white, and beige paints for a seaside feel. Tilt the canvas to create wave-like movements. Use a palette knife to add texture for sand. This style feels calm and refreshing, perfect for coastal rooms.
Mystic And Cosmic Themes
Mystic themes use deep blues, purples, and blacks. Add specks of white to mimic stars and galaxies. Swirl the paint slowly to create nebula effects. Metallic paints highlight cosmic elements. This style brings a magical, otherworldly vibe to your art.
Winter Scenes With Texture
Winter scenes combine cool blues, whites, and grays. Use thick paint or add texture paste for snow effects. Pour paint gently to form icy patterns. Add glitter or mica powder for sparkle. These designs evoke chilly, peaceful winter landscapes.
Materials And Preparation
Starting a paint pouring project requires the right materials and proper preparation. These steps ensure smooth pouring and vibrant results. Understanding the tools and setup helps avoid common mistakes. Below are essential tips on selecting paints, mixing mediums, preparing your canvas, and setting up your workspace safely.
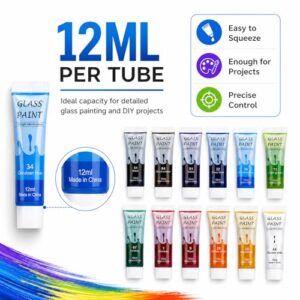
Selecting The Right Paints
Choose acrylic paints for their fluid texture and bright colors. Heavy body acrylics are thick but work well with pouring mediums. Fluid acrylics are thinner and pour easily. Avoid oil-based or watercolor paints as they do not blend properly in pours. Pick vibrant hues to create eye-catching effects. Test a small amount first to check consistency and color flow.
Mixing Mediums And Additives
Use pouring mediums to thin paints without losing color intensity. These mediums improve flow and help paint spread evenly. Common options include gloss or matte pouring mediums. Additives like silicone oil create cells and interesting patterns. Mix each color separately, stirring gently to avoid bubbles. Keep the mixture smooth but not too runny for best control.
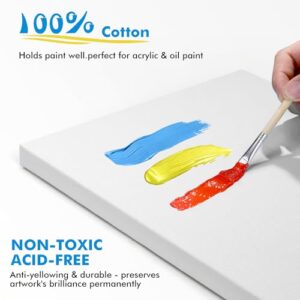
Preparing Your Canvas
Choose canvases made of cotton or linen for good absorption. Prime the surface with gesso to prevent paint from soaking in. Let the primer dry completely before pouring. Elevate the canvas on cups or blocks to allow paint to drip off edges. Cover the edges with tape if you want clean borders. Make sure the canvas is level to avoid uneven paint flow.
Protective Gear And Workspace Setup
Wear gloves and old clothes to protect your skin and fabric from stains. Use a plastic sheet or newspaper to cover your workspace. Keep paper towels or rags nearby for quick cleanups. Work in a well-ventilated room to avoid inhaling fumes. Arrange all your materials within reach to keep the flow going smoothly.
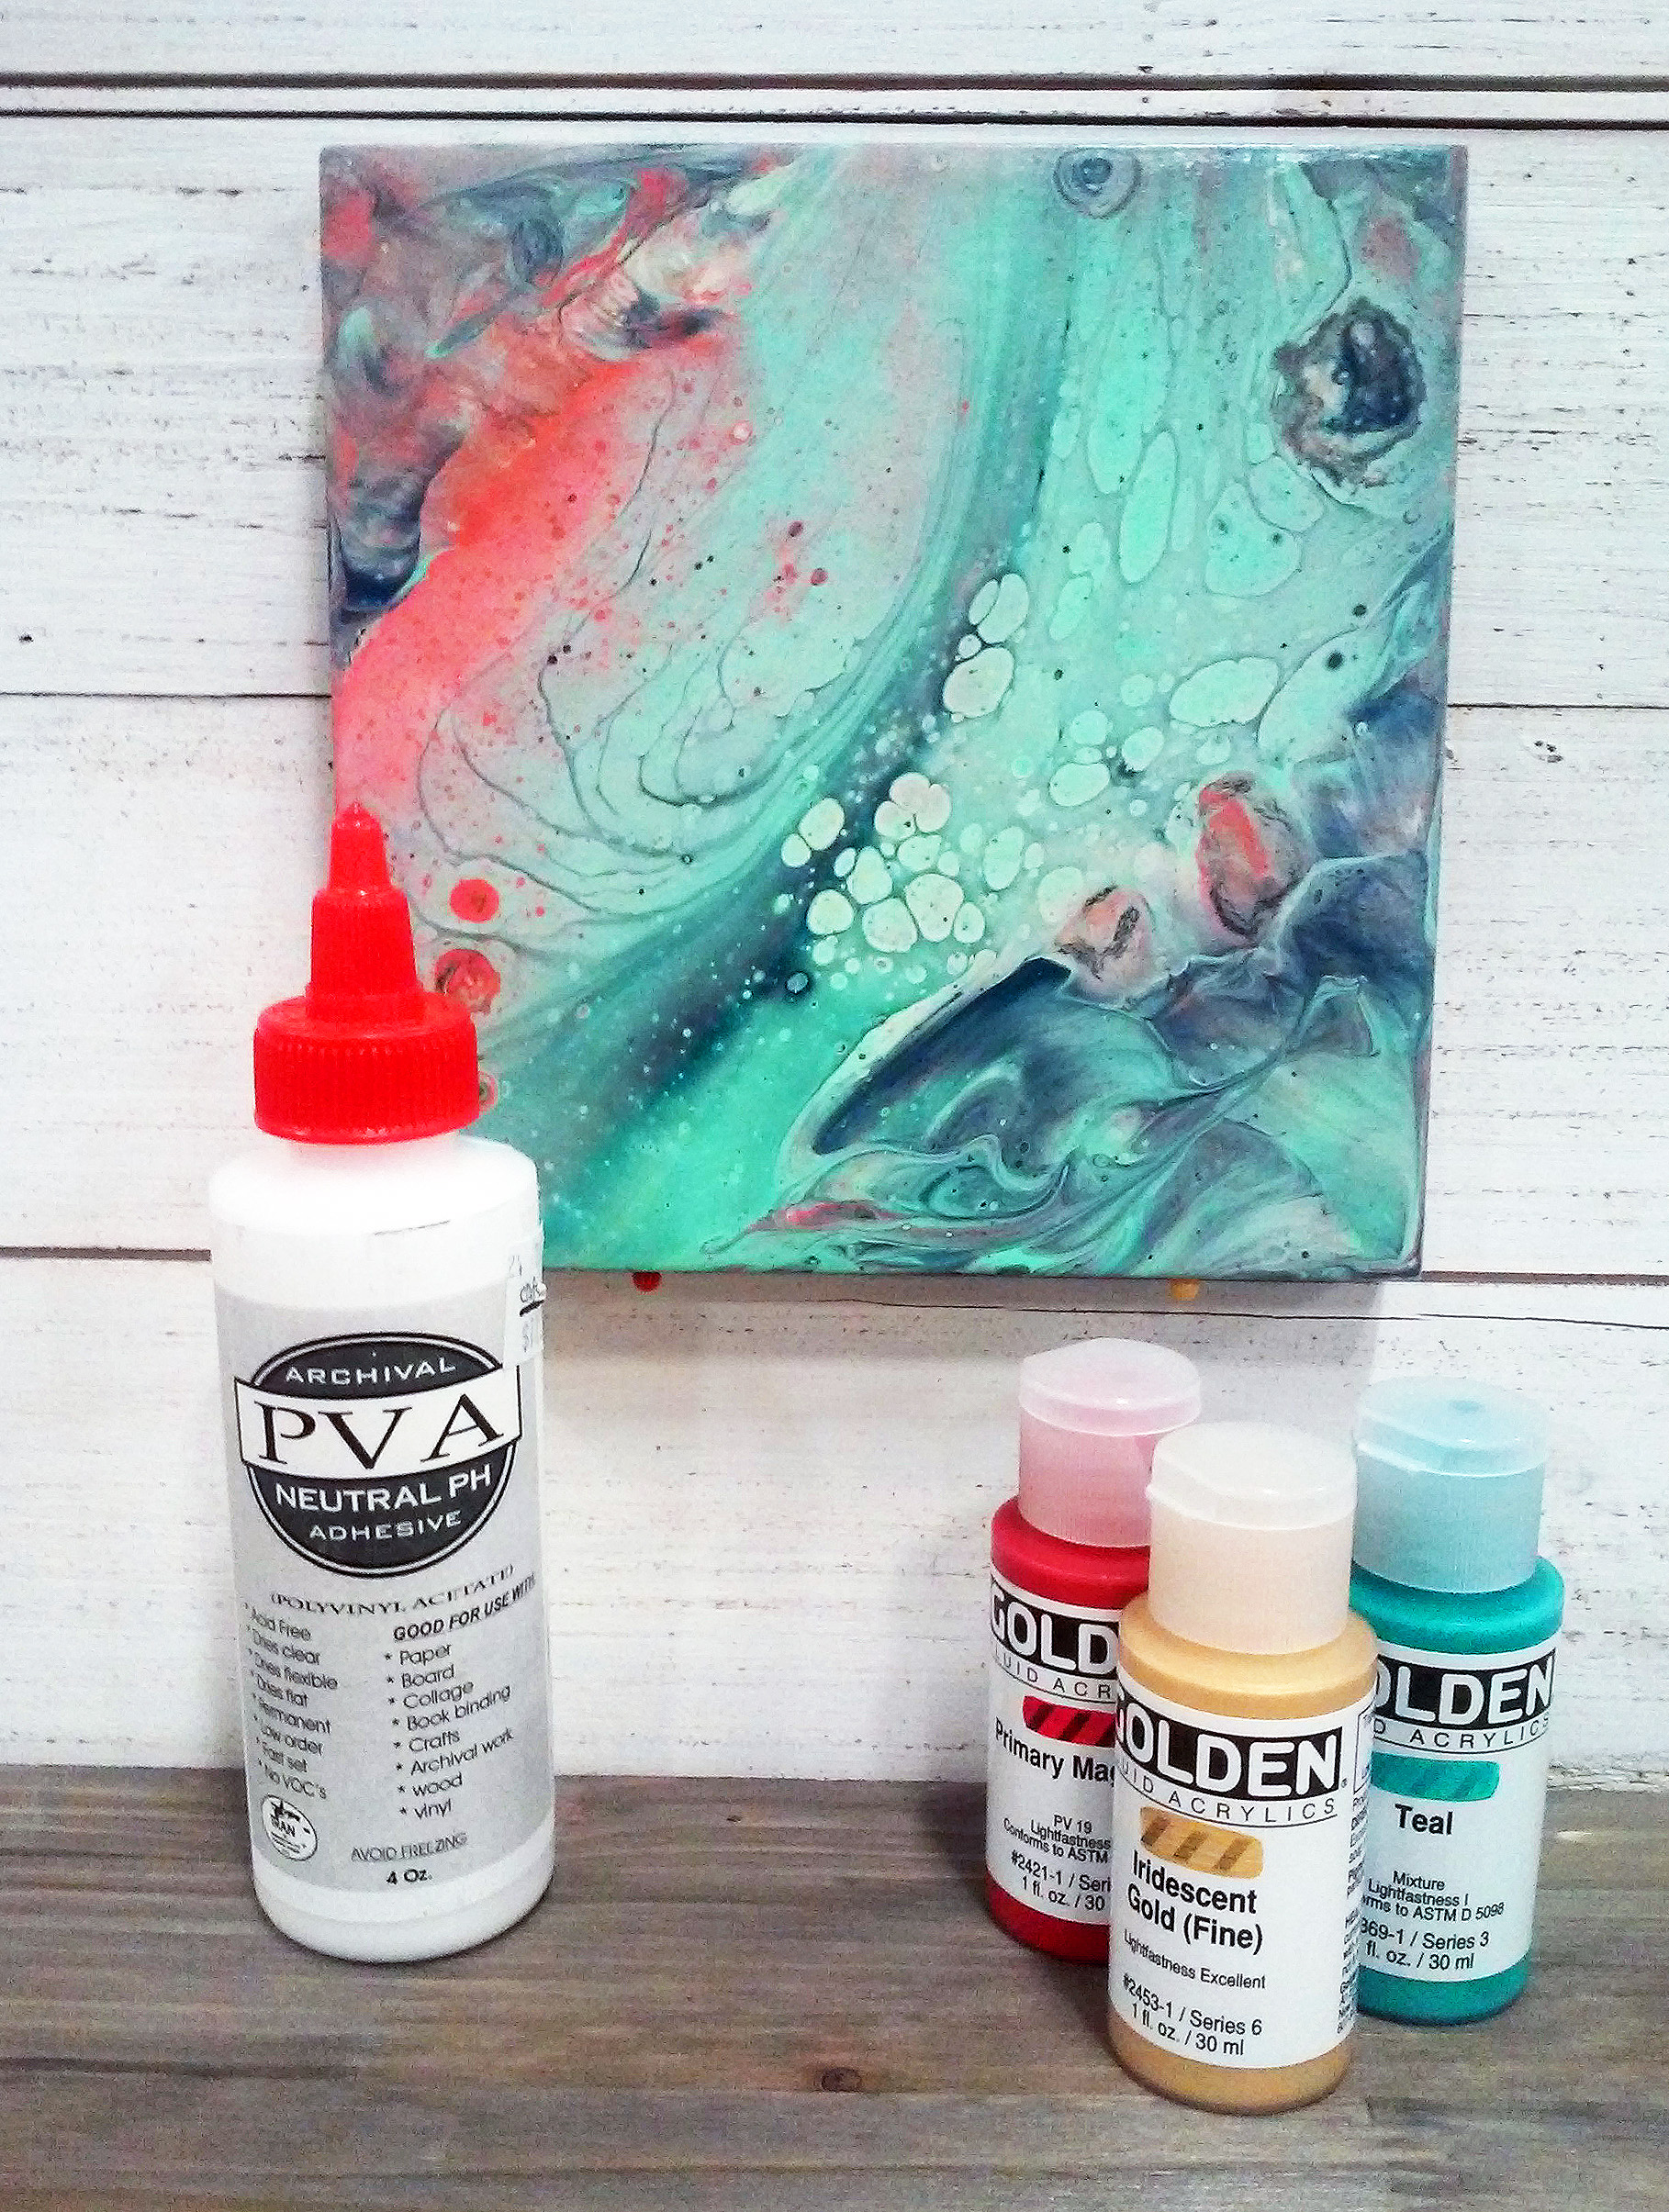
Credit: craftwarehouse.com
Troubleshooting Common Issues
Troubleshooting common issues helps keep your paint pouring smooth. Small mistakes can cause big problems. Knowing how to fix these problems saves time and paint. This section covers common troubles and clear solutions to try.
Avoiding Muddy Colors
Muddy colors happen when paints mix too much. Use fewer colors in one pour. Choose colors that look good together. Pour slowly to keep colors separate. Clean your tools between colors to stop mixing. Let each layer dry a bit before adding another.
Preventing Cracks And Bubbles
Cracks appear if paint dries too fast or thick. Use thinner paint for smoother drying. Keep your workspace warm but not hot. Stir paint gently to avoid air bubbles. Tap your canvas lightly to pop bubbles. Use a heat gun or torch carefully to remove bubbles.
Managing Paint Thickness
Paint too thick will not flow well. Thin paint with water or pouring medium. Test the paint on a small surface first. Paint that is too thin will lose color strength. Find a balance for smooth pouring and bright colors. Adjust thickness for each paint brand.
Fixing Unwanted Patterns
Unwanted patterns can happen from too much movement. Pour paint slowly and control the flow. Use a brush or stick to gently move paint. Tilt the canvas carefully to guide paint direction. If patterns look bad, add another thin layer of paint. Practice different pouring angles to improve results.
Finishing And Preservation
Finishing and preservation are crucial steps in paint pouring art. They protect your artwork and keep colors vibrant for a long time. Proper finishing also enhances the texture and shine of the paint surface. Taking time to dry and seal your piece ensures it lasts well and looks beautiful.
Drying Times And Conditions
Drying time depends on paint thickness and room temperature. Thin layers dry faster, usually within 24 hours. Thick pours may take several days or even weeks to dry fully. Keep your painting in a dust-free, warm room with good air flow. Avoid direct sunlight, which can cause colors to fade or crack.
Applying Protective Coatings
Use varnish or resin to protect your painting. These coatings guard against dust, moisture, and UV damage. Apply thin, even layers with a clean brush or spray. Allow each coat to dry completely before adding the next. Resin creates a glossy, glass-like finish, while varnish offers a matte or satin look.
Framing And Display Ideas
Choose a frame that suits your painting style and size. Floating frames highlight the edges and create a modern look. You can also use shadow boxes for a three-dimensional effect. Hang your art away from direct sunlight and moisture. Display it in a place with stable temperature and low humidity.
Cleaning And Maintenance
Keep your painting clean by dusting gently with a soft cloth. Avoid water or cleaning sprays on the surface. For resin-coated art, use a microfiber cloth to remove fingerprints. Check your artwork regularly for signs of damage or dirt. Proper care preserves its beauty and value over time.
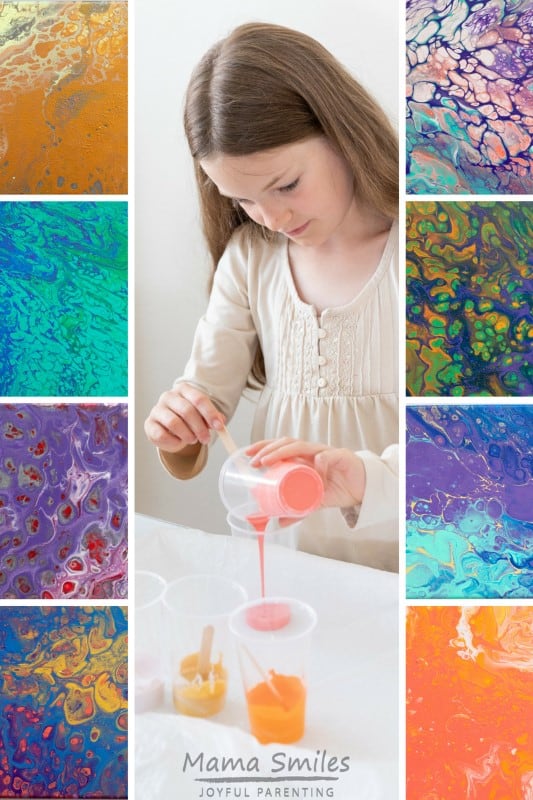
Credit: www.mamasmiles.com
Inspiration And Experimentation
Inspiration and experimentation fuel creativity in paint pouring. Trying new ideas leads to unique art. Exploring different methods helps develop personal style. Artists grow by mixing colors and techniques freely.
Experimenting with paint pouring brings surprises. Each pour can create unexpected patterns. Stay open to change and discovery. Use every chance to learn and improve.
Combining Techniques
Mixing pouring styles creates fresh effects. Blend puddle pour with flip cup for depth. Use tree ring pour alongside Dutch pour for contrast. Combining methods adds complexity to your work. Test various combos to find your favorite look.
Using Leftover Paint Creatively
Save leftover paint for new projects. Pour colors in layers to form patterns. Drip or splatter paints for texture. Leftover paint reduces waste and sparks ideas. This approach keeps your art eco-friendly and fun.
Incorporating Mixed Media
Add materials like sand, beads, or paper. These elements give texture and shine. Use brushes or palette knives to shape paint. Mixed media brings new life to pours. It pushes boundaries and broadens your skill set.
Challenging Your Skills
Try difficult techniques to improve fast. Work on larger canvases for more impact. Limit your color palette for precision. Set time limits to boost focus and speed. Challenges build confidence and refine your style.

Credit: www.youtube.com
Frequently Asked Questions
What Are The Basic Paint Pouring Techniques?
Basic paint pouring techniques include puddle pour, flip cup, dirty pour, and Dutch pour. Each technique creates unique fluid patterns and textures on the canvas. Beginners often start with puddle and flip cup pours to master paint flow and color blending.
How Do I Prepare Paint For Pouring?
To prepare paint for pouring, mix acrylic paint with a pouring medium to achieve a fluid consistency. The ideal ratio is usually two parts paint to one part medium. Proper mixing prevents cracking and helps the paint flow smoothly.
Which Surfaces Work Best For Paint Pouring?
Canvas, wood panels, and thick watercolor paper are ideal surfaces for paint pouring. They provide good absorption and durability. Avoid thin or flexible surfaces as they may warp or not hold the paint well.
Can I Create Texture With Paint Pouring?
Yes, adding silicone oil or using palette knives can create texture in paint pouring. Silicone produces cells and interesting effects, while palette knives add dimensional patterns. Experimenting with additives enhances the visual depth of your artwork.
Conclusion
Paint pouring offers endless fun and creativity. Try different techniques to find your favorite. Use simple tools and colors to start easily. Each pour creates a unique piece of art. Practice often to improve your skills quickly. Enjoy the process, not just the result.
Let your imagination guide your paint and canvas. This art form welcomes all skill levels. Explore ideas, experiment boldly, and express yourself freely. Paint pouring can brighten your space and mood. Keep painting and watch your art grow.