Are you ready to transform your digital illustrations into stunning prints that truly stand out? Painting digitally for print isn’t just about creating beautiful art on your screen—it’s about making sure every detail, color, and brushstroke looks flawless on paper.
Whether you want to sell your artwork, decorate your space, or gift a unique piece, knowing how to prepare your digital painting for print is key. In this guide, you’ll discover simple, practical steps to get vibrant colors, sharp details, and professional-quality prints every time.
Keep reading to unlock the secrets that will bring your digital creations to life beyond the screen!
Choosing The Right Resolution
Choosing the right resolution is key to making your digital illustration look sharp in print. Resolution affects how clear and detailed your artwork appears on paper. Low resolution can cause blurry or pixelated prints. High resolution ensures crisp lines and vivid colors. Understanding resolution helps you prepare your file correctly for printing.
Optimal Dpi For Print
DPI stands for dots per inch. It measures how many dots the printer places in one inch of paper. Most printers need at least 300 DPI for good quality prints. This resolution keeps details clear and colors accurate. For larger prints, like posters, 200 to 300 DPI can work well. Lower DPI may cause images to look fuzzy or pixelated.
Balancing File Size And Quality
High resolution means bigger file size. Large files can be hard to handle and slow to upload. Too big files may also cause problems with some printers. Find a balance between quality and file size. Use 300 DPI for small to medium prints. For very large prints, reduce DPI slightly to keep file size manageable. Save files in lossless formats like TIFF or PNG for best quality.

Credit: www.keepcalmcollection.com
Setting Color Profiles
Setting the correct color profile is key when preparing digital illustrations for print. Colors look different on screens and paper. Screens use light to show colors, while printers use ink. This difference makes color profiles very important. They help your artwork keep the colors you want once printed.
Choosing the right color profile avoids surprises after printing. It ensures your digital colors match the printed result. Understanding how to switch and manage these profiles is essential for print-ready art.
Switching From Rgb To Cmyk
Digital screens use RGB color mode. It mixes red, green, and blue light to create colors. Print devices use CMYK mode. It mixes cyan, magenta, yellow, and black inks. RGB colors look brighter on screen but may not print correctly.
Before printing, convert your artwork from RGB to CMYK. This change shows how colors will appear in print. Some colors may shift or become duller. Adjust your colors after switching to CMYK to keep the best look.
Managing Color Accuracy
Color accuracy means your printed colors match your digital design. Use color calibration tools for your monitor. This step helps you see true colors while working. Soft proofing in your design software shows how colors print.
Communicate with your printer about their color settings. Provide files with the correct color profiles embedded. Avoid using RGB files for printing. Check test prints to ensure colors come out as expected.
Preparing Your Artwork Files
Preparing your artwork files is a key step before printing your digital illustration. Proper preparation ensures the final print looks sharp and vibrant. It also helps avoid common printing errors like color shifts or pixelation. This section covers essential tips on file formats and layer management to get your artwork print-ready.
File Formats For Printing
Choose the right file format for printing to keep high quality. TIFF and PNG are excellent choices for lossless quality. PDF files are also popular for print as they preserve colors and layers well. Avoid JPEG for large prints since it compresses and loses detail. Save your file in CMYK color mode, as printers use this for accurate colors. Keep your resolution at least 300 dpi to ensure sharp prints.
Layer Management And Flattening
Organize your layers clearly before finalizing your file. Name your layers and group related ones for easy editing. Once satisfied with your work, flatten the image to merge all layers into one. Flattening reduces file size and avoids printing issues. Save a copy of your layered file separately in case you need to edit later. Flattened files are simpler for printers to process and print correctly.
Upscaling Techniques
Upscaling techniques play a vital role in preparing digital illustrations for print. They help increase image size without losing quality. Proper upscaling ensures your artwork looks sharp and clear on larger prints. This section covers key methods to upscale your digital paintings effectively.
Using Software Tools
Many software tools offer built-in upscaling features. Programs like Adobe Photoshop and Affinity Photo use advanced algorithms to enlarge images smoothly. These tools reduce pixelation and blur by adding new pixels intelligently. Some use artificial intelligence to predict and fill missing details. Always choose the highest quality settings during export. Save your work in lossless formats like TIFF or PNG for best results.
Maintaining Detail And Sharpness
Upscaling can soften fine details if not done carefully. Apply sharpening filters after enlarging your image to enhance edges and textures. Use layers to control sharpening strength and avoid overdoing it. Keep an eye on small details like line work and textures. Manually retouch areas that appear blurry or faded. This preserves the original look of your digital illustration. Test print small sections before final printing to check sharpness.
Selecting Printing Methods
Selecting the right printing method is key to turning your digital illustration into a high-quality print. Each printing type affects the colors, texture, and durability of your artwork. Knowing the differences helps you choose the best option for your project.
Consider your budget, the type of paper, and the final use of the print. Some methods work better for small runs, others for large volumes. Understanding these options can save you time and money.
Inkjet Vs. Laser Printing
Inkjet printers spray tiny droplets of ink onto paper. They produce rich colors and smooth gradients. Inkjet is great for detailed and colorful illustrations. It works well on various paper types.
Laser printers use toner and heat to print images. They print faster than inkjets and are good for text or simple graphics. Laser prints may not capture color depth as well as inkjets. They are often used for office documents, not fine art prints.
Giclée Printing Benefits
Giclée printing uses high-quality inkjet technology with archival inks. It creates vibrant, long-lasting prints with fine details. This method is ideal for art prints and reproductions.
Giclée prints resist fading and can last for decades if cared for properly. They are perfect for artists who want museum-quality prints. Choosing giclée ensures your digital illustration keeps its original beauty on paper.
Choosing Paper And Materials
Choosing the right paper and materials is vital for digital illustrations intended for print. The paper affects the final look, feel, and quality of your artwork. Picking suitable materials helps your print stand out and last longer. Understanding paper types and their textures guides you in making the best choice for your project.
Paper Types And Textures
Paper comes in many types, such as matte, glossy, and textured. Matte paper offers a smooth surface with no shine. Glossy paper adds brightness and sharpness to colors. Textured paper has a rough or patterned surface, adding depth and character to your print.
Choosing the right texture depends on your illustration style. Smooth papers work well for detailed and clean artwork. Textured papers suit painterly or sketch-like images. Consider the paper weight too; heavier papers feel more premium and durable.
Impact On Color And Finish
Paper affects how colors appear in print. Glossy papers make colors vibrant and rich. Matte papers give a softer, muted look to colors. Textured papers may absorb ink differently, changing color intensity.
Finish also influences the artwork’s durability. Glossy finishes resist moisture and fingerprints. Matte finishes reduce glare and reflections. Select a finish that complements your illustration and intended display environment.
Proofing And Test Prints
Proofing and test prints are key steps in preparing digital illustrations for print. They help you see how colors and details will appear on the final paper. This process reduces surprises and ensures your artwork looks its best in print.
Proofing involves checking colors on screen and making small adjustments. Test prints show how your digital file translates to physical media. Both steps save time and money by catching errors early.
Soft Proofing On Screen
Soft proofing lets you preview your illustration with printer colors on your monitor. Use software like Photoshop or Illustrator for this. Switch your color profile from RGB to CMYK to match print conditions.
Adjust brightness and contrast to avoid dull or dark prints. Soft proofing highlights color shifts and helps you fix them before printing. This step gives a closer idea of final results without wasting paper.
Physical Test Prints
Physical test prints provide real samples of your digital illustration on paper. Print small sections or a scaled-down version first. Check for color accuracy, sharpness, and detail clarity.
Use the same printer and paper type planned for the final print. Compare the test print with your screen to spot differences. Make adjustments in your file based on these results for the best output.
Digitizing Traditional Artwork
Digitizing traditional artwork is the first step to creating high-quality digital illustrations for print. This process converts your physical art into a digital file. You can then edit, enhance, and prepare it for printing. Choosing the right digitizing method affects the final print quality.
Two common ways to digitize artwork are using flatbed scanners and photographing the art. Each method suits different art sizes and styles. Understanding these options helps you get the best digital version of your work.
Using Flatbed Scanners
Flatbed scanners capture artwork by scanning it directly. They work best for small to medium-sized pieces. Place your artwork face down on the glass surface. Set the scanner to a high resolution, usually 300 to 600 dpi. Higher dpi keeps details sharp for printing.
Scanners produce clean, even lighting with no shadows. This makes the colors look accurate and true to the original. Save the scanned image in a lossless format like TIFF or PNG. These formats keep the quality intact during editing.
Photographing For Digital Editing
Photographing artwork suits larger pieces or those with texture. Use a good camera with manual settings. Place the artwork in a well-lit area with natural or soft light. Avoid harsh shadows and reflections on the surface.
Keep the camera parallel to the artwork to prevent distortion. Use a tripod to keep the camera steady. Shoot at the highest resolution your camera allows. Transfer the images to your computer for editing.
Editing software can correct color and perspective. Crop the image tightly to the edges of your art. Save the file in a high-quality format for printing. This method works well for paintings, drawings, and mixed media pieces.
Common Printing Challenges
Printing digital illustrations can be tricky. Several challenges may affect the final printed image. Knowing these common issues helps you prepare better files and avoid surprises. Below are two key printing challenges and ways to handle them.
Color Shifts And Corrections
Colors on screen often look different when printed. Screens use RGB color mode. Printers use CMYK color mode. This difference causes color shifts in the final print.
Bright blues or greens may appear dull or different. Reds might lose their intensity. To reduce this problem, convert your artwork to CMYK before printing. Use color profiles that match your printer’s settings. Softwares like Photoshop offer CMYK previews to check colors.
Test prints are important. Print small samples to see color changes. Adjust colors based on these tests. Avoid pure blacks by mixing dark colors for richer prints.
Handling Print Bleeds And Margins
Print bleeds are areas that extend beyond the trim edge. They prevent white borders from showing on the edges after cutting. Without bleeds, minor cutting errors can ruin your work.
Add a bleed area of at least 0.125 inches around your artwork. Keep important details inside the safe margin. This margin is inside the trim line and ensures nothing important gets cut off.
Set your file with correct dimensions including bleed and margin guides. Follow your printer’s bleed and margin requirements. This step protects your illustration and ensures a professional finish.
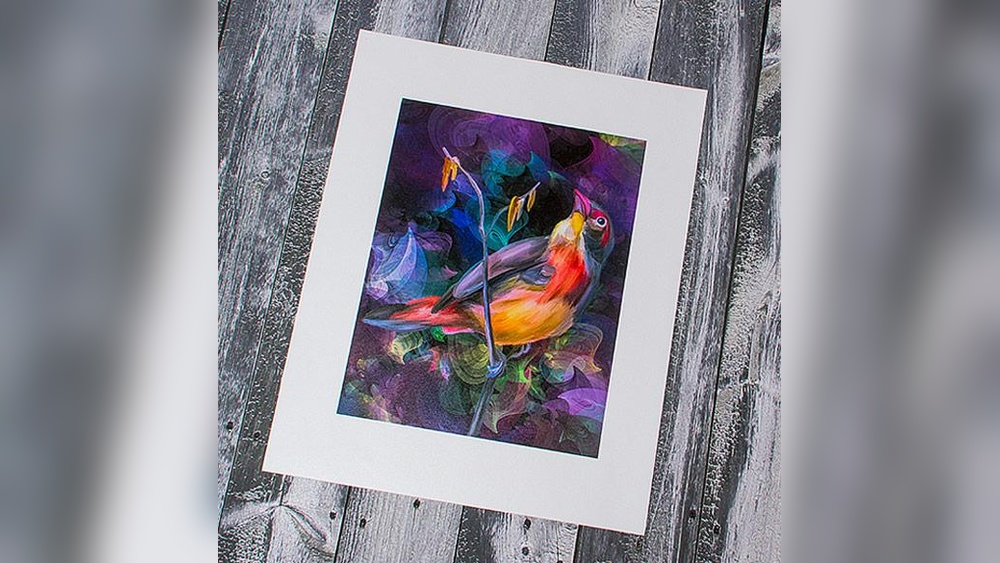
Credit: www.etsy.com
Final Touches For Print
Finalizing your digital illustration for print requires careful attention. This step ensures your artwork looks professional and prints correctly. Small details can affect print quality and presentation. Preparing your file properly saves time and frustration at the print shop.
Adding Bleed Areas
Bleed is extra space around your artwork. Printers cut slightly outside the final size to avoid white edges. Add at least 0.125 inches (3mm) of bleed on all sides. Extend background colors and images into this area. Keep important elements away from the bleed zone. This prevents accidental cropping of key parts.
Embedding Fonts And Metadata
Embedding fonts in your file ensures text appears as designed. Without embedding, fonts may change or disappear on other computers. Save your file as a PDF with fonts embedded. Include metadata like your name, artwork title, and copyright. Metadata helps identify your work and protects your rights. It also assists printers with file management.
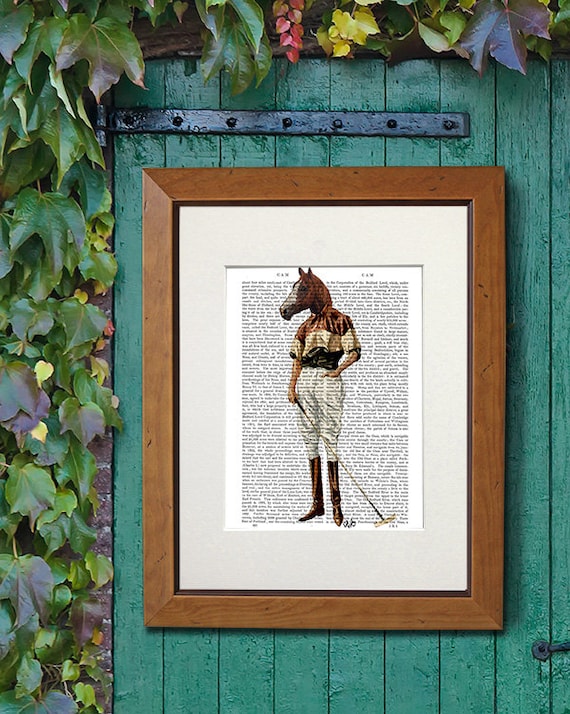
Credit: www.etsy.com
Frequently Asked Questions
How To Prepare Digital Art For Print?
Prepare digital art for print by setting the color mode to CMYK and using a high resolution of 300 dpi. Save files in TIFF or PDF format for best quality. Avoid JPEGs to prevent compression loss. Check dimensions match print size and embed fonts if needed.
What Is The 70 30 Rule In Drawing?
The 70 30 rule in drawing suggests allocating 70% of your effort to observation and 30% to execution. This balance improves accuracy and creativity in artwork.
How Do Illustrations Get Digitized For Printing?
Illustrations get digitized for printing by scanning or photographing artwork at high resolution. Then, files convert to CMYK color mode for accurate print colors. Finally, artists adjust dpi and file format to ensure sharp, vibrant prints.
How To Turn A Painting Into A Digital Print?
Scan or photograph the painting in high resolution. Edit the image digitally, convert to CMYK color mode, then print using quality materials.
Conclusion
Painting digital illustrations for print blends creativity with technical care. Choose the right resolution and color profile to ensure quality. Keep your files in suitable formats, like TIFF or PNG, to avoid loss. Use layers and clean lines to maintain sharpness when printed.
Test small prints before final runs to catch issues early. Follow these simple steps to bring your digital art to life on paper. Practice often, and your prints will look clear and vibrant every time.