
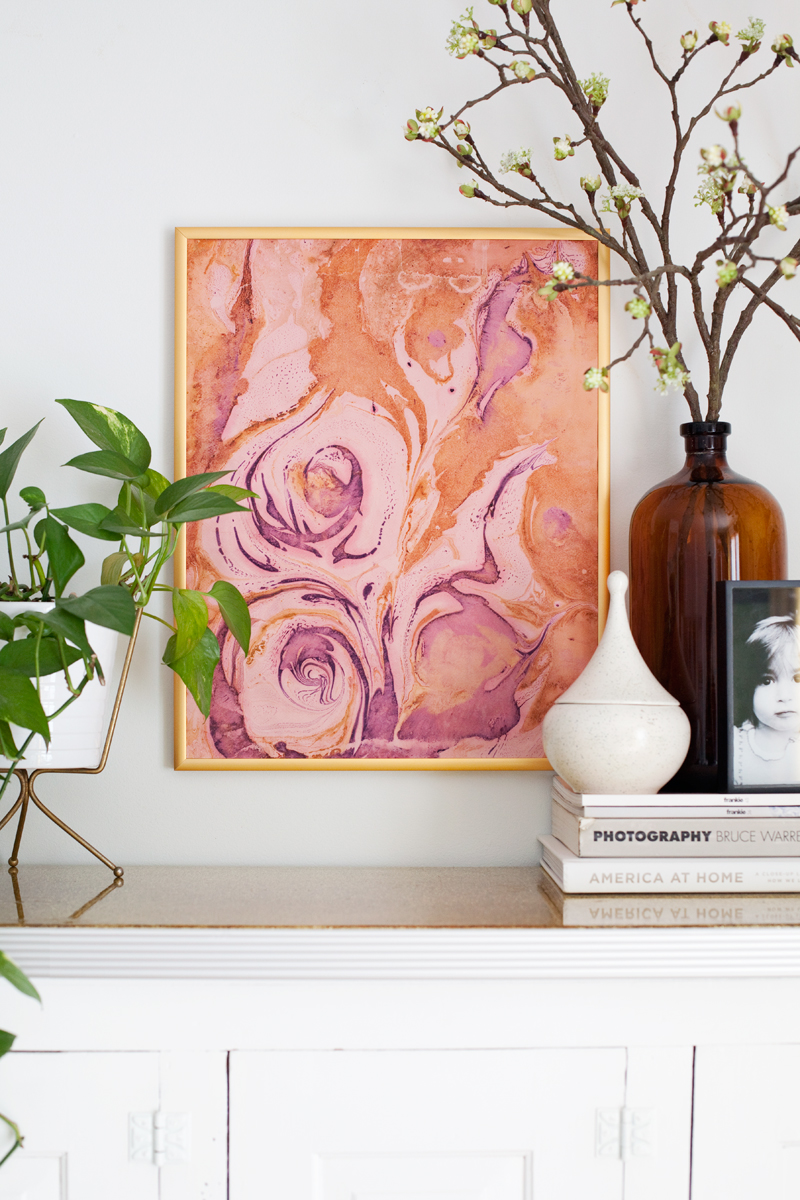
Have you ever admired the swirling, colorful patterns of marbled paper and wished you could create your own at home? Imagine transforming simple sheets into stunning works of art that add a unique touch to your crafts, gifts, or home decor.
You don’t need fancy tools or expensive materials—just a few household items and a little creativity. In this guide, you’ll discover easy, step-by-step methods to make beautiful DIY marbled paper right in your own kitchen. Ready to bring vibrant, flowing designs to your paper projects?
Let’s dive in and unlock the secrets to marbling magic you’ll be proud to show off.
Materials Needed
To create beautiful DIY marbled paper at home, gathering the right materials is key. Having the correct supplies ensures the process runs smoothly and your designs turn out vibrant and unique. Below is a simple list of what you need to start your marbling project with confidence.
Essential Supplies
- Shallow tray or container large enough for your paper
- Water to fill the tray
- Marbling inks or liquid watercolors
- Paper suitable for marbling, like watercolor or thick paper
- Alum powder for treating paper (optional but recommended)
- Droppers or brushes to apply the ink on water
- Skewer or toothpick to swirl the colors on the water surface
- Paper towels or cloth for drying the paper
Optional Tools
- Rubber gloves to keep hands clean
- A spray bottle with water for misting inks
- Plastic spoons or sticks for mixing colors
- Apron or old clothes to protect against stains
- Protective table cover like newspaper or plastic sheet
- Hairdryer to speed up drying time
- Palette or small containers to hold inks
Basic Techniques
Creating marbled paper at home is easier than it seems. The basic techniques rely on simple materials you can find around the house. Each method offers unique patterns and effects. These easy steps help you explore the art of marbling without special tools.
Experimenting with different techniques can bring out your creativity. Start with these basic methods and enjoy the process of making beautiful designs on paper.
Water Marbling
Water marbling uses a shallow tray filled with water. Drop watercolor paints or inks gently on the surface. The colors float and spread out naturally. Use a toothpick or skewer to swirl the colors into patterns. Carefully lay a sheet of paper on top to capture the design. Lift the paper slowly and let it dry. This technique creates smooth, flowing patterns with soft edges.
Shaving Cream Method
The shaving cream method is fun and easy for beginners. Spread a thick layer of shaving cream on a flat tray. Add drops of liquid food coloring or paint on top. Use a stick to swirl the colors into interesting shapes. Press a piece of paper gently on the cream surface. Lift it and scrape off the shaving cream with a ruler or card. The paper will show a bright, marbled pattern. Let it dry before use.
Oil And Food Coloring
This method uses oil to separate colors on water. Fill a tray with water and add a few drops of food coloring. Then, add small drops of vegetable oil or baby oil. The oil pushes the colors apart, creating unique shapes. Dip a piece of paper into the water surface to pick up the pattern. Remove the paper and allow it to dry fully. This technique gives bold, vibrant marbled effects.
Preparing The Paper
Preparing the paper is a key step in creating beautiful marbled designs. Proper preparation ensures the colors spread evenly and stick well. This process affects the final look and durability of your marbled paper. Two main points to focus on are selecting the right paper type and treating it with mordants. Both help the paint interact with the surface perfectly.
Choosing Paper Types
Pick paper that absorbs water but stays strong when wet. Watercolor paper works great because it is thick and durable. You can also try heavyweight drawing paper or printmaking paper. Avoid thin papers that tear easily or curl after wetting.
Paper with a smooth surface gives clearer marbling patterns. Rough textures may blur the design. Test a small sheet first to see how colors behave. A good paper holds the paint without soaking it all away.
Using Mordants
Mordants help paint stick to paper better. Alum is a popular mordant used in marbling. It creates a slight coating that holds the pigments. Dissolve alum in water and soak your paper for about 5 minutes.
After soaking, dry the paper flat and keep it smooth. Mordanted paper produces sharper and more vibrant marbled patterns. Skip this step for a softer, more blended look. Experiment with mordants to find your favorite effect.
Creating Marbled Patterns
Creating marbled patterns is the exciting part of making DIY marbled paper. This step lets you play with colors and shapes on water or a thickened surface. You can create unique designs by controlling how the colors spread and mix. Each pattern is different, making every sheet special and beautiful.
To get the best patterns, you need to understand how to drop colors, use tools to shape them, and layer effects. These techniques work together to form stunning marbled paper art.
Dropping Colors
Start by gently dropping paint or ink onto the water surface. Use a brush or dropper for this. The colors will float and spread slowly. Drop the colors close or far apart to change the pattern. Try using different colors to see how they blend or stay separate.
Using Stylus Or Toothpick
After dropping colors, use a stylus or toothpick to shape the paint. Drag the tool through the floating colors to create swirls, waves, or lines. You can make circles, zigzags, or feather-like effects. Move the tool softly to keep the colors from mixing too much.
Layering Effects
Create depth by layering colors on top of each other. Drop one color, shape it, then add another layer of color. Each layer adds new textures and complexity. Wait a few seconds between layers to let the paint settle. This technique helps produce rich and detailed marbled patterns.
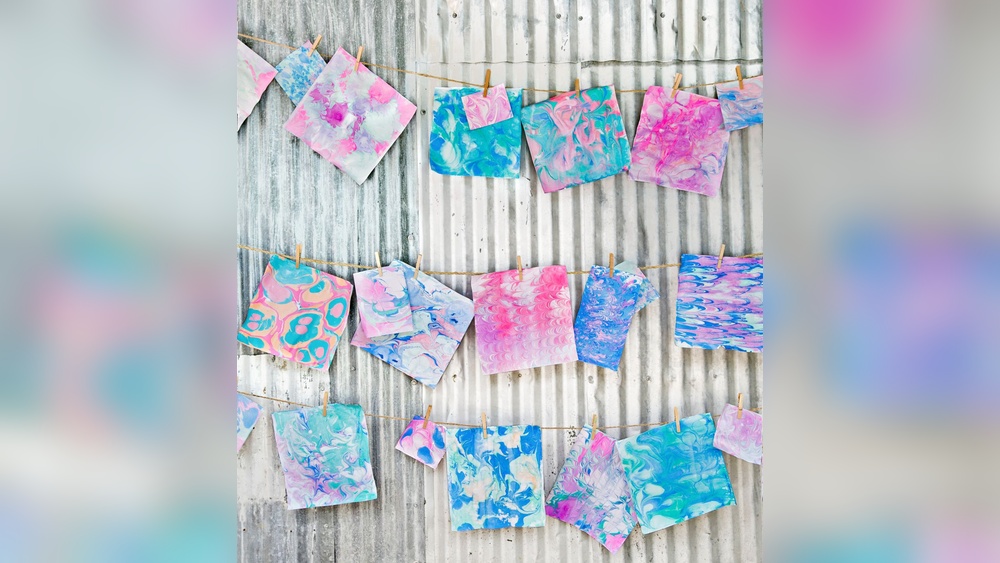
Drying And Finishing
Drying and finishing are essential steps in creating beautiful DIY marbled paper at home. Proper drying preserves the delicate patterns and prevents smudging. Finishing protects the artwork and enhances its appearance for longer use. Taking care during these steps ensures your marbled paper looks vibrant and lasts well.
Proper Drying Techniques
After transferring the marbled design onto paper, lay it flat on a clean surface. Use a non-absorbent material like wax paper or plastic to avoid sticking. Keep the paper away from direct sunlight or heat sources. Allow it to dry naturally for several hours or overnight. Avoid touching the surface until fully dry to prevent smears. Using a fan can help speed up drying without causing damage.
Sealing The Design
Once dry, sealing your marbled paper protects the colors and design. Choose a clear, matte spray sealer or acrylic varnish. Hold the spray can about 12 inches away from the paper. Apply a light, even coat to avoid pooling or streaks. Let the first coat dry completely before applying a second. Sealing also adds durability, making the paper suitable for framing or crafting projects. Store sealed paper in a flat, dry place to maintain quality.
Credit: persialou.com
Creative Variations
Creative variations in DIY marbled paper add fun and uniqueness to each project. Experimenting with different materials and techniques changes the look and feel of the marbled patterns. These variations let you explore colors, textures, and shapes beyond basic methods.
Natural Dye Marbling
Natural dyes come from plants, fruits, and vegetables. They give soft, earthy colors to marbled paper. Use beet juice, turmeric, or spinach juice as your dye source. These dyes create gentle blends and subtle patterns. Natural dye marbling is eco-friendly and safe for kids.
Acrylic Paint Marbling
Acrylic paints offer bright, bold colors for marbling. Dilute them with water for easy spreading on the water surface. Acrylic paint dries faster and stays vibrant on paper. You can layer multiple colors to get rich, textured effects. Use a toothpick to swirl colors into unique designs.
Using Different Tools
Tools like combs, sticks, or brushes change marbling shapes. Drag a comb through colors for striped patterns. Use a thin stick to create delicate swirls and loops. Brushes help spread colors smoothly for soft blends. Try different tools to find your favorite marbling style.
Troubleshooting Tips
Troubleshooting is key to successful DIY marbled paper. Small errors can change your design. Knowing how to fix issues saves time and materials.
Common problems include uneven colors, blotches, or paper sticking to the tray. Many mistakes are easy to correct. This section guides you through fixing typical marbling problems.
Common Mistakes
One mistake is using thick paint that sinks instead of floating. Thin your paint with water for better spread. Another error is stirring the colors too much. This creates muddy patterns instead of clear swirls.
Not preparing the paper properly causes poor color absorption. Use thick, absorbent paper for best results. Skipping the sizing step can make colors run after drying. Always apply a sizing agent to help colors stay sharp.
Fixing Color Bleeds
Colors bleeding into each other ruins marbling details. To stop this, reduce paint water content. Less watery paint stays where you drop it. You can also add a fixative spray after drying. This seals colors and prevents smudging.
If bleeding happens during the process, gently blot the paper with a clean cloth. Avoid rubbing, which spreads colors more. Practice layering colors lightly to avoid heavy blending. Controlled drops create clearer, sharper patterns.
:strip_icc()/creating-blue-green-pink-marble-paper-7M3uJrytq3b9AsyF-j0AEq-f24cc6290d4a41e2bbdae037b64cd7ca.jpg)
Credit: www.bhg.com
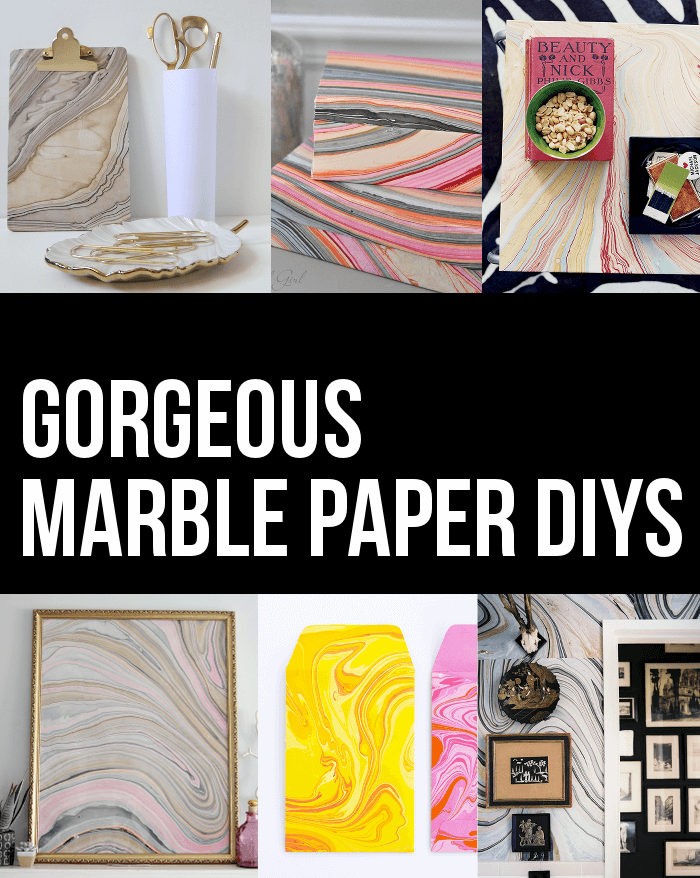
Project Ideas
DIY marbled paper offers endless ways to add color and style to everyday items. This unique craft transforms plain objects into beautiful, artistic creations. Using your homemade marbled paper can brighten up many projects around your home.
Here are some simple and creative project ideas that make great use of your marbled paper sheets.
Greeting Cards
Create one-of-a-kind greeting cards with marbled paper as the background. Cut the paper to card size and fold it. Add a simple message or a stamped design on top. These cards look special and personal. Perfect for birthdays, holidays, or thank you notes.
Book Covers
Cover your notebooks or journals with marbled paper to give them a fresh look. Cut the paper to fit the book’s size and glue it on. This adds a splash of color and protects the cover. It makes your books stand out on the shelf.
Gift Wrap
Use marbled paper as unique gift wrap for small presents. Wrap boxes or tie around bottles for a creative touch. This wrapping style shows you put thought into the gift. It is a fun way to reuse your marbled sheets.
Credit: abeautifulmess.com
Frequently Asked Questions
What Materials Do I Need For Diy Marbled Paper?
You need shaving cream, food coloring or inks, a tray, toothpicks, and thick paper. These basic materials are easy to find and affordable for home projects.
How Do I Create Marbled Patterns On Paper?
Spread shaving cream on a tray, add drops of color, swirl with a toothpick, then press paper on top. Lift and scrape off excess cream for a marbled effect.
Can I Use Any Type Of Paper For Marbling?
Thicker paper like watercolor or cardstock works best. Thin paper may tear or warp when absorbing colors and moisture during marbling.
How Long Does The Marbled Paper Take To Dry?
Drying usually takes 1 to 2 hours depending on humidity and paper thickness. Lay the paper flat in a well-ventilated area for best results.
Conclusion
Creating marbled paper at home is fun and simple. You only need a few basic supplies. Try different colors and patterns to make unique designs. Practice helps you improve your technique. Use your marbled paper for cards, gifts, or decorations.
Enjoy the creative process and the beautiful results. Start your DIY marbling project today and explore your artistic side!


