

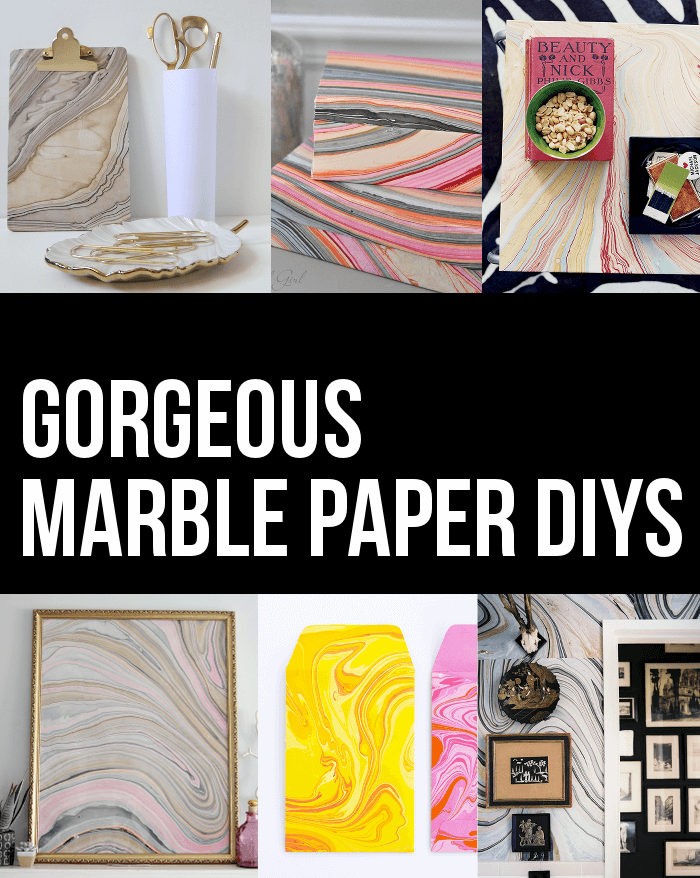
Have you ever wanted to create stunning, one-of-a-kind marbled paper right in your own home? You’re about to discover how simple and fun it can be to transform plain paper into beautiful swirls of color and design.
Whether you’re looking to add a personal touch to your crafts, stationery, or gifts, DIY marbled paper is a creative skill that anyone can master. Keep reading, and you’ll learn easy steps and tips that will help you create vibrant, eye-catching patterns with just a few household supplies.
Get ready to impress yourself and others with your handmade marbled masterpieces!
Credit: persialou.com
Materials Needed
Before starting your DIY marbled paper project, gather all necessary materials. Having the right supplies ensures a smooth and enjoyable creative process. This list covers the basics and some optional tools to enhance your marbling experience. Also, selecting the right paper is key to achieving vibrant, lasting results.
Basic Supplies
- Shallow tray or basin to hold water
- Water
- Liquid acrylic paints or marbling inks
- Alum (mordant) to prepare the paper
- Paintbrushes or droppers for applying paint
- Paper towels or rags for cleanup
Optional Tools
- Toothpicks or skewers for swirling paint
- Combs with wide teeth for creating patterns
- Rubber gloves to keep hands clean
- Apron or old clothes to protect your outfit
- Plastic or newspaper to cover your workspace
Choosing The Right Paper
Use thick, absorbent paper for best results. Watercolor paper works great. Avoid thin paper that tears easily or warps.
Test small sheets first to see how the paint spreads. Smooth papers show clear patterns, while textured papers add depth.
Preparing The Workspace
Preparing your workspace is the first step in creating beautiful DIY marbled paper at home. A well-organized and safe area helps you focus on your art without interruptions. It also protects your furniture and keeps your materials within easy reach. Follow these tips to set up your workspace properly.
Setting Up Safely
Choose a room with good ventilation. Some marbling inks and paints may have strong smells. Wear old clothes or an apron to avoid stains. Keep a bowl of water nearby for quick cleanup. Avoid eating or drinking near your workspace to prevent spills. Keep children and pets away from the area during your project.
Protecting Surfaces
Cover your table with plastic sheets or newspapers. Use a large tray or baking sheet to catch drips. Lay down extra paper towels for quick spills. Protect floors with cardboard or an old cloth. Make sure your surface is flat and stable. This prevents accidents and keeps your area clean.
Organizing Materials
Gather all supplies before you start. Place paints, inks, brushes, and paper in easy reach. Use small containers for mixing colors. Arrange tools in order of use to save time. Keep a trash bin nearby for waste. Having everything organized helps your process run smoothly.
Mixing The Marbling Base
Mixing the marbling base is the first key step in creating beautiful marbled paper at home. This base acts as the medium where colors float and swirl to create unique patterns. A well-prepared base helps the colors spread evenly and stay vibrant. Simple ingredients like water and thickening agents work together to form this marbling bath. Follow easy steps to mix it perfectly for your DIY project.
Water And Thickening Agents
Start with clean, room-temperature water. The water should fill a shallow tray or basin. Next, add a thickening agent to help colors float on the surface. Common thickening agents include carrageenan, methylcellulose, or even guar gum. Use about one teaspoon per cup of water for the best texture.
Mix the thickening agent slowly into the water. Stir gently to avoid bubbles. Let the mixture rest for at least 30 minutes. This resting time allows the thickener to fully dissolve and thicken the water. The result is a smooth, gel-like base ready for marbling colors.
Creating The Marbling Bath
Pour the thickened water into your marbling tray. The layer should be about one inch deep. This depth lets colors float and spread easily. Before adding colors, test the base by dropping a few paint drops. They should float and spread without sinking.
Adjust thickness if needed. Add more thickener for a firmer base or more water for a thinner one. Once perfect, you can start applying your marbling paints. This marbling bath will give your paper a beautiful, flowing design.
Applying Colors
Applying colors is the heart of DIY marbled paper. This step brings your paper to life with vibrant and flowing patterns. The way you add colors impacts the final design deeply. Choose your colors carefully and apply them with precision to create stunning effects. Experiment with different paints and techniques to find what works best for you.
Selecting Paints And Inks
Use water-based paints or inks for easy spreading on the water surface. Acrylic paints work well when thinned with water. Avoid oil-based paints as they do not float properly. Choose bright colors for bold designs or soft shades for subtle looks. Test your paints first to see how they behave on water. Quality matters, but simple craft paints can also create beautiful results.
Techniques For Dropping Color
Drop the paint gently onto the water surface using brushes or eyedroppers. Start with small drops to control the pattern size. Let the paint spread naturally or add more drops to build layers. Avoid overloading the water with paint; it can cause colors to mix into mud. Tap or blow lightly on the surface to move the colors and create waves. Each drop adds a unique touch to your marbled paper.
Using Tools To Create Patterns
Use combs, sticks, or toothpicks to swirl and shape the colors. Drag tools slowly across the paint to form lines and curves. Try dragging in different directions to make complex patterns. Experiment with dots, spirals, or feather shapes for variety. Be gentle to avoid mixing colors too much. Tools help you add a personal touch and control the flow of colors.
Transferring Patterns To Paper
Transferring patterns to paper is a crucial step in DIY marbled paper. This process captures the unique swirls and designs on your paper. Proper technique ensures clear, vibrant patterns that last. Below are important tips for laying the paper, timing the transfer, and drying your marbled paper.
Laying Paper On The Surface
Gently place your paper flat on the water or marbling tray. Avoid air bubbles to keep patterns sharp. Start from one edge and slowly lower the paper. This helps the design stick evenly. Use smooth, steady movements to prevent smudging.
Timing For Best Results
Let the paper sit on the surface for 10 to 20 seconds. This allows the colors to fully transfer. Too little time results in faint patterns. Too long can cause colors to blend or blur. Watch the paper closely to catch the perfect moment.
Lifting And Drying
Lift the paper carefully from one corner to avoid tearing. Hold it above the tray to let excess water drip off. Lay the paper flat on a clean surface to dry. Use a drying rack or hang it up to avoid wrinkles. Let it dry completely before touching or folding.
:strip_icc()/creating-blue-green-pink-marble-paper-7M3uJrytq3b9AsyF-j0AEq-f24cc6290d4a41e2bbdae037b64cd7ca.jpg)
Credit: www.bhg.com
Alternative Marbling Methods
Exploring alternative marbling methods opens new creative paths for DIY marbled paper. These techniques use simple materials you may already have at home. Each method offers unique textures and effects. Trying different methods helps find your favorite style.
Shaving Cream Technique
Spread a layer of shaving cream on a flat tray. Drip liquid food coloring or paint on the cream’s surface. Use a toothpick to swirl colors gently. Press a sheet of paper onto the cream. Lift the paper and scrape off the excess cream. Let the paper dry completely. This method creates soft, cloudy patterns that look delicate.
Oil And Food Coloring Method
Fill a shallow dish with water. Add drops of food coloring on the water surface. Pour a small amount of vegetable oil over the colors. The oil causes the colors to spread and mix. Gently lay a paper sheet on top to pick up the pattern. Remove the paper and let it dry. This method gives a natural, flowing marbled look.
Acrylic Paint Marbling
Fill a container with water. Thin acrylic paints with water to make them flow easily. Drop different paint colors on the water surface. Use a stick to swirl the colors softly. Place the paper on the water to transfer the design. Lift the paper carefully and dry it flat. Acrylic paint marbling yields bold, vibrant patterns with clear color separation.
Troubleshooting Common Issues
Creating marbled paper at home can bring some unexpected challenges. These common issues might slow down your process. Knowing how to fix them saves time and frustration. Below are solutions to frequent problems faced during DIY paper marbling.
Colors Not Spreading
Colors may stay clumped or fail to spread on water. Check the water surface tension. Use a surfactant like liquid soap or marbling size to help colors flow. Avoid using too thick or old paint. Stir paint gently before dropping it on water. Try dropping paint from a higher point for better spread.
Blurry Patterns
Blurry patterns happen when colors mix too much. Work quickly to avoid over-blending. Use less paint to keep designs clear. Let colors float on water for a few seconds before adding paper. Use a toothpick or skewer to create sharp lines and shapes. Avoid disturbing the water once the pattern forms.
Paper Tearing Or Wrinkling
Paper tears or wrinkles if it is too thin or wet. Use thicker, absorbent paper made for marbling. Lay paper flat on a clean surface after pulling it from water. Blot gently with a towel to remove excess water. Avoid dragging or folding paper while wet. Dry paper between clean sheets under weight to prevent curls.
Credit: abeautifulmess.com
Creative Uses For Marbled Paper
Marbled paper offers endless creative possibilities. Its unique patterns add charm and color to simple items. Using marbled paper can transform everyday objects into artful pieces. Explore these creative ideas to enjoy your DIY marbled paper fully.
Craft Projects
Marbled paper works great for card making. Use it as a background for handmade greeting cards. It also brightens up scrapbooks with its vivid swirls. Try cutting shapes from the paper to create collages. Handmade bookmarks with marbled patterns make lovely gifts too. The paper adds a special touch to journals and notebooks. Simple craft projects become more eye-catching with marbled paper.
Gift Wrapping
Wrap small gifts with marbled paper to impress loved ones. The unique designs make every present stand out. Use the paper as decorative tags or ribbons. You can also fold it into envelopes for gift cards. The marbled patterns bring elegance to simple packages. Reuse leftover marbled paper to make bows or gift toppers. Gift wrapping becomes a creative act with this colorful paper.
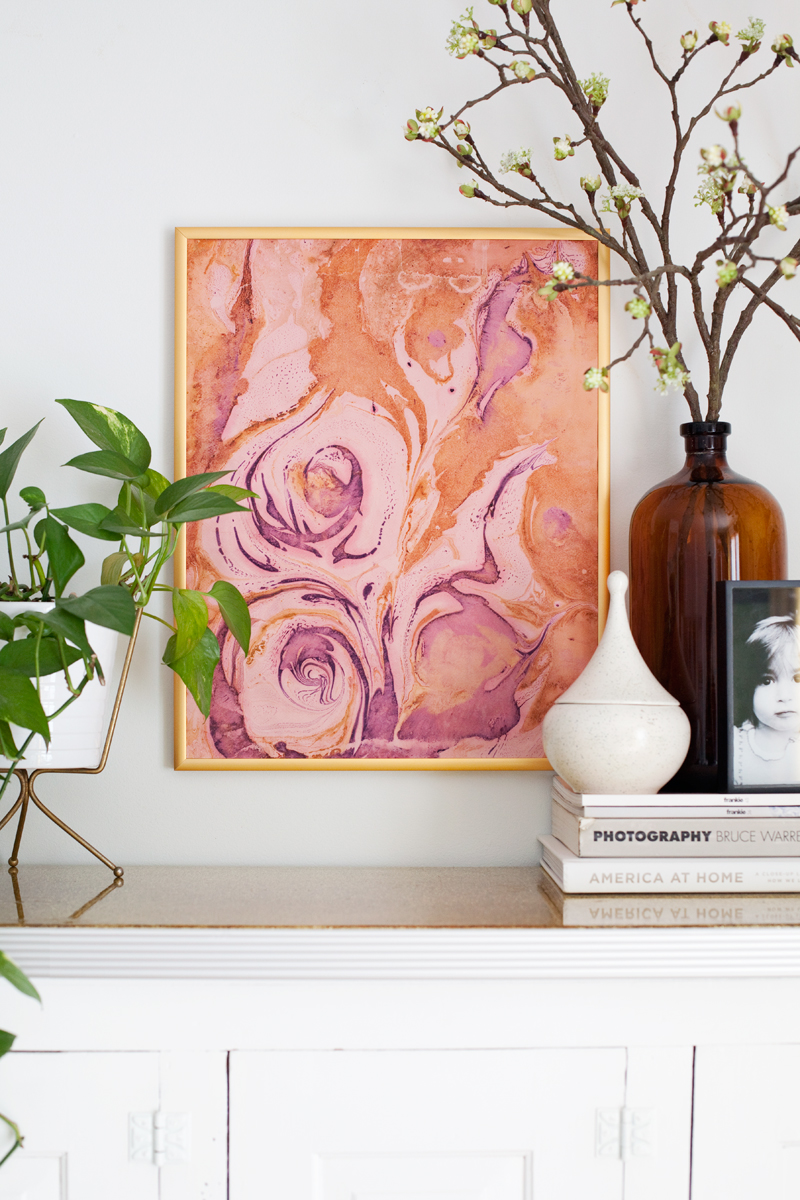
Home Decor Ideas
Marbled paper can brighten your home easily. Frame a sheet for instant wall art. Cover plain lampshades to add a splash of color. Use it to line drawers or shelves for a fun surprise. Create decorative boxes or trays with marbled paper. The patterns work well for making coasters too. Small touches of marbled paper refresh any room’s look.
Tips For Enhancing Your Designs
Enhancing your DIY marbled paper designs adds beauty and uniqueness to your art. Small changes can create big effects. Simple tips help you explore new styles and improve your results. Try these ideas to make your marbled paper more vibrant and interesting.
Experimenting With Color Combinations
Choose colors that contrast well to make patterns pop. Mix bright and soft shades for depth. Use more than two colors to create complex effects. Test different color mixes on scrap paper first. Remember, some colors blend smoothly, while others stay sharp. Play with warm and cool tones to see which suits your style.
Layering Patterns
Layering patterns adds texture and detail. Start with a simple base design. Let it dry completely before adding another layer. Use different tools like combs or brushes to create new shapes. Overlapping patterns create a rich, dynamic look. Change the angle or pressure for varied results. Layering takes patience but produces stunning effects.
Preserving Finished Art
Preserve your marbled paper to keep colors bright. Let the paper dry flat to avoid wrinkles. Use a fixative spray to protect the surface from smudging. Store papers in a dry, cool place away from sunlight. Frame or laminate your artwork for long-lasting display. Handling with clean hands prevents oils from damaging the design.
Frequently Asked Questions
What Materials Do I Need For Diy Marbled Paper?
You need water, shaving cream or oil, food coloring or inks, paper, and tools like toothpicks. These basic supplies help create vibrant marbled patterns at home easily.
How Long Does It Take To Make Marbled Paper?
Creating marbled paper usually takes 20 to 40 minutes. Preparation, coloring, pattern creation, and drying time all factor into the total duration.
Can Beginners Easily Learn Paper Marbling At Home?
Yes, paper marbling is beginner-friendly with simple techniques and household materials. Practice helps improve patterns and designs over time.
Which Papers Work Best For Marbling?
Use absorbent papers like watercolor or thick craft paper. These hold colors better and prevent ink from bleeding or smudging.
Conclusion
Creating DIY marbled paper at home is fun and simple. You only need a few basic materials. Experiment with colors and patterns to find your style. Each sheet becomes a unique piece of art. Try different techniques to see what works best.
Enjoy the process and let your creativity flow. This craft adds a special touch to cards, gifts, and decorations. Keep practicing, and your designs will improve over time. Marbling paper is a relaxing and rewarding hobby anyone can try. Start today and make beautiful marbled paper your way.


