
Ready to add a burst of color and creativity to your space? DIY splatter paint art projects are perfect for you, whether you’re a beginner or looking for a fun, stress-free way to express yourself.
This simple technique lets you create unique, eye-catching designs with just a few supplies and a bit of playful energy. Imagine turning a blank canvas into a vibrant masterpiece that’s all your own. Keep reading, and you’ll discover easy steps, helpful tips, and creative ideas to make your splatter paint art project a stunning success!

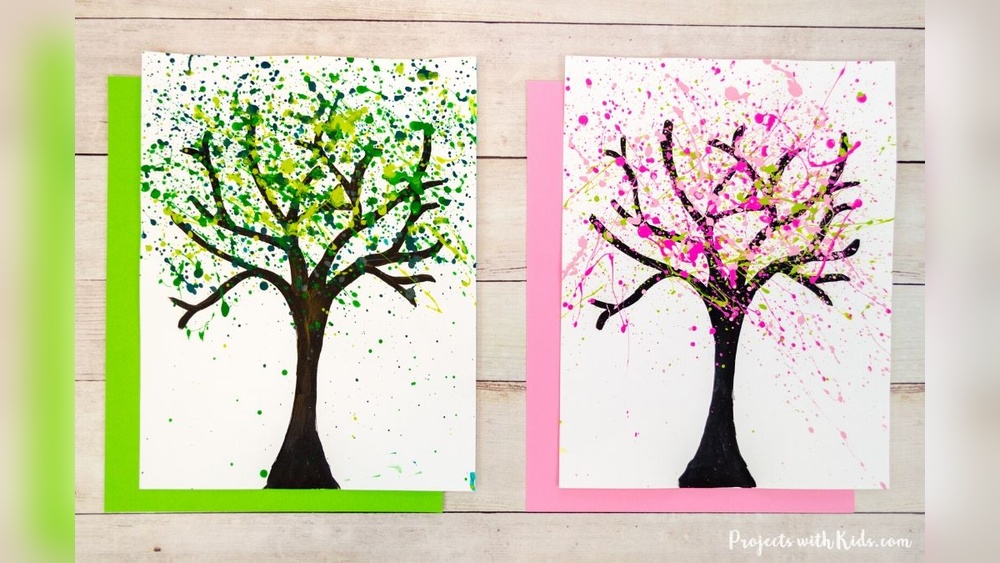
Credit: www.wikihow.com
Materials Needed
Starting a DIY splatter paint art project requires gathering the right materials. Having the correct supplies makes the process smoother and more enjoyable. This section explains the key items you need before you begin.
Choosing The Right Paint
Acrylic paint works best for splatter art. It dries fast and offers bright colors. Avoid thick paints that do not splatter well. Thin your paint slightly with water for better splatter effects. Select colors that contrast nicely for a vibrant look.
Selecting Brushes And Tools
Use different brushes for varied splatter styles. Stiff-bristled brushes like toothbrushes create fine splatters. Larger brushes throw bigger drops and splashes. Try tools like sponges or sticks to add texture. Have a range of sizes ready for creative freedom.
Preparing Your Workspace
Protect surfaces with newspapers or plastic sheets. Choose a well-ventilated area for drying. Wear old clothes or aprons to avoid stains. Keep water and paper towels nearby for quick clean-ups. Arrange your paints and tools within easy reach.
Preparing The Canvas
Preparing the canvas is the first step in your DIY splatter paint art project. A well-prepared surface helps paint stick better and shows colors clearly. Taking time here makes your artwork last longer and look more vibrant.
Keep the canvas clean and dry before starting. This avoids any dirt or oils that can block paint from adhering. A smooth, even surface also helps the paint splatters spread naturally.
Choosing Canvas Size
Pick a canvas size that fits your space and project goal. Small canvases work well for quick, detailed splatter art. Large canvases give you more room to splash paint freely.
Think about where you will display the art. Match the size to that spot. Also, consider how much paint you want to use. Bigger canvases need more paint but offer bold results.
Priming The Surface
Priming the canvas makes the paint stick better and prevents it from soaking in. Use a white or clear gesso primer. Spread it evenly with a brush or roller.
Let the primer dry fully before you start splattering paint. This creates a smooth, sealed surface. It also brightens the colors and helps paint spread evenly.
Basic Splatter Techniques
Splatter paint art uses simple motions to create exciting patterns. These basic techniques help you control paint splatters easily. You can create small dots or big splashes with different tools and methods.
Experiment with these techniques to find your unique style. Protect your workspace well. Splatter painting can get messy but fun!
Using A Brush For Splatter
Dip a paintbrush lightly into the paint. Avoid soaking the brush too much. Hold the brush over your canvas or paper.
Tap the handle gently against your other hand or finger. This action flicks paint onto the surface. Change the tapping strength to vary splatter size. Move the brush closer or farther for different effects.
You can also shake the brush quickly for random splatters. This method works well with fluid paints like acrylic or watercolor.
Toothbrush Flick Method
Dip a toothbrush in paint but do not overload it. Hold the toothbrush near the canvas. Use your thumb to pull back the bristles.
Release the bristles to flick paint onto the surface. This creates fine, mist-like splatters. Adjust the pressure for larger or smaller dots.
This technique is great for detailed splatter effects. It is easy to control and creates a textured look.
Alternative Tools For Splattering
Try different tools to get unique splatter patterns. Use items like sponges, sticks, or straws. Dip them in paint and flick or tap them.
Old toothbrushes, paint rollers, and even balloons can work. Blow paint through straws for thin splatters. Tap sticks against a brush for rough splashes.
Mixing tools gives your art more depth. It adds surprise and fun to your project.
Controlling Paint Splatter
Controlling paint splatter is key to creating a beautiful DIY splatter paint art project. It helps you create intentional patterns instead of random messes. Adjusting how you apply paint changes the look and feel of your artwork.
Focus on paint thickness, splatter size, and layering colors. These factors give you more control and let you express your creativity clearly.
Adjusting Paint Consistency
Thin paint splatters easily and makes fine droplets. Thick paint creates bold, chunky splatters. Use water or acrylic medium to thin your paint. Stir well to get a smooth mix. Test the paint on scrap paper before splattering on your canvas. Adjust the amount of water to get the desired flow. Remember, too thin paint will drip, and too thick paint won’t splatter well.
Varying Splatter Size And Direction
Change the size of splatters by using different tools. A toothbrush makes tiny dots, while a large brush creates big drops. Flick your wrist gently for small splatters. Use a quick, strong flick for larger splatters. Change the angle of your brush to control the direction. Move your hand up, down, or sideways to make interesting patterns. Keep your movements natural and playful for unique results.
Layering Colors Effectively
Apply one color and let it dry before adding another. This prevents colors from mixing too much. Build layers from light to dark colors for depth. Use contrasting colors to make splatters stand out. Add splatters in different sizes and directions on each layer. This adds texture and visual interest. Be patient and let each layer dry well for the best effect.
Creating Patterns And Effects
Creating patterns and effects in splatter paint art adds depth and excitement. It transforms simple splashes into unique artwork. Experimenting with different techniques brings out interesting textures and shapes. This section explores ways to enhance your project using abstract designs, color blending, and tools like stencils.
Abstract Designs
Abstract patterns give your splatter art a creative edge. Use random flicks and varied brush movements to form unique shapes. Focus on layering splatters to build complexity. Let your hand move freely without strict plans. This spontaneity creates energetic, eye-catching designs on your canvas.
Color Blending Tips
Blending colors creates smooth transitions and vibrant effects. Start with lighter shades and add darker ones slowly. Spray or flick paint while colors are wet to let them mix naturally. Avoid over-mixing to keep the splatter texture visible. Use complementary colors for contrast and harmony.
Using Stencils And Masks
Stencils and masks help control paint placement for sharp effects. Place a stencil on your canvas before splattering paint. Paint over the stencil, then remove it to reveal crisp patterns underneath. Use masking tape or paper to protect areas you want to keep clean. This technique adds detail and structure to your artwork.
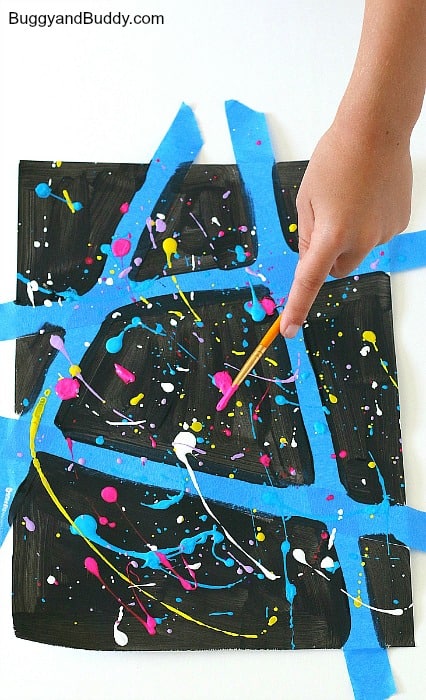
Credit: buggyandbuddy.com
Cleaning Up And Safety
Cleaning up after a splatter paint art project is as important as the painting itself. Taking safety measures and organizing your workspace helps prevent accidents. Proper cleanup protects your tools and keeps your area ready for the next creative session. Follow these simple steps to stay safe and tidy.
Protecting Your Area
Cover your workspace with old newspapers or plastic sheets. Use painter’s tape to secure the edges. This stops paint from dripping onto floors or furniture. Wear old clothes or an apron to protect your skin. Keep a trash bag nearby for used paper towels and paint scraps. Clear the space of anything that could get stained.
Safe Paint Handling
Use non-toxic, water-based paints for easier cleanup and safety. Avoid touching your face or eyes while painting. Wash your hands thoroughly after finishing. Store paint containers tightly closed to prevent spills. Keep paint away from children and pets. Work in a well-ventilated area to avoid inhaling fumes.
Cleaning Tools And Brushes
Rinse brushes immediately after use under warm water. Use mild soap to remove paint from bristles. Avoid letting paint dry on brushes to keep them soft. For stubborn paint, soak brushes in water for a few minutes. Dry brushes flat or hanging to maintain their shape. Clean your tools regularly to prolong their life.
Project Ideas And Inspiration
Exploring different project ideas sparks creativity for your DIY splatter paint art. Inspiration helps you try new styles and find your unique touch. This section offers simple and advanced ideas to guide your artistic journey.
Splatter Art For Beginners
Start with basic splatter techniques using a brush or toothbrush. Use primary colors on white paper for clear contrast. Experiment with light flicks and gentle taps to control splatter size. Try creating patterns like circles or waves to add structure. Simple projects like decorated notebooks or canvas panels build confidence.
Advanced Techniques
Mix colors directly on the canvas for dynamic blends. Use tools like sponges, sticks, or spray bottles for varied effects. Layer splatters after drying to create depth and texture. Try dripping paint from different heights for diverse splatter shapes. Mask parts of your canvas to protect areas and create sharp edges.
Personalizing Your Artwork
Add meaningful symbols or shapes by controlling splatter placement. Use stencils or tape to form letters or numbers. Incorporate your favorite color schemes to reflect personality. Combine splatter art with other styles like brush strokes or stamping. Display your art in creative frames or as wall hangings to enhance its impact.
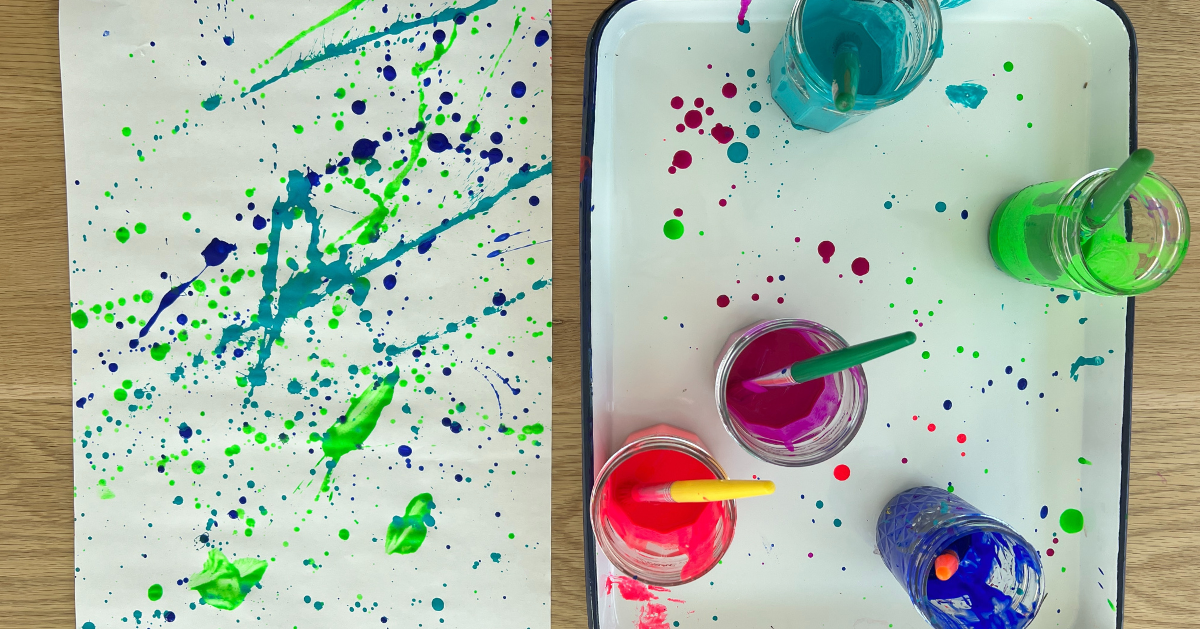
Credit: artfulparent.com
Frequently Asked Questions
What Materials Do I Need For A Diy Splatter Paint Project?
You need acrylic paints, brushes or toothbrushes, a canvas or paper, protective coverings, and water. These basic supplies help create vibrant splatter effects easily and safely.
How Do I Prepare My Workspace For Splatter Painting?
Cover surfaces with newspapers or plastic sheets to protect from paint splashes. Wear old clothes and work in a well-ventilated area for easy cleanup.
What Techniques Create The Best Splatter Paint Effects?
Dip a brush lightly in paint, then flick or tap it over the canvas. Experiment with different brush sizes and paint thickness for varied splatters.
How Can I Avoid Making A Mess During Splatter Painting?
Use controlled flicking motions and keep the canvas at a distance. Cover surrounding areas and wear protective gear to minimize unwanted paint splashes.
Conclusion
Splatter paint art is fun and simple to create at home. Use basic tools like brushes and paint you already have. Experiment with colors and splatter styles to find what you like. Clean up quickly to keep your space neat.
Enjoy the process, not just the final art piece. This project suits all ages and skill levels. Try it today and add a splash of creativity to your day!


