An acrylic paint set includes various colors of fast-drying paint. It is ideal for artists of all levels.
Acrylic paint sets are versatile and vibrant, making them perfect for various art projects. These sets typically include a range of colors that blend easily, providing endless creative possibilities. Artists appreciate their quick-drying nature, which allows for layering and adjustments without long wait times.
Whether you’re painting on canvas, wood, or paper, acrylic paints adhere well and maintain their color integrity over time. They are also water-soluble, making cleanup simple and hassle-free. An acrylic paint set is a valuable addition to any artist’s toolkit, offering both beginners and professionals the tools they need to bring their artistic visions to life.
The Palette Of Possibilities: Choosing Acrylic Colors
Acrylic paint sets open up a world of creativity. With a wide range of colors, you can create stunning artworks. Understanding how to choose and mix these colors is essential. Let’s dive into the palette of possibilities!
Primary Colors: The Foundation
Primary colors form the base of your palette. These are red, blue, and yellow. You cannot create these colors by mixing others.
- Red: Bold and vibrant. Perfect for drawing attention.
- Blue: Calming and cool. Ideal for serene scenes.
- Yellow: Bright and cheerful. Great for highlighting.
With these primary colors, you can create a wide range of hues. Start with these basics to build your color collection.
Mixing Magic: Expanding Your Palette
Mixing primary colors creates new shades and tones. This is where the magic happens!
| Combination | New Color |
|---|---|
| Red + Blue | Purple |
| Blue + Yellow | Green |
| Red + Yellow | Orange |
Try mixing in different ratios to see what you get. A little blue with more yellow makes a lighter green. Experiment to find your favorite shades.
- Start with equal parts of primary colors.
- Mix them thoroughly on your palette.
- Adjust the ratio to achieve desired shades.
With these tips, you can expand your acrylic palette. Enjoy the endless possibilities!

Credit: www.crockd.com
Quality Counts: Selecting The Right Acrylic Paints
Choosing the right acrylic paints can make a big difference in your artwork. High-quality paints offer better coverage, vibrant colors, and longevity. But how do you know which paints to choose? Let’s dive into the details.
Student Vs. Artist Grade: What’s The Difference?
Not all acrylic paints are created equal. Student grade paints are more affordable but may contain fillers. These fillers reduce the paint’s vibrancy and coverage. Artist grade paints, on the other hand, offer richer pigments and better consistency.
| Feature | Student Grade | Artist Grade |
|---|---|---|
| Price | Lower | Higher |
| Pigment Concentration | Lower | Higher |
| Color Vibrancy | Less Vibrant | More Vibrant |
| Longevity | Shorter | Longer |
If you are a beginner, student grade paints can be a good start. But for serious projects, consider investing in artist grade paints.
Pigment Purity And Consistency Considerations
Pigment purity is crucial for achieving true, vibrant colors. High-quality acrylic paints use pure pigments, resulting in bright and lasting colors. Consistency also plays a vital role. Thicker paints offer better coverage and texture. Thinner paints are easier to blend and layer.
- Pure pigments ensure bright and lasting colors.
- Thicker paints provide better coverage and texture.
- Thinner paints are ideal for blending and layering.
Consider your painting style when choosing the right consistency. Experiment with both thick and thin paints to find what works best for you.
Brushes And Tools: Partners In Creation
When using an acrylic paint set, brushes and tools are essential. They shape your art and bring your vision to life. Choosing the right brushes and maintaining them is key. Let’s explore how to build a versatile brush set and keep them in top condition.
Shapes And Sizes: Building A Versatile Brush Set
A versatile brush set includes various shapes and sizes. Each brush serves a different purpose. Here are some common brush shapes:
- Round Brushes: Great for detail work and thin lines.
- Flat Brushes: Ideal for bold strokes and filling wide spaces.
- Filbert Brushes: Perfect for blending and creating soft edges.
- Angle Brushes: Useful for sharp lines and corners.
- Fan Brushes: Excellent for blending and creating textures.
Brush sizes also matter. Small brushes are for detail. Large brushes cover more area quickly.
Maintaining Your Brushes: Cleaning And Care
Proper care extends your brushes’ life. Follow these tips to keep them in good shape:
- Rinse brushes immediately after use. This prevents paint from drying on them.
- Use warm water and mild soap. Avoid harsh chemicals.
- Gently reshape the brush tips. This keeps them in their original form.
- Let brushes air dry, bristles facing up. This prevents water damage to the handles.
- Store brushes properly. Use a brush holder or a clean, dry container.
Regular cleaning keeps your brushes ready for the next project.
Surfaces And Substrates: Canvases And Beyond
Acrylic paint sets offer endless creative possibilities. Different surfaces bring out unique effects. Let’s explore the best surfaces for your acrylic masterpieces. From traditional canvases to exciting alternatives, your creativity knows no bounds.
Canvas Choices: Cotton Or Linen?
Choosing the right canvas is crucial for your art. The two main types are cotton and linen. Both have distinct features that affect your painting experience.
| Canvas Type | Features |
|---|---|
| Cotton |
|
| Linen |
|
Alternative Surfaces: Wood, Paper, And More
Acrylics work well on many surfaces beyond canvas. These alternatives can add new dimensions to your art.
Wood is an excellent choice for a sturdy base. It provides a unique texture and is perfect for mixed media. Sealing the wood surface is essential to prevent absorption.
Paper offers great flexibility. Specially designed acrylic paper can handle the paint’s moisture. It is lightweight and easy to store.
Each surface brings out different qualities in your acrylic paint set. Experimenting with these options can lead to exciting artistic discoveries.
Mediums And Additives: Mastering Acrylic Textures
Acrylic paint is popular for its versatility and vibrant colors. But there’s more to acrylics than just paint. Mediums and additives can transform your artwork. They can change the texture, drying time, and flow of the paint. Let’s dive into some essential mediums and additives.
Gels And Pastes: Creating Dimension
Gels and pastes can add thickness to your paint. They create texture and dimension on your canvas. Here are some common types:
- Heavy Gel: Adds a thick, sculptural quality.
- Soft Gel: Increases paint body without too much texture.
- Modeling Paste: Creates a smooth, hard surface for carving or sanding.
Mix these gels with your paint. Use a palette knife or brush to apply. You can create raised surfaces and bold textures. This technique adds depth and interest to your artwork.
Flow Improvers And Retarders: Extending Workability
Flow improvers and retarders help control the drying time. They make your paint easier to work with.
- Flow Improver: Increases paint flow without thinning the color.
- Retarder: Slows the drying time. Gives more time for blending.
Add a few drops to your paint. Mix well. These additives are great for blending and glazing. They keep the paint workable for longer periods. Perfect for detailed work and large areas.
Experiment with these mediums and additives. They can unlock new creative possibilities. Achieve various textures and effects. Your acrylic paintings will never be the same again.
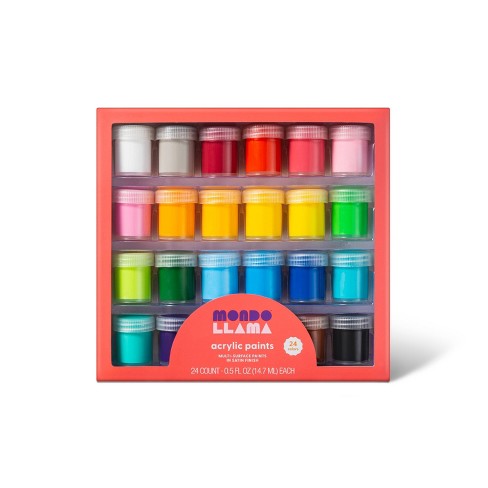
Credit: www.target.com
Palette Knives And Accessories: Beyond The Brush
Acrylic paint sets are not just for brushes. Palette knives and accessories open new creative doors. These tools bring texture and depth to your work. They offer unique effects that brushes can’t achieve. Explore the magic of palette knives and other tools. Your art will thank you.
Palette Knife Techniques: Adding Depth To Your Work
Palette knives are versatile and fun. They can create sharp lines, smooth edges, and textured strokes. Try these techniques:
- Scraping: Remove paint to reveal layers below.
- Spreading: Apply thick layers for a 3D effect.
- Mixing: Blend colors directly on your canvas.
- Stippling: Tap the knife for dotted textures.
Experiment with these methods. Each one adds a unique touch. Your art will gain new dimensions.
Exploring Sponges And Other Texturizing Tools
Sponges offer soft textures and gradients. They are great for backgrounds and natural scenes. Use different sponge shapes for varied effects.
| Tool | Effect |
|---|---|
| Sponge | Soft textures and gradients |
| Bristle Brush | Rough and scratchy textures |
| Comb | Fine lines and patterns |
Other tools include bristle brushes and combs. Bristle brushes create rough and scratchy textures. Combs add fine lines and patterns. Each tool brings a new element to your art.
Experiment with these accessories. Mix and match for unique effects. Your acrylic paintings will stand out.
The Importance Of Varnishing: Protecting Your Artwork
Varnishing your acrylic paintings is crucial for preserving their beauty. It shields your artwork from dust, dirt, and UV rays. Varnish also prevents yellowing and fading over time. Applying varnish gives your painting a professional finish. It enhances colors and adds depth. Let’s explore the different aspects of varnishing.
Choosing The Right Varnish: Matte Or Gloss?
Choosing between matte and gloss varnish depends on your preference. Matte varnish provides a non-reflective finish. It gives your artwork a soft and subtle look. Gloss varnish, on the other hand, offers a shiny finish. It makes colors appear more vibrant and saturated.
| Varnish Type | Finish | Best For |
|---|---|---|
| Matte | Non-reflective | Soft and subtle look |
| Gloss | Shiny | Vibrant colors |
Application Tips: Ensuring Longevity
Applying varnish correctly ensures the longevity of your artwork. Follow these tips for the best results:
- Clean the painting surface – Remove any dust or debris.
- Use a clean brush or spray – Ensure even coverage.
- Apply multiple thin coats – Allow each coat to dry completely.
- Work in a well-ventilated area – Avoid inhaling fumes.
By following these tips, you can protect and enhance your artwork. Varnishing is a simple yet effective way to ensure your acrylic paintings last for years.
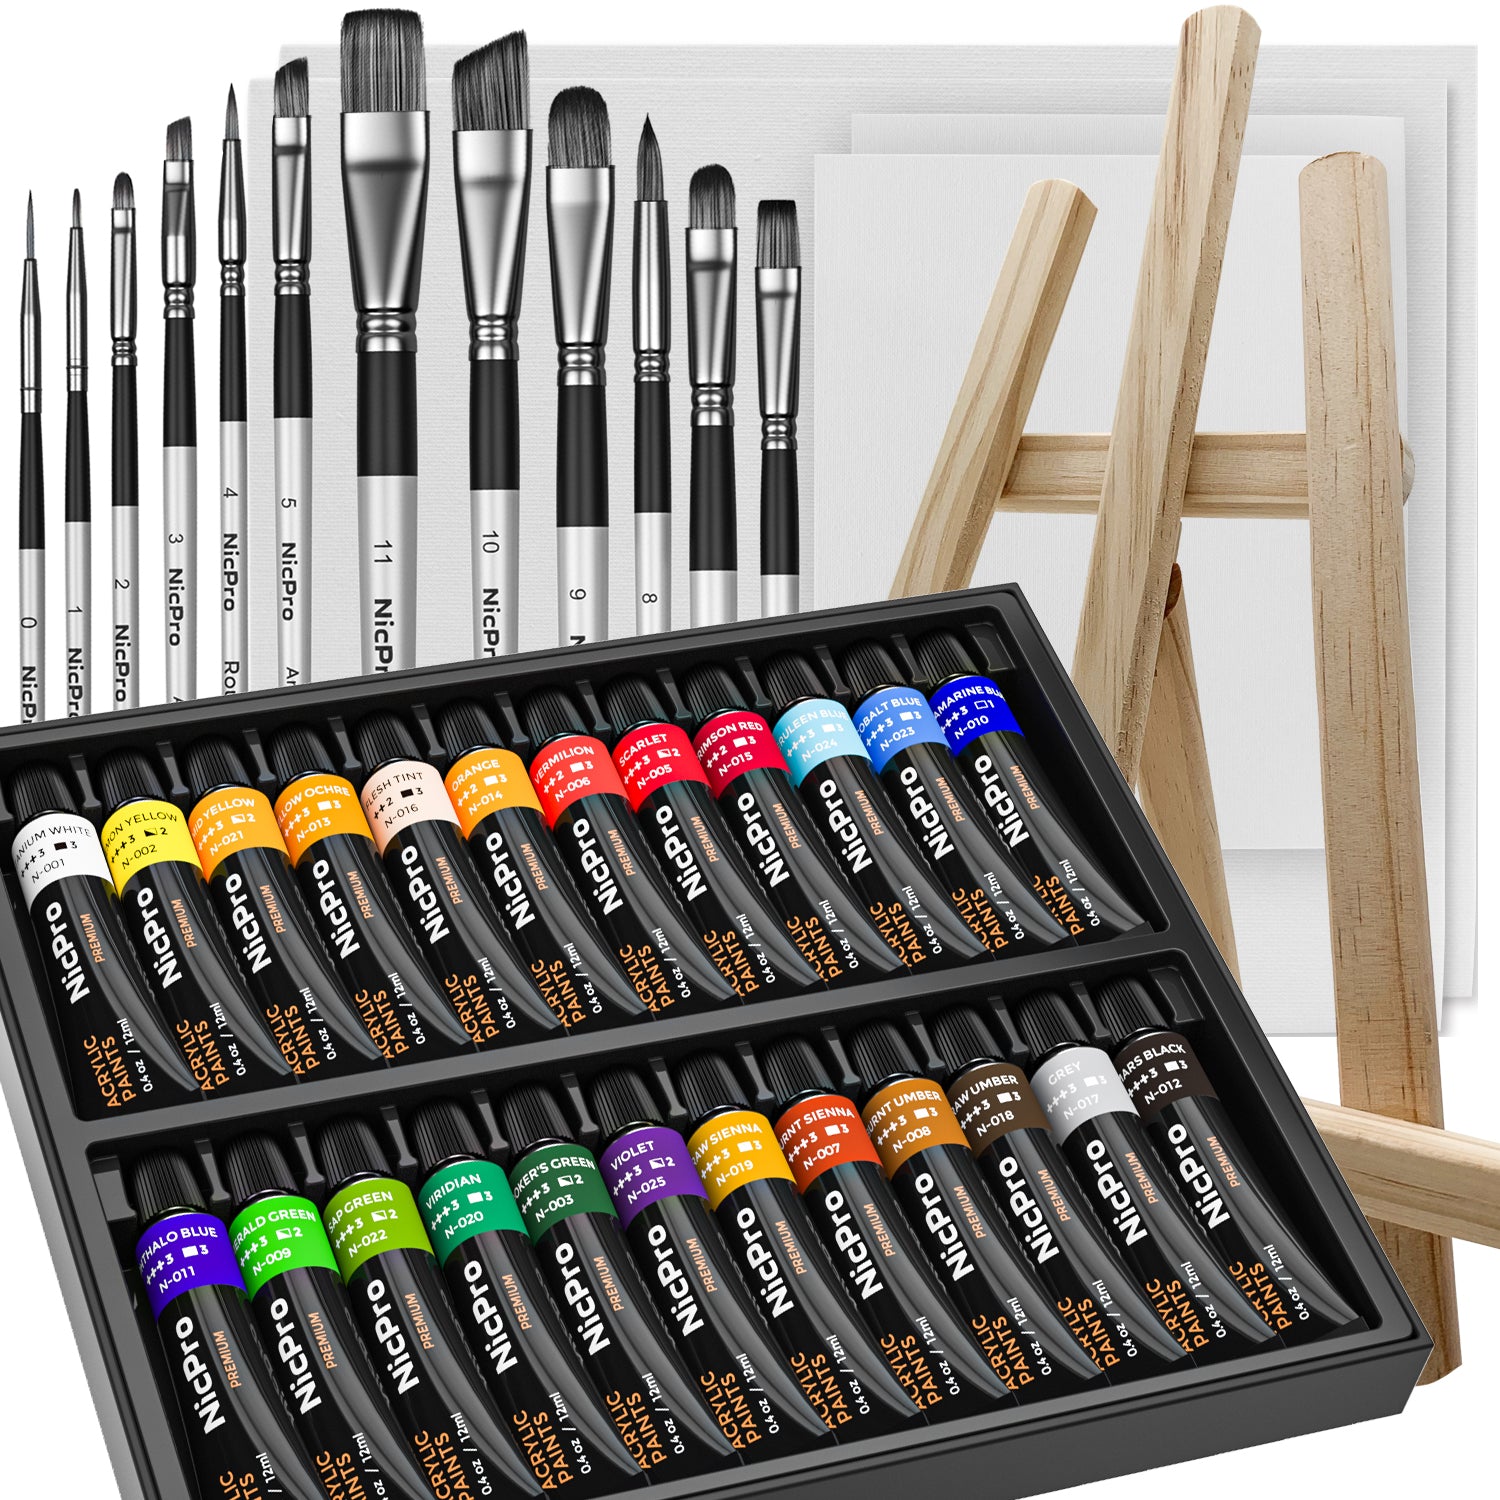
Credit: nicpro.com
Setting Up Your Studio: Organizing For Inspiration
Creating an art studio that inspires creativity is essential. A well-organized space enhances productivity and keeps your artistic juices flowing. Let’s dive into some tips for setting up your studio, focusing on layout and storage.
Space Essentials: Layout For Creativity
A good layout promotes creativity and efficiency. Start by choosing a space with plenty of natural light. Natural light helps you see true colors and reduces eye strain.
Next, consider the placement of your work area. Your easel or work table should be the focal point. Ensure it’s easily accessible and has ample space around it. This allows for free movement and minimizes disruptions.
Include a comfortable chair to support long painting sessions. Invest in a sturdy table for mixing paints and holding supplies. A clutter-free environment fosters inspiration and creativity.
Storing Paints And Tools: Keeping Your Space Tidy
Organizing your paints and tools is crucial for maintaining a tidy space. Start by categorizing your acrylic paints by color. Use clear containers or shelves for easy visibility.
Consider using a pegboard to hang frequently used tools. This keeps them within arm’s reach and off your workspace. Hooks and baskets on the pegboard can hold brushes, palettes, and other essentials.
A rolling cart is perfect for storing paint tubes, brushes, and other supplies. It can be easily moved around your studio, providing flexibility and convenience.
Here is a simple table to help you organize your tools:
| Item | Storage Method |
|---|---|
| Acrylic Paints | Clear Containers |
| Brushes | Pegboard Hooks |
| Palettes | Pegboard Baskets |
| Miscellaneous Tools | Rolling Cart |
Use labels to identify storage containers. This saves time and reduces frustration. Keep a trash bin nearby to dispose of waste and keep your studio clean.
Regularly declutter your space. Remove items you no longer need. An organized studio keeps you focused and inspired.
Frequently Asked Questions
Which Is The Best Acrylic Paint To Use?
Golden Heavy Body Acrylics offer excellent pigment, texture, and versatility, making them the best choice for professional artists.
How To Use An Acrylic Paint Set?
Start with a clean surface. Squeeze small amounts of paint onto a palette. Use water to thin paint as needed. Mix colors for desired shades. Apply with brushes, layering for depth. Clean brushes with water after use.
What Is The Best 100% Acrylic Paint?
Golden Artist Colors Acrylics are highly recommended as the best 100% acrylic paint for their quality and vibrant colors.
Is There A Difference Between Cheap And Expensive Acrylic Paint?
Yes, there’s a difference. Expensive acrylic paints have higher pigment concentration, better coverage, and richer colors. Cheap paints may contain fillers, resulting in less vibrant colors and more layers needed.
What Is Included In An Acrylic Paint Set?
An acrylic paint set typically includes a variety of colored paints, brushes, and a palette.
How Do You Use Acrylic Paint?
Apply acrylic paint with a brush or palette knife on a primed surface. It dries quickly.
Can You Mix Acrylic Paints?
Yes, you can mix acrylic paints to create custom colors and shades.
Is Acrylic Paint Waterproof?
Once dry, acrylic paint becomes water-resistant and durable on most surfaces.
Conclusion
Choosing an acrylic paint set can elevate your artistic creations. These versatile paints are perfect for beginners and professionals alike. With vibrant colors and easy application, they offer endless creative possibilities. Invest in a quality acrylic paint set today and watch your artistic skills flourish.
Happy painting!