
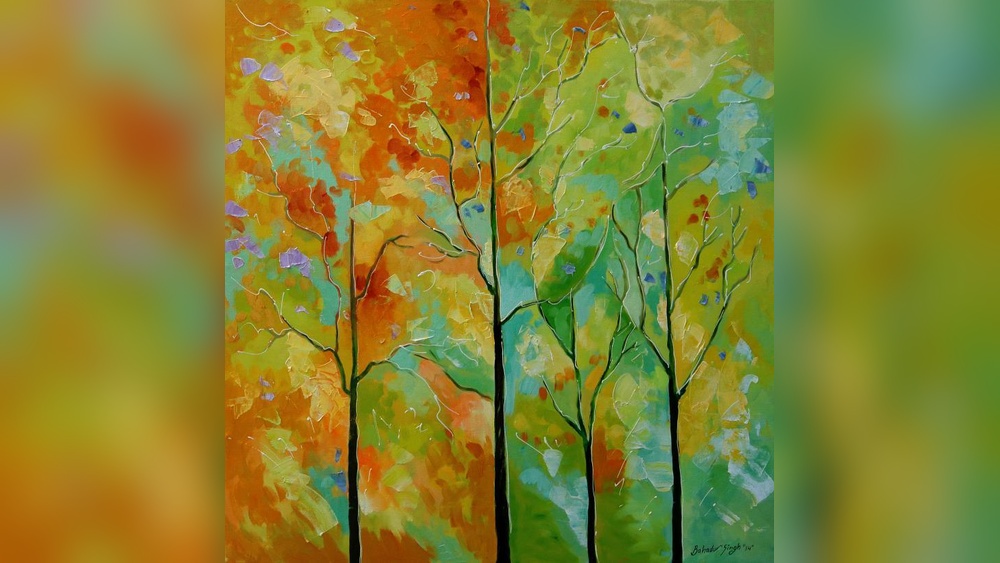
Quick answer: Here is how to blend oil paint on canvas: lay two colors side by side while both are wet, then stroke across the boundary with a clean, soft brush (a filbert or a fan) using light pressure, wiping the brush often. Keep paint at a buttery consistency, work from dark to light, and add a few drops of medium if the paint drags. Because oil stays workable for hours, you can blend wet-into-wet, soften edges with a dry brush, or glaze thin transparent layers over dry paint for smooth gradients.
Oil paint has a reputation for smooth, glowing transitions, and it earns it. The slow drying time that frustrates beginners is the same quality that makes seamless blending possible. You have minutes, often hours, to push color around before it sets.
The catch is that time alone does not produce a good blend. Brush choice, paint consistency, canvas texture and the order you work in all decide whether a transition looks like velvet or like mud. This guide covers how to blend oil paint on canvas with five core methods, step-by-step exercises and fixes for the problems that come up most.
Why Oil Paint Blends So Well
Oil paint dries by oxidation: the oil binder slowly reacts with air and hardens. Most colors stay wet for many hours, and some (titanium white, the cadmiums and many earth colors vary) remain workable into the next day. That long open time is what allows wet-into-wet blending across large areas, something acrylic painters have to fight for with retarders.
The surface plays a big part, too. A finely woven, well-primed canvas lets a brush glide across the paint, while a coarse, absorbent one catches bristles and drags paint into the weave. If your blends keep breaking up into streaks, the canvas may be part of the problem, and it is worth comparing surfaces in our guide to the best canvas for oil painting.
What You Need to Blend Oil Paint
- Oil paint in a limited palette for practice: titanium white, ultramarine blue, cadmium or hansa yellow, alizarin or a quinacridone red, burnt umber.
- Brushes: a #8 to #12 filbert for blending, a soft fan brush for feathering, and a large soft flat or mop (synthetic or soft natural hair) for final softening.
- Medium: a simple mix of linseed oil and odorless mineral spirits, or a ready-made alkyd or oil painting medium.
- Odorless mineral spirits for cleaning brushes between colors, used with good ventilation.
- Lint-free rags or paper towels.
- A primed canvas or canvas panel. A smooth or medium texture is easiest for blending.
- A palette knife for mixing.
Oil Painting Brushes for Canvas Blending
| Brush | Bristle type | Role in blending |
|---|---|---|
| Filbert | Hog bristle or stiff synthetic | Main blending brush; rounded edge avoids hard lines |
| Flat | Hog bristle | Laying in blocks of color before blending |
| Fan | Soft synthetic or natural hair | Feathering skies, softening transitions lightly |
| Mop or softener | Very soft hair | Final whisper-light pass to erase brush marks |
| Round | Soft synthetic | Small blends in details, faces, petals |
How to Blend Oil Paint on Canvas: 5 Methods
1. Wet-Into-Wet Blending
This is the classic method and the one most people mean when they ask how to blend oil paint.
- Mix your two colors to the same buttery consistency, like soft butter or toothpaste. Paint that is too stiff drags; too runny slides and mixes uncontrollably.
- Paint the first color into its area, stopping just short of where the transition will be.
- Paint the second color next to it, leaving a small gap or a slight overlap.
- With a clean, dry filbert, stroke back and forth across the boundary in short, overlapping strokes. Use light pressure.
- Wipe the brush on a rag every few strokes so you are not dragging color from one side to the other.
- Widen the blended zone gradually by moving your strokes outward on both sides.
- Finish with a soft fan or mop brush, barely touching the surface, to remove visible brush marks.
2. Intermediate Value Blending
For a long, smooth gradient (such as a sky from deep blue to pale horizon), mix three to five steps between the two end colors on your palette first. Paint them in bands, then blend only the narrow seams between neighbors. Each blend covers a small value jump, which looks far smoother than trying to stretch one blend across the whole canvas.
3. Scumbling
Scumbling means dragging a thin, semi-opaque, usually lighter layer over a dry or tacky darker layer so the lower color shows through in broken patches. It is a great way to soften transitions that have already dried, add atmosphere, or create the hazy glow of distance.
4. Glazing
Glazing is the opposite of scumbling: a thin, transparent, usually darker layer brushed over a completely dry layer. Mix a small amount of transparent color with a glazing medium, apply a thin film and soften it with a clean, soft brush. Multiple glazes build smooth color shifts that are almost impossible to achieve wet-into-wet, which is why they are central to classical portrait techniques.
5. Feathering and Dry-Brush Softening
For soft edges rather than full gradients, hold a clean, dry fan brush almost parallel to the canvas and flick it lightly across the edge. This “breaks” the line between two shapes without mixing them into a new color. It works well for clouds, hair, fur and soft-focus backgrounds.
How to Use Oil Paints on Canvas Without Muddy Blends
Mud is the most common complaint. It usually comes from one of four causes:
- Over-blending. Every stroke mixes the colors further. Stop as soon as the transition looks smooth from a few feet away.
- Dirty brushes. A brush carrying the last color into the next mix grays everything down. Wipe constantly and keep one brush per color family when possible.
- Complementary colors meeting. Blending orange directly into blue, or red into green, passes through gray-brown in the middle. Put an intermediate step between complements, or let them meet with a soft edge rather than a mixed zone.
- Too much white. White lowers chroma. When blending toward a lighter value, sometimes a lighter hue (like yellow or a pale warm color) works better than more white.
Fat Over Lean: Blending Across Layers
The fat over lean rule says each layer should contain a little more oil (more “fat”) than the one beneath it. Lean lower layers, thinned with solvent, dry faster and stay flexible beneath the oilier upper layers. Ignoring this can lead to cracking as the painting ages.
For blending, the practical takeaway is simple: block in early layers thinly, and save richer, medium-added paint for the final blending passes. If the paint feels “grabby” when you try to blend late in a session, a drop of medium on the brush loosens it without breaking the rule.
Step-by-Step Exercise: A Blended Sky Study
This 30 to 45 minute exercise on a 9×12 canvas panel teaches most of the skills above.
- Tone the panel with a very thin wash of burnt umber thinned with mineral spirits. Wipe back with a rag until it is a light tan. Let it set for 15 to 20 minutes.
- Mix five sky values: ultramarine plus a little white (top), then progressively more white, ending with white plus a touch of yellow and a hint of red near the horizon.
- Paint the five values as horizontal bands from top to bottom using a flat brush.
- Blend each seam with a clean filbert in horizontal, overlapping strokes. Wipe the brush after every seam.
- Soften the whole sky with a fan brush held flat, using long horizontal sweeps.
- Add a few clouds with a lightly loaded brush of warm white, then feather their bottoms into the sky.
Repeat the exercise a few times with different color combinations, such as a sunset or a stormy gray sky. Each version teaches how specific pigments mix.
How Long Can You Blend Oil Paint?
Blending time depends on pigment, thickness, medium and room conditions. As a general guide, most oil colors stay comfortably blendable for several hours. Thin, solvent-heavy layers set faster. Alkyd mediums and certain pigments (earth colors, some blues) speed drying, while extra linseed or slow-drying oils like safflower extend it.
If you need a layer to dry quickly so you can glaze or scumble over it, our sibling guide on how to speed dry oil paint on canvas walks through mediums, warmth and airflow.
Canvas Panels for Oil Painting vs Stretched Canvas for Blending
| Surface | Blending feel | Best use |
|---|---|---|
| Smooth gessoed panel | Very smooth; paint glides, blends easily | Portraits, glazing, detailed realism |
| Fine-weave canvas panel | Slight tooth; controlled blending | Studies, plein air, small finished pieces |
| Medium-weave stretched canvas | Bounce plus texture; softer, painterly blends | Landscapes, larger works |
| Coarse cotton canvas | Catches bristles; broken, textured blends | Loose, expressive painting |
Oil Pastels on Canvas: Blending a Different Way
Oil pastels share a name with oil paint but behave differently: they are sticks of pigment bound in wax and non-drying oil. They can be used on canvas, preferably with a primed surface or one that has a bit of tooth. To blend oil pastels on canvas:
- Layer colors lightly, then blend with a fingertip, a paper stump or a cotton swab.
- A brush dipped in a small amount of odorless mineral spirits dissolves the pastel into a paint-like wash for smooth gradients (use ventilation).
- Pressing a lighter color hard over a darker one also blends by mixing on the surface.
Because oil pastel never fully hardens, finished pieces stay soft and need protection, typically a fixative made for oil pastel, and framing behind glass or careful handling.
Common Mistakes When Blending Oil Paint
- Blending every edge. A painting where everything is soft looks blurry. Keep some edges crisp, especially near the focal point.
- Pressing too hard. Heavy pressure plows paint aside and exposes the canvas. Let the brush skim.
- Uneven paint thickness. Blending a thick color into a thin one creates ridges. Match consistency before you start.
- Using a coarse brush for the final pass. Stiff bristles leave marks; switch to a soft brush to finish.
- Adding solvent late in the painting. Thinning upper layers with plain solvent breaks fat over lean. Use medium instead.
- Working in a cold room. Cold paint is stiffer and harder to blend. A comfortably warm room helps.
Tips by Skill Level
Beginner
Practice two-color gradients on small panels. Learn how each pigment mixes before attempting complex subjects. Keep blends in narrow bands.
Intermediate
Combine methods: block in wet-into-wet, let dry, then refine with glazes and scumbles. Study how edge control directs the eye.
Advanced
Plan blending across multiple sessions with deliberate fat over lean layering. Experiment with different oils and mediums to tune drying time to each passage. Our broader guide on how to oil paint on canvas covers the full layering workflow.
FAQs
How do you blend oil paint smoothly on canvas?
Mix both colors to the same buttery consistency, paint them side by side, and stroke across the seam with a clean soft filbert using light pressure. Wipe the brush often and finish with a soft fan or mop brush to erase marks.
Can you blend oil paint after it dries?
Not by wet blending. Once dry, you can soften transitions with glazes (thin transparent layers) or scumbles (thin semi-opaque layers) brushed over the dried paint.
What medium helps blend oil paint?
A small amount of linseed oil, a mixture of linseed oil and odorless mineral spirits, or a ready-made painting medium loosens paint so it blends more easily. Add medium sparingly and increase it in later layers to follow fat over lean.
What is the best brush for blending oil paint?
A filbert is the most versatile blending brush because its rounded tip avoids hard lines. A soft fan or mop brush is useful for final softening.
Why do my oil blends look muddy?
Usually because of over-blending, dirty brushes, mixing complementary colors directly, or adding too much white. Stop sooner, clean brushes constantly and add intermediate color steps.
Can you use oil pastels on canvas?
Yes. Oil pastels work on primed canvas and can be blended with fingers, stumps or a brush dampened with mineral spirits. Finished work stays soft and needs fixative and careful framing.
Final Thoughts
Smooth oil blends come from matched paint consistency, clean brushes, light pressure and knowing when to stop. Practice gradients on small panels until the movement becomes automatic, then bring it into full paintings. A surface with the right weave and priming makes everything easier, so explore our picks for oil painting canvases that blend cleanly before your next project.





One Comment