
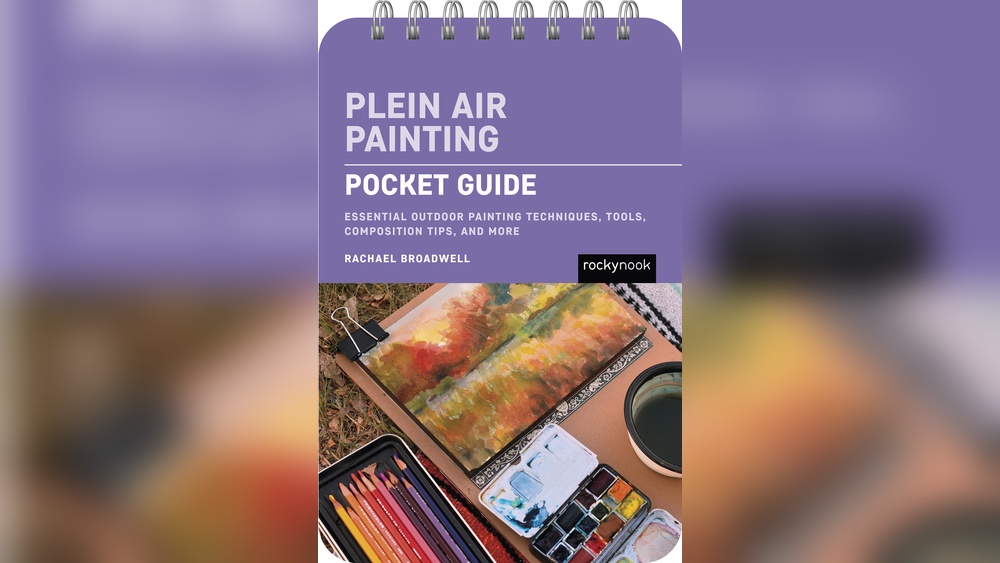
Painting outdoors, often called plein air painting, is one of the fastest ways to improve as a painter. The light moves, the wind picks up, and you have maybe two hours before the scene looks completely different. That pressure forces you to simplify, see color accurately and make decisions quickly. An outdoor oil sketch isn’t meant to be a polished masterpiece; it’s a record of light and atmosphere captured in one sitting. Here’s how to do an oil sketch outdoors, with a practical gear list, a step-by-step process and tips that prevent the most common frustrations.
Quick answer: To do an oil sketch outdoors, pack a light easel or pochade box, a small panel (6×8 to 9×12 inches), a limited palette and a few brushes. Pick a simple scene, make a quick three-value thumbnail, tone the panel, block in big shapes with thin paint, then add thicker color from dark to light. Keep your panel and palette in shade, aim to finish in 1 to 2 hours before the light changes, and carry the wet panel home in a panel carrier.
Outdoor sketching is part of a long tradition in landscape painting, and it feeds directly into studio work. For more on oil styles, materials and how plein air fits into a painting practice, see our full oil paintings guide covering techniques and supplies.
Why Oil Works Well for Outdoor Sketching
Oil stays workable for hours, which means you can blend and adjust throughout a session without fighting a skin forming on your palette. It handles both thin washes and thick, juicy strokes, and colors don’t shift much as they dry, unlike acrylic, which usually darkens slightly. The trade-off is that you need to transport a wet painting home, and you’ll have to manage solvents and oily rags responsibly.
Oil Paint for Outdoors: Building a Plein Air Kit
Outdoor painting rewards a light, organized kit. You may walk a fair distance to your spot, and every extra item gets heavy fast.
Essentials
- Easel or pochade box: a compact box that attaches to a camera tripod, or a lightweight field easel.
- Panels: primed canvas panels or boards in 6×8, 8×10 or 9×12 inches. Small sizes are easier to finish before the light changes.
- Paint: a limited palette, such as titanium white, a warm and cool yellow, a warm and cool red, ultramarine and a cooler blue, plus burnt sienna or another earth.
- Brushes: four to six bristle brushes, mostly flats and filberts in sizes 4 to 10, plus one small round.
- Palette knife: for mixing and for crisp marks.
- Solvent or brush cleaner: odorless mineral spirits in a sealed, leak-proof brush washer, or a solvent-free approach using oil and wiping.
- Paper towels and a trash bag: pack out everything you bring.
- Wet panel carrier: a box with slots that keeps wet sketches from touching anything.
Useful Extras
- A viewfinder, a small cardboard window or phone frame to isolate compositions.
- A neutral (white or silver) umbrella that clips to the easel to shade you and the panel.
- A small sketchbook and pencil for thumbnails.
- Sunscreen, a hat, insect repellent, water and layers of clothing.
- Nitrile gloves and a small zip bag for used rags.
- A weight or bag to hang from the tripod for stability in wind.
Choosing Where and When to Paint
Pick a Simple Scene
Beginners often choose views that are too complicated: whole towns, dense forests, crowded harbors. Look for scenes with three to five large, clearly separated shapes and a strong light-and-shadow pattern. A single tree against the sky, a barn in a field, a path leading into shade or a rock by the water are all excellent subjects.
Time Your Session
| Time of day | Light quality | Notes for outdoor sketching |
|---|---|---|
| Early morning | Warm, low, long shadows | Beautiful color, but light changes quickly as the sun rises |
| Mid-morning | Clear, moderately angled | A good balance of stable light and visible shadows |
| Midday | Overhead, short shadows | Most stable light, but flatter forms and strong glare |
| Late afternoon | Warm, angled, increasingly golden | Rich color; plan to finish quickly as the sun drops |
| Overcast | Soft, even, cool | Light holds steady for hours; good for beginners |
On sunny days, the shadow pattern can shift noticeably within an hour or two. Many painters sketch the shadow shapes early and commit to them, even as the real shadows move.
Set Up in the Shade
This is one of the most important outdoor oil painting tips. If direct sunlight falls on your panel, the bright surface makes your colors look lighter than they are. You’ll compensate by mixing darker, and the painting will look dull and dark once you bring it indoors. Position yourself so both the panel and palette are in shade, or use a neutral umbrella. Avoid colored umbrellas, which tint the light on your work.
How to Do an Oil Sketch Outdoors: Step by Step
Step 1: Make a Thumbnail (5 Minutes)
In your sketchbook, draw a small rectangle in the same proportion as your panel. Map the big shapes and shade them in just three values: light, middle and dark. Decide what interests you most, such as a sunlit roof or the shadow under a tree, and place it off-center.
Step 2: Tone the Panel (3 Minutes)
Scrub a thin layer of burnt sienna, or a mix of ultramarine and burnt sienna, diluted with a little solvent, across the panel. Wipe it back with a paper towel until it’s a mid-tone. A toned surface eliminates distracting white and helps you judge values. Some painters pre-tone panels at home so they’re dry and ready.
Step 3: Draw the Big Shapes (5 to 10 Minutes)
Using a small brush and the same thin mix, indicate the horizon, major masses and shadow shapes from your thumbnail. Keep it simple. You can wipe out light areas with a rag for a quick tonal underpainting.
Step 4: Block In the Darks (10 to 15 Minutes)
Mix your darkest values first, often shadow areas under trees or in buildings, and paint them thinly. Starting with thin darks follows the fat-over-lean principle and leaves room for thicker lights on top.
Step 5: Add Middle Values and Sky (15 to 20 Minutes)
Block in the middle tones and the sky. The sky is usually the lightest large area and the light source, so it sets the overall key of the painting. Notice how it gets lighter and often warmer near the horizon.
Step 6: Paint the Lights (15 to 20 Minutes)
Use thicker paint for sunlit areas. Mix lights with enough white and warmth, but compare them against the sky; sunlit ground is generally darker than the sky behind it.
Step 7: Refine Edges and Add Accents (10 to 15 Minutes)
Sharpen edges at your focal point and soften others. Add a few final accents: the brightest highlights, the darkest darks and small calligraphic marks like branches or fence posts. Then stop. Overworking an outdoor sketch usually kills its freshness.
Oil Underpainting Tips for Outdoor Work
A quick underpainting gives your sketch a unified foundation.
- Use a transparent earth color, like burnt sienna or transparent red oxide. These tend to dry relatively quickly and glow through later layers.
- Keep it thin. Underpaintings with too much oil or paint stay slick, making later layers slide around.
- Work in value only. Treat the underpainting as a monochrome map of lights and darks.
- Let warm tones peek through. Leaving small gaps of warm underpainting between strokes of cool color adds vibrancy, especially in foliage and shadows.
Oil Painting Tips, Tricks and Techniques for Outdoor Sketching
- Squint often. Squinting simplifies detail and reveals the main value shapes.
- Mix big piles of color. Running out mid-stroke wastes time and makes color matching difficult.
- Compare, don’t isolate. Ask whether one area is lighter or darker, warmer or cooler than its neighbor rather than judging colors alone.
- Use the largest brush you can. Big brushes force simplification and prevent fussy details.
- Paint shadows as a single shape. Group connected shadows into one mass instead of painting each object separately.
- Note atmospheric perspective. Distant elements tend to be lighter, cooler, less saturated and softer-edged.
- Clean your brush between lights and darks. Wipe thoroughly to keep lights clean.
Coastal scenes are a favorite plein air subject because light and water change constantly. Our guide on how to paint sand and beach in oil has specific color and texture tips for shore sketches.
Oil Painting Tips for Beginners Heading Outdoors
- Do a trial run at home. Set up your kit in the backyard to make sure everything fits and works.
- Start with 6×8 panels. Small sizes are easier to finish and less intimidating.
- Time-box your sessions. Try a 45-minute sketch, then a 90-minute one. Short limits force decisions.
- Paint the same spot more than once. Returning at different times of day teaches how light changes color.
- Expect imperfect results. Most outdoor sketches are learning exercises. Value them for what they teach, not how they look.
- Paint with others. Local plein air groups can be supportive and help with safety when painting in remote places.
Photograph to Oil Painting Tips: Using Your Sketch Later
Many painters take a reference photo of the scene before or after painting. Photos are useful for details, but cameras often crush shadows into black and blow out highlights, so they don’t record color and value the way your eyes do. Use your outdoor sketch as the primary color reference and the photo for drawing and details if you develop a larger studio painting. Note the time, weather and light direction on the back of the panel.
Safety and Cleanup Outdoors
- Handle oily rags carefully. Rags soaked with linseed oil and other drying oils can self-heat and, in some conditions, ignite as the oil oxidizes. Seal them in a container with water or lay them flat to dry before disposal, following local guidelines.
- Never pour solvent on the ground or into water. Let used solvent settle, decant the clear top layer for reuse and dispose of the sludge properly.
- Use sealed containers. A leak-proof brush washer prevents spills in your bag or car.
- Respect the location. Ask permission on private land, avoid blocking paths and leave no trace.
- Protect yourself. Stay hydrated, wear sun protection and tell someone where you’ll be if painting alone.
Common Outdoor Oil Sketching Problems
| Problem | Cause | Solution |
|---|---|---|
| Painting looks too dark indoors | Panel was in direct sunlight | Keep panel and palette in shade |
| Muddy colors | Too much mixing on the panel, dirty brushes | Mix on palette, wipe brushes often, place strokes and leave them |
| Ran out of time | Scene too complex or panel too large | Simplify; use smaller panels; commit to light pattern early |
| Easel blowing over | Wind | Hang a weight from the tripod, set up low or find shelter |
| Bugs and dust stuck in paint | Outdoor conditions | Remove gently once dry, or let them be part of the story |
| Wet panels smudged on the way home | No carrier | Use a wet panel carrier or a box with spacers |
FAQs
How long should an outdoor oil sketch take?
Many outdoor sketches take 45 minutes to 2 hours. Longer sessions are possible on overcast days, but sunny scenes change quickly, so working faster helps capture consistent light.
What size panel is best for plein air oil painting?
Small panels, like 6×8, 8×10 or 9×12 inches, are popular because they’re portable and easier to finish before the light changes.
What oil paint is best for outdoors?
Any good-quality oil paint works. Many plein air painters use a limited palette of reliable, lightfast colors to keep the kit small and the mixing simple.
Do I need solvent for outdoor oil painting?
Not necessarily. Some painters work solvent-free, cleaning brushes with oil and paper towels. If you use solvent, choose odorless mineral spirits in a sealed, leak-proof container.
How do I transport a wet oil sketch?
Use a wet panel carrier with slots that keep panels separated, or a box with spacers. Keep the carrier flat and away from heat.
Should I paint in the sun or shade?
Keep your panel and palette in shade. Painting in direct sunlight usually leads to colors that look too dark later.
Final Thoughts
Doing an oil sketch outdoors is a practice of simplification: a small panel, a limited palette, a clear value plan and the discipline to stop before overworking. Every session sharpens your eye for color and light in ways studio work alone can’t. If you want to build on these outdoor studies, our expert guide to oil painting styles, materials and techniques is the natural next stop.




