Painting sand and beach scenes in oil is a rewarding way to capture the peace and beauty of coastal landscapes. Many artists are drawn to the beach for its ever-changing light, textures, and colors. However, painting sand and water convincingly is not easy, especially for beginners.
With oil paint, you have time to blend, correct, and layer, which gives your painting a soft, realistic look. This guide takes you step by step through the process, from choosing your materials to adding the final touches. You’ll also discover helpful tips, avoid common mistakes, and learn secrets that make your beach paintings stand out.
Choosing The Right Materials
Oil painting requires specific materials. Using the right tools helps you avoid frustration and makes the process smoother.
Essential Supplies
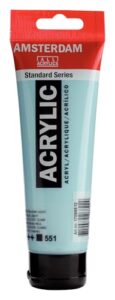
- Oil paints: Go for student or artist-grade. Artist-grade paints offer stronger pigments and better blending.
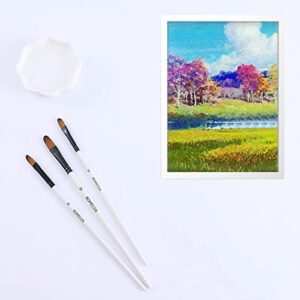
- Brushes: Use a mix of flat, filbert, and round brushes. For sand, a fan brush can help create texture.
- Canvas: Stretched canvas or canvas board. A size like 16×20 inches is a good starting point.
- Palette: Wooden or glass palettes are easier for mixing oils.
- Solvent and medium: Odorless mineral spirits for cleaning, and linseed or walnut oil for blending.
- Palette knife: For mixing and adding texture.
- Rags or paper towels: To clean brushes and fix mistakes.
Paint Colors You’ll Need
A basic set works, but for beaches, include these:
- Titanium White
- Yellow Ochre
- Burnt Sienna
- Ultramarine Blue
- Cerulean Blue
- Raw Umber
- Cadmium Yellow
- Alizarin Crimson
Adding Payne’s Grey or Ivory Black helps deepen shadows, but use sparingly.
Useful Extras
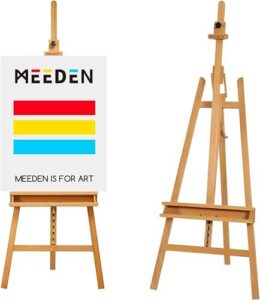
- Easel for comfort and better perspective
- Spray bottle with water (keeps paints workable if it’s very dry)
- Reference photo printed out or on a tablet
A common beginner mistake is using cheap brushes or student paints. These can leave streaks and dull color. Investing in quality materials actually makes learning easier.
Planning Your Beach Composition
Before you start painting, decide on your composition. A strong layout helps guide the viewer’s eye and makes your scene more inviting.
Gathering References
- Visit a local beach and take photos at different times of day.
- Notice how the light changes the color of the sand and water.
- Look for interesting features: Footprints, rocks, driftwood, or seaweed.
- Sketch ideas in a notebook.
Sketching The Layout
Lightly draw your main shapes on the canvas with a hard pencil or diluted paint. Divide your canvas into thirds (the “rule of thirds”) to place the horizon and main focal points. For example, put the horizon line slightly above or below the center for a more dynamic scene.

Credit: www.youtube.com
Blocking In The Major Shapes
Start with big shapes and colors before adding detail. This is called “blocking in. ”
- Sky: Mix a light blue (Ultramarine + White). The sky near the horizon is paler and often warmer.
- Water: Use deeper blues and add a bit of brown or green for realism. The water is often darker than the sky.
- Sand: Mix Yellow Ochre, White, and a touch of Burnt Sienna. Add a tiny amount of blue to keep it from looking too “yellow.”
Paint with large brushes and use thin paint. Don’t worry about details yet. This stage helps you see if your colors and layout are working before you invest time.
Painting Realistic Sand
Sand seems simple, but it has many colors and textures.
Observing Sand Color
Sand is not just yellow or white. It changes with:
- Time of day (morning is cooler, afternoon is warmer)
- Wetness (wet sand is darker and reflects more)
- Footprints and marks (cast shadows)
Mixing Sand Colors
Here’s a simple color mixing table for dry and wet sand:
| Type | Main Colors | How to Mix |
|---|---|---|
| Dry Sand | Yellow Ochre, White, Burnt Sienna | 2 parts Yellow Ochre + 1 part White + touch of Burnt Sienna |
| Wet Sand | Burnt Sienna, Ultramarine Blue, White | 1 part Burnt Sienna + 1 part Ultramarine + 2 parts White |
Paint the shadows in the sand using a cool grey (mix blue, brown, and white). This adds depth and avoids flatness.
Adding Texture
- Use a dry brush to drag paint and suggest sand’s roughness.
- Tap with a fan brush or stipple with a round brush for pebbles.
- Don’t overblend; sand should look natural, not too smooth.
A non-obvious tip: Add a hint of the sky color into the sand, especially in shadow areas. This makes the painting feel unified and realistic.
Capturing Beach Water And Waves
Painting water can be intimidating, but with oil paints, you have time to adjust.
Understanding Water Color
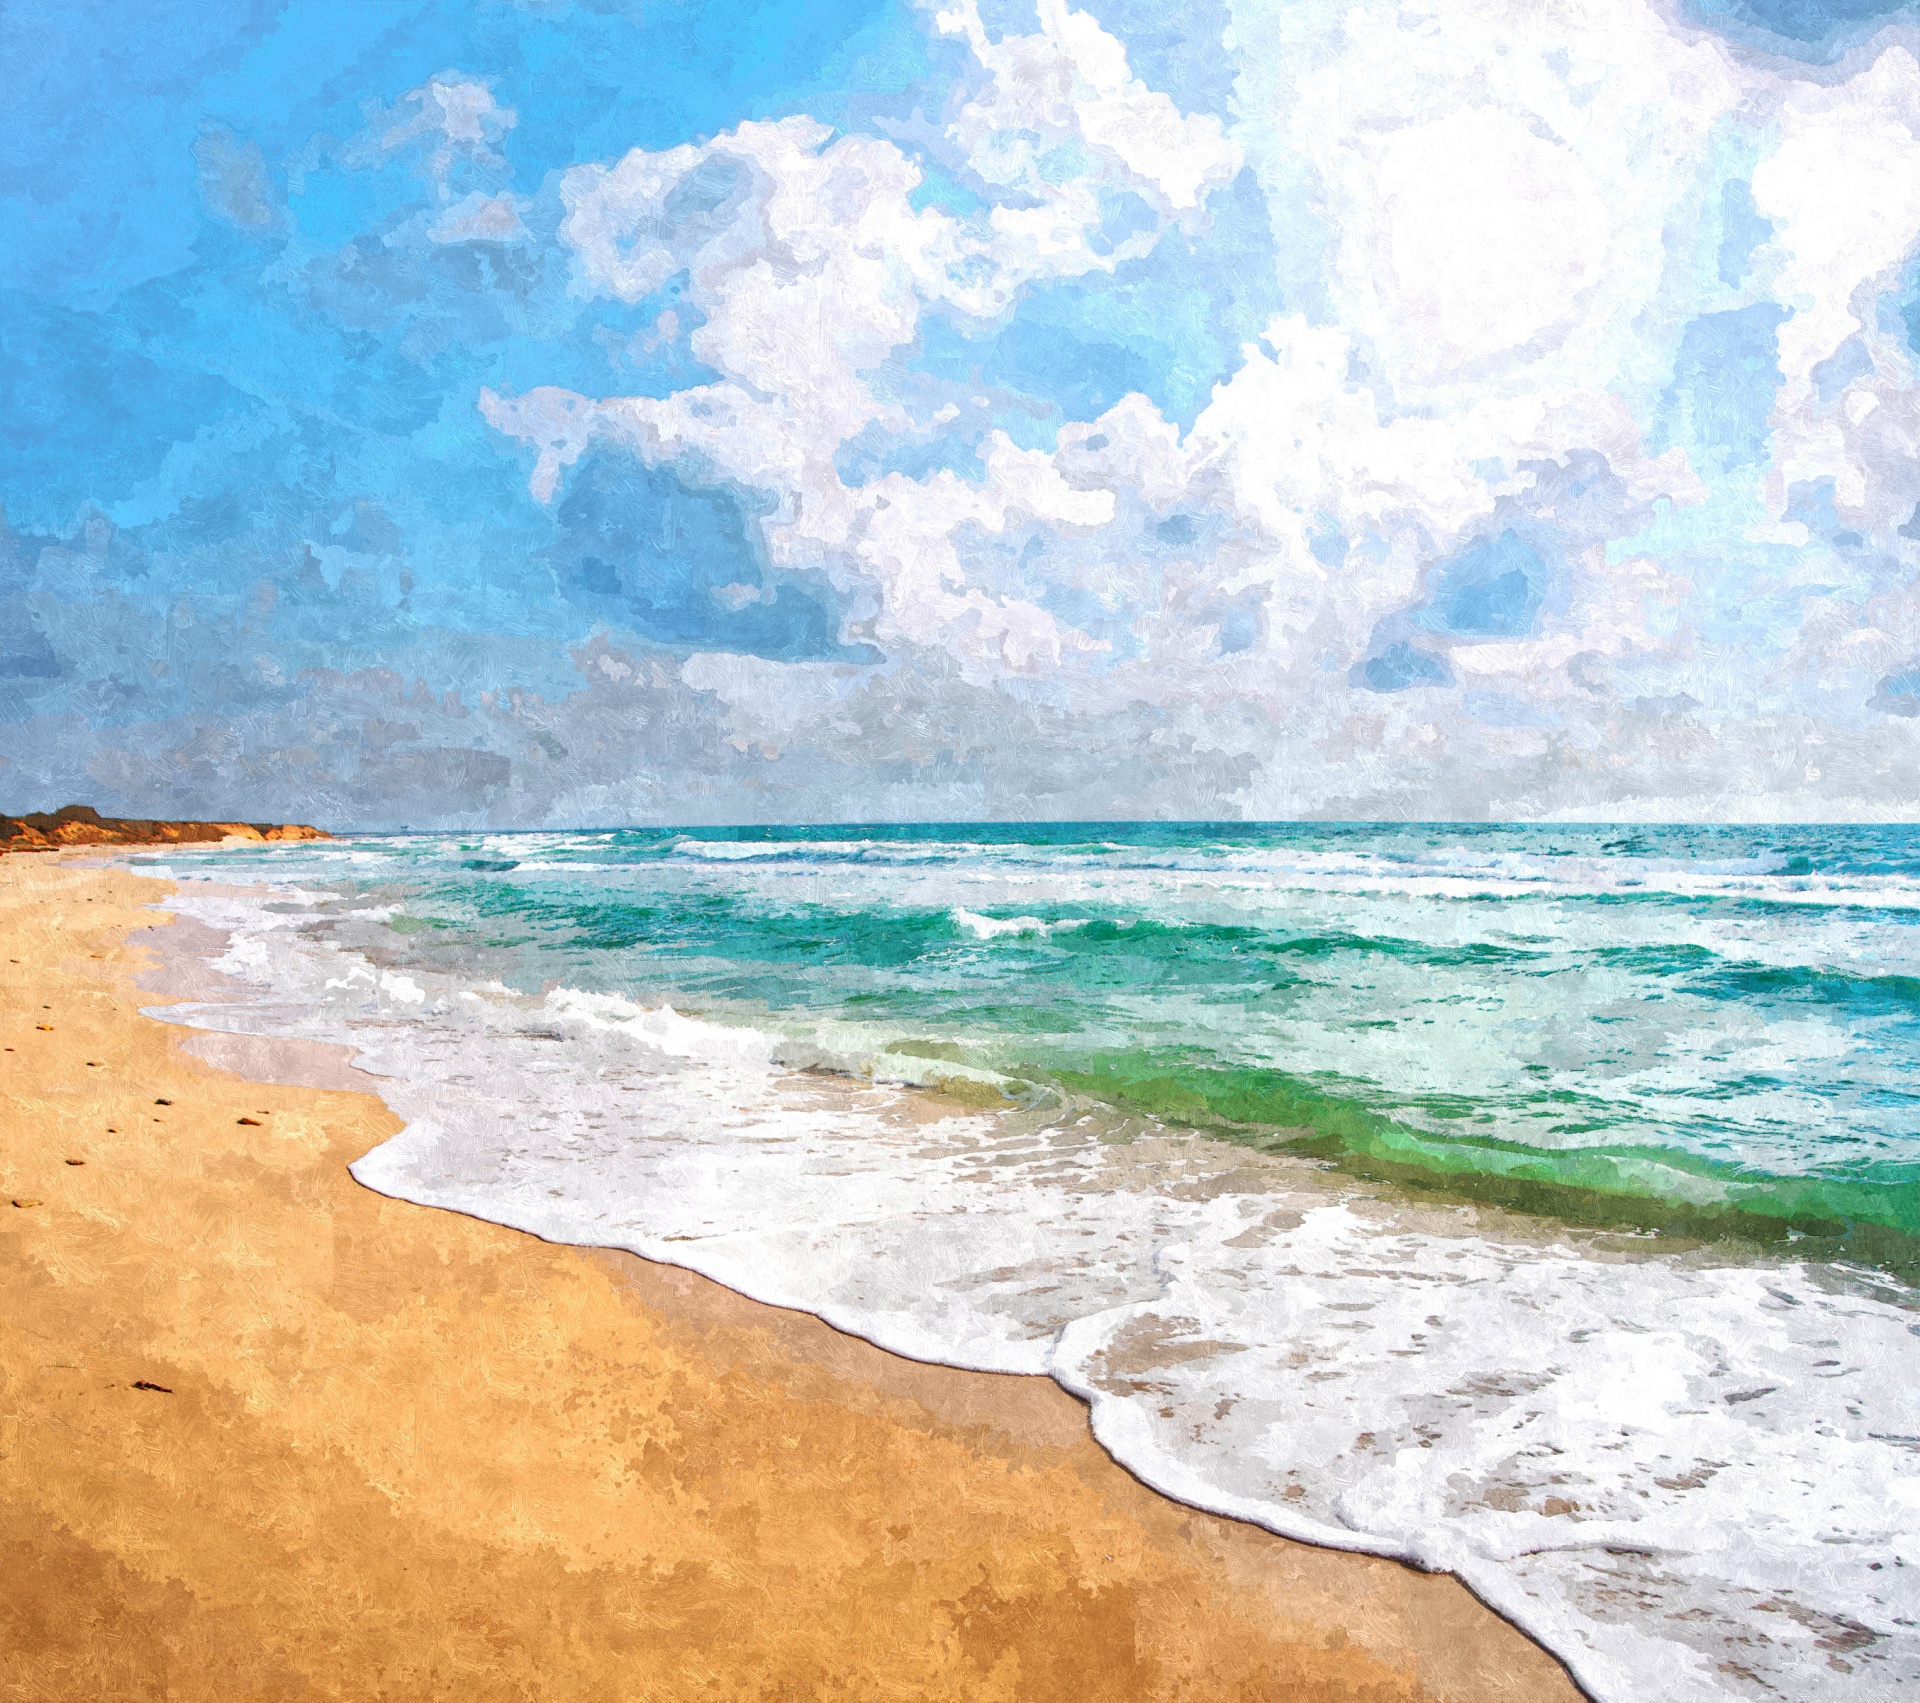
Water is rarely just blue. It reflects the sky and the sand underneath, especially in shallow areas.
- Near shore: More green and brown from sand below
- Deeper areas: Richer blues and sometimes purples
- Wave tops: White with hints of sky blue
Building Water Layers
- Paint the base color (darker near the horizon, lighter near shore).
- Add horizontal strokes for gentle waves. Use a soft brush and blend edges.
- For breaking waves, use thicker paint and a palette knife for the foam.
Here’s a quick comparison of brush techniques for water:
| Technique | Best For | How to Use |
|---|---|---|
| Soft blending | Calm sea, gentle gradients | Blend wet paint with a soft, clean brush |
| Scumbling | Foam, reflections | Drag semi-dry light paint over dark underpainting |
| Impasto | Wave highlights | Apply thick paint with palette knife |
Don’t forget to paint the shadow under the wave. This helps waves “sit” on the surface instead of floating.
Painting The Sky
The sky sets the mood. Spend time getting it right.
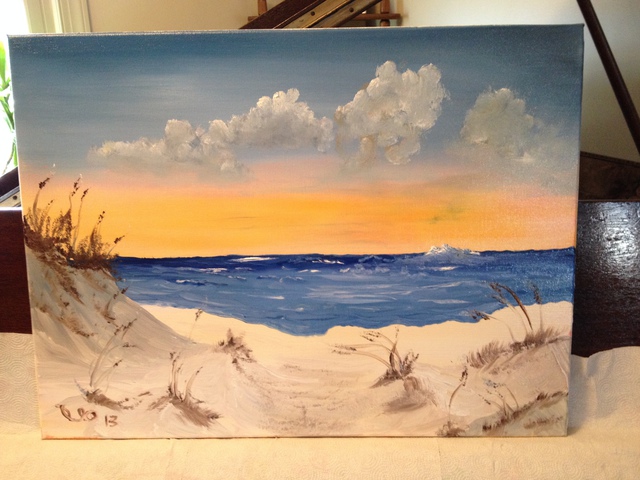
- Morning: Pale blues, soft yellows, pinks
- Midday: Strong blue at the top, fading near the horizon
- Evening: Oranges, pinks, sometimes purple
Blend the sky smoothly with a large brush. Paint clouds with soft edges—use more white and a touch of red or yellow for warmth.
A pro tip: Use less white than you think. Too much white can make your sky chalky.
Credit: www.absolutearts.com
Adding Details: Footprints, Shells, And Driftwood
These small details bring your painting to life.
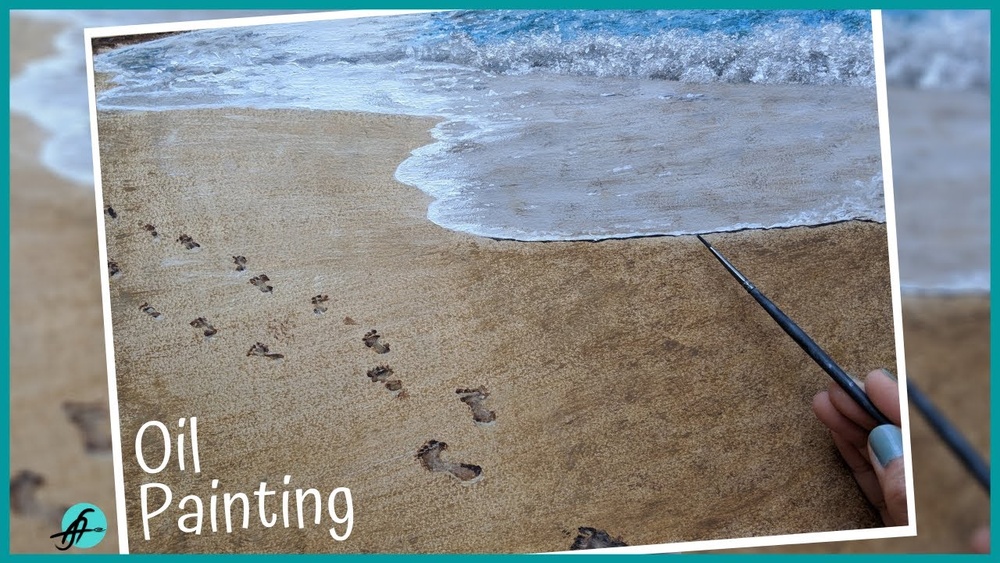
- Footprints: Use a small round brush. Paint the shadow first (blue-brown mix), then highlight the edges with a lighter sand color.
- Shells and pebbles: Small dabs of white, pink, and grey. Add a bit of shine with pure white for wet shells.
- Driftwood: Mix brown and blue for shadows, yellow and white for sunlit areas.
Don’t crowd your scene with too many details. Place a few carefully to guide the viewer’s eye.
Creating Depth And Atmosphere
A beach scene should feel open and full of space.
- Aerial perspective: Distant objects look lighter and less detailed. Add more white and blue to background elements.
- Cast shadows: Use cool colors for shadows on sand. This makes the sun feel stronger.
- Reflections: Wet sand near the waterline reflects the sky and objects above. Use horizontal strokes and gently blend.
A secret many beginners miss: The line between wet and dry sand is rarely straight. Make it uneven, with little curves and pools, for realism.
Drying, Varnishing, And Finishing Touches
Oil paintings dry slowly. Let each layer set before adding highlights or details to avoid muddy colors.
- Allow the painting to dry for a few days before applying varnish.
- Use retouch varnish for a temporary finish, or wait 6 months for a final varnish.
- Sign your name in the corner with a small brush.
If you want more technical details on drying and varnishing, see this page from Winsor & Newton.
Common Mistakes And How To Avoid Them
- Using only yellow and white for sand: Real sand has cool and warm tones. Mix in blues and browns.
- Horizon too centered: Shift the horizon for more interest.
- Overblending everything: Leave some areas rough for texture.
- Ignoring perspective: Distant waves and objects should be smaller and lighter.
- Flat water: Add shadows and highlights to suggest movement.
Tips For A Unique Beach Painting
- Try painting at different times of day to capture unusual light.
- Add birds, boats, or figures for story.
- Use a palette knife for bold texture in sand and water.
- Study works by artists like Winslow Homer for inspiration.
Frequently Asked Questions
How Do I Make Sand Look Realistic In Oil Painting?
Mix several colors: yellow ochre, white, burnt sienna, and a touch of blue for shadows. Use a dry brush technique to create texture and add small flecks for pebbles or shells.
What Brush Should I Use For Painting Water?
A flat or filbert brush works best for smooth water. For foam and highlights, try a fan brush or palette knife. Vary brush pressure for natural effects.
How Can I Paint Wet Sand And Reflections?
Use a mix of burnt sienna, ultramarine blue, and white for wet sand. Paint reflections with horizontal strokes. Blend edges softly to suggest water.
What Colors Are Best For A Bright, Sunny Beach?
Use titanium white, yellow ochre, ultramarine blue, and touches of cadmium yellow. For shadows, add cool blues or purples to your sand mix.
How Long Does It Take For An Oil Beach Painting To Dry?
A thin layer can dry to the touch in 2-7 days, but thick paint may take weeks. Wait at least 6 months before applying final varnish to ensure the painting is fully cured.
Painting sand and beach scenes in oil is both relaxing and challenging. With practice and observation, you’ll learn to mix the right colors, use the best brushwork, and create art that captures the magic of the coast. Enjoy the process, and let each painting teach you something new.
Credit: www.needpix.com