Have you ever looked at a plain glass jar and wished it could sparkle with your own personal touch? Painting on glass jars is a simple and fun way to transform ordinary containers into beautiful, customized pieces.
Whether you want to create charming decor, unique gifts, or stylish storage, DIY painting on glass jars lets you bring your ideas to life with just a few materials and some creativity. In this guide, you’ll discover easy steps and smart tips to help your paint stick perfectly and shine without peeling.
Ready to turn your glass jars into stunning works of art? Let’s dive in and make your DIY project a success!
Materials Needed
Gathering the right materials is key to a successful DIY painting project on glass jars. Each item plays a role in making your artwork last and look great. Prepare well before starting for smooth painting and better results.
Types Of Paint For Glass
Choose paint designed for glass surfaces. Acrylic enamel and glass paint work best. Acrylic paint is easy to use and dries fast. Enamel paint offers a glossy, durable finish. Some paints need baking to set. Pick paint that matches your project needs.
Brushes And Tools
Use soft, fine brushes for smooth strokes. Small detail brushes help with intricate designs. Foam brushes cover large areas evenly. A palette or mixing tray keeps paints organized. Cotton swabs and toothpicks assist with small corrections.
Cleaning Supplies
Clean glass jars thoroughly before painting. Use rubbing alcohol or acetone to remove oils and dirt. Avoid soap as it may leave residue. A lint-free cloth or paper towels dry the surface well. Proper cleaning ensures paint sticks properly.

Credit: www.ooly.com
Preparing The Jar
Preparing the jar is the first key step for a smooth DIY painting project. A clean and dry surface helps paint stick better. It prevents peeling and uneven spots later. Spend time cleaning and drying your jar well. This effort gives your artwork a neat, lasting finish.
Cleaning The Surface
Start by washing the jar with warm water and soap. Use a soft sponge to remove dust and dirt. Avoid harsh scrubbing that can scratch the glass. Rinse the jar well to remove all soap. Clean glass helps paint stick firmly.
Removing Labels And Residue
Soak the jar in warm, soapy water for 10 minutes. This loosens labels and glue. Gently peel off the label with your fingers or a plastic scraper. Remove leftover sticky spots with rubbing alcohol or nail polish remover. Wipe the area until no residue remains.
Drying Techniques
Dry the jar completely before painting. Use a clean towel to pat it dry. Let the jar air dry for 10 to 15 minutes. Avoid painting on damp or wet glass. Dry glass keeps paint from sliding or bubbling.
Basic Painting Techniques
Basic painting techniques create a strong foundation for your DIY glass jar project. These methods help paint stick well and look smooth. Each step improves the jar’s final look and durability. Follow these simple tips for better results.
Applying Base Coats
Start with a clean, dry jar. Use a primer or a base coat made for glass. This layer helps paint stick better and last longer. Apply the base coat evenly with a soft brush. Let it dry completely before adding more paint.
Using Thin Layers
Apply paint in thin layers. Thick paint can drip or crack when dry. Thin coats dry faster and look smoother. Use long, gentle strokes to cover the jar’s surface. Wait for each layer to dry before painting the next one.
Avoiding Paint Peeling
Make sure the jar is free from dust and grease before painting. Use rubbing alcohol to clean the surface well. Avoid touching the painted jar until it is fully dry. Seal the paint with a clear varnish or sealant to protect it. This stops peeling and keeps colors bright.
Creative Design Ideas
Creative design ideas make your painted glass jars unique and eye-catching. Simple techniques can transform plain jars into beautiful decor pieces. Experiment with colors and shapes to match your style. These ideas suit beginners and those with some painting experience.
Stenciling Patterns
Use stencils for neat and consistent designs. Choose shapes like flowers, stars, or geometric patterns. Place the stencil on the jar’s surface and secure it. Apply paint gently with a sponge or brush. Remove the stencil carefully to reveal the pattern. Stenciling saves time and gives professional results.
Freehand Drawing
Draw your own designs directly on the glass. Use fine-tipped brushes or paint markers for control. Start with simple shapes like leaves, dots, or lines. Let your creativity guide you for unique art. Freehand work adds a personal touch to each jar. Practice on paper before painting the jar for better confidence.
Adding Texture And Layers
Create depth by adding texture and layers of paint. Use thick paint or add sand for a rough finish. Paint one layer, let it dry, then add another color or design on top. Use sponges or brushes to blend colors smoothly. This technique gives a rich and tactile effect. Experiment with different textures to find your favorite look.
Finishing Touches
Adding the finishing touches to your DIY painted glass jar makes all the difference. These final steps protect your artwork and give it a polished look. Take your time to seal, decorate, and let the paint cure properly. This ensures your jar stays beautiful for a long time.
Sealing The Paint
Seal the paint to protect it from chipping and fading. Use a clear acrylic sealer made for glass surfaces. Spray or brush the sealer evenly over the painted area. Allow it to dry completely before handling. This step keeps your design vibrant and durable.
Adding Embellishments
Embellishments add personality to your jar. Try ribbons, twine, or small charms around the neck. Use glue that works on glass for attaching decorations. Stickers or decals can also enhance the look. Keep embellishments simple to avoid overpowering the paint.
Curing And Drying Time
Let the jar cure fully before use. Place it in a dry, dust-free space. Drying times vary by paint type, usually 24 to 72 hours. Longer curing improves paint adhesion and strength. Avoid washing or heavy handling until the paint is fully set.

Credit: colormadehappy.com
Troubleshooting Tips
Painting glass jars can be fun and creative. Sometimes, small problems happen during or after painting. These troubleshooting tips help you fix issues and keep your jars looking great. Follow these simple steps to solve common painting problems on glass jars.
Fixing Paint Chips
Paint chips can appear if the paint was too thick or not dry. Gently clean the chipped area with rubbing alcohol. Let it dry well before you touch up with a thin layer of paint. Use a small brush for better control. Allow the paint to dry fully. Adding a clear sealant can protect the touch-up area.
Preventing Paint Lifting
Paint lifting happens when paint peels off the glass surface. Clean the jar with rubbing alcohol before painting. Avoid touching the jar with oily or dirty hands. Use thin coats of paint instead of thick layers. Let each coat dry before adding the next. Seal the jar with a clear acrylic spray to lock the paint in place.
Cleaning Painted Jars Safely
Cleaning painted jars needs care to keep the design safe. Avoid scrubbing painted areas hard. Use a soft cloth or sponge with mild soap and water. Do not soak the jar for a long time. Hand wash only. Dry the jar gently with a towel. This prevents damage to the paint and keeps your jar looking fresh.
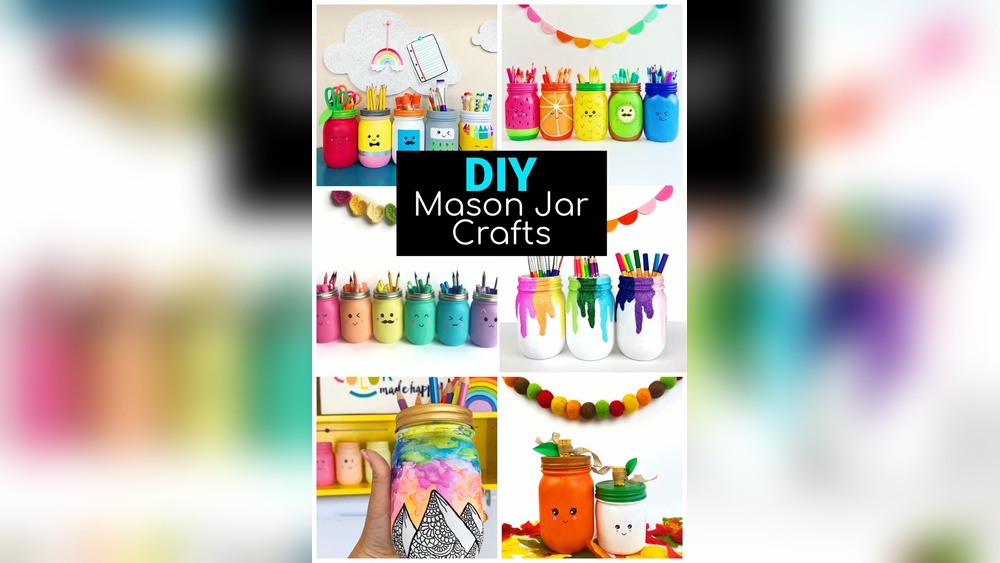
Project Ideas
Painting glass jars opens many creative possibilities. These jars can become beautiful home accents or thoughtful gifts. Explore ideas that make your DIY painting project fun and useful. Use simple designs and colors that suit your style. Below are some inspiring project ideas to try with your painted glass jars.
Decorative Storage Jars
Paint glass jars to organize small items neatly. Use bright colors or patterns for a lively look. Label jars with paint or markers for easy identification. Store craft supplies, kitchen spices, or office items stylishly. Painted jars add color and charm to any shelf or desk.
Gift Jar Creations
Create personalized gift jars for friends and family. Paint the jar with names, messages, or cute images. Fill jars with candies, bath salts, or small treasures. Tie a ribbon around the neck to enhance the presentation. Handmade gift jars show care and creativity.
Seasonal And Holiday Themes
Change jar designs to match seasons or holidays. Paint pumpkins or leaves for autumn decoration. Add snowflakes or stars for winter celebrations. Use red and green for Christmas or pastels for Easter. Seasonal jars brighten your home and celebrate special times.
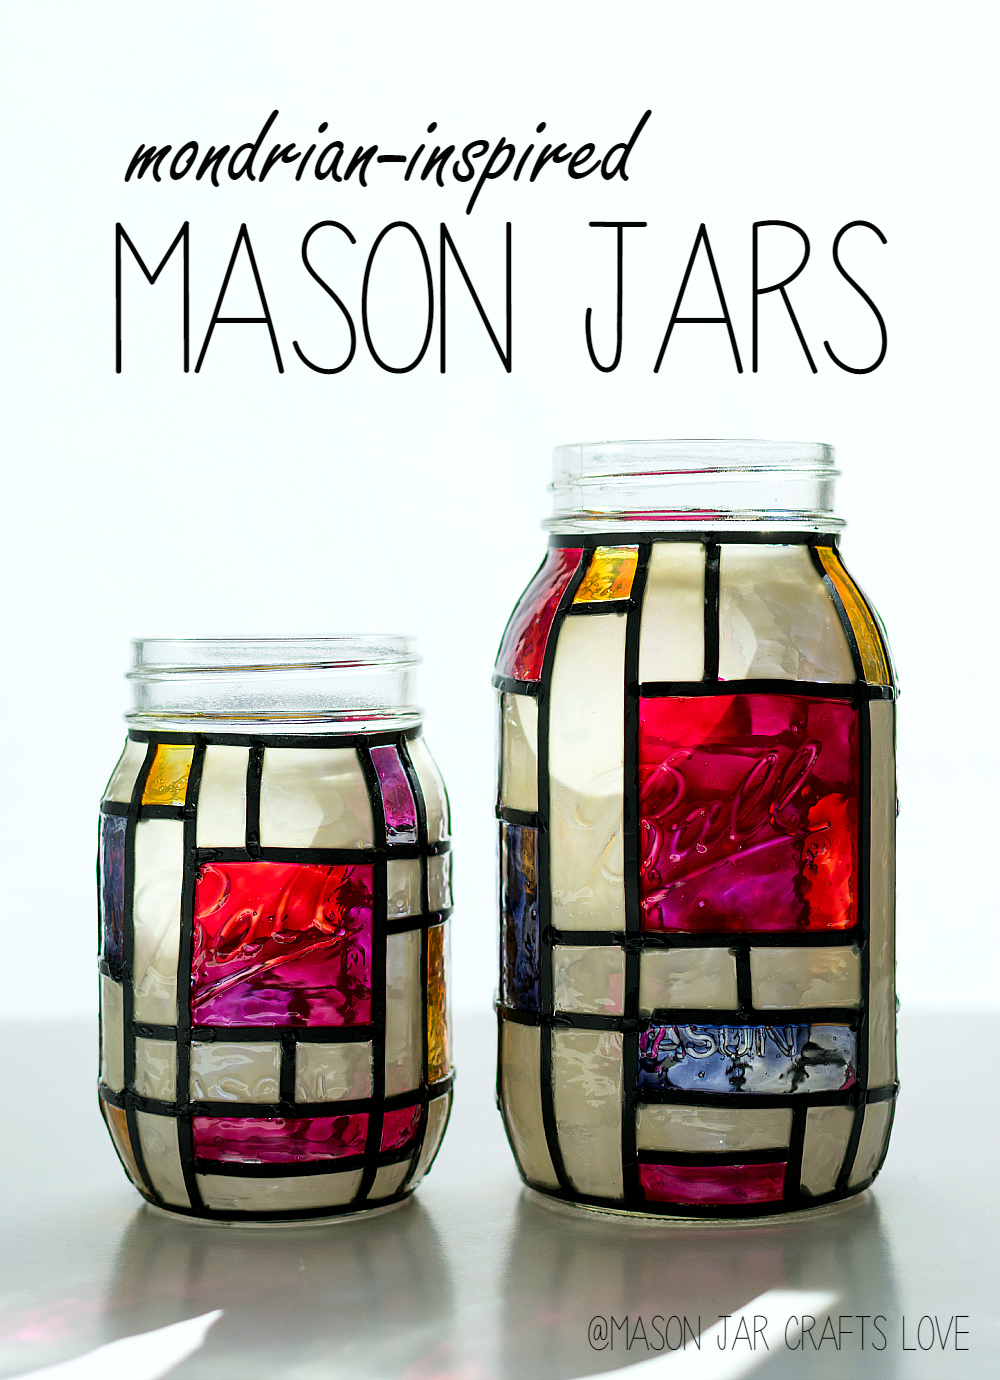
Credit: masonjarcraftslove.com
Frequently Asked Questions
What Kind Of Paint Do You Use On A Glass Jar?
Use acrylic paint or enamel paint for glass jars. Clean the surface with rubbing alcohol before painting. Apply thin, even coats for best results.
How To Paint Glass Jars For Beginners?
Clean the jar with rubbing alcohol to remove oils. Use acrylic or glass paint. Apply thin, even coats with a brush. Let each layer dry before adding another. Seal with a clear spray for durability.
How To Prep A Glass Jar For Painting?
Clean the jar with warm soapy water, then dry it completely. Wipe the surface with rubbing alcohol to remove oils. Avoid oily cleaners. Ensure the jar is fully dry before painting. This prep helps paint adhere and prevents peeling.
Is There A Trick To Painting On Glass?
Clean the glass thoroughly with rubbing alcohol to remove oils. Use thin, even coats of acrylic or enamel paint. Allow each layer to dry fully for lasting results.
Conclusion
Painting glass jars is a fun and creative way to reuse old containers. Clean the jar well before starting your paint work. Use thin layers of paint for smooth, lasting results. Let each coat dry completely to avoid smudges. Choose colors that match your style or home decor.
Adding simple designs can make your jar unique and personal. With patience and care, your painted jar will brighten any space. Enjoy the process and share your beautiful creations with friends. Keep practicing to improve your skills and try new ideas.