Sponge painting crafts are a simple way to add color and texture to almost anything. Whether you’re decorating a canvas, making greeting cards, or giving old furniture a new look, sponge painting is an easy technique to learn and fun to experiment with.
Even beginners can create unique patterns and effects with just a few supplies. This guide will show you everything you need to know to start sponge painting, from choosing the right materials to mastering different techniques. You’ll discover tips, common mistakes, and creative project ideas so you can enjoy this relaxing, satisfying craft.
What Is Sponge Painting?
Sponge painting is a decorative painting method where you use a sponge instead of a brush to apply paint. The natural texture of the sponge creates interesting patterns that are hard to make with a regular brush. It’s a popular craft for kids and adults because the results look artistic even if you’re not an experienced painter.
You can use sponge painting on paper, fabric, walls, wood, and more. The finished look depends on your paint, the type of sponge, and how you apply it. Unlike regular painting, sponge painting doesn’t need perfect strokes. Instead, it’s about dabbing, layering, and blending colors for a soft, textured effect.
Essential Supplies For Sponge Painting Crafts
Getting the right tools makes a big difference. Here’s what you’ll need:
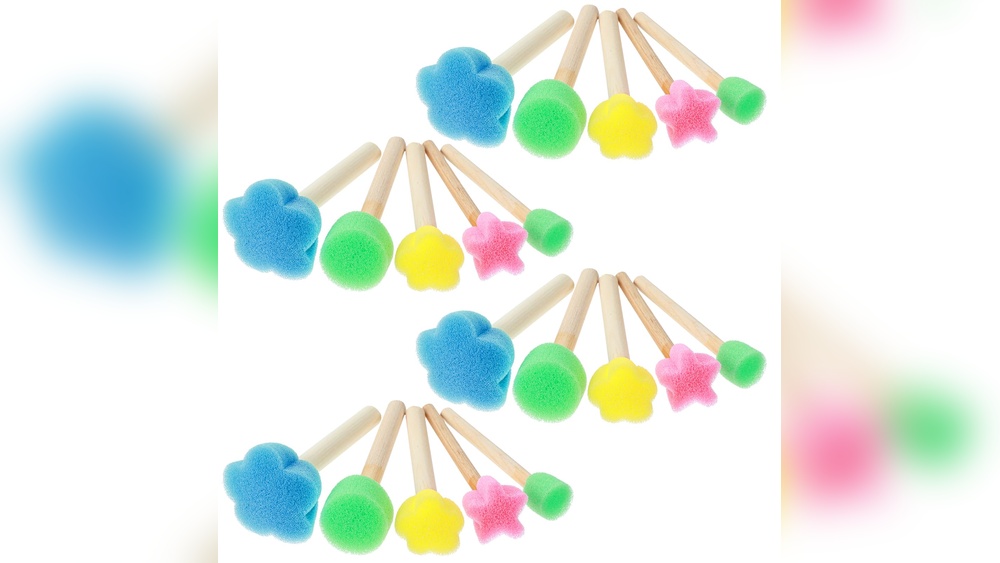
- Sponges – Natural sea sponges give the best random patterns, but basic kitchen sponges work too. Try cutting them into different shapes for special effects.
- Paint – Acrylic paint is best for most crafts. It dries fast, covers well, and is available in many colors. For fabric, use fabric paint.
- Palette or Plate – Use this to hold and mix your paint.
- Paper Towels – To dab off extra paint and keep your hands clean.
- Protective Cover – Newspapers or plastic sheets to protect your workspace.
- Water Cup – For cleaning your sponge between colors.
- Gloves (optional) – To keep your hands paint-free.
- Painter’s Tape (optional) – For sharp edges or masking areas you want to keep clean.
Here’s a quick comparison of sponge types:
| Sponge Type | Best Use | Texture Pattern | Cost |
|---|---|---|---|
| Natural Sea Sponge | Canvas, walls, fine crafts | Random, organic | Higher |
| Kitchen Sponge | Paper, simple crafts | Uniform, blocky | Low |
| Sponge Brush | Edges, small details | Smooth, controlled | Medium |
Preparing Your Workspace
Before you start, set up an area that’s easy to clean. Cover your table with newspaper or a plastic sheet. Arrange your paints, sponges, and water cup within reach. If you’re painting something big, like a wall or furniture, move items that might get splattered.
Good lighting helps you see color and texture clearly.
For beginners, wearing old clothes is wise. Paint can splash, and it’s hard to remove from fabric. If you have kids helping, give them aprons and show them where the supplies are. Planning ahead keeps things stress-free and lets you focus on being creative.
Basic Sponge Painting Techniques
Learning a few simple techniques helps you get started with confidence. Try these steps:
- Dab Method: Dip your sponge lightly in paint, dab off extra on a paper towel, then gently tap the sponge on your project. Move your wrist, not just your arm, for a softer pattern.
- Layering Colors: Start with a light color as your base. Let it dry, then dab a darker color on top. Repeat with other colors for a multi-dimensional look.
- Blending: While the paint is still wet, gently dab two colors together where they meet. This creates a smooth transition and softens edges.
- Stippling: Press the sponge up and down in one spot to make a dense pattern. This works well for clouds, foliage, or textured backgrounds.
- Reverse Sponge Painting: Paint the whole surface first. When it’s almost dry, use a clean, damp sponge to lift some paint away, creating highlights.
Mistakes beginners often make include using too much paint (which causes blobs) or pressing too hard (which flattens the texture). Less is more—start with a small amount of paint and build up slowly.

Credit: www.amazon.com
Step-by-step Guide: Your First Sponge Painting Project
Let’s paint a simple canvas art piece you can hang on your wall.
Materials
- 1 blank canvas (12×12 inches is a good size)
- 3 acrylic paint colors (light, medium, and dark)
- 1 natural sea sponge
- Palette or plate
- Water cup and paper towels
Instructions
- Base Layer: Paint the entire canvas with the lightest color using a wide brush. Let it dry completely.
- First Sponge Layer: Dampen your sponge, squeeze out extra water, and dip it in the medium color. Dab off extra paint. Tap the sponge randomly over the canvas, covering about 60% of the area.
- Second Layer: Repeat with the darkest color, but cover only 30% of the canvas. Focus on corners or edges for depth.
- Blend (Optional): If you want a smoother look, dab a clean damp sponge along the edges where colors overlap.
- Dry and Finish: Let your art dry completely before hanging.
Practical tip: Always test your colors and dabbing technique on scrap paper before you start on your real project. It’s easier to adjust mistakes there.
Creative Sponge Painting Ideas
Once you’re comfortable with the basics, try these fun projects:
- Greeting Cards: Use small sponges to make colorful backgrounds, then add a stamped design or hand-drawn message.
- Gift Wrap: Sponge paint plain kraft paper for custom wrapping.
- Wall Art: Create abstract patterns on canvas or wood panels.
- T-shirts: Use fabric paint and sponges to decorate plain shirts. Seal with heat for durability.
- Flower Pots: Add color and pattern to clay or plastic pots. Seal with clear acrylic spray.
- Furniture: Refresh old chairs or tables with layered sponge-painted color.
- Bookmarks: Cut thick paper strips, sponge paint, and add a ribbon.
- Photo Frames: Decorate plain wood frames with sponged patterns.
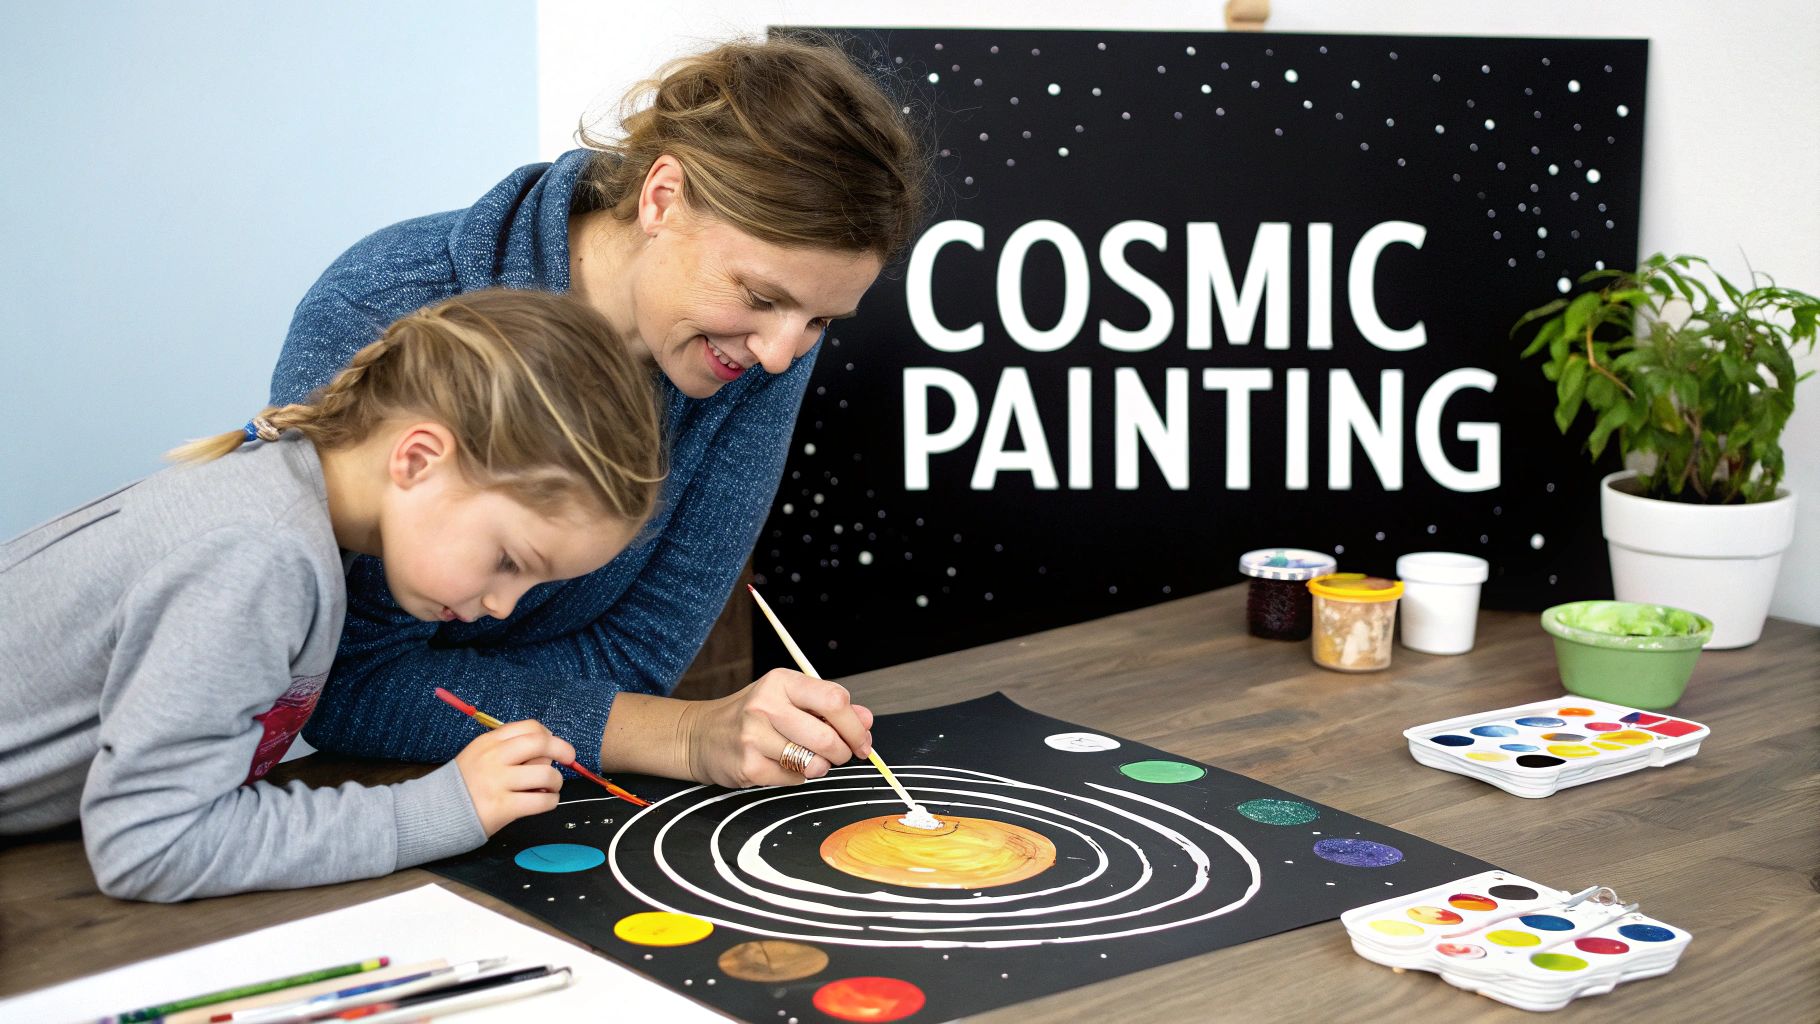
- Kids’ Crafts: Let kids sponge-paint shapes on construction paper for easy art.
- Seasonal Decor: Make pumpkins, leaves, or snowflakes using sponge shapes for holidays.
Credit: www.spacerangerfred.com
Advanced Sponge Painting Effects
Ready to level up your skills? Here are some advanced effects:
- Ombre Blends: Use three or more shades of one color. Start with the lightest at one end, then blend toward the darkest at the other.
- Metallic Highlights: After your main colors dry, dab metallic paint (gold, silver) in small areas for sparkle.
- Stencils and Sponges: Place a stencil on your surface, then sponge paint over it for crisp shapes with textured fill.
- Texture Paste: For extra depth, apply a thin layer of texture paste, let it dry, then sponge paint over it. The raised areas catch more paint.
One non-obvious insight: Use a different sponge for each color to avoid muddying your colors. Even a little leftover paint can change the final result.
Another tip: Slightly mist your sponge with water if your paint starts drying too fast. This keeps your texture soft and prevents streaks.
Common Mistakes And How To Avoid Them
Sponge painting looks easy, but some pitfalls can spoil your craft. Here’s how to avoid the most frequent problems:
- Too Much Paint: If your sponge is soaked, you’ll get blobs instead of texture. Always dab off extra paint before touching your project.
- Pressing Too Hard: Light pressure creates a natural pattern. If you press hard, you’ll smear the paint and lose detail.
- Not Letting Layers Dry: If you sponge on new color while the last one is wet, colors can mix into a muddy mess. Wait for each layer to dry, unless you want to blend them.
- Skipping Prep: Dirty or oily surfaces can ruin your paint job. Clean and dry all surfaces first.
- Using Only One Sponge: Paint can transfer and mix colors unintentionally. Have a few sponges on hand, or wash and dry between colors.
Cleaning Up And Caring For Your Tools
Proper care keeps your tools ready for next time. Rinse sponges in warm water immediately after use. Squeeze out all paint, but don’t twist or pull the sponge, which can tear it. Let sponges air-dry completely to prevent mold.
For acrylic paint, soap and water are enough. If you use oil-based paint, you’ll need a solvent like mineral spirits. Always clean your palette and brushes as well, so dried paint doesn’t ruin them.
Safety Tips For Sponge Painting
While sponge painting is generally safe, a few precautions are wise:
- Use non-toxic paint, especially with kids.
- Work in a well-ventilated area.
- Wear gloves if you have sensitive skin.
- Keep paint and cleaning solutions away from pets and small children.
- Dispose of paint water down the drain only if it’s water-based and safe for plumbing.
If you’re painting fabric or items that will be handled often, check the paint label for washability and proper setting methods.
Comparing Sponge Painting To Other Techniques
Sponge painting has unique advantages over other methods like brush painting or stamping. Here’s a comparison:
| Technique | Skill Level Needed | Texture Effect | Best For |
|---|---|---|---|
| Sponge Painting | Beginner | Random, organic, layered | Backgrounds, abstract art, crafts |
| Brush Painting | Intermediate | Smooth, controlled | Detailed work, portraits |
| Stamping | Beginner | Repeated, defined shapes | Cards, patterns, fabrics |
Sponge painting stands out for its ease and forgiving nature. If you make a mistake, it’s easy to layer more paint on top and keep going.
Inspiring Examples And Real-life Uses
Many artists and crafters use sponge painting for both small and large projects. For example, some interior designers use sponging to add depth to accent walls. Teachers often use this craft in classrooms because it’s safe, inexpensive, and produces fast results.
If you want more visual inspiration, check out the photo galleries on WikiHow for step-by-step images and creative examples.

Credit: www.cchobby.com
Frequently Asked Questions
What Types Of Paint Work Best For Sponge Painting?
Acrylic paint is the most popular choice for sponge painting because it dries quickly and works on many surfaces like paper, canvas, and wood. For fabric projects, use fabric paint, which stays soft and lasts after washing.
How Do I Prevent Colors From Mixing Into A Muddy Look?
Let each color dry before adding the next one. Use a clean sponge for each color, and dab off extra paint before touching your project. If you want to blend, do it gently while paint is still wet, but not too much.
Can I Use Household Sponges Instead Of Art Sponges?
Yes, kitchen sponges work well for most crafts. Just avoid sponges with soap or chemicals. Natural sea sponges create a more random pattern, but both types can make beautiful effects.
How Do I Fix Mistakes In Sponge Painting?
If you add too much paint or don’t like an area, let it dry, then sponge another color on top. You can also use a damp sponge to gently lift some paint while it’s still wet.
Is Sponge Painting Safe For Kids?
Yes, as long as you use non-toxic paints and supervise young children. Cover their clothes and work area, and teach them to dab gently instead of pressing hard.
Sponge painting crafts open up a world of creative possibilities. With simple tools, easy steps, and lots of room for personal style, it’s a perfect hobby for anyone who wants to make art that’s colorful and textured. Start with the basics, explore new ideas, and soon you’ll find your own favorite way to sponge paint.