
Are you struggling to bring your creative ideas to life quickly and effectively? Thumbnail sketching digitally might be the game-changer you need.
Imagine having the power to explore multiple compositions, layouts, and concepts in just minutes—without the pressure of perfect details. This simple yet powerful technique helps you map out your vision, save time, and boost your artistic confidence. You’ll discover clear, easy steps to master digital thumbnail sketching, so you can unleash your creativity faster and smarter.
Ready to transform your art process? Let’s dive in!

Credit: www.reddit.com
Choosing Digital Tools
Starting your digital thumbnail sketching begins with setting up the right canvas. This step is essential for smooth workflow and clear ideas. A well-prepared canvas helps you focus on creativity without technical distractions. Below, learn how to choose the best size and organize your space for multiple sketches.
Optimal Canvas Size
Choose a small canvas to keep sketches quick and simple. Sizes like 800 x 600 pixels work well. Small dimensions help you avoid adding too much detail. The goal is to capture ideas fast, not create finished art. Keep resolution around 72 to 150 DPI for speed and clarity.
Too large a canvas wastes time and slows down your device. Too small, and your sketches lose meaning. Find a balance that fits your screen and software. Remember, thumbnails are about composition, not details.
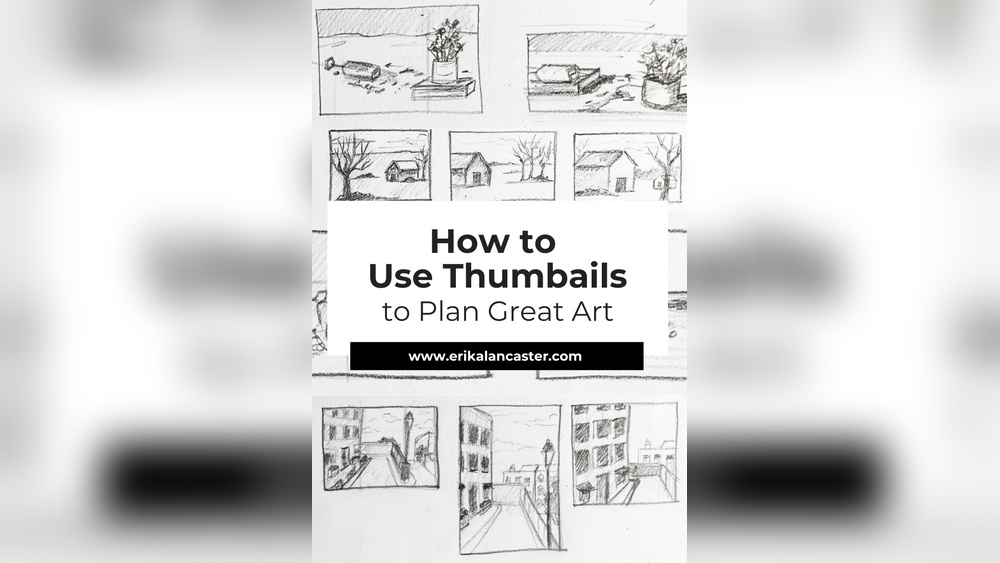
Creating A Thumbnail Grid
Divide your canvas into a grid to sketch multiple ideas at once. Grids help compare different compositions side by side. Use 3×3 or 4×4 grids depending on space. Each box becomes a mini canvas for one thumbnail sketch.
Set guides or rulers in your software to mark the grid lines. This keeps sketches organized and neat. You can quickly erase or adjust one thumbnail without affecting others. Grids streamline your creative process and improve idea flow.
Setting Up Your Canvas
Thumbnail sketching is the first step in digital art planning. It helps to explore ideas quickly. Sketching basics focus on speed, shape, and layout. These small sketches guide your final artwork.
Keeping sketches simple lets creativity flow. It allows you to test different ideas fast. Digital tools make this process easy and flexible.
Keeping Thumbnails Loose
Draw quickly without worrying about details. Use broad strokes to capture shapes and forms. This keeps your mind open to new ideas. Loose sketches help you avoid getting stuck early.
Use a soft brush or pencil tool in your app. Make marks that suggest shapes, not exact lines. This approach saves time and boosts creativity.
Focusing On Composition
Think about where elements sit in the frame. Good composition guides the viewer’s eye naturally. Use simple shapes to block out main areas. Balance light, dark, and empty space well.
Try different layouts to find what feels best. Use the rule of thirds or center focus. Strong composition makes your art more interesting and clear.
Avoiding Excess Detail
Details slow you down and clutter your sketch. Keep your focus on the big picture only. Use simple lines and shapes to show objects. Leave textures and fine work for later stages.
Too much detail can hide composition problems. Step back often and simplify your sketches. Clear thumbnails help you plan better final artwork.
Sketching Basics
Exploring ideas is the first step in digital thumbnail sketching. It helps artists quickly capture concepts. This stage focuses on creativity over details. Sketches stay small and simple. They guide the design process and save time later.
Keep your mind open and try many different ideas. This helps find the best composition and flow. Let your imagination lead without worrying about perfection. Digital tools let you erase and change easily. Experiment with shapes, forms, and perspectives to find strong visuals.
Rapid Sketching Techniques
Start with fast, loose sketches to keep ideas flowing. Use a simple brush with low opacity. Draw basic shapes to block out the main elements. Avoid focusing on details or clean lines. Speed helps you capture the essence of each idea. Create many sketches in a short time. This variety gives options to choose from later.
Use shortcut keys to switch brushes and undo mistakes quickly. Zoom out to see the whole layout clearly. Stay relaxed and don’t overthink your strokes. The goal is to generate many rough concepts fast. This method sparks creativity and prevents getting stuck.
Trying Different Layouts
Change the arrangement of elements to explore visual balance. Move shapes around to see what works best. Try vertical, horizontal, and diagonal layouts. Test different focal points and negative spaces. This helps find the strongest composition for your design.
Use layers to separate parts of the sketch. Hide and show layers to compare layouts easily. Flip the canvas horizontally to spot mistakes or improve flow. Experiment with scale and spacing to create variety. Trying layouts digitally is simple and quick. It lets you refine ideas before committing to details.
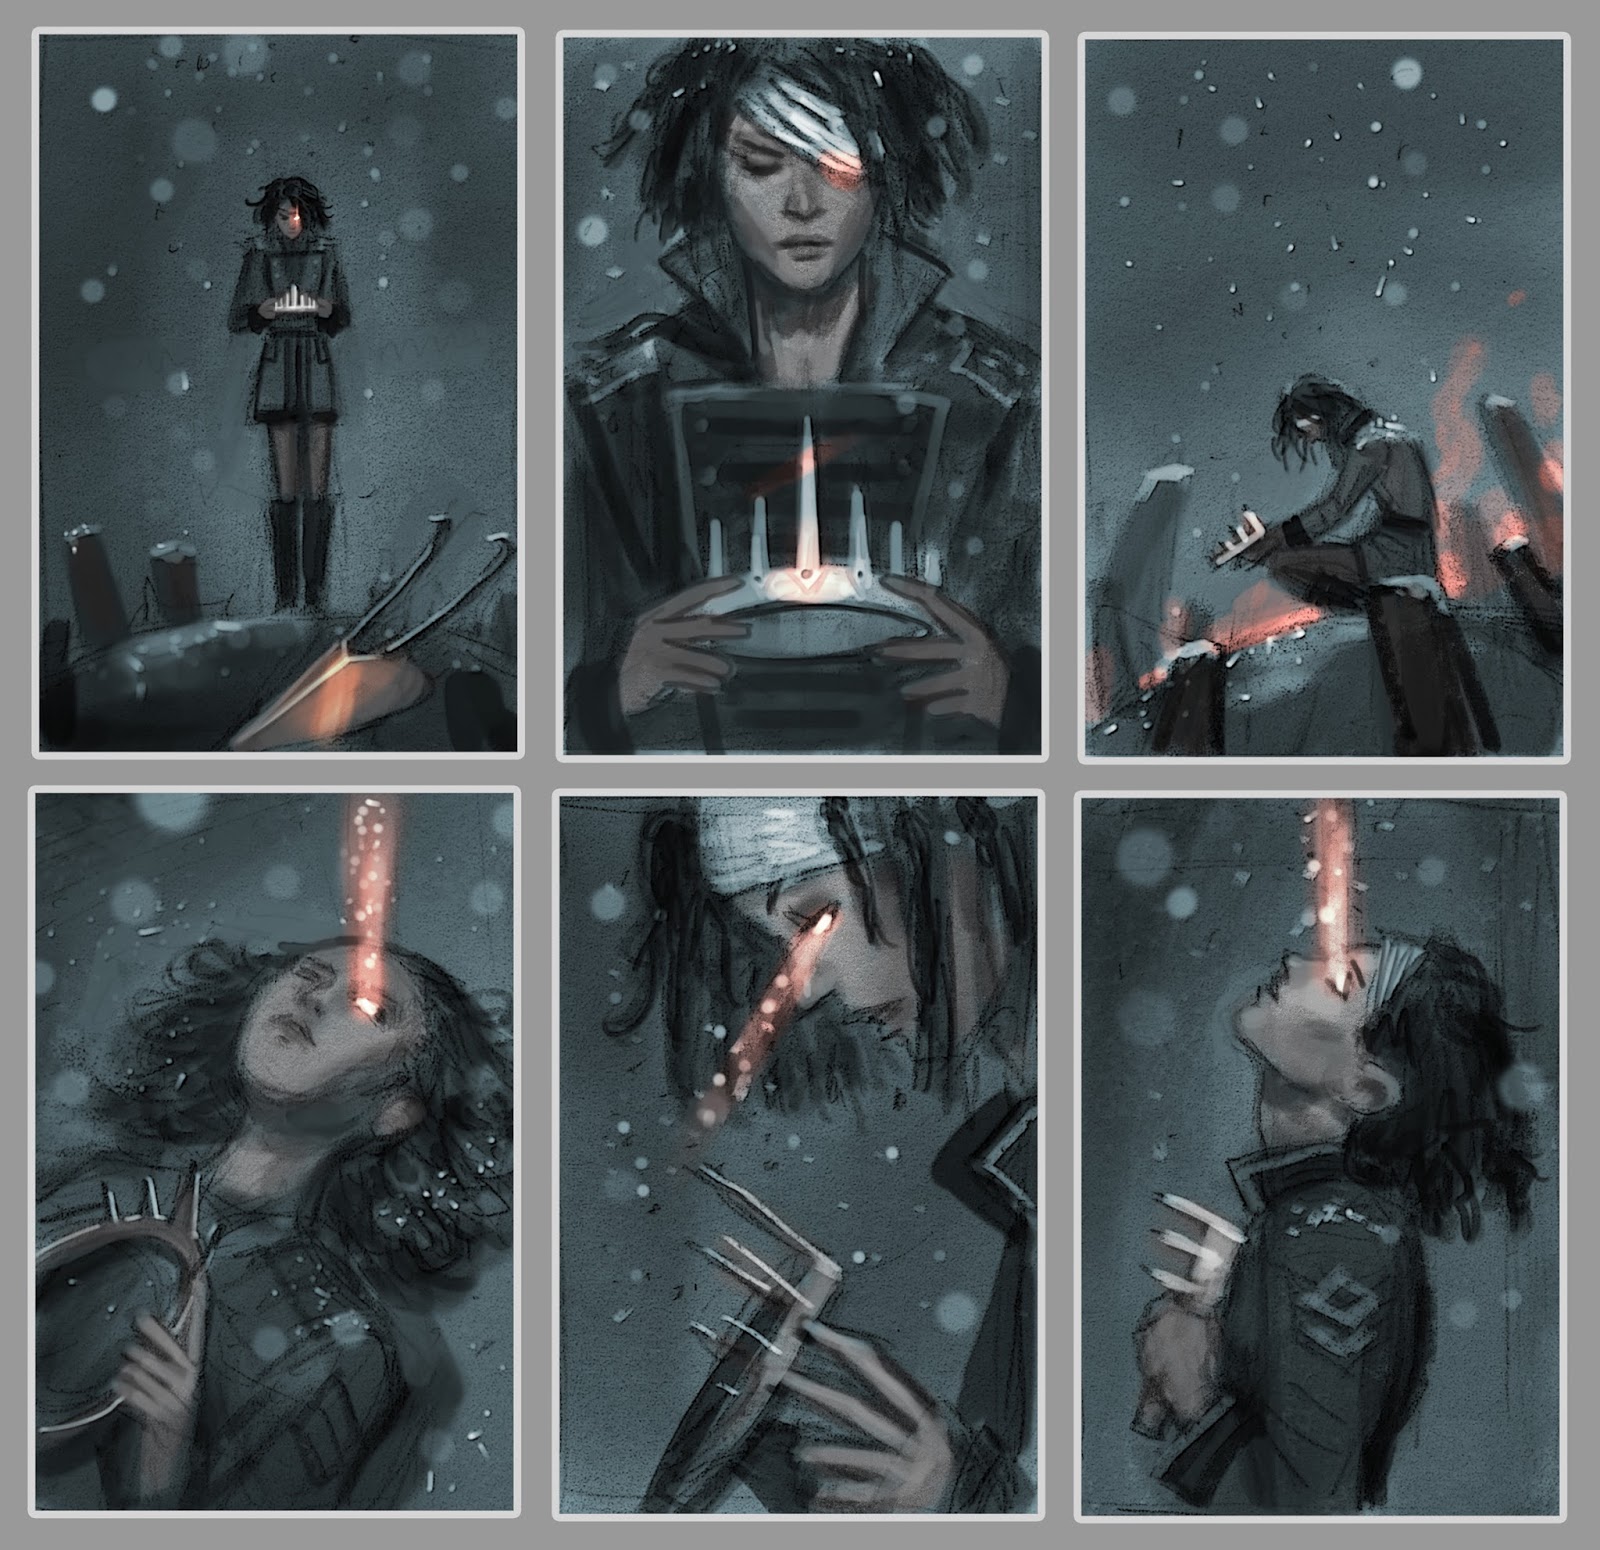
Credit: www.muddycolors.com
Exploring Ideas
Using thumbnails for larger projects saves time and improves design flow. Thumbnails help you see the whole picture before starting detailed work. They keep ideas clear and allow quick changes.
Working digitally makes it easy to create many thumbnails fast. This process helps avoid mistakes and builds confidence for the final piece.
Planning Final Artwork
Start by sketching small, simple thumbnails to plan your layout. Focus on the main shapes and composition. Avoid details to keep ideas fresh and flexible.
Use these sketches to decide on the best design for your project. Digital tools let you copy and change thumbnails quickly. This speeds up your planning process.
Once you pick a thumbnail, enlarge it and add more detail. This step builds a strong foundation for your final artwork.
Experimenting Before Commitment
Thumbnails let you try many ideas without stress. Change colors, shapes, and layouts with ease. This freedom helps find unique solutions.
Digital sketching allows undo and layers, making experiments simple. You can save different versions to compare later. This helps choose the best direction for your project.
Experimentation with thumbnails reduces risk. It stops you from spending hours on a design that might not work.
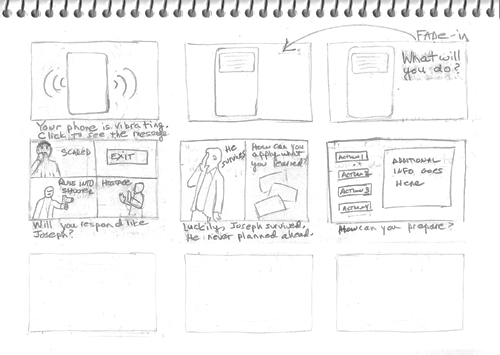
Credit: theelearningcoach.com
Frequently Asked Questions
How To Create A Thumbnail Sketch?
Create a thumbnail sketch by drawing small, quick, simple shapes to explore composition and ideas. Use a grid for multiple sketches. Keep details minimal to focus on overall design. This helps plan larger artworks efficiently and sparks creativity.
What Are Common Mistakes In Thumbnail Sketches?
Common mistakes in thumbnail sketches include adding too much detail, losing the big picture, ignoring composition, and keeping sketches too rigid or unclear.
How Do Artists Use Thumbnail Sketches?
Artists use thumbnail sketches to quickly explore ideas, plan compositions, and experiment with layouts before creating detailed artwork.
What Apps Do Most Digital Artists Use To Draw?
Most digital artists use Procreate, Adobe Photoshop, Clip Studio Paint, and Krita for drawing. These apps offer versatile brushes and advanced tools.
Conclusion
Digital thumbnail sketching helps plan your artwork quickly and clearly. Keep sketches small and simple to explore many ideas fast. Use basic shapes and loose lines to avoid over-detailing early on. Try different compositions to find what works best for your final piece.
Digital tools let you erase and change sketches easily without waste. Practice regularly to improve speed and creativity in your thumbnails. Remember, thumbnails guide your bigger artwork, so focus on clarity. Start sketching today and enjoy the creative process from the first small mark.


