Wet on wet oil painting, sometimes called “alla prima,” is a technique that lets you blend colors directly on the canvas while the paint is still wet. Many artists, like Bob Ross, have made this style famous because it creates soft edges, rich colors, and fast results.
If you’re starting out, the idea of painting wet on wet may feel exciting but also a bit confusing. With the right tips and knowledge, you can learn to paint beautiful landscapes, portraits, or abstracts using this classic method.
The secret behind wet on wet painting isn’t just about working quickly. It’s about understanding how oil paints interact, preparing your materials, and knowing when to let go for natural blending. This article will walk you through everything you need: from setting up your workspace and choosing supplies, to key techniques, mistakes to avoid, and pro tips that even some experienced painters miss. Whether you’re a beginner or looking to improve your skills, you’ll find practical advice to help you succeed with wet on wet oil painting.
Understanding Wet On Wet Oil Painting
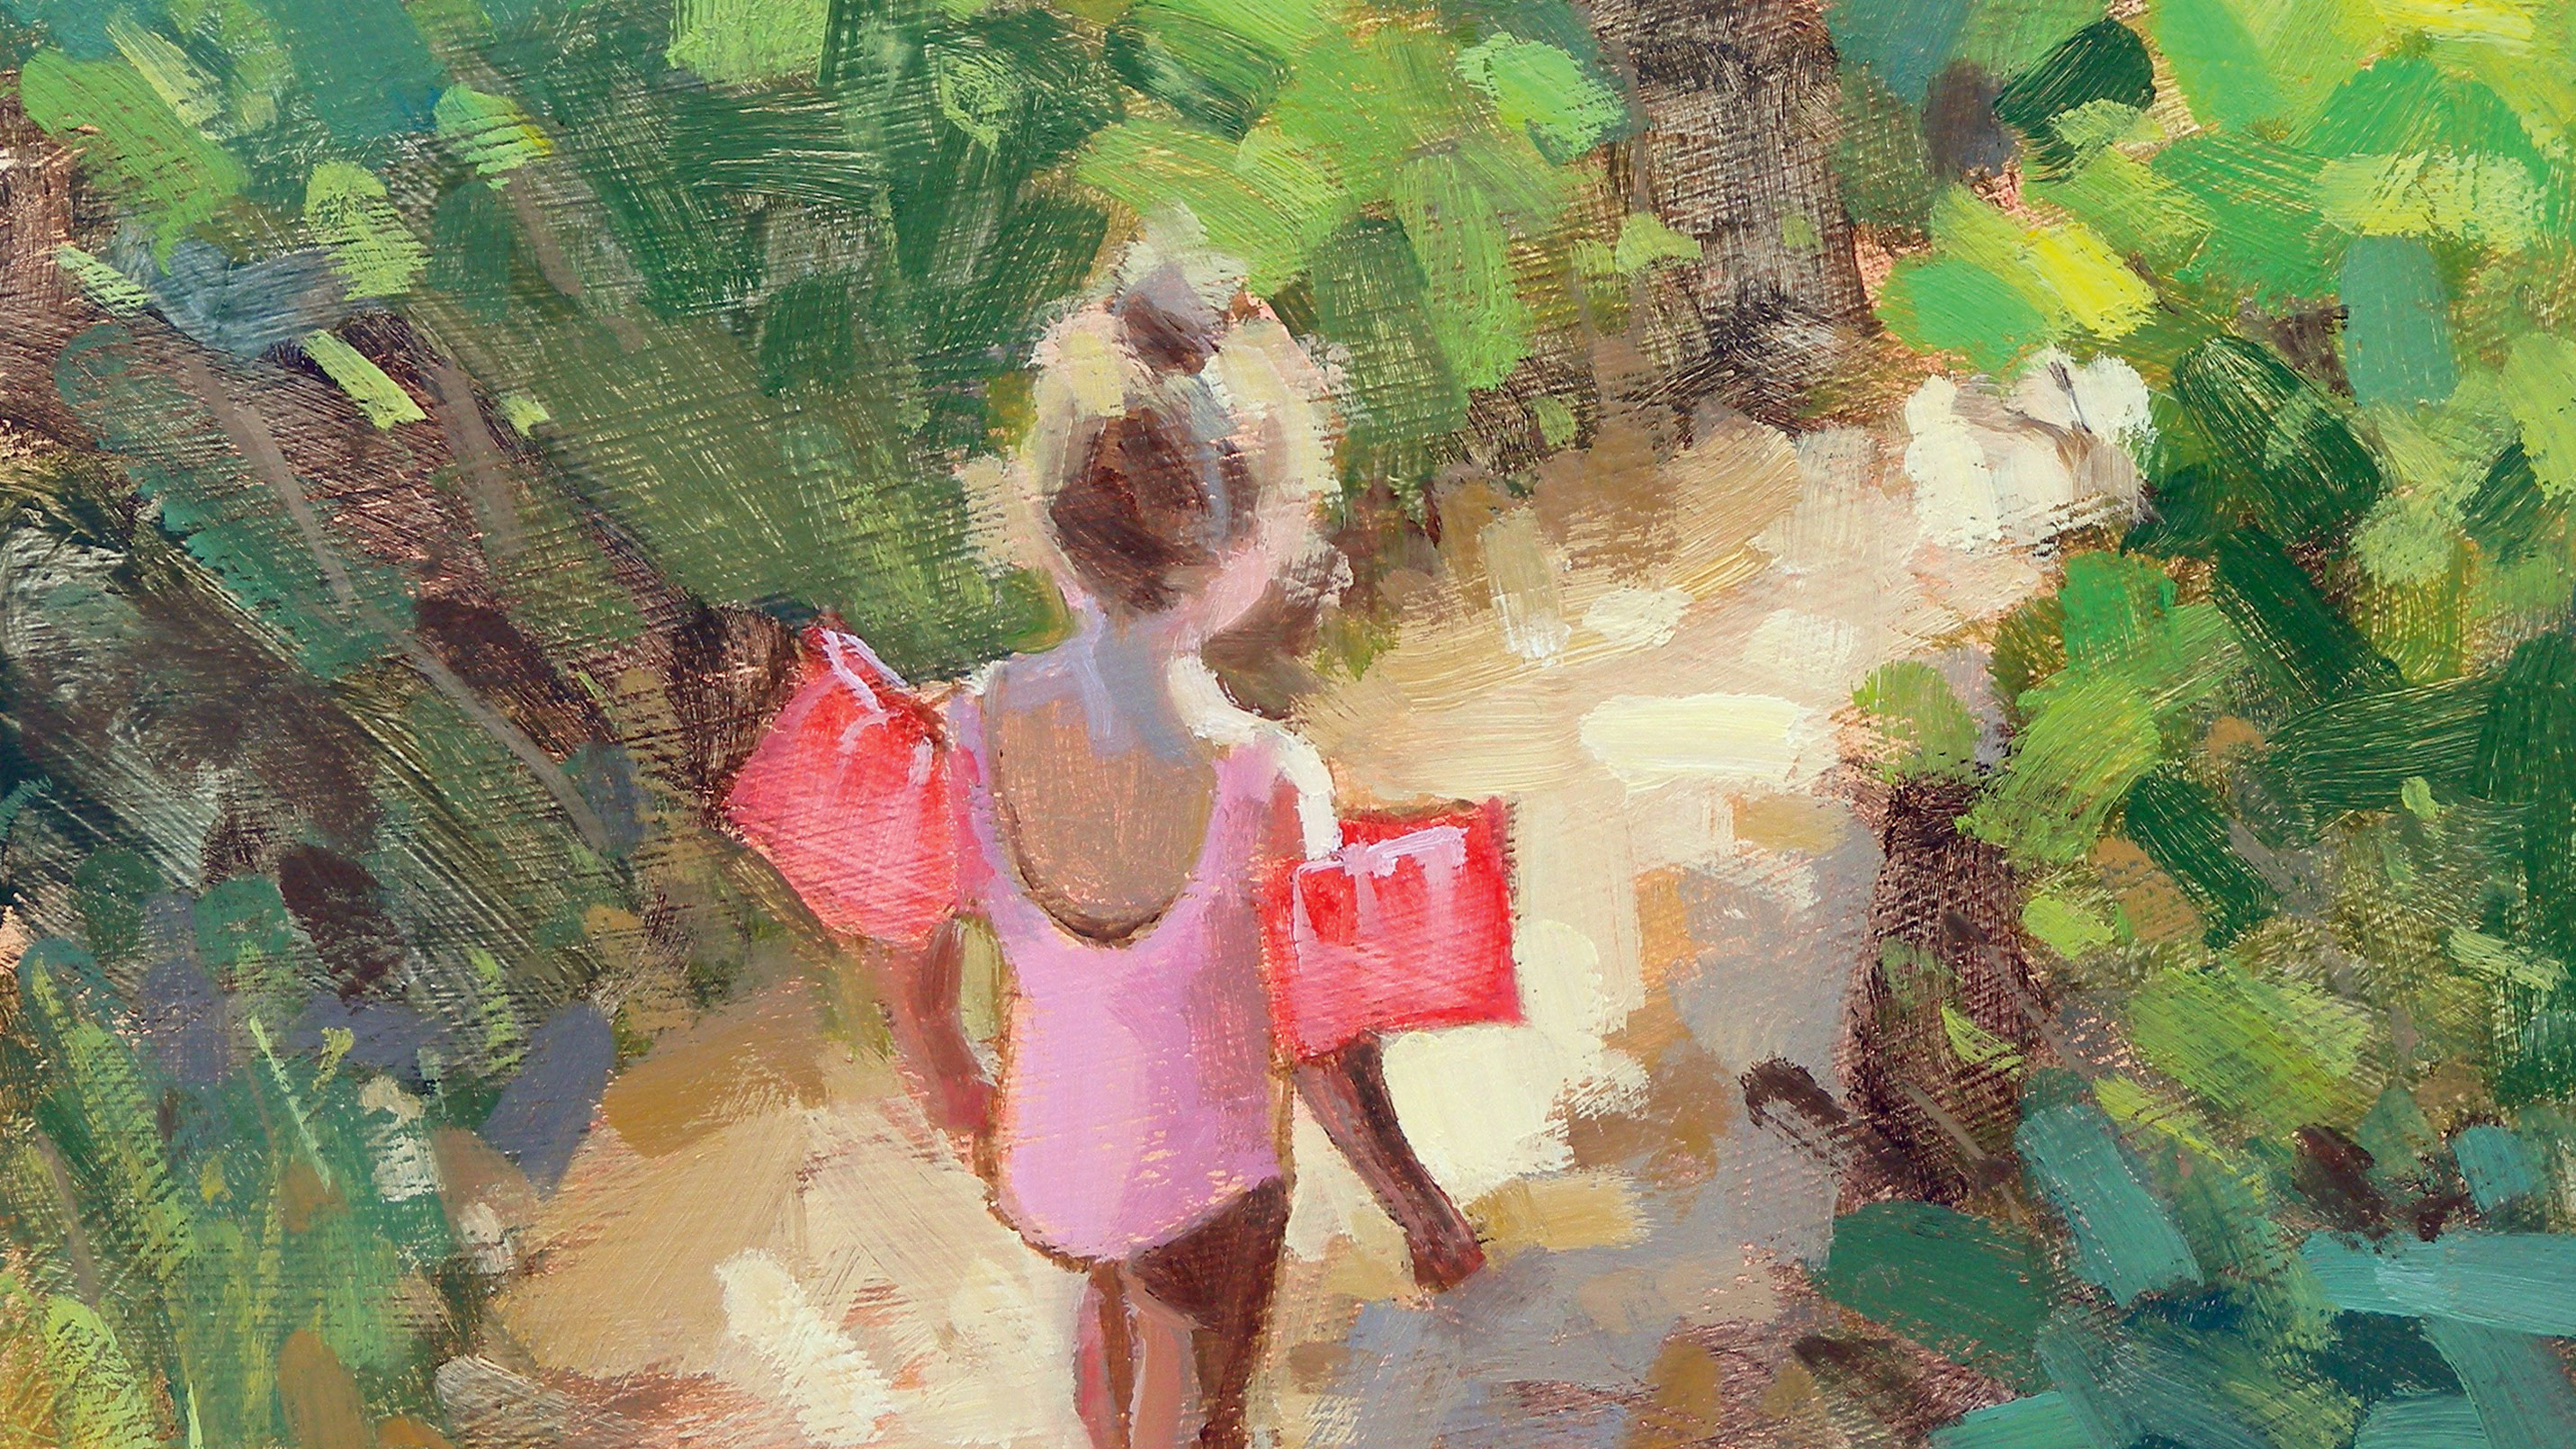
Wet on wet means applying fresh layers of oil paint onto previous layers that are still wet. Unlike traditional oil painting, where each layer dries before the next is added, alla prima lets you finish a painting in a single session. This technique is popular for landscapes, portraits, and still lifes because it creates soft transitions and lively brushwork.
The main advantage is the ability to blend and mix colors right on the canvas, creating gradients and subtle effects that are harder with dry layers. However, this also means you have less time to make changes, so planning and confidence are important.
Many beginners don’t realize that the paint’s thickness, the type of brush, and the amount of medium used all affect the results. Learning how to control these factors is key for success.
Essential Materials For Wet On Wet Oil Painting
Success with wet on wet oil painting starts with the right materials. Not all paints, brushes, or surfaces are suitable for this fast, fluid technique.
Must-have Supplies
1. Oil Paints
Choose professional or student-grade oil paints. Look for pigments that are creamy and have good coverage. Brands like Winsor & Newton, Gamblin, and Rembrandt are reliable.
2. Canvas
Pre-stretched, pre-primed canvas is best. Cotton or linen canvases are both suitable, but linen is more durable for heavy paint layers.
3. Brushes
Use a range of bristle brushes (flat, filbert, fan) and soft brushes (mop or sable) for blending. Palette knives are also useful for thick paint and texture.
4. Palette
A large, flat palette (wood, glass, or acrylic) gives you space to mix colors freely.
5. Mediums
Linseed oil or a ready-made painting medium thins your paint and slows drying, helping with blending.
6. Palette Knife
Great for mixing and applying paint with texture or scraping off mistakes.
7. Easel
Keeps your canvas at a comfortable angle and height.
8. Paper Towels/rags
For cleaning brushes and wiping excess paint.
9. Odorless Mineral Spirits Or Turpentine
Used for cleaning, not for thinning paint in wet on wet. Go for odorless options to keep your workspace healthy.
Comparison: Student Vs. Artist Grade Oil Paints
| Feature | Student Grade | Artist Grade |
|---|---|---|
| Pigment Strength | Lower | High |
| Price | More Affordable | Expensive |
| Mixing Ability | Decent | Excellent |
| Color Range | Limited | Wide |
Non-obvious insight: Many beginners overuse solvents to thin their paint. For wet on wet, it’s better to use mediums like linseed oil or just the paint itself for a creamy consistency.

Credit: www.danschultzfineart.com
Preparing Your Canvas
Preparation is one of the most important steps in wet on wet oil painting. If you skip or rush this, blending will be harder and your paint might dry too quickly.
Priming
Most canvases come pre-primed with gesso. If yours isn’t, apply at least two coats of acrylic gesso and let it dry completely. This seals the surface and keeps oil paint from soaking in.
Applying A Base Layer (liquid White)
For classic wet on wet, especially landscapes, artists often apply a thin layer of liquid white (or a mix of titanium white and linseed oil) over the dry, primed canvas. This wet base makes blending sky, clouds, and backgrounds much easier.
How to Apply:
- Use a large, clean brush to apply a very thin, even layer.
- Wipe off excess with a paper towel so the canvas feels slick, not sticky.
Tip: If you want a colored background, mix liquid white with a bit of your chosen color before applying.
Mixing And Applying Paint
Getting the right paint consistency is essential for wet on wet. Paint that’s too thick won’t blend; paint that’s too thin will slide and lose color strength.
Mixing Colors
- Start with a small amount of paint and gradually add medium until the texture is creamy—not runny.
- Use your palette knife to mix, not your brush. This keeps brushes clean and saves paint.
- Test the color and thickness on a scrap piece or the edge of your canvas.
Non-obvious insight: Many artists forget that every color you add to the canvas will blend with the wet base and any other paint nearby. It’s smart to mix colors a bit lighter and more vibrant than you want as they’ll dull slightly when blended.
Layering
- Begin with background elements (sky, distant hills).
- Work forward, painting mid-ground, then foreground.
- Add details and highlights last, using thicker paint and lighter pressure.
Wet On Wet Painting Techniques
Mastering wet on wet is about more than just blending. Here are the key techniques:
1. Blending
Use a clean, dry brush to gently sweep over edges between two colors. Hold the brush loosely and use soft strokes.
2. Scumbling
Drag a dry brush with a small amount of paint lightly over the canvas. This creates soft, hazy effects, perfect for clouds or mist.
3. Impasto
Apply thick paint with a palette knife or stiff brush for raised, textured areas. This works best for highlights like snow, rocks, or tree bark.
4. Lifting
If you make a mistake, use a clean brush or palette knife to gently lift off the paint while it’s still wet. Don’t scrub—just swipe softly.
5. Glazing
While not common in alla prima, you can use thin, transparent layers of paint over dry areas to adjust color and tone.
Brush Strokes Comparison
| Stroke Type | Best Use | Effect |
|---|---|---|
| Blending | Skies, Soft Edges | Seamless transitions |
| Impasto | Texture, Highlights | 3D, Bold strokes |
| Scumbling | Atmosphere, Mist | Hazy look |
Common Mistakes And How To Avoid Them
Even experienced painters slip up with wet on wet. Knowing these pitfalls can save you time and frustration.
1. Overworking The Paint
Too much blending turns colors muddy. Make a stroke, blend gently, then leave it alone.
2. Using Too Much Medium
Excess medium makes paint slippery and hard to control. Use just enough to keep paint creamy.
3. Dirty Brushes
Always clean your brush when switching colors. Otherwise, you’ll get unexpected mixes and dull colors.
4. Painting Thin Over Thick
In wet on wet, paint thick over thin to avoid cracking and make details stand out.
5. Ignoring Drying Time
While alla prima is about speed, if you add a new layer days later, the bottom layer may be too dry for proper blending.
6. Forgetting The Fat Over Lean Rule
Even in wet on wet, upper layers should have more oil (fatter) than lower ones. This prevents cracking as the painting ages.
Practical tip: If you want crisp lines (like tree trunks or fence posts), wipe away a thin line of wet paint before adding your detail. This gives your brush a clean path and sharper edges.
Credit: www.creativebloq.com
Advanced Tips For Better Results
Use A Limited Palette
Limiting your colors (for example, just ultramarine blue, alizarin crimson, cadmium yellow, and white) forces better color harmony and makes mixing easier.
Control Your Light Source
Paint in a well-lit area, ideally with natural daylight, so you can see true colors and values.
Work Fast, But Thoughtfully
Wet on wet is about decisive strokes, not rushing. Plan each area before you paint it so you don’t waste time fixing mistakes.
Practice With Simple Subjects
Start with simple landscapes or still lifes. As you get comfortable, move to more complex scenes.
Clean Brushes Regularly
Keep two or three brushes handy. Use one for dark colors, one for lights, and one for blending to keep colors fresh.
Comparing Wet On Wet With Traditional Oil Painting
| Feature | Wet on Wet | Traditional Layering |
|---|---|---|
| Drying Time | Hours to days | Days to weeks per layer |
| Blending Ability | Excellent | Limited to each layer |
| Ideal Subjects | Landscapes, Immediacy | Portraits, Detail work |
| Completion Speed | Single session | Multiple sessions |
Cleaning Up And Storing Your Painting
After you finish, clean your brushes with odorless mineral spirits, then wash with soap and water. Wipe your palette and tools before the paint dries. Let your painting dry in a dust-free area, away from direct sunlight. Oil paintings may feel dry after a week, but they cure fully in several months.
Tip: Don’t varnish your painting until it’s completely dry (usually 6–12 months). Varnishing too soon can trap moisture and cause cracking.
Frequently Asked Questions
How Long Does Wet On Wet Oil Painting Take To Dry?
Drying time depends on paint thickness, room temperature, and the amount of medium used. Most wet on wet oil paintings are dry to the touch in 3–7 days, but full curing can take several months.
Can I Use Acrylic Paint For Wet On Wet?
No. Acrylic paint dries too quickly for the wet on wet method. This technique is best done with oil paints, which stay workable for hours.
Do I Need To Use Liquid White For Every Painting?
No. Liquid white is helpful for blending backgrounds, but you can use other colors or skip it for thicker, more textured paintings.
What’s The Best Brush For Blending In Wet On Wet?
A clean, dry soft bristle brush (like a mop or large fan brush) is best for gentle blending. Use light pressure to avoid muddy colors.
Where Can I Learn More About Wet On Wet Oil Painting Techniques?
Many online resources, tutorials, and books cover this topic in detail. A good place to start is the Wet-on-wet Wikipedia page.
Learning to paint wet on wet opens up a world of creative possibilities. The most important thing is to practice and not be afraid to make mistakes. Each painting is a chance to improve your skills and discover your own style.
With these tips, you’re well on your way to creating beautiful, expressive works in oil paint.

Credit: www.youtube.com