
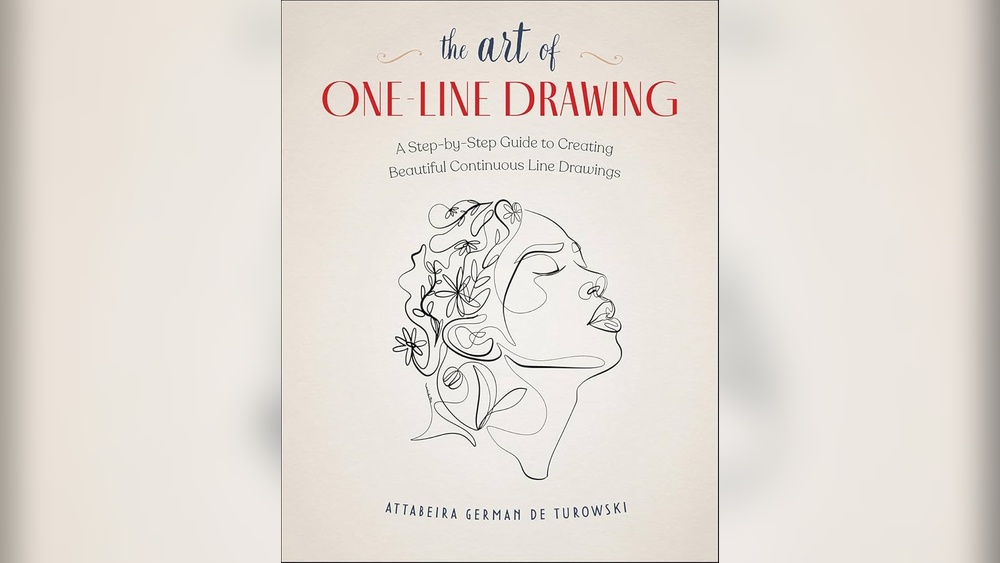
Quick answer: To draw clean line art in Procreate, sketch on one layer, drop its opacity to about 20 to 30 percent, and ink on a new layer above it with an inking brush such as Studio Pen or Technical Pen. Raise the brush’s StreamLine setting in Brush Studio to smooth wobbly strokes, rotate and zoom the canvas so every line is drawn at a comfortable angle, and use QuickShape for straight lines and curves. Vary line weight by pressure: thicker on shadow sides and overlaps, thinner on lit edges and fine details.
Clean line art looks effortless, but it is usually the result of a few small settings and a lot of deliberate habits. Shaky lines, uneven weight and gaps that ruin color fills are problems almost every Procreate user runs into, and most of them have simple fixes.
Below you will find the canvas and brush settings that matter, a step-by-step inking process, line weight rules, ways to fix jitter, and how to prepare line art for coloring with ColorDrop and reference layers. The steps apply to Procreate on iPad; if you also need to ink on a PC, our comparison of the best Procreate alternative apps for Windows covers desktop options with similar stabilizers.
Best Canvas Size for Digital Art in Procreate (Line Art Edition)
Line art is the one stage where resolution truly matters. Lines drawn on a small canvas look soft and jagged when printed or enlarged, and you cannot add detail later by scaling up.
| Project | Recommended canvas | Notes |
|---|---|---|
| Social media illustration | 3000 x 3000 px or 2400 x 3000 px | Large enough to downscale cleanly |
| Comic page | Around 3300 x 5100 px at 300 DPI or higher | Many comic artists work at 600 DPI for black line art |
| Print up to 8 x 10 in | 2400 x 3000 px at 300 DPI | Standard print resolution |
| Stickers and merch | At least 300 DPI at final print size | Check printer requirements |
| Coloring pages | 2550 x 3300 px (US Letter at 300 DPI) | Fits standard paper |
A useful rule is to ink at a size equal to or larger than your final output. Lines scaled down look crisper; lines scaled up look blurry. Keep in mind that larger canvases reduce the number of layers Procreate allows, which it displays when you create a custom canvas.
Choosing and Setting Up an Inking Brush
Built-in brushes worth trying
Procreate’s Inking set contains several brushes that work well for line art. Studio Pen gives a classic tapered comic line, Technical Pen gives a more even line with slight pressure response, and Monoline (in the Calligraphy set) gives a uniform weight for minimalist styles. Try each one and pick whichever matches the look you want.
Brush Studio settings that matter most
Tap a brush to open Brush Studio. These settings have the biggest effect on line quality:
- StreamLine (Stabilization section): Smooths strokes by slightly delaying and averaging your movement. Values between 30 and 60 percent suit most inking. Higher values give smoother curves but feel laggy.
- Stabilization: Smooths based on stroke speed. Helpful for long, sweeping lines.
- Motion filtering: Removes small jitters and shakes. A light setting can clean up hand tremor without much lag.
- Taper (Apple Pencil section): Controls how lines start and end. Pressure taper gives natural thin ends; touch taper adds automatic taper on quick strokes.
- Size and opacity response: Most line artists let pressure control size but keep opacity at maximum for crisp, solid lines.
Duplicate a brush before editing it (swipe left on the brush, then Duplicate), so you always keep the original version.
Adjust global pressure
Under Actions, Prefs, Pressure and Smoothing, you can edit the pressure curve for all brushes. If your lines are always too thick, flatten the curve so it takes more pressure to reach full size. If you press lightly by habit, steepen the curve. The global Stabilization and Motion Filtering sliders here also apply to every brush.
How to Draw Line Art in Procreate: Step by Step
Step 1: Make a rough sketch
Use a pencil brush in any color to sketch proportions, poses and composition. Do not worry about neatness. Many artists sketch in blue or red so the sketch is easy to tell apart from the inks.
Step 2: Refine the sketch on a second layer
Lower the rough sketch to about 30 percent opacity and create a new layer for a cleaner sketch. Resolve anatomy, clothing folds and details here. This step makes inking far faster because you are tracing decisions rather than making them.
Step 3: Set up an inking layer
Lower the refined sketch to 20 to 30 percent and hide the rough layer. Add a new layer on top named “Inks.” If you plan to color with ColorDrop, keep the inks on a single layer for now.
Step 4: Ink the main contours first
Start with the outer silhouette and the biggest shapes, using confident strokes. Draw from the shoulder or elbow for long lines rather than from the wrist. Draw each line in one stroke if possible, and undo with a two-finger tap rather than erasing and redrawing small pieces.
Step 5: Rotate and zoom constantly
Twist the canvas with two fingers so you always pull lines in your most comfortable direction, usually toward yourself or in an arc that matches your wrist’s natural motion. Zoom in for tight details and out for long sweeping lines. Long lines drawn while zoomed in tend to wobble.
Step 6: Use QuickShape for straight lines and curves
Draw a line and hold the pencil at the end. Procreate snaps it into a straight line, arc, ellipse or polygon. While still holding, place a finger on the screen to constrain it to set angles or a perfect circle. Tap Edit Shape at the top to adjust nodes afterward.
Step 7: Add interior lines and details
Once contours are done, add interior lines such as fabric folds, facial features and texture marks. Use a thinner line here so details do not compete with the silhouette.
Step 8: Adjust line weight
Go back and thicken lines where forms overlap, in shadow areas and at the base of objects. This adds depth and makes the drawing read clearly. A common trick is to use a slightly larger brush and draw along the existing line on the shadow side.
Step 9: Clean up
Hide the sketch and zoom in to check every line. Erase overlapping line ends with a hard eraser, fill small gaps and smooth bumps. Close all gaps around areas you plan to fill with color.
Line Weight Rules That Make Art Pop
| Use thicker lines for | Use thinner lines for |
|---|---|
| Outer silhouette | Interior details |
| Shadow side of forms | Side facing the light |
| Objects in the foreground | Objects in the distance |
| Where one form overlaps another | Texture marks, hair strands, wrinkles |
| Heavy, solid objects | Light, delicate objects |
You do not need to follow every rule in every drawing, but consistent line weight logic makes a drawing feel more three-dimensional and professional.
Fixing Shaky or Wobbly Lines
- Increase StreamLine on the brush to 40 to 70 percent.
- Draw faster. Slow strokes amplify small tremors. Quick, confident strokes are smoother even without stabilization.
- Use a matte screen protector. Some artists find the extra friction gives better control than bare glass.
- Anchor your hand. Rest your palm on the screen (palm rejection handles it) or use a two-finger drawing glove to reduce drag and accidental marks.
- Use the Liquify tool in Push mode at a low setting to nudge a bumpy curve into shape after drawing it.
- Redraw rather than patch. One clean redrawn line almost always looks better than a patched one.
Preparing Line Art for Coloring
Set the inks as a reference layer
Tap the inks layer and choose Reference. Then create a new layer underneath for color. When you use ColorDrop on the color layer, Procreate fills based on the line art boundaries while putting the color on the new layer, so your lines stay untouched.
Adjust the ColorDrop threshold
After dragging a color into an area, keep your pencil on the screen and slide left or right. The threshold bar at the top changes how far the fill spreads. If fills leave a pale halo next to lines, raise the threshold; if color leaks out, lower it or close the gap in the line art.
Change line color
Black lines are not always the best choice. Turn on Alpha Lock on the line layer (two-finger swipe right) and paint over the lines with a darker version of the adjacent color. This technique, often called color holds, softens the look and makes artwork feel more integrated. You can also use a clipping layer with Hue, Saturation, Brightness adjustments for more control; see our guide on color grading in Procreate for ways to unify line and color.
Organizing Line Art Layers
Complex drawings get easier to manage when line art is split sensibly. A common setup is one layer for the main character or subject, one for the background, and one for fine details such as hair strands or texture marks. Splitting this way lets you thicken or recolor one group without affecting the rest.
Before coloring, you can merge the subject lines into a single Reference layer so ColorDrop has a complete boundary to read. Keep a duplicate of the unmerged layers in a hidden group in case you need to edit them later.
Line Art Styles to Experiment With
- Comic and manga inks: Strong tapers, heavy blacks and bold weight contrast.
- Clean uniform line: Monoline brushes with little pressure variation, popular for minimal illustration, icons and sticker art.
- Sketchy line art: Pencil or textured brushes, multiple overlapping strokes, loose and lively.
- Broken line: Lines that break where light hits the form, suggesting edges without fully closing them.
- Abstract line drawing: If you want to draw abstract art, continuous single-line drawings and contour studies are a fun way to loosen up and explore rhythm.
Common Line Art Mistakes
Tracing the sketch too literally
Rough sketches often have hesitant, hairy lines. Copying those exactly carries hesitation into the inks. Use the sketch as a guide, but commit to one clean line.
All lines the same weight
Uniform weight can look intentional in some styles, but in most drawings it flattens forms. Add weight variation deliberately.
Too many lines
Not every fold, wrinkle and hair needs a line. Fewer, well-placed lines usually read better.
Gaps in fill areas
Tiny gaps cause ColorDrop to flood the entire canvas. Zoom in and close them before coloring.
Inking at too small a canvas size
Lines drawn small and scaled up look soft. Start large enough for your final use.
Exercises to Improve Your Line Control
- Line drills: Fill a page with parallel straight lines, then curves, then ellipses, all without stabilization. Ten minutes a day builds noticeable control.
- Ghosting: Hover the pencil over the line path a few times before touching down, then draw in one motion.
- Weight practice: Draw simple objects with three distinct line weights.
- Re-ink old drawings: Ink an old sketch, then ink it again a week later and compare.
- Speed inking: Give yourself 10 minutes to ink a full sketch. Speed forces confident strokes.
FAQs
What is the best brush for line art in Procreate?
Studio Pen and Technical Pen in the Inking set are good starting points. The right choice depends on your style; tapered pens suit comics while monoline brushes suit clean, minimal illustration.
How do I make my lines smoother in Procreate?
Increase the StreamLine and Stabilization settings in Brush Studio, draw with faster strokes, and rotate the canvas so you always draw at a comfortable angle.
What is the best canvas size for digital art in Procreate?
For line art, work at least at your final output size, such as 2400 x 3000 pixels at 300 DPI for an 8 x 10 inch print. Larger is better for line quality, as long as your device still allows enough layers.
How do I color line art without going over the lines?
Set the line layer to Reference, create a new layer below it and use ColorDrop on that new layer. The fill respects the line boundaries while keeping color separate.
Why does ColorDrop fill my whole canvas?
There is a gap somewhere in the line around the area. Zoom in, close the gap, and try again. Lowering the ColorDrop threshold can also help.
Can I draw straight lines in Procreate without a ruler?
Yes. Draw a line and hold the pencil down at the end to activate QuickShape, which snaps it into a straight line. You can also use the 2D Grid drawing guide with Drawing Assist.
Final Thoughts
Great line art in Procreate comes from a refined sketch, a well-tuned brush, confident strokes and deliberate line weight. Spend a few minutes adjusting StreamLine and pressure, practice line drills regularly and you will see cleaner results within days.
If you ever need to continue inking away from your iPad, our guide to Windows drawing apps that work like Procreate highlights options with comparable smoothing and brush customization.


One Comment