Paint brushes are a painter’s best friend, but if you don’t dry them the right way, they can quickly become stiff, misshapen, or even ruined. Many people spend time cleaning brushes well but ignore the drying process. However, drying paint brushes correctly is just as important as cleaning them. If you want your brushes to last longer, keep their shape, and work smoothly every time, you need to pay attention to how you dry them. This guide will walk you through every step, share expert tips, and help you avoid mistakes that damage your brushes. Whether you paint for fun, do home projects, or work as a professional, learning the right drying methods can save you money and time.
Why Drying Paint Brushes Properly Matters
A paint brush is more than just a tool; it’s an investment. If you dry your brushes the wrong way, you can face several problems:
- Bristle damage: Wet brushes left lying flat or with bristles up can lose their shape or develop split ends.
- Handle swelling or cracking: Water trapped inside the handle can cause wood to swell or crack.
- Rust on ferrules: The metal part (ferrule) can rust if moisture stays inside.
- Shorter brush life: Improper drying means you’ll need to replace brushes more often.
Paying attention to drying helps you avoid these issues and keeps your brushes in perfect condition for years.
Essential Tools For Drying Paint Brushes
You don’t need expensive equipment to dry brushes well, but a few simple items can make a big difference:
- Absorbent towels: Use clean, lint-free towels to blot excess water.
- Brush holders or racks: Special racks let you hang brushes upside down, protecting the shape.
- Binder clips or clothespins: Cheap tools to hold brushes upside down if you don’t have a rack.
- Ventilated area: Good airflow speeds up drying.
- Paper or plastic sleeves: Keep bristles in shape while drying.
Many artists and DIYers skip brush holders, but using them is a non-obvious way to extend brush life. Even a homemade rack from a cardboard box can help.
Step-by-step Guide: How To Dry Paint Brushes Correctly
Drying brushes the right way involves more than just leaving them on a counter. Follow these steps for perfect results every time.
1. Remove Excess Water After Cleaning
After rinsing, gently shake the brush to remove loose water. Do not flick the brush too hard, as this can break bristles. Next, press the brush flat between two clean towels and squeeze gently from the ferrule toward the tip.
This pushes out trapped water without harming the shape.
2. Reshape The Bristles
While the brush is damp, use your fingers to gently reshape the bristles into their original form. This step is easy to skip, but it prevents splaying and keeps your brush precise.
3. Choose The Right Drying Position
Position is everything. Here’s why:
| Drying Position | Pros | Cons |
|---|---|---|
| Bristles Up (handle down) | Easy to set up | Water runs into ferrule, can loosen glue and cause rust |
| Flat on side | Bristles keep shape | One side may dry slower, bristles can flatten if pressed |
| Bristles Down (hanging) | Best for bristle shape and ferrule health | Needs rack or clips, but worth the effort |
Hanging brushes bristles-down is best. If you don’t have a rack, use a binder clip on the handle and hang from a shelf.
4. Allow For Proper Airflow
Dry brushes in a room with good ventilation. Avoid enclosed cabinets or drawers, as they slow drying and can lead to mildew. A small fan can speed up the process if you’re in a hurry.
5. Avoid Sun And Heat
Never dry brushes with direct sunlight or near a heater. Heat can warp bristles (especially synthetic ones) and loosen the glue in the ferrule. Room temperature with airflow is safest.
6. Check For Remaining Moisture
Before storing, gently feel the bristles and ferrule. If you notice dampness, let the brush dry longer. Even a little moisture inside can cause problems later.
Drying Different Types Of Paint Brushes
Not all brushes are the same. Here’s how to adjust your drying method for each type:
Water-based Paint Brushes
These brushes are easy to clean and dry quickly. After washing, follow the standard drying steps. Most acrylic or latex paint brushes are made of synthetic bristles, which dry faster than natural hair.
Oil-based Paint Brushes
After cleaning with solvent, rinse with soap and water. Remove as much moisture as possible before drying. Oil residue can slow drying, so check carefully.
Natural Hair Brushes
Natural bristles are more delicate. Pat them dry with a towel, reshape, and always use a rack or holder. Never leave these brushes bristles-up, as they lose shape fast.
Large Vs. Small Brushes
Larger brushes take longer to dry. Avoid stacking or crowding them together. Small detail brushes can be hung with clothespins or even taped to a rod.
Credit: www.flockingltd.co.uk
Quick Reference: Drying Time Estimates
Here’s a rough guide to how long common brushes take to dry in a well-ventilated room:
| Brush Type | Drying Time (Hours) | Special Notes |
|---|---|---|
| Synthetic, small (1/2”) | 2-4 | Dries fastest |
| Synthetic, large (2”+) | 6-8 | Allow extra time for ferrule to dry |
| Natural hair | 8-12 | More sensitive, needs gentle handling |
| Oil paint brush | 12-24 | Longer due to solvents and oil residue |
Always check your brush before storing, even if the estimated time has passed.
Common Mistakes To Avoid
Most brush damage happens because of a few simple mistakes. Knowing these will help you keep your tools in top shape.
- Standing brushes bristles-up: This lets water run into the ferrule, which can weaken glue and cause rust.
- Leaving brushes wet in a closed space: This slows drying and can lead to mold or odors.
- Skipping the reshaping step: Brushes that dry misshapen will never paint evenly again.
- Using hair dryers or heat guns: Fast drying with heat damages bristles and can melt synthetic hair.
- Storing before fully dry: Even a little moisture inside the ferrule can cause swelling and decay.
A practical tip: If you must transport a brush before it’s dry, wrap the bristles in a paper towel and leave one end open for air.
How To Store Brushes After Drying
After drying, proper storage is key to keeping brushes in good shape.
- Store upright in a jar: If fully dry, standing bristles-up is safe.
- Use brush guards: Plastic sleeves keep bristles straight and prevent bending.
- Keep away from dust: Store in a covered box or case to prevent dust from sticking to bristles.
- Do not crowd: Each brush should have space so bristles aren’t pressed.
Non-obvious Insights For Beginners
Many new painters do not realize two things:
- Drying time depends on humidity: In humid weather, brushes need extra time. A brush that feels dry on the outside may still be wet inside.
- Ferrule health is critical: Most brush failures start with rust or glue damage inside the ferrule. Proper drying (bristles-down, good airflow) keeps this area dry and strong.
Another tip: If you use expensive natural brushes, invest in a brush spinner or rack. The small cost can save you from replacing tools worth much more.
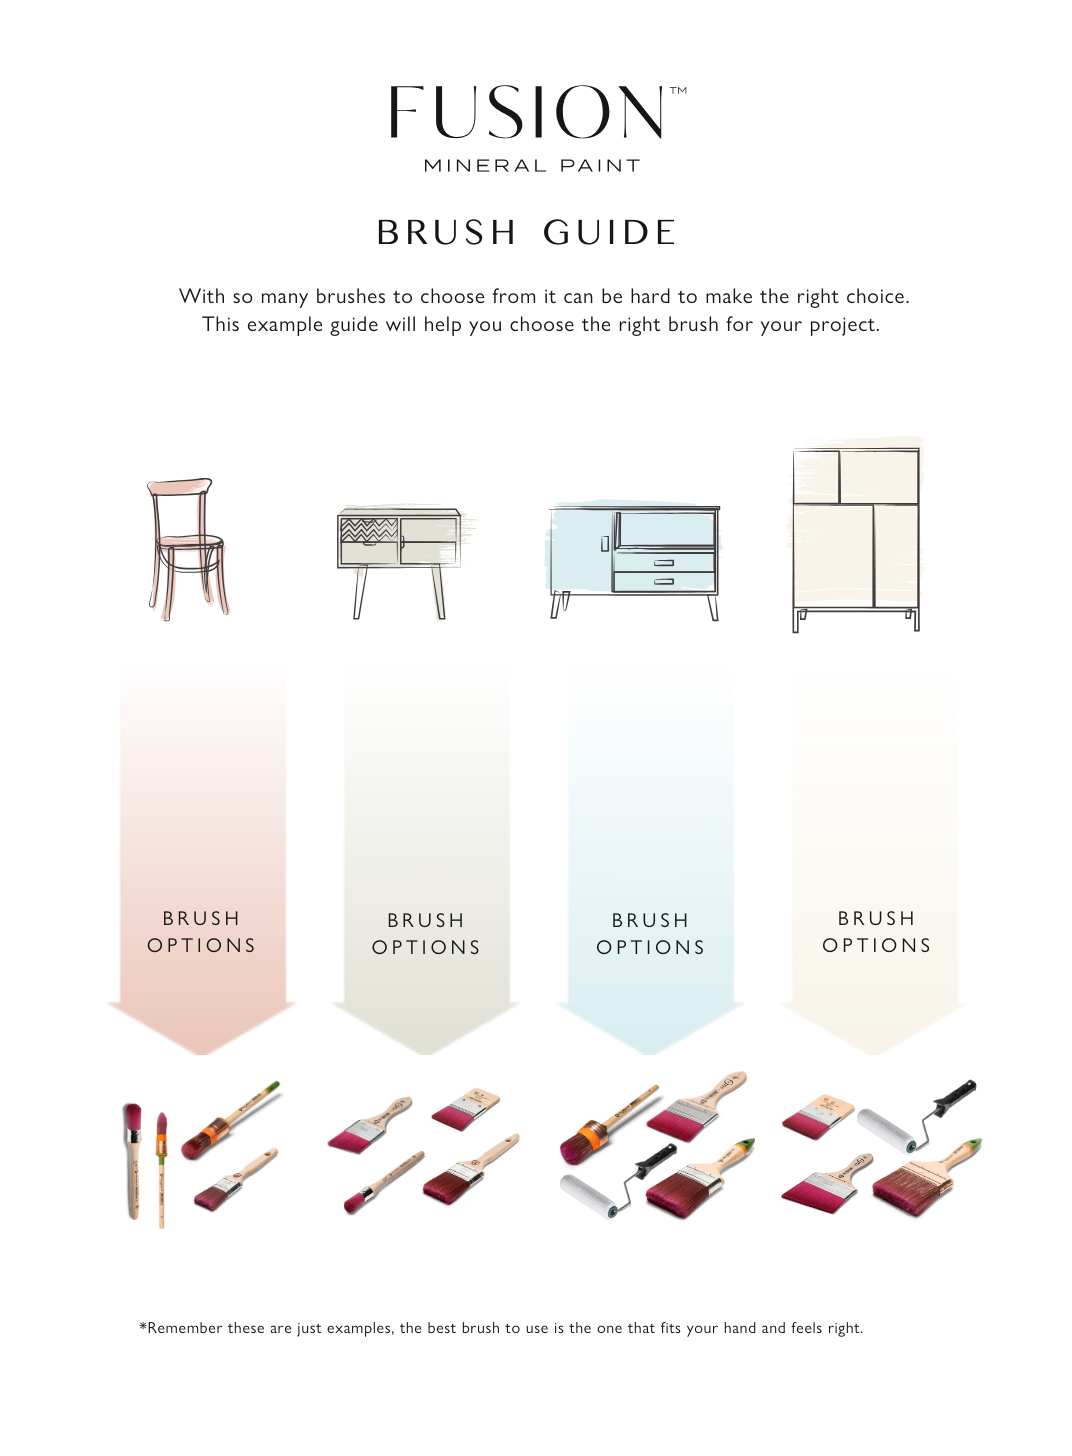
Credit: fusionmineralpaint.com
Caring For Brushes Between Painting Sessions
Sometimes, you need to pause a painting project. If you plan to return within a few hours, you don’t need to fully dry your brush. Instead:
- Wrap the brush in plastic wrap or foil: This keeps paint from drying out.
- Seal with a rubber band: This holds moisture in.
- Store in the fridge: For overnight breaks, cold slows paint drying. Let the brush warm to room temperature before using again.
But remember, this is only a short-term solution. Always clean and dry brushes fully when you’re finished.
Comparing Brush Drying Methods
Some people look for shortcuts, but not all methods are safe for your brushes. Here’s how different techniques compare:
| Method | Speed | Brush Safety | Recommended? |
|---|---|---|---|
| Hanging bristles-down | Moderate | Excellent | Yes |
| Laying flat on towel | Moderate | Good | Yes, if space is limited |
| Standing bristles-up | Fast | Poor | No |
| Using a hair dryer | Very fast | Very poor | No |
The safest choice is always hanging bristles-down with good airflow.
Credit: louiselouise.com
Final Thoughts
Taking the time to dry paint brushes the right way is a small investment that pays off in the long run. Brushes that are dried properly keep their shape, last longer, and give you better results every time you paint.
Remember to remove extra water gently, reshape the bristles, dry with airflow, and always avoid heat. Don’t rush the process—your painting will thank you for it.
If you want to learn more about brush care, the WikiHow Paint Brush Cleaning Guide gives extra tips for both cleaning and drying.
Frequently Asked Questions
What Is The Best Way To Dry A Paint Brush After Cleaning?
The best way is to blot out extra water, reshape the bristles, and hang the brush bristles-down in a well-ventilated area. This prevents water from collecting in the ferrule and keeps the bristles in perfect shape.
Can I Dry Paint Brushes With A Hair Dryer Or Heat Gun?
No, using heat damages both natural and synthetic bristles. It can also loosen the glue in the ferrule. Air drying at room temperature is safest for all brushes.
How Can I Tell If My Brush Is Completely Dry?
Feel both the bristles and the ferrule. The brush should feel dry to the touch, with no coolness or dampness. If in doubt, let it dry for a few more hours.
Is It Bad To Dry Brushes Standing Up With Bristles Facing Up?
Yes, this lets water run down into the ferrule, which can cause rust and glue failure. Always dry brushes bristles-down or flat on their side.
What Should I Do If I Need To Pause Painting For A Few Hours?
Wrap the wet brush in plastic wrap or foil, seal it, and store in the fridge. This prevents paint from drying out. Clean and dry the brush fully when you finish painting.
Drying paint brushes correctly is a simple habit that makes every painting project smoother and protects your investment. Take care of your tools, and they will take care of your art.