Are you ready to bring a playful frog to life on your canvas? Painting a frog with acrylics is not only fun but also a great way to sharpen your artistic skills.
Whether you’re a beginner or looking to add a new subject to your collection, this step-by-step guide will help you create a vibrant, eye-catching frog painting. You’ll discover simple techniques to mix colors, add texture, and capture the unique charm of these fascinating creatures.
Keep reading, and by the end, you’ll have the confidence to paint your very own frog masterpiece!
Materials Needed
Gathering the right materials is the first step in painting a frog with acrylic paint. Having the proper supplies makes the process smooth and enjoyable. Each item plays a key role in creating a vivid, lifelike frog painting. Below, find the essential materials you need to start your project.
Acrylic Paint Colors
Choose colors that match a frog’s natural shades. Green is the main color, but add yellow and blue for depth. White and black help with highlights and shadows. Some pink or orange can add small details. Using quality acrylic paints ensures bright and lasting colors.
Brush Types
Select brushes that fit different parts of your painting. Use a flat brush for large areas like the body. A round brush works well for details like eyes and toes. Fine detail brushes help with tiny spots and lines. Keep brushes clean for sharp, clear strokes.
Additional Supplies
You will need a palette to mix your paints. Water and a container help clean brushes between colors. Paper towels or cloths are useful for wiping brushes. Use a canvas or acrylic paper as your painting surface. A pencil helps sketch the frog before painting.
Preparing Your Workspace
Preparing your workspace is the first step to a smooth painting process. A well-organized area helps you focus on your frog painting. It also keeps your materials clean and easy to reach. This section guides you through setting up your canvas and arranging your paints and brushes.
Setting Up Canvas
Choose a flat, stable surface for your canvas. Place it at eye level for comfort. Use an easel or lay it flat on a table. Make sure your workspace has good natural or artificial light. This helps you see colors clearly. Cover the surrounding area with newspaper or a plastic sheet to catch spills.
Organizing Paints And Brushes
Sort your acrylic paints by color and keep them close. Use a palette or a plastic plate to mix colors. Arrange your brushes from small to large. Keep a cup of water nearby for rinsing brushes. Have paper towels ready to wipe brushes between colors. Keeping things tidy saves time and avoids mess.
Sketching The Frog
Sketching the frog is the first step in creating your acrylic painting. It helps to plan the shape and position before adding color. Start with simple shapes to form the basic outline. Then, add details to bring the frog to life. A good sketch acts as a guide throughout the painting process.
Basic Shapes
Begin by drawing simple shapes like circles and ovals. Use a large oval for the frog’s body. Add a smaller circle for the head. Sketch lines for the legs and arms in relaxed poses. These shapes help create the frog’s basic structure. Keep your lines light so you can erase or adjust them easily.
Adding Details
Next, refine the sketch by adding eyes, toes, and the mouth. Draw the eyes as round shapes on top of the head. Add small circles or lines for the toes at the end of each leg. Sketch a gentle curve for the mouth to show expression. Include skin folds or bumps to give texture. These details make your frog look more realistic and interesting.
Base Colors
Choosing the right base colors is the first step in painting a frog with acrylic paint. Base colors form the foundation of your artwork. They help create a natural and vibrant look for your frog. A good base color sets the tone for the entire painting.
Start by selecting shades that match a real frog’s skin. Keep the colors simple and close to nature. This makes the painting look more realistic and fresh.
Choosing The Right Green
Green is the main color for most frogs. Pick a green that is bright but not too shiny. Look for a medium green with a little yellow or blue mixed in. This gives depth to your frog’s skin.
Try mixing a few greens to get the perfect shade. Use small amounts of yellow or blue to adjust the tone. Avoid colors that are too dark or too pale. The right green will make your frog look lively.
Applying The First Layer
Use a flat brush to apply the base green evenly. Cover the entire frog shape with a smooth layer. Don’t worry about details yet. Focus on filling the main areas with color.
Let the paint dry before adding more layers. Thin layers help avoid clumps and cracks. You can add a second layer to brighten the color or fix any spots.
This first layer creates a solid base. It helps later colors stick well and show their true shades.
Adding Shadows And Highlights
Adding shadows and highlights brings your frog painting to life. It creates a more realistic and three-dimensional look. Shadows give form and depth, while highlights show where light hits the frog’s skin. This contrast makes your artwork stand out on the canvas. Simple techniques can help you achieve this effect with acrylic paint.
Creating Depth
Start by identifying the light source in your painting. Darker shades go on the parts away from the light. Use a darker green or mix a bit of black into your base color. Paint shadows under the frog’s chin, belly, and behind the legs. This makes those areas look farther back. For highlights, add white or a lighter green to spots that catch light. The top of the head, eyes, and toes usually have highlights. Layer shadows and highlights gently to build depth.
Blending Techniques
Blending shadows and highlights smoothly creates a natural look. Use a clean, dry brush to soften edges between light and dark areas. Work quickly while the paint is wet to blend colors. You can also use a slightly damp brush to mix the paint on the canvas. Avoid harsh lines unless you want a stylized effect. Practice blending small areas at a time for better control. This technique helps your frog appear round and lifelike.
Painting The Eyes
The eyes bring life to your frog painting. They express the frog’s mood and character. Focus on the eyes to create a vivid and captivating look. Use careful brush strokes and colors to make them stand out.
Capturing Expression
Start with the eye shape. Use a small round brush for clean edges. Paint the iris in a bright green or golden tone. Add a dark pupil in the center. Shape the pupil to show alertness or calmness. Slightly tilt or enlarge the pupil for expression. Use a thin line of black to outline the eye. This sharpens the look and adds depth.
Adding Shine And Reflection
Shine makes the eyes appear wet and alive. Use white paint sparingly to add small dots or lines. Place the dots where light would naturally hit the eye. Avoid covering too much area with white. Reflections suggest moisture and roundness. Blend softly to keep it natural. These highlights give your frog a lively sparkle.
Detailing Skin Texture
Detailing the skin texture brings your frog painting to life. It adds depth and makes the frog look real. You can use simple techniques to create a natural skin effect. Focus on small details to capture the frog’s unique look.
Work slowly and carefully. The right texture gives your painting character. Use brushes and colors to create different skin effects.
Using Different Brush Strokes
Brush strokes can mimic the rough or smooth skin of a frog. Use short, light strokes for bumpy skin. Try dabbing with a dry brush for a rough texture. Soft, long strokes work well for smooth areas. Change your brush size to add variety. Thin brushes help with tiny skin details. Thick brushes cover larger areas quickly.
Work in layers. Start with a base color, then add strokes on top. This builds texture naturally. Keep your strokes gentle to avoid harsh lines.
Adding Spots And Patterns
Frogs often have spots or patterns on their skin. Use a small round brush to paint spots. Choose colors that contrast with the base skin tone. Dark green or brown spots work well on lighter green skin. Vary the size and shape of spots for a natural look.
Patterns like stripes or dots add interest. Paint these carefully and slowly. Use a steady hand to keep lines clean. Let each layer dry before adding more details. This prevents colors from blending too much.
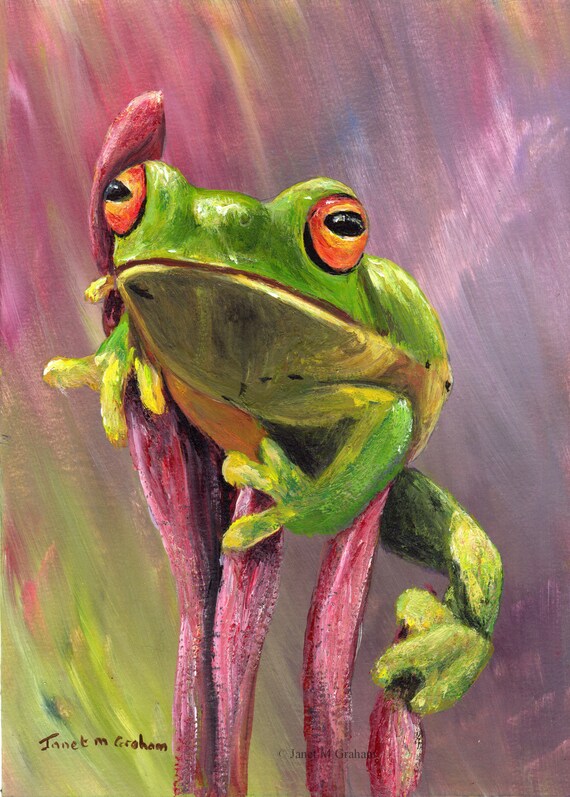
Credit: www.etsy.com
Final Touches
Adding the final touches to your acrylic frog painting brings the artwork to life. This stage enhances the details and gives your painting a polished look. Small adjustments here can make a big difference in the overall impact of your piece.
Refining Edges
Carefully check the edges of your frog and surrounding shapes. Use a fine brush to smooth out rough lines. Clean edges create a sharp and clear image. Fix any paint spots outside the lines for a neat finish. Thin layers of paint work best for this step. Take your time and work slowly to avoid mistakes. Crisp edges help your frog stand out on the canvas.
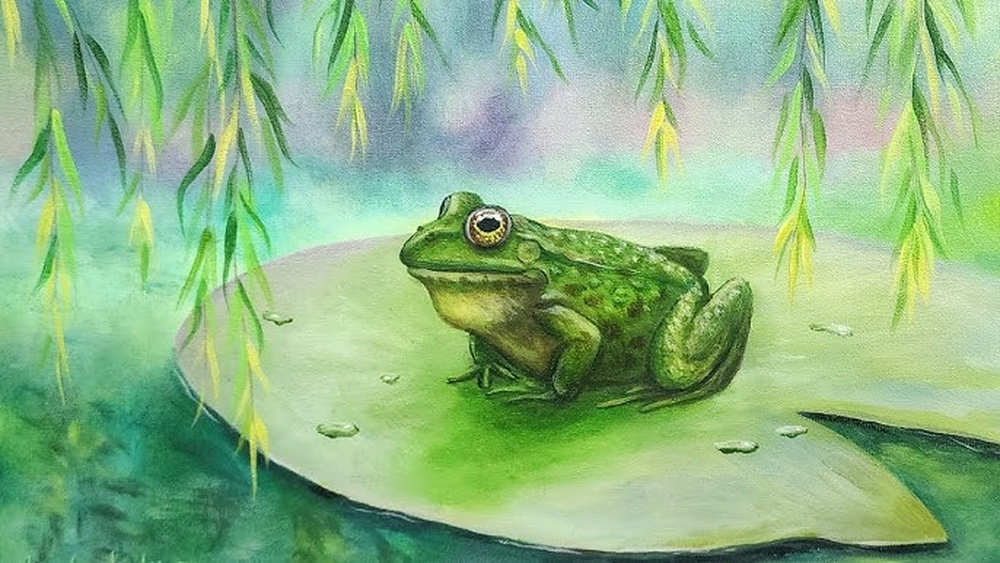
Adding Background Elements
Background details give your painting depth and context. Paint simple shapes like lily pads or water ripples around the frog. Soft colors keep the focus on the frog itself. Use light brush strokes to avoid overpowering the main subject. Adding a few subtle shadows under the frog can anchor it to the surface. Background elements make the scene feel complete and natural. Keep these details minimal for balance and harmony.
Cleaning Up
Cleaning up after painting is as important as the painting itself. It keeps your tools ready for next time and your workspace neat. Proper cleaning helps your brushes last longer and your materials stay in good condition. Follow these simple steps to clean up efficiently after painting your frog with acrylic paint.
Washing Brushes
Rinse your brushes in clean water immediately after use. Move the bristles gently with your fingers to remove paint. Avoid scrubbing hard, which can damage the brush. Use mild soap if paint sticks to the bristles. Rinse thoroughly until water runs clear. Shape the brush tip and let it dry flat or bristle side up. Proper washing keeps brushes soft and ready for future projects.
Storing Materials
Store your paints in a cool, dry place away from direct sunlight. Make sure paint lids are tightly closed to prevent drying out. Keep brushes in a container with the bristles up or lying flat. Avoid crushing or bending brush bristles. Organize your supplies to find them easily next time. Clean storage extends the life of your materials and saves money.

Credit: www.youtube.com
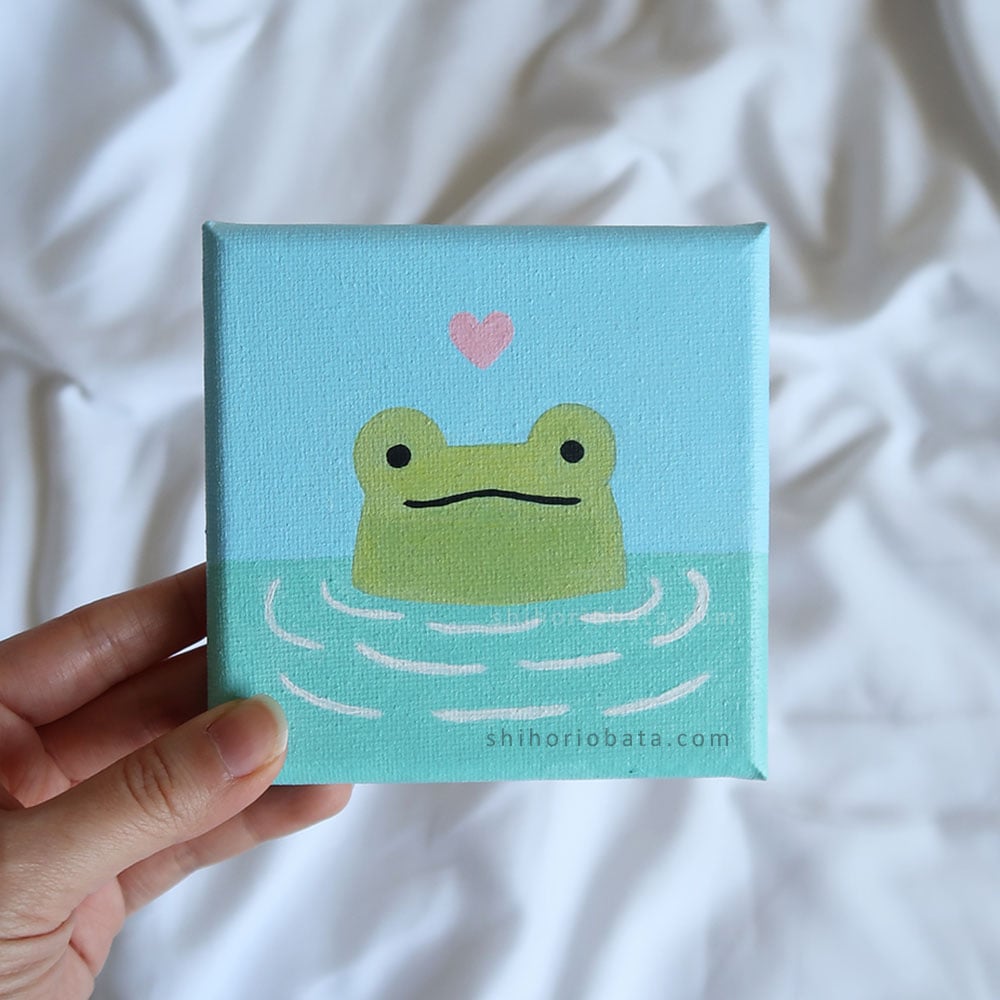
Credit: www.shihoriobata.com
Frequently Asked Questions
What Color To Paint A Frog With Acrylic Paint?
Paint a frog using shades of green, yellow, light blue, white, and black for details. Add pink for highlights.
How To Do An Easy Frog?
To do an easy frog, draw a round body, add a curved line for the back, then sketch front and back legs. Finish with eyes and toes.
How To Make Paint Look Like Fur With Acrylic Paint?
Use a fine brush to create short, quick strokes mimicking fur strands. Layer multiple colors for depth and texture. Blend gently for softness. Add highlights and shadows to enhance realism.
How To Facepaint A Frog?
Start by painting a pale green circle on the forehead. Add two smaller circles above for eyes. Dab pale yellow on the nose’s lower bump. Outline eyes and mouth with black. Finish with white highlights in the eyes for a lively frog face.
Conclusion
Painting a frog with acrylic paints can be fun and rewarding. Use simple shapes and bright colors to bring your frog to life. Take your time layering paint for smooth, vibrant results. Practice helps improve your brush control and blending skills.
Enjoy the process and experiment with different shades and details. Your frog painting will grow better with each try. Keep painting and have fun creating your own colorful frogs!