Are you ready to transform plain mason jars into charming pieces of art? Painting DIY mason jar crafts is a simple and fun way to add a personal touch to your home decor, gifts, or party decorations.
Whether you’re a beginner or looking for fresh ideas, this guide will show you exactly how to paint your mason jars so the colors stay vibrant and chip-free. Get your brushes ready, because by the end of this article, you’ll have all the tips and tricks you need to create stunning, long-lasting painted jars that everyone will admire.
Let’s dive in and make your mason jars shine!

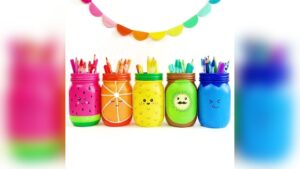
Credit: masonjarcraftslove.com
Choosing Paint
Choosing the right paint for your DIY mason jar crafts is essential. The paint affects the look, durability, and ease of your project. Different paints offer unique finishes and require various preparation steps. Understanding your options helps you achieve the best results.
Acrylic Vs Chalk Paint
Acrylic paint is versatile and widely used. It dries quickly and comes in many colors. Acrylic paint works well on glass but may need a sealant to prevent chipping.
Chalk paint has a matte finish and sticks well to glass without priming. It gives a vintage or rustic look. Chalk paint is easy to distress for a shabby chic style.
Using Spray Paint
Spray paint covers large areas evenly and quickly. It creates a smooth finish without brush marks. Use spray paint in a well-ventilated space and protect surfaces from overspray.
Choose spray paint made for glass or multi-surface use. Several colors and finishes are available, including metallic and frosted looks.
Mod Podge And Food Coloring
Mod Podge mixed with food coloring creates a stained glass effect. This method is great for adding color inside the jar. Stir the mixture and apply it with a brush or sponge.
This technique lets light shine through the jar, making it ideal for candle holders or lanterns. It also seals the color for a lasting finish.
Preparing Mason Jars
Preparing mason jars properly is crucial before painting your DIY crafts. Clean jars help paint stick better and last longer. Taking time to prepare jars avoids peeling and uneven finishes. Follow simple steps to get your jars ready for painting.
Cleaning And Degreasing
Start by washing the mason jars with warm soapy water. Use a sponge to remove dirt and dust. Rinse jars well and dry with a clean cloth. Next, wipe jars with rubbing alcohol or vinegar. This removes oils and grease that block paint. Let the jars air dry completely before painting.
Removing Labels And Residue
Soak jars in warm soapy water for 15 to 30 minutes. This softens the labels for easy removal. Peel off the paper labels carefully. If sticky glue remains, scrub with a paste of baking soda and oil. Use a plastic scraper to avoid scratching the glass. Rinse jars to remove residue and dry fully before starting to paint.
Painting Techniques
Painting DIY mason jar crafts is a fun way to add color and style to simple glass jars. Using the right painting techniques helps the paint stick and look smooth. It also makes your jars last longer. This section explains key painting methods to improve your mason jar projects.
Applying Thin Coats
Start with a clean jar free of dust and oil. Use a small brush or sponge for better control. Apply a thin layer of paint instead of a thick one. Thin coats dry faster and reduce dripping. Let each coat dry fully before adding the next. Multiple thin layers create a smooth, even finish.
Painting The Rim
The jar rim needs special attention. Paint it carefully to avoid clumps or peeling. Use a fine brush to reach tight spots. A neat rim gives your jar a polished look. Paint the rim after the main body dries. This step prevents smudging and keeps lines sharp.
Creating Tinted Effects
For a tinted or frosted look, dilute paint with water or glaze. This makes color lighter and see-through. Apply one or two thin coats to build the tint slowly. You can also layer different colors for a unique effect. Tinted jars catch light beautifully and add charm to any space.
Drying And Curing
Drying and curing are essential steps in painting DIY mason jar crafts. Proper drying ensures the paint sets well and prevents smudging. Curing makes the paint strong and long-lasting. Both steps improve the look and durability of your mason jars.
Follow simple techniques to dry and cure your painted jars perfectly. This will help your craft stay beautiful for a long time.
Air Drying Tips
Place your painted mason jar in a dust-free area. Avoid touching the paint while it dries. Let the jar sit for at least 24 hours. Thin coats of paint dry faster and more evenly. Use a fan to speed up air circulation. Keep the jar away from direct sunlight to prevent paint fading. Make sure the room is not too humid. Humidity can slow down the drying process.
Using Heat For Durability
Heat helps cure paint faster and makes it tougher. Use an oven to bake your mason jar at low heat. Set the oven temperature to 350°F (175°C). Place the jar inside for 30 minutes. Let the jar cool completely in the oven before removing it. This method works best with acrylic paints. Avoid sudden temperature changes to prevent glass cracking. Heat curing improves paint adhesion and scratch resistance. Always follow paint manufacturer instructions for best results.
Sealing And Finishing
Sealing and finishing your painted mason jar crafts protects your hard work. It helps keep colors bright and stops damage from water or handling. A good finish gives your jars a smooth, polished look. It also makes your project last longer.
Choosing The Right Sealant
Select a sealant designed for glass surfaces. Clear acrylic spray sealants work well. They dry fast and are easy to apply. Some sealants add a matte or glossy finish. Pick one that fits your style. Avoid sealants that yellow over time. Water-based sealants are safer and less smelly. Always test the sealant on a small area first.
Avoiding Chipping And Peeling
To stop paint from chipping, apply thin, even coats. Let each coat dry fully before adding the next. Avoid thick layers that can crack or peel. Handle jars gently after painting. Use a soft cloth for cleaning instead of harsh scrubbing. Store painted jars away from extreme heat or cold. A proper sealant layer also helps prevent peeling.
Distressing And Decorating
Distressing and decorating mason jars add charm and personality to your DIY crafts. This step transforms plain jars into unique pieces. It also enhances their visual appeal. You can create styles from rustic to modern. Simple techniques make a big difference in the final look.
Choose methods that suit your style and skill level. These techniques help paint adhere better and last longer on glass. Use tools and materials easily found at craft stores. Let creativity guide you through the process.
Adding A Vintage Look
Start by painting the jar with chalk paint. Chalk paint sticks well and dries fast. After the paint dries, gently sand edges and raised parts. Use fine sandpaper or a sanding block for this. Sanding reveals the glass or base paint underneath. This creates a worn, antique effect. Focus on areas that naturally wear over time. Avoid over-sanding to keep the jar intact. Finish with a clear matte sealant to protect your design.
Using Stencils And Vinyl
Select simple stencil designs or cut your own with vinyl sheets. Place the stencil or vinyl carefully on the jar’s surface. Use a sponge or brush to dab paint over the stencil. Apply thin layers for clean, sharp edges. Remove the stencil while the paint is still wet. This prevents peeling or smudging. Vinyl decals can also be added after painting for extra details. Seal the jar with a clear spray to preserve your work.
Creative Project Ideas
Painting DIY mason jar crafts opens up many creative possibilities. Mason jars can transform into unique gifts, charming home decor, or festive seasonal accents. Simple paint techniques make these projects enjoyable and rewarding. Let’s explore some inspiring ideas to get started.
Gift Jars
Painted mason jars make thoughtful handmade gifts. Fill jars with homemade treats like cookies or bath salts. Use bright colors to create cheerful designs. Add personalized messages or names with paint pens. These jars become keepsakes that friends and family will treasure.
Home Decor
Decorate mason jars to brighten up any room. Use soft pastel paints for a vintage look. Try chalk paint for a matte, rustic finish. Painted jars work well as flower vases or candle holders. Cluster several jars together for a stylish centerpiece.
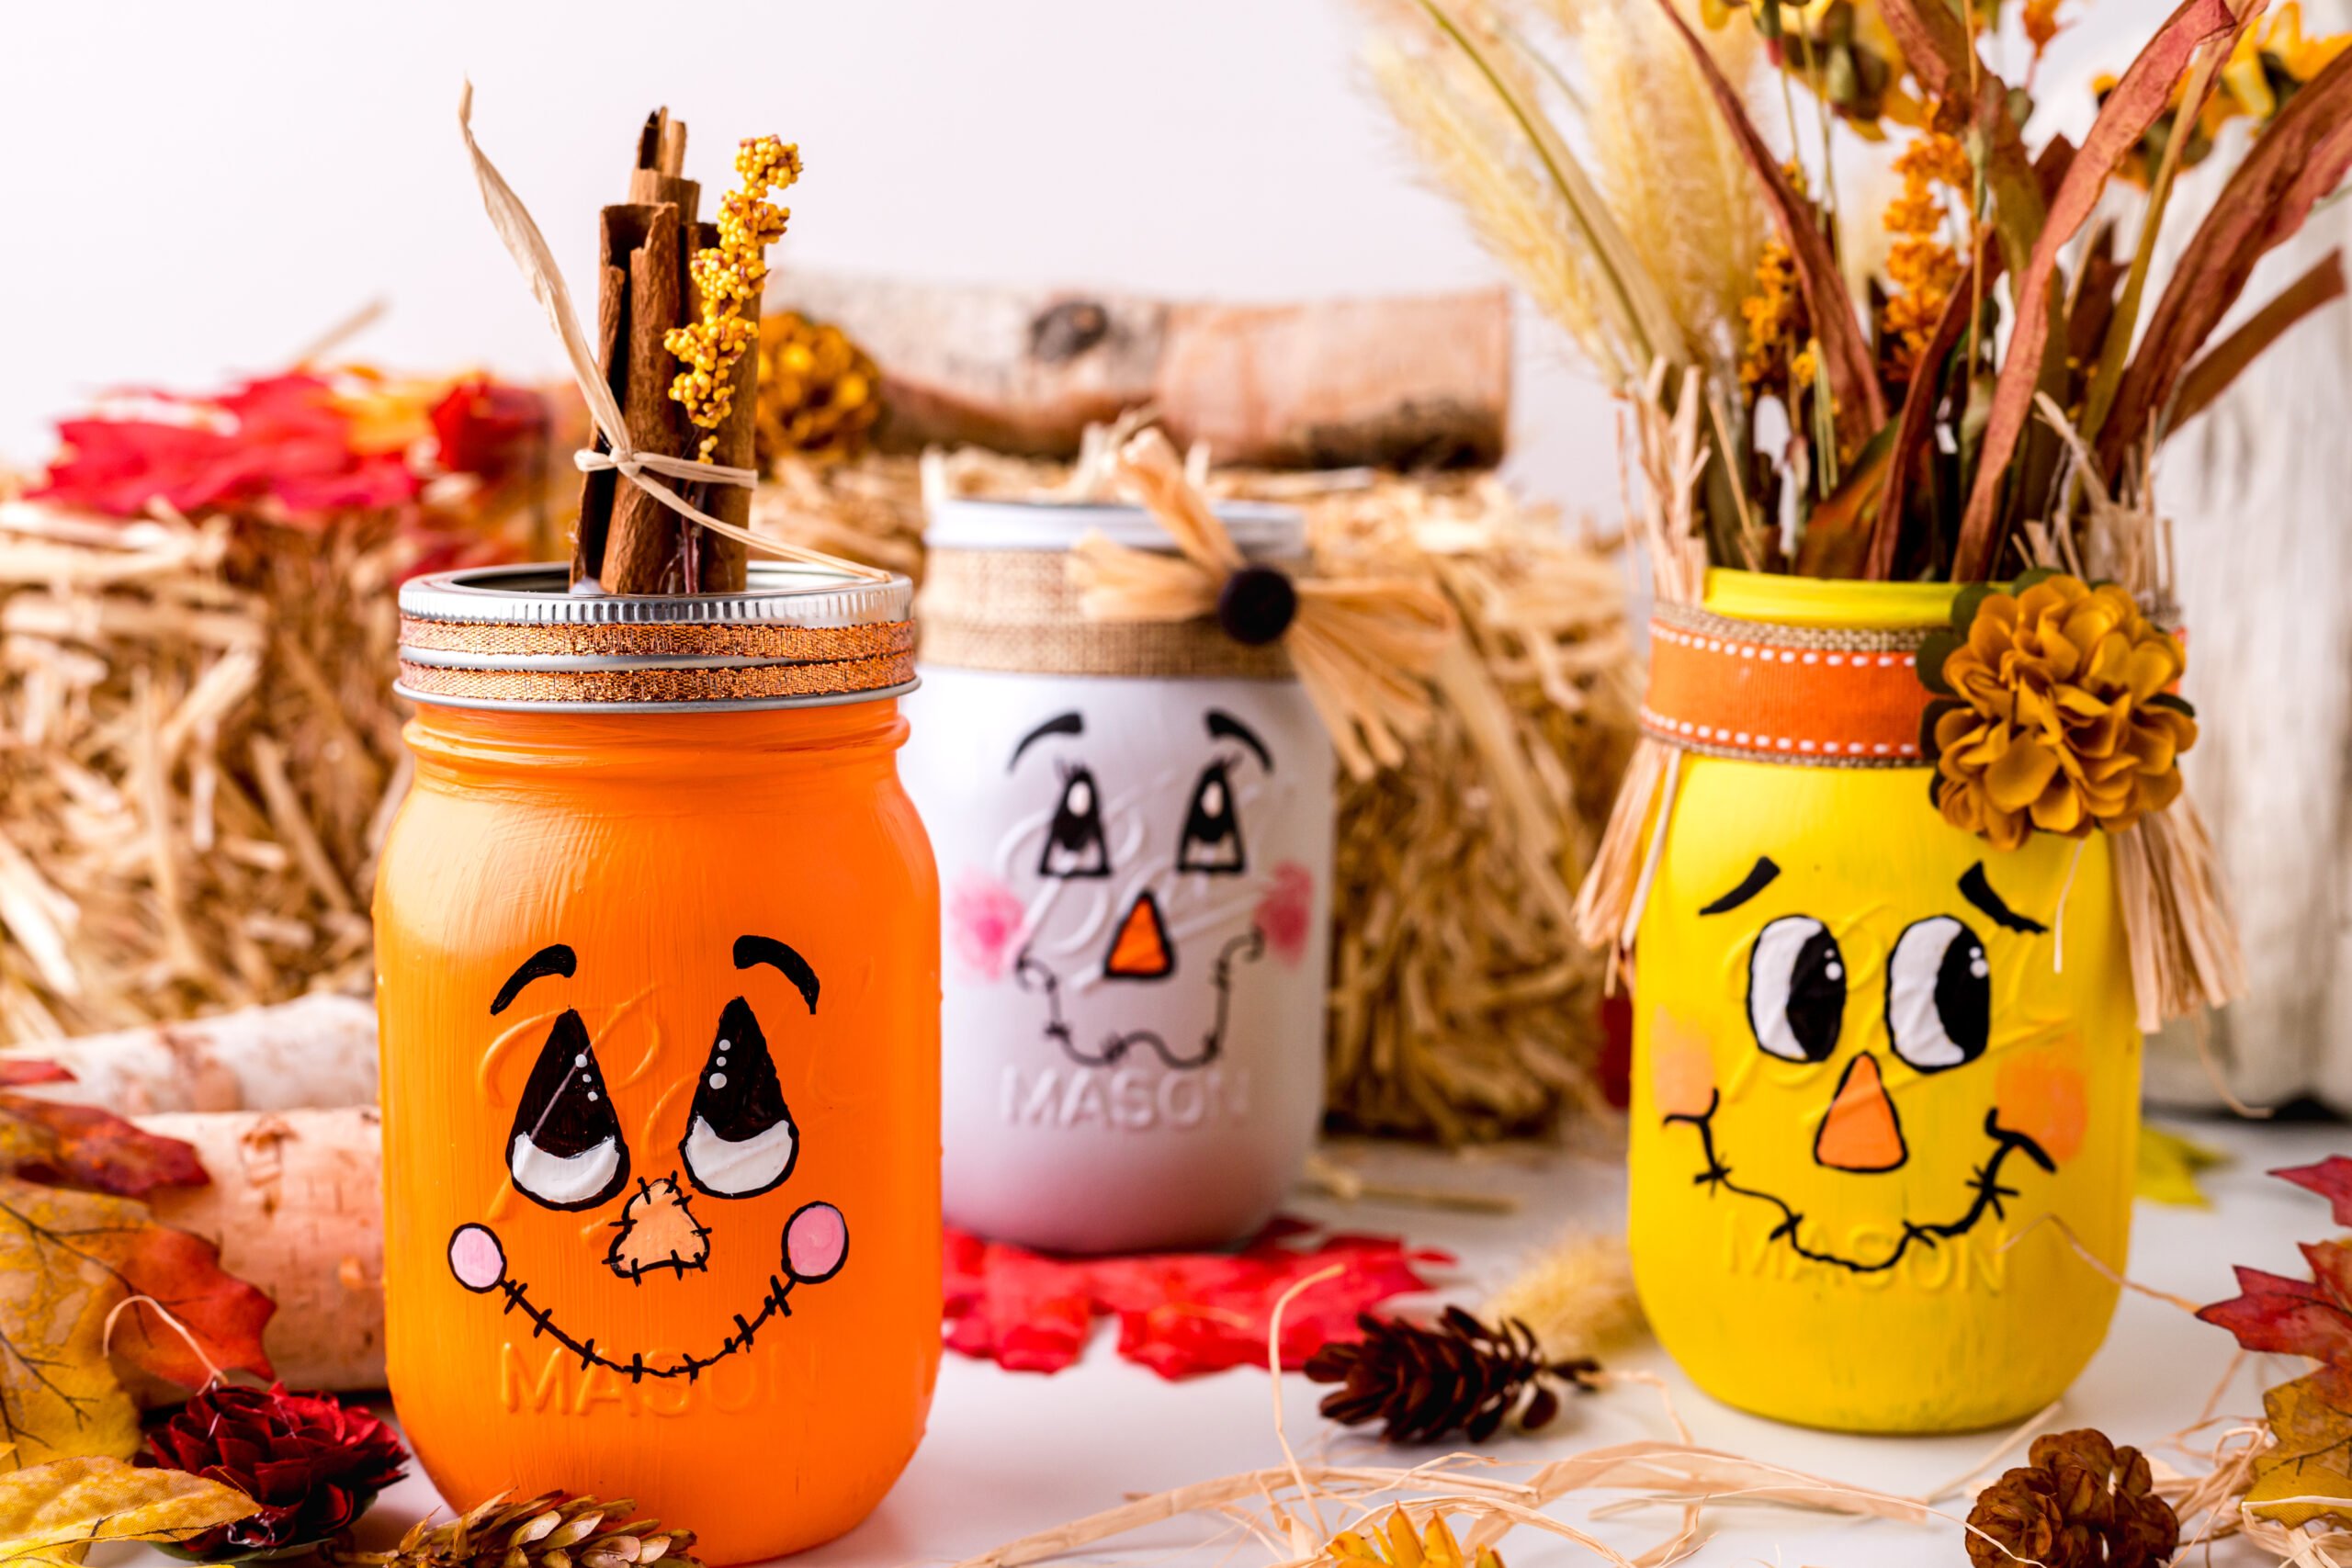
Seasonal Themes
Change mason jar designs for each season. Use warm tones and leaf motifs for autumn. Bright greens and florals suit spring crafts. Red, white, and blue colors celebrate summer holidays. For winter, try snowflake patterns and cool blues. Seasonal jars add charm to holiday decorations.
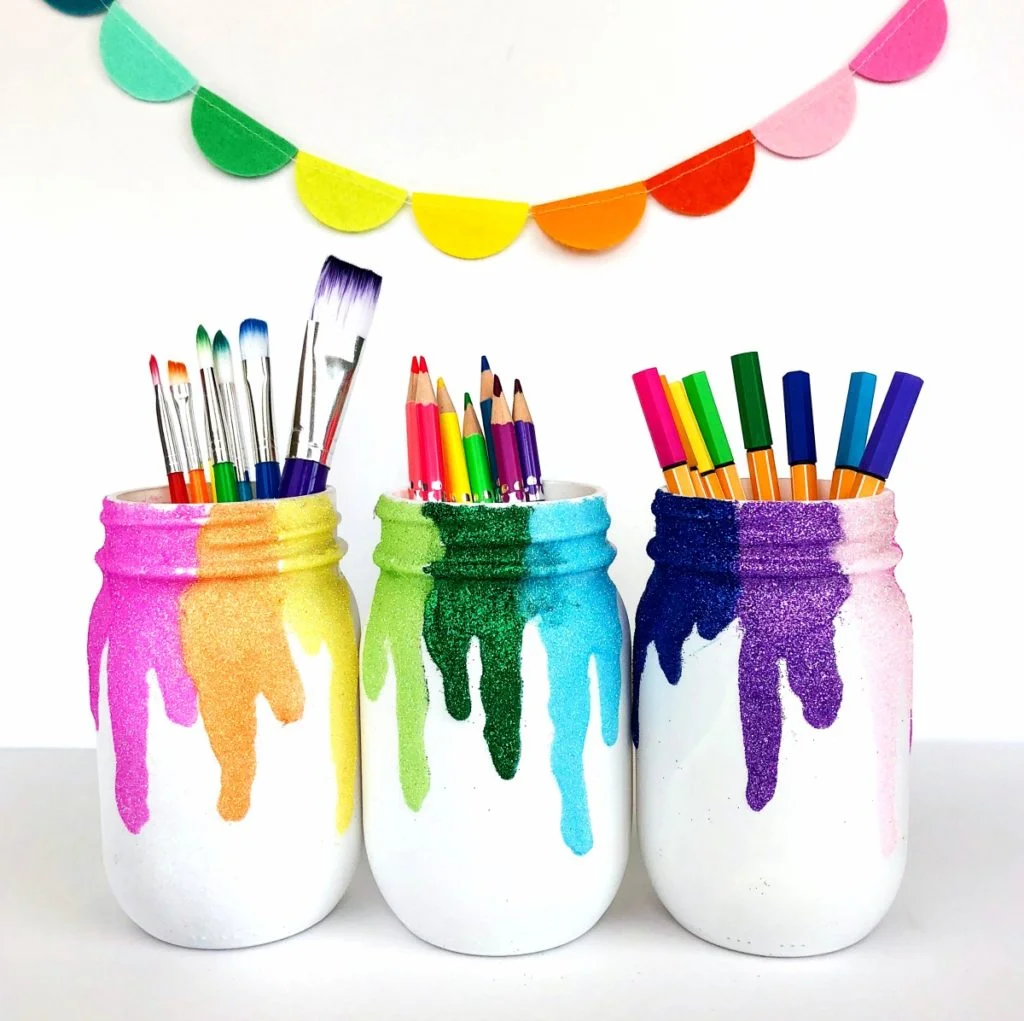
Credit: colormadehappy.com
Common Mistakes To Avoid
Painting DIY mason jar crafts is fun and creative. Avoiding common mistakes makes your project look better and last longer. Many beginners make simple errors that affect the paint finish. Knowing these mistakes helps you achieve smooth and beautiful results.
Skipping Surface Prep
Cleaning the jar surface is the first step. Dirt and oils stop paint from sticking well. Use rubbing alcohol to wipe the jar clean. Let it dry completely before painting. Skipping this step causes paint to peel or chip easily. Proper surface prep improves paint adhesion and durability.
Using Thick Paint Layers
Applying thick paint layers seems faster but causes problems. Thick paint takes longer to dry and can drip or crack. It also hides details and makes the finish uneven. Use thin, even coats for the best results. Let each layer dry before adding the next. Thin layers create a smooth and durable paint finish.
Credit: www.hipmamasplace.com
Frequently Asked Questions
What Kind Of Paint Do You Use On Mason Jars?
Use acrylic or chalk paint for mason jars. Both adhere well and offer vibrant, durable finishes. Clean jars with alcohol before painting.
How To Make Paint Stay On Mason Jars?
Clean mason jars with rubbing alcohol to remove oils. Use acrylic or chalk paint for better adhesion. Apply thin, even coats. Let each layer dry fully before adding another. Seal with a clear acrylic spray to protect the paint and prevent peeling.
Will Acrylic Paint Stay On A Glass Jar?
Acrylic paint can stick to glass jars but may peel without proper surface cleaning and sealing. Clean the jar with alcohol first. Apply thin coats and seal with a clear acrylic sealer for durability. This method ensures long-lasting, vibrant paint on glass jars.
How To Paint Mason Jars With Modge Podge?
Clean the mason jar with alcohol. Mix Mod Podge with food coloring. Paint or swirl mixture inside or outside the jar. Let dry completely. Seal with clear Mod Podge for durability.
Conclusion
Painting DIY mason jar crafts adds charm to any space. Simple steps and the right paint ensure lasting results. Clean jars well before starting to help paint stick better. Thin, even coats prevent drips and peeling. Let each layer dry fully for best coverage.
Experiment with colors and designs to match your style. These crafts make great gifts or home decor. Enjoy the process and have fun creating unique pieces. Your painted jars will brighten rooms and bring joy every day.