
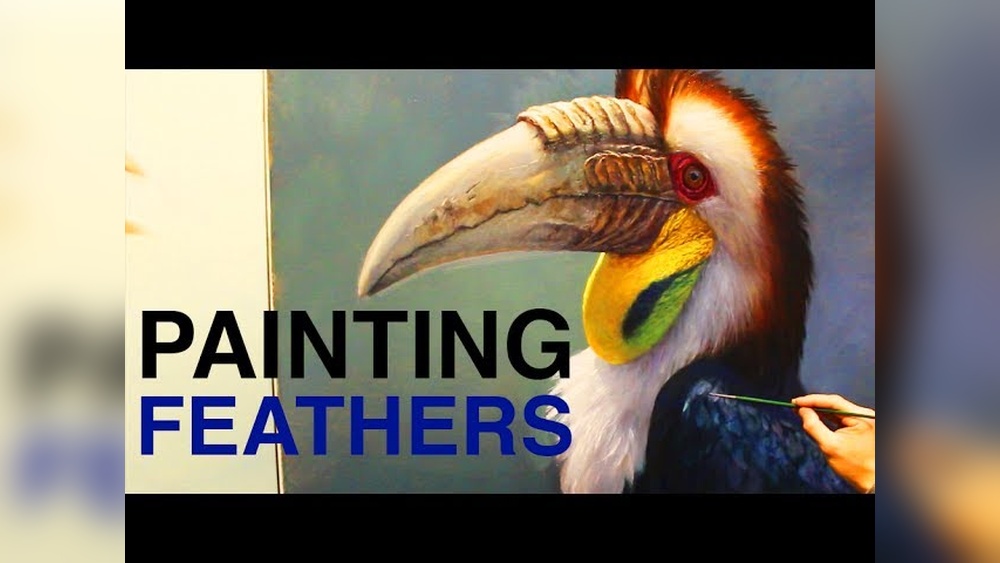
Painting feathers in oil is a journey into detail, texture, and light. For many artists, feathers look soft and delicate, but they can be difficult to capture on canvas. If you want to paint birds, fantasy creatures, or simply want to practice realism, learning to paint feathers in oil will open new creative doors.
This guide will help you master the process, from choosing supplies to adding finishing details, so your feathers look both realistic and full of life.
Understanding Feathers: Structure And Types
Before you start painting, it helps to understand what you’re looking at. Feathers are not just soft shapes; they have a clear structure and come in different types. Each type reflects light differently and has its own texture.
- Contour feathers: These cover the bird’s body and give it shape. They are the most visible and often have a smooth, flat look.
- Flight feathers: Found on the wings and tail, they are larger and have a strong central shaft.
- Down feathers: These are small, fluffy, and sit close to the body for warmth. They are rarely seen on the surface.
- Decorative feathers: Some birds, like peacocks, have unique feathers with patterns and iridescence.
By knowing these types, you can plan your painting and choose the right approach for each feather. For example, a peacock feather needs different brushwork and color mixing than a sparrow’s wing.
Essential Materials For Painting Feathers In Oil
Choosing the right materials makes the process smoother and your results better. Here’s what you’ll need:
- Oil paints: Get a basic set with white, black, primary colors, and earth tones. Brands like Winsor & Newton or Gamblin are reliable.
- Brushes: Use a mix of filbert, round, and liner brushes. Liner or rigger brushes are perfect for fine lines.
- Canvas or panel: Smooth surfaces help with detail. Many artists prefer primed panels for feather work.
- Mediums: Linseed oil or a fast-drying medium can help control paint flow.
- Palette and palette knife: Mixing subtle feather colors is easier with a good palette.
- Reference images: Always use high-quality photos or real feathers. Details matter.
- Rags and mineral spirits: For cleaning and thinning paint.
A common beginner mistake is using only one brush for everything. Feathers require different strokes, so switch brushes for various effects. Also, avoid cheap, scratchy brushes—they can ruin fine lines.

Credit: www.youtube.com
Preparing Your Canvas And Reference
Start by selecting a reference image with clear lighting, visible feather details, and accurate colors. If you can, use a real feather for study. Place it under a lamp to see how light affects the barbs and shaft.
For the canvas, use a smooth, primed surface. A rough canvas can make it hard to paint the thin lines of feathers. Lightly sketch the outline of the bird or feather using a pencil or thinned paint. Mark the direction of feather growth with gentle lines—this will guide your brushwork and keep the painting realistic.
Mixing Colors For Realistic Feathers
Feathers often show a surprising range of color, even in birds that appear brown or gray. Learning to mix subtle hues is key for realism. Start by observing the undertone of the feather. Many feathers have a base color plus reflected light from the sky or environment.
- Layer color: Begin with a muted base color, then add highlights and shadows.
- Use complementary colors: Shadows in feathers often contain hints of the opposite color on the color wheel. For example, a brown feather may have cool blue-gray shadows.
- Add small touches of unexpected color: Sometimes a feather will reflect green from grass or blue from the sky.
Here’s a quick guide to common feather color mixes:
| Feather Color | Base Mix | Shadow Color | Highlight Color |
|---|---|---|---|
| Brown | Burnt sienna + ultramarine blue | Add more blue or purple | Yellow ochre + white |
| Gray | Ultramarine blue + burnt umber | More blue or a touch of green | White + warm yellow |
| Black | Ivory black + alizarin crimson | Add ultramarine blue | White + a little blue |
| White | Titanium white + touch of ochre | Add blue-gray | Pure white |
Don’t be afraid to experiment. Feathers can have metallic shine, so try adding a thin glaze of a transparent color for shimmer.
Step-by-step Process: Painting Feathers In Oil
Breaking the process into steps helps keep your painting organized and stress-free.
1. Block In The Main Shapes
Start with a thin wash of paint to mark the main shapes of the feathers. Use larger brushes for this stage. Don’t focus on detail yet—just show where the feathers are and their direction. Use muted versions of your final colors.
2. Add Shadows And Depth
Identify the light source. Add darker tones where feathers overlap or where the light doesn’t hit. This creates depth and helps individual feathers stand out. Use soft blending for downy feathers and sharper lines for flight feathers.
3. Paint The Feather Structure
Switch to a smaller brush. Carefully paint the central shaft (rachis) of each feather. Then, add the barbs coming off the shaft. Pay attention to how they curve and overlap. For long, thin feathers, use a liner brush and steady hand.
4. Layer In Texture And Color Variation
Feathers are not flat in color. Use a dry brush technique or light glazing to add texture and subtle color changes. Dab tiny strokes for fluffy edges, or lightly drag the brush for sleek feathers. This is where your painting starts to look realistic.
5. Refine Edges And Details
The final step is to sharpen important lines and soften others. The edge of a feather against the background should be slightly blurred for a soft look, except where it catches the light. Use a fine brush to add tiny splits, highlights, and any unique patterns.
| Technique | Effect | Best For |
|---|---|---|
| Dry Brush | Soft, fluffy texture | Down feathers, edges |
| Glazing | Subtle color shifts, shine | Peacock feathers, iridescence |
| Liner Brush Strokes | Fine lines, barbs | Flight feathers, details |
Tips For Painting Realistic Feathers
- Vary your brushwork: Don’t use the same stroke for every feather. Mix long, sweeping lines with short, choppy marks.
- Study real feathers: The more you observe, the better you’ll paint. Notice how barbs split, twist, and catch the light.
- Use reference lighting: Shadows help feathers look three-dimensional. Try painting under different light conditions.
- Don’t outline everything: Feather edges are often soft. Only sharpen the lines where needed.
- Keep colors clean: Muddy colors can make feathers look lifeless. Wipe your brush often and mix fresh paint.
- Work from general to specific: Start with large shapes, then move to detail. This keeps your painting unified.
- Let some underpainting show: A little of the first color layer peeking through can add richness and interest.
- Balance hard and soft edges: Real feathers have both. Use a soft brush or your finger to blend where needed.
Many beginners try to paint every barb perfectly, but in real life, feathers have irregularities. A few broken or bent lines can make your painting look more natural.
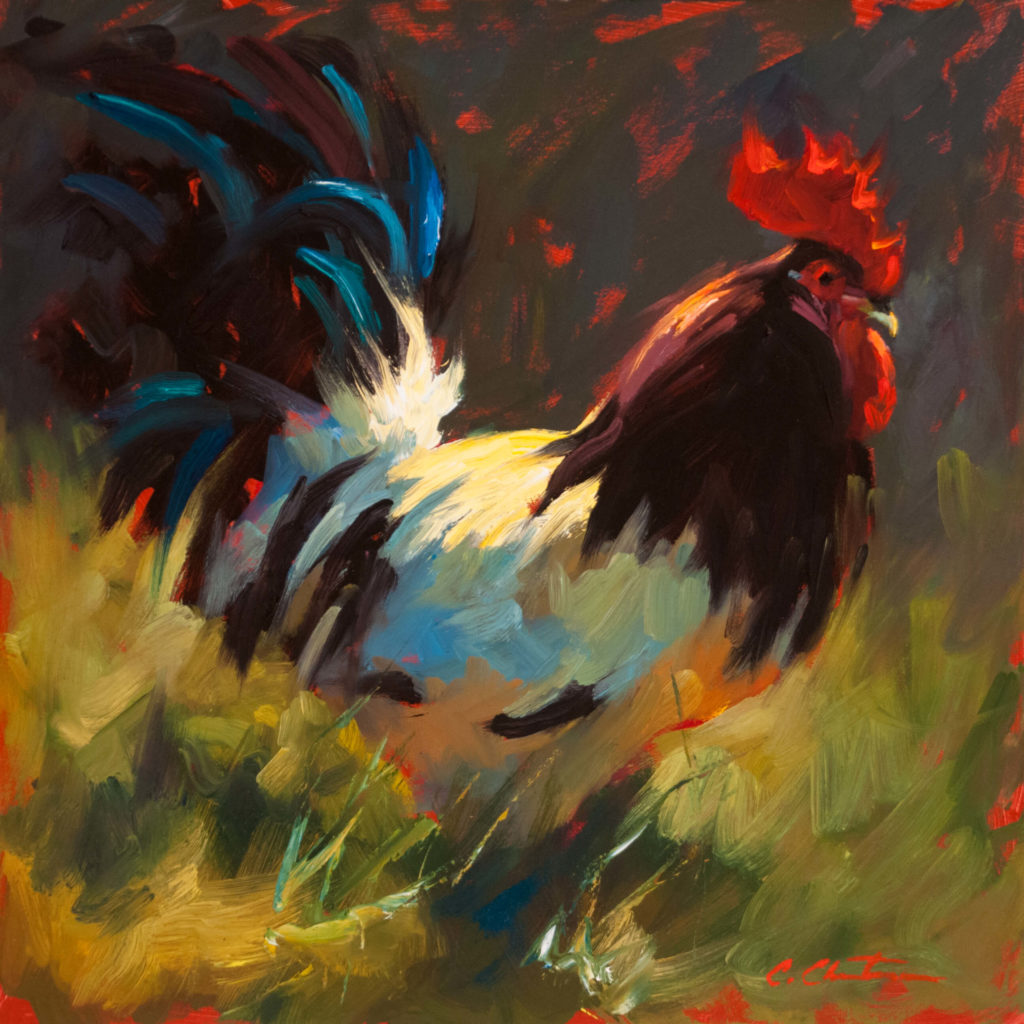
Credit: fineartconnoisseur.com
Common Mistakes To Avoid
- Overworking the paint: Too much blending can make feathers look flat. Leave some brush texture.
- Ignoring feather direction: Feathers grow in specific patterns. Paint in the same direction for realism.
- Skipping the shaft: Even in soft feathers, the central shaft gives structure.
- Using pure black for shadows: Shadows are more complex. Add color to your darks.
- Forgetting about light: Without highlights and shadow, feathers lose their three-dimensional form.
Advanced Techniques: Iridescence And Pattern
Some feathers, like those of peacocks, hummingbirds, or magpies, show iridescence—shifting colors when the light changes. Painting this effect is a challenge but can make your work stand out.
- Start with a dark base color.
- Glaze thin layers of transparent blue, green, or purple.
- Add highlights with white plus a touch of the main color.
- Don’t overdo it—less is often more.
For patterned feathers, such as the spots on a guinea fowl or the stripes on a hawk, paint the base color first. Let it dry, then layer the pattern on top using a fine brush. Patterns often follow the curve and direction of the feather, so plan your strokes carefully.
Practice Exercises For Beginners
Improvement comes with practice. Here are some targeted exercises:
- Single feather study: Paint one feather with attention to shaft, barbs, and light. Repeat with different feather types.
- Texture swatches: Fill small squares with different feather textures—downy, sleek, iridescent.
- Lighting challenge: Paint the same feather under warm and cool light.
- Pattern copying: Try to copy a complex feather pattern from a photo. Focus on shape and rhythm.
- Speed studies: Set a timer for 10 minutes and capture the basic shape and light of a feather, not details.
These exercises build confidence and help train your eye.
How Feathers Compare To Other Textures In Oil Painting
Feathers are unique, but comparing them to other natural textures can help you improve. Here’s a quick comparison with fur and scales:
| Texture | Main Brush Technique | Key Challenge | Common Mistake |
|---|---|---|---|
| Feathers | Fine lines, soft blending | Capturing softness and structure | Over-outlining |
| Fur | Short, layered strokes | Building volume | Flatness from uniform color |
| Scales | Patterned dabs, highlights | Shine, repetition | Making each scale identical |
Notice that while fur and feathers are both soft, feathers have a clearer direction and often sharper edges.
Inspiration: Artists Known For Feathers
Looking at how professionals handle feathers can inspire your own work. Some artists, such as Raymond Harris-Ching and Robert Bateman, are famous for their lifelike bird paintings. Their attention to light, texture, and subtle color shifts makes each feather look touchable. Spend time studying their paintings—notice how they balance detail with softness.
If you want to dive deeper, the Wikipedia page on bird painting offers a good overview of the tradition and leading artists.
Frequently Asked Questions
How Do I Make Feathers Look Soft In Oil Painting?
To create softness, use a dry brush or blend lightly with a clean, soft brush. Avoid outlining the feather edges sharply—let some areas blend into the background. Layer thin glazes for a gentle transition between light and shadow.
What Is The Best Brush For Feather Details?
A liner brush or rigger brush is ideal for painting fine lines like feather barbs and shafts. For softer textures, try a filbert or a very soft round brush. Change brushes as you move from general shapes to details.
How Do I Paint White Feathers Without Them Looking Flat?
White feathers are rarely pure white. Mix a base of white with a touch of ochre or blue for shadows. Add highlights with clean white paint. Observe your reference carefully—white feathers often reflect surrounding colors.
What Should I Do If My Colors Turn Muddy?
Muddy colors come from over-mixing or using dirty brushes. Always clean your brush when switching colors. Mix paints on a palette, not directly on the canvas, and use fresh paint for highlights.
Can I Paint Feathers Alla Prima, Or Should I Layer?
Both methods work. Alla prima (wet-on-wet) is good for loose, expressive feathers, while layering (letting layers dry) helps with sharp details and complex textures. Many artists use a mix of both—blocking in shapes wet, then adding details in layers.
Painting feathers in oil is more than just copying lines—it’s about understanding structure, light, and texture. With practice and careful observation, you can create feathers that look soft, realistic, and full of life. Whether you’re painting a simple sparrow or an exotic peacock, these skills will help your art soar.

Credit: montcarta.com


