
Painting a seashell in oil can be both a relaxing and challenging project, even if you’re new to oil painting. Seashells have beautiful forms, delicate patterns, and soft colors that can help you practice observation, blending, and texture. By learning how to paint a seashell step by step, you’ll develop your skills in shading, layering, and capturing realistic details.
This guide will show you everything you need to know, from choosing a shell and preparing your canvas, to mixing colors and adding finishing touches, so your final artwork truly stands out.
Why Paint A Seashell?
Seashells are more than just pretty objects from the beach. They come in many shapes and display subtle color transitions, making them ideal for practicing oil painting techniques. Painting a seashell teaches you how to:
- Observe and capture form and light
- Mix muted and natural colors
- Create smooth gradients and hard edges
- Add fine details and textures
Many artists use seashells as a subject to improve their skills in realism. You don’t need expensive materials or years of experience to start—just patience and attention to detail.
Materials You’ll Need
Before you start, gather your supplies. Each item plays a key role in your painting process.
- Seashell: Choose a real shell or use a clear photo as reference.
- Oil Paints: Basic colors like Titanium White, Burnt Sienna, Yellow Ochre, Ultramarine Blue, Alizarin Crimson.
- Brushes: A mix of flat, round, and detail brushes (sizes 2–8).
- Palette: For mixing paints.
- Painting Surface: Stretched canvas, canvas board, or gessoed panel.
- Palette Knife: For mixing and applying paint.
- Medium: Linseed oil or a fast-drying medium.
- Odorless Solvent: For cleaning brushes (turpentine substitute).
- Paper Towels/Rags: For wiping brushes and corrections.
- Easel: Optional, but helpful for comfort.
Having the right materials keeps your process smooth and enjoyable. If you’re missing something, adapt with what you have.

Credit: www.amazon.com
Setting Up Your Workspace
A comfortable, well-lit workspace helps you focus. Place your shell or reference photo where you can see it easily—ideally at eye level and close to your painting surface. Use a daylight bulb or paint near a window to see colors accurately.
Keep your paints, brushes, and palette within easy reach.
Tip: Cover your workspace with newspaper or plastic to protect it from paint spills.
Studying Your Seashell
Before you pick up a brush, look closely at your shell. Notice its:
- Shape and curves: Is it spiral, fan-shaped, or smooth?
- Color zones: Where are the lightest and darkest parts?
- Patterns: Are there stripes, dots, or ridges?
- Texture: Is it shiny, matte, rough, or smooth?
Take a few minutes to sketch your shell with a pencil. This quick study helps you plan your composition and understand the shell’s main features.
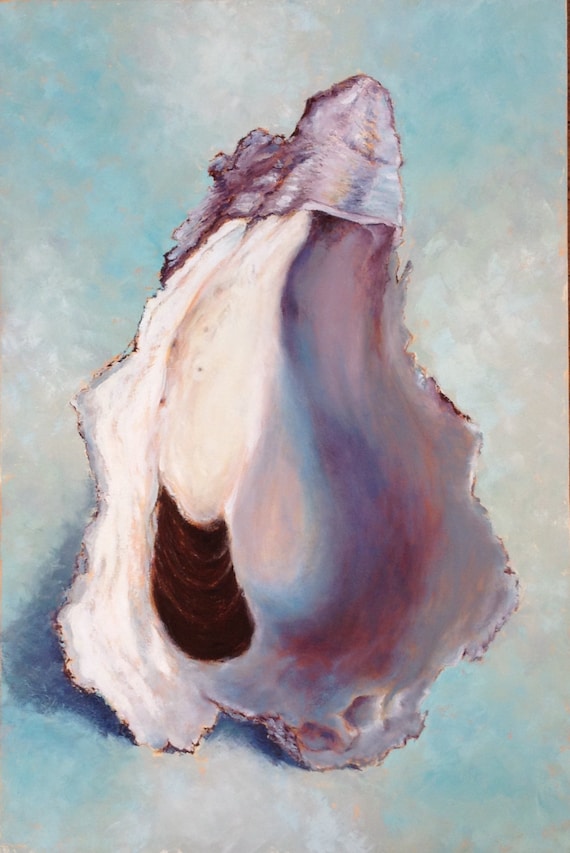
Credit: www.etsy.com
Preparing The Canvas
Oil paint works best on a primed surface. Here’s how to prepare:
- Choose your canvas size (a small 8×10 inch is ideal for beginners).
- Make sure the surface is primed with gesso. If not, apply 2–3 thin coats and let dry.
- Lightly sketch your shell with a graphite pencil or a thin, diluted paint. Keep lines gentle so they don’t show through the paint layers.
If you want a toned background, cover your canvas with a thin wash of Burnt Sienna or Yellow Ochre mixed with a little solvent. This helps you judge values better and adds warmth.
Mixing Colors For Realistic Seashells
Most seashells have muted, complex colors—not just plain white or brown. To achieve realism, mix your colors carefully.
- Whites: Mix Titanium White with a touch of Yellow Ochre or Burnt Sienna for a warm white, or Ultramarine Blue for a cool white.
- Pinks and Purples: Mix Alizarin Crimson with a bit of Ultramarine Blue and white.
- Browns: Burnt Sienna + Ultramarine Blue for deep shadows; Burnt Sienna + Yellow Ochre for warmer mid-tones.
- Grays: Mix all three primaries (red, yellow, blue) in small amounts for soft, natural grays.
Try to match the color zones you see on your shell. Mix small batches and test them on your palette before applying.
Blocking In The Main Shapes
Start with the biggest shapes and work from general to specific. This is called “blocking in. ”
- With a medium-sized brush, paint the background first. Use soft, muted colors so the shell stands out.
- Block in the main body of the shell with broad areas of color. Don’t worry about details yet.
- Add the shadow under the shell. This anchors it to the surface and helps with realism.
Work thinly in the first layer (“underpainting”). Use more solvent to thin the paint so it dries faster and is easy to adjust.
Building Up Layers And Form
Oil paint is perfect for layering. Let the first layer dry a bit (a few hours or overnight), then begin adding thicker, more opaque paint on top.
- Midtones: Paint the middle values first, covering most of the shell.
- Highlights: Add the brightest spots where light hits the shell. Use thicker, lighter paint and a clean brush.
- Shadows: Deepen the darkest parts, especially where the shell curves away from the light or where two shells meet.
Blend edges where the transitions are soft, but keep some areas sharp to show ridges or contours. This mix of hard and soft edges gives your shell depth and realism.
Painting Fine Details
Once the form is clear, focus on details that make your shell unique.
- Use a small round brush for lines, dots, and edges.
- Add stripes, spots, or patterns you see on your reference shell.
- Pay attention to the texture: If the shell is shiny, add crisp highlights. For rough textures, use a dry brush with very little paint to create a grainy effect.
Don’t overdo details everywhere. Keep the most attention on the main part of the shell and soften details toward the edges, guiding the viewer’s eye.
Adding Realistic Shadows And Light
Light and shadow give your shell a three-dimensional look. Carefully observe:
- Cast shadow: The shadow the shell throws onto the surface. This is usually cooler and less intense than the shell’s own shadow.
- Core shadow: The darkest part on the shell, away from the light.
- Reflected light: Some light bounces back from the surface onto the underside of the shell. This area is softer and often a bit warmer.
These subtle shifts make your painting believable. A common beginner mistake is making shadows too dark or too black. Instead, mix in some color and keep shadows harmonious with the rest of your painting.

Credit: www.youtube.com
Glazing For Depth And Richness
Once your painting is dry to the touch (usually after a few days), you can use glazing to enhance colors and depth.
- Mix a transparent color with medium (like linseed oil).
- Apply a thin, even layer over dry paint, letting the colors below show through.
- Glaze warm colors (like a thin Burnt Sienna) over highlights for warmth, or cool colors (Ultramarine Blue) into shadows for coolness.
Glazing is a classic oil painting technique that gives your shell a luminous, layered quality.
Comparing Brush Types For Seashell Painting
Choosing the right brush can make a big difference in the look and feel of your painting. Here’s how different brushes compare when painting a seashell:
| Brush Type | Best For | Effect |
|---|---|---|
| Flat | Blocking in shapes, backgrounds | Broad, even strokes |
| Round | Details, lines, edges | Controlled, precise marks |
| Filbert | Blending curves, organic shapes | Soft transitions, gentle blends |
| Fan | Textures, blending backgrounds | Feathered, soft effects |
For seashells, a mix of flat and round brushes works best. Try a filbert for smooth blending along the shell’s curves.
Common Mistakes To Avoid
Even experienced artists make errors when painting seashells. Here are some pitfalls and how to avoid them:
- Ignoring the light source: Decide where your light comes from and stick to it.
- Making the shell too white: Real shells have subtle color changes and are rarely pure white.
- Harsh outlines: Use soft edges for most of the shell. Only add sharp lines where the shell is sharply defined.
- Flat shadows: Add color and variation to shadows—never use just black.
- Over-detailing everywhere: Focus your detail where you want the viewer’s eye to go.
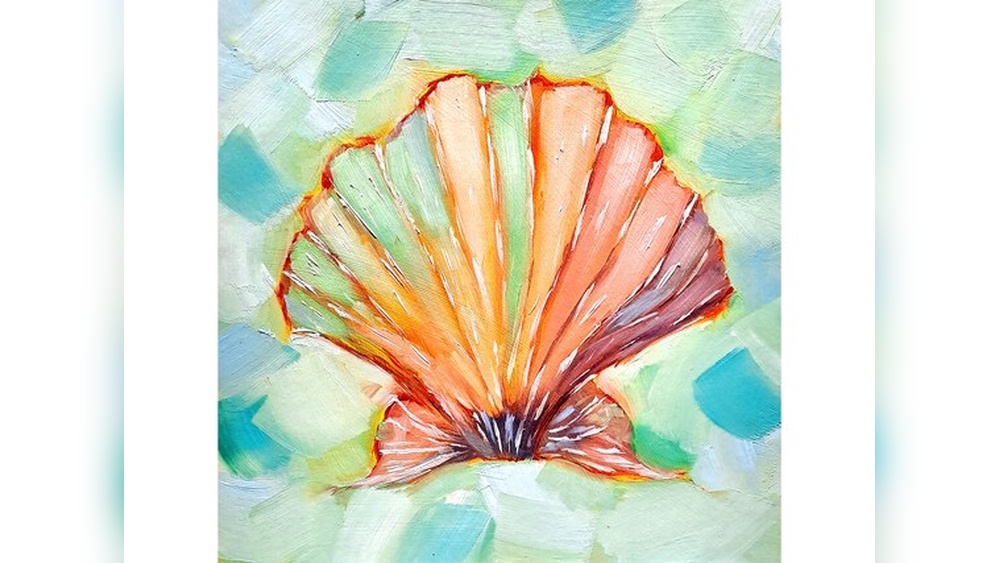
Example Step-by-step: Painting A Scallop Shell
Let’s apply these steps with a common seashell: the scallop shell.
- Sketch the outline: Draw the fan shape lightly.
- Block in background: Use a soft blue-gray to suggest a beach or tabletop.
- Paint main shell color: Mix white, yellow ochre, and a touch of pink for the base.
- Add ridges: Use a small brush to add darker and lighter stripes along the shell’s lines.
- Paint shadow: Place a purple-gray shadow under the shell.
- Highlight: Add a thick, bright highlight along the top curve.
- Final details: Paint fine dots and lines, and soften the edges as needed.
This process works for most shell types—just adapt the colors and patterns to match your reference.
Comparing Oil, Acrylic, And Watercolor For Seashells
How does oil painting compare to other mediums when painting seashells? Here’s a quick overview:
| Medium | Blending Ability | Drying Time | Final Look |
|---|---|---|---|
| Oil | Excellent | Slow (days-weeks) | Rich, deep colors, smooth blends |
| Acrylic | Good | Fast (minutes-hours) | Vivid, can look less smooth |
| Watercolor | Moderate | Very fast (minutes) | Transparent, soft effects |
Oil is best for detailed, realistic seashells, especially if you want time to adjust and blend.
Finishing Touches And Varnishing
When your painting is fully dry (this can take weeks for thick paint), you can add a final varnish to protect it and unify the finish. Use a varnish made for oil paintings, following the instructions on the bottle.
- Apply in a dust-free area.
- Use a soft, clean brush.
- Let dry completely before framing or displaying.
Varnish deepens colors and protects your work from dust and fading.
Two Non-obvious Tips For Painting Seashells
- Use a colored ground: Starting with a light wash of warm color (like Burnt Sienna) under your whole painting helps unify the colors and makes highlights stand out.
- Observe reflected colors: Seashells often pick up colors from their surroundings. Look for subtle hints of background colors on the shell, especially in the shadows, and add them for extra realism.
Practice: Try Different Shells And Lighting
Don’t stop at just one shell. Try painting different shapes and types, like spiral conch shells or long razor shells. Change the lighting—use side light for strong shadows, or diffuse light for gentle gradients. Each new setup teaches you something different about color, form, and texture.
Inspiration And Further Learning
Many famous artists have painted shells, from the Dutch still life masters to modern painters. Visit galleries or search online for shell paintings to get ideas and see different styles. For more detailed information about oil painting materials and techniques, you can check resources like the Oil Painting Wikipedia page.
Frequently Asked Questions
How Long Does It Take To Finish An Oil Painting Of A Seashell?
Drying times vary. You can complete the painting in a day or two, but thick layers may take several weeks to dry fully before varnishing.
Can I Use Photos Instead Of Real Seashells As A Reference?
Yes, clear, high-resolution photos work well. Make sure the light and shadows are visible in the image.
What’s The Best Surface For Oil Painting Seashells?
Stretched canvas or a gessoed panel is ideal. Canvas boards work, too, especially for smaller studies.
How Do I Clean My Brushes After Oil Painting?
Use odorless solvent to remove most paint, then wash with soap and water. Rinse thoroughly and reshape the bristles.
Can I Use Student-grade Oil Paints For Seashells?
Yes, student paints are fine for practice. For richer colors and better blending, artist-grade paints give the best results.
Painting a seashell in oil is a rewarding project that builds your skills and helps you see the beauty in simple objects. With careful observation, patience, and the right techniques, you’ll create a painting you can be proud of. Happy painting!


