Painting a textured background canvas is one of the most enjoyable ways to create art with personality. It’s perfect for beginners who want to try something new, as well as artists who want to add depth to their work. Creating texture doesn’t just make your painting look interesting—it can also help you express emotion, hide mistakes, and build a foundation for more complex designs.
If you’ve ever wondered how artists get those rich, layered effects, this guide will help you understand every step.
Many people think you need expensive supplies or years of training to make a beautiful textured canvas. The truth is, with simple materials and the right techniques, anyone can achieve impressive results. You’ll learn how to select the best surfaces and paints, which tools to use, and how to layer your textures for maximum impact.
By the end, you’ll have all the knowledge you need to create your own textured masterpiece—whether you want a subtle background or a bold, three-dimensional look.
Understanding Textured Backgrounds
A textured background is more than just a painted surface. It has physical depth that you can feel and see. Texture can be rough, smooth, raised, or patterned. It catches light in unique ways, making your painting more engaging. There are two main types of texture in painting:
- Physical texture: Created by adding actual raised surfaces using gels, sand, or thick paint.
- Visual texture: Created by painting patterns or using color changes to make the surface look textured, even if it feels flat.
Many artists combine both for extra interest. Textured backgrounds are popular in abstract art, landscapes, and even portraits. They can serve as the main feature or a subtle foundation for your main subject.
Choosing Your Canvas And Supplies
Before you start, choosing the right materials is important. Your canvas and tools affect how easy it is to build texture and how the final painting looks.
Canvas Types
There are several kinds of canvases you can use:
| Canvas Type | Texture Level | Best For |
|---|---|---|
| Stretched Canvas | Medium | Most textured backgrounds |
| Canvas Board | Low to Medium | Practice, small works |
| Heavy-Duty Canvas | High | Thick textures, mixed media |
Stretched canvas is the most popular because it’s sturdy and flexible. For heavy textures, a thicker, heavy-duty canvas prevents sagging.
Paint Selection
For textured backgrounds, acrylic paint is ideal. It dries fast and can be layered easily. Oil paint works for slow blending but takes days to dry. Watercolor is not recommended because it’s too thin for building texture.
Texture Mediums
Texture mediums are products you add to paint or apply directly to the canvas. Popular options include:
- Modeling paste: Thick, white paste that dries hard; creates raised areas.
- Gel medium: Comes in gloss or matte; adds body to paint.
- Sand or grit: For a rough, grainy feel.
- Gesso: Used to prime canvas, but several layers can create subtle texture.
Tools For Texture
You don’t need fancy tools—many items around your house work well.
| Tool | Texture Effect | Tip |
|---|---|---|
| Palette knife | Bold, raised strokes | Use flat or edge for variety |
| Sponge | Soft, random patterns | Dab, don’t drag |
| Brush | Fine or thick lines | Stiff bristles for more texture |
| Old credit card | Sharp lines, scraping | Drag for a distressed look |
| Comb or fork | Patterned grooves | Press lightly into wet paste |

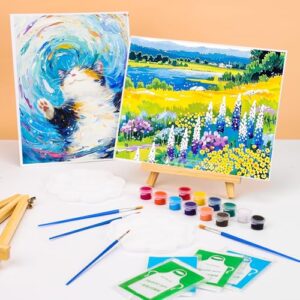
Credit: pikbest.com
Setting Up Your Workspace
A comfortable, organized workspace makes painting easier and more enjoyable. Make sure you have:
- Good lighting to see texture clearly
- A flat, stable surface for your canvas
- Easy access to water, paper towels, and all tools
- Protective coverings for your table and clothes
If you’re using messy materials, a plastic drop cloth is helpful. Keep your tools within reach so you can work quickly while the paint or medium is wet.
Preparing The Canvas
Start with a clean, primed canvas. Most canvases from the store are already pre-primed with gesso. If you want more texture, add extra layers of gesso, applying each one with a wide brush or palette knife. Let each layer dry completely before adding the next. This gives a toothy, interesting base for your paint.
If you want a very smooth or unique surface, you can sand the dry gesso lightly between coats or mix sand into the gesso for extra grit.
Creating Texture: Techniques And Steps
Now comes the fun part—building texture on your background. Here’s how to do it, step by step.
1. Apply Texture Medium
Using a palette knife or wide brush, spread your chosen texture medium across the canvas. For raised areas, pile it on thickly and shape it as you like. For subtle effects, use a thin layer and let the brush marks show.
Work quickly, as some mediums dry fast.
Pro tip: Try using a sponge or plastic bag to dab into the wet paste for random bumps and valleys. This is a trick many beginners miss, but it adds a lot of interest.
2. Create Patterns And Effects
While the medium is still wet, press tools into it to create patterns. Try:
- Drawing lines with a comb or fork for a woodgrain effect
- Pressing bubble wrap for a dotted look
- Stamping with textured fabrics for unique prints
You can mix different patterns in one background, but leave some smooth areas for variety.
3. Let It Dry
Drying time depends on the thickness of your texture. Most mediums need at least a few hours, sometimes overnight. Don’t rush this step—painting over wet medium can cause smearing or cracks.
4. Paint The Textured Surface
Once dry, start adding color. Use acrylic paint for best results. Thin, watery paint will settle into the grooves, highlighting the texture. Thick paint can be dragged over the surface to catch only the raised areas.
Non-obvious insight: Try using a dry brush technique—barely dip your brush in paint, then gently sweep it across the texture. This makes the texture “pop” without covering everything.
5. Build Layers
Don’t stop at one color. Layering different shades adds depth. Start with a dark base color, then add lighter shades on top. Use a sponge, rag, or even your fingers to blend and soften edges.
6. Add Special Touches
You can add metallic paints, glitter, or even small beads for extra sparkle. Highlight raised areas with gold or silver to catch the light.
Comparing Texture Techniques
Artists often wonder which texture technique gives the best effect. Here’s a simple comparison:
| Technique | Look | Difficulty | Best For |
|---|---|---|---|
| Modeling Paste + Palette Knife | Bold, dramatic | Easy | Abstract, modern art |
| Sponge Dabbing | Soft, random | Very easy | Backgrounds, clouds |
| Comb Patterning | Linear, patterned | Moderate | Woodgrain, water |
| Collage (fabric, paper) | Mixed media, complex | Medium | Experimental art |
For beginners, start with sponge and palette knife. As you gain confidence, try combining techniques for unique results.

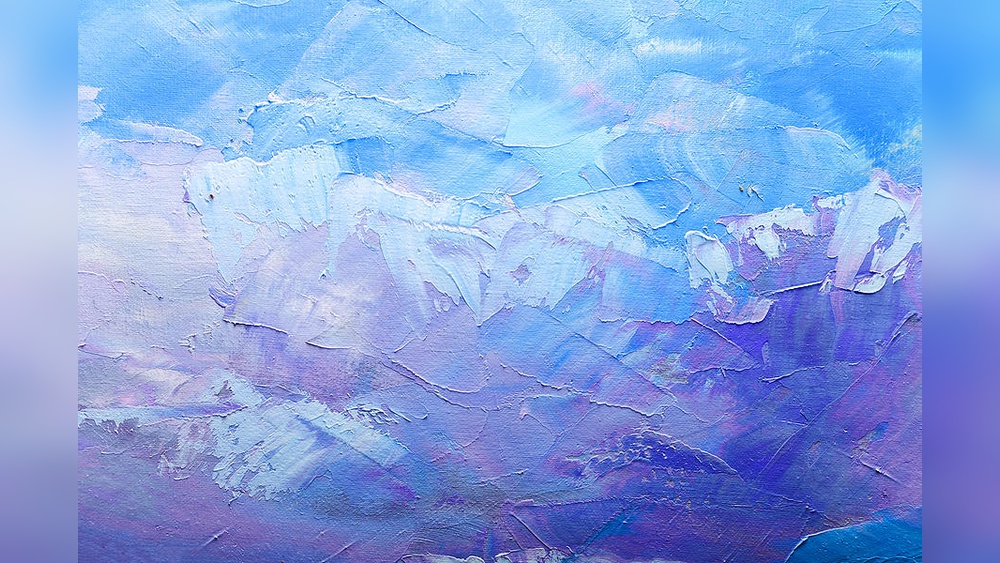
Credit: slidesdocs.com
Fixing Common Mistakes
Even experienced artists run into problems when painting textured backgrounds. Here’s how to solve them:
- Texture cracks while drying: Usually, the layer is too thick or the room is too dry. Try thinner coats, or mist the surface lightly with water during drying.
- Paint looks dull: Acrylic paint can dry flat. Add a gloss or satin varnish when finished to restore brightness.
- Texture medium peels off: Make sure the canvas is clean and primed. Avoid applying texture to oily or dusty surfaces.
- Colors blend too much: Let each layer dry before adding the next, especially when using wet techniques.
A useful trick: If you make a big mistake, let the area dry, sand it smooth, and add more texture medium. Don’t panic—almost any error can be fixed.
Inspiring Ideas For Textured Backgrounds
Not sure where to begin? Try these creative ideas:
- Oceans and skies: Use blue paint and sponge dabbing for a lively, moving background.
- Stone or rock effects: Mix sand into your paste and use earthy colors.
- Abstract patterns: Layer thick paint in swirls with a palette knife.
- Nature-inspired: Press leaves or fabric into the wet medium, then remove for interesting shapes.
- Cityscapes: Use combs to create lines, then paint with grays and silvers.
- Metallic highlights: Brush gold or silver over raised areas for shine.
- Two-color gradients: Blend colors across the canvas, letting texture show through.
The more you experiment, the more personal your art becomes.
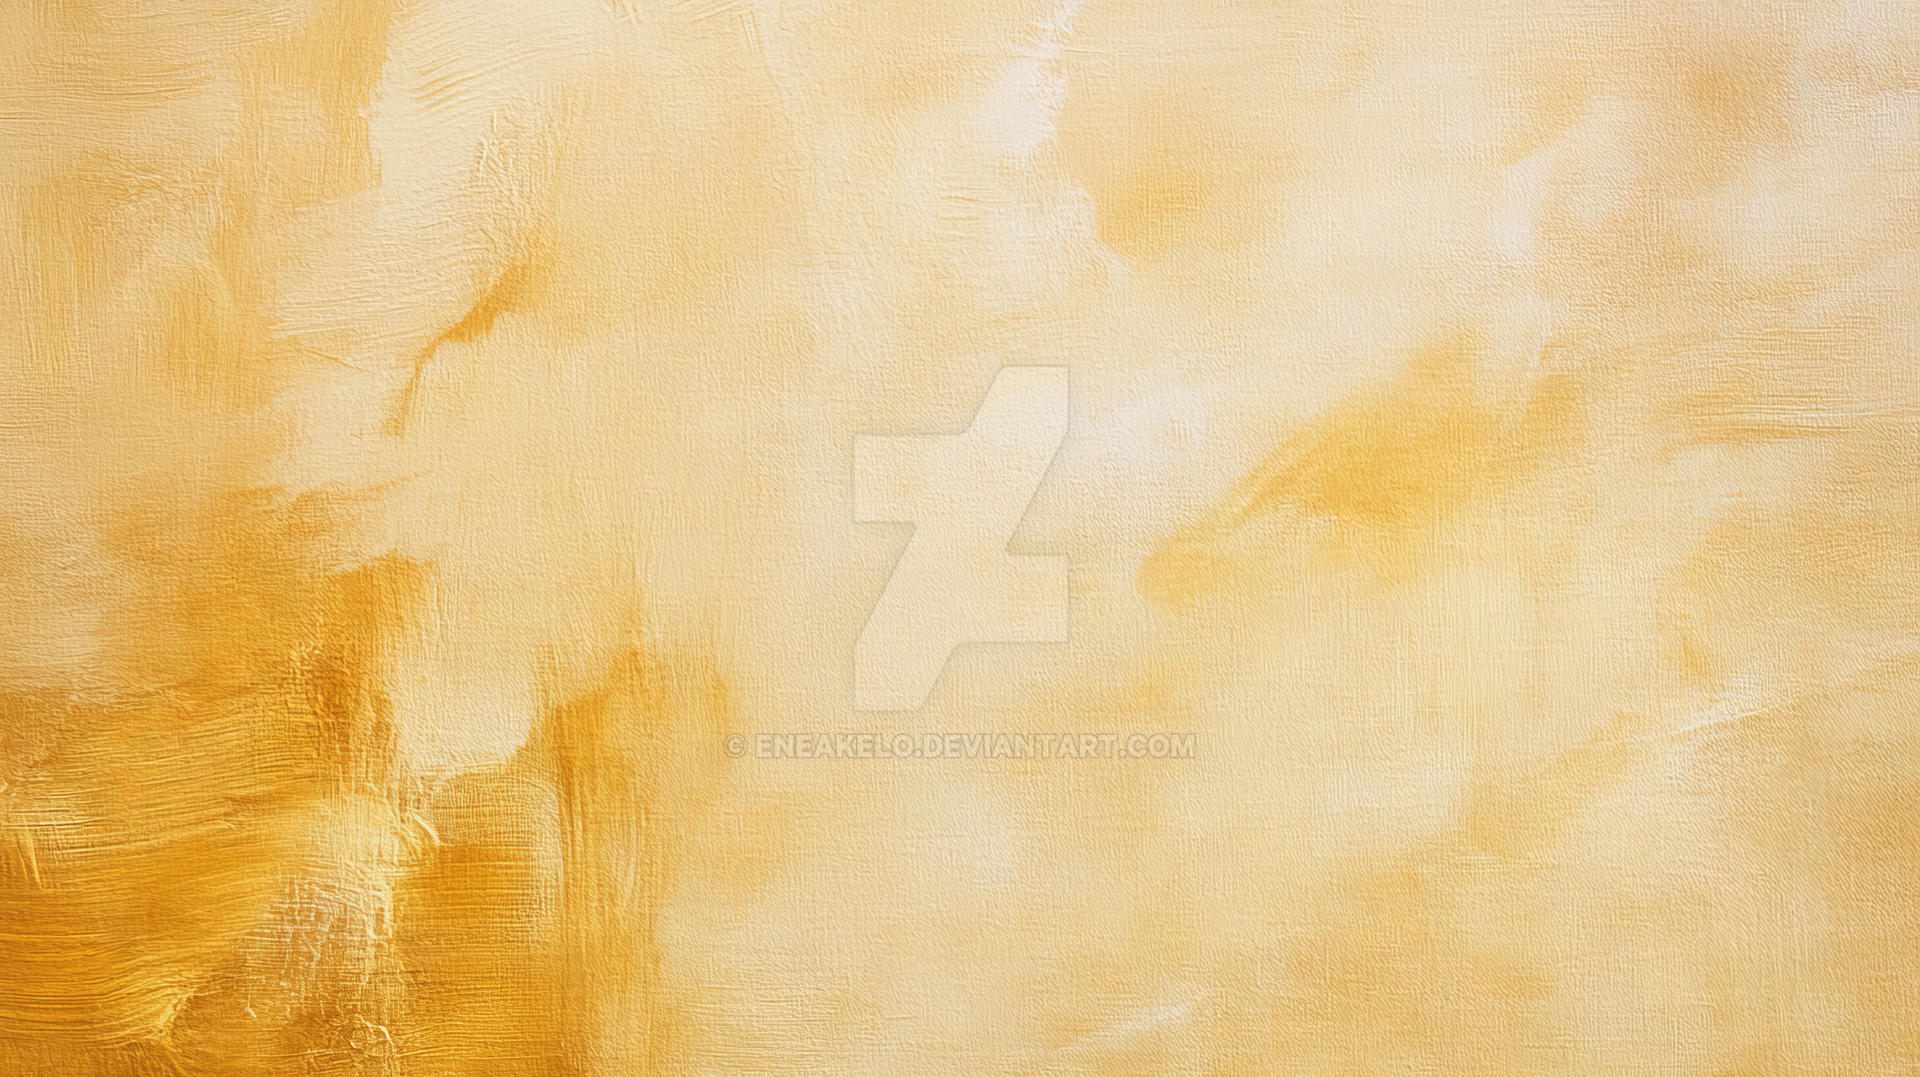
Credit: www.deviantart.com
Caring For Your Finished Canvas
A textured background is sturdy, but it needs some care to last. Let your painting dry completely—sometimes up to a week if the texture is thick. Once dry, protect it with a clear acrylic varnish. This seals the surface, makes colors pop, and prevents dust from settling in cracks.
Hang your painting out of direct sunlight to prevent fading. If dust gathers, use a soft brush to clean it gently.
When To Use A Textured Background
Textured backgrounds are great for many styles. They work well for:
- Abstract art: The texture is often the main subject.
- Landscapes: Add texture to rocks, trees, or clouds.
- Mixed media: Combine paint with paper, fabric, or found objects.
- Portraits: Use subtle texture for depth, but keep the face smooth.
Some artists even sell textured backgrounds as ready-made canvases for others to paint on. This shows how popular and versatile textured art has become.
Where To Learn More
If you want to go deeper, many museums and artists share free resources online. For advanced techniques and inspiration, the Museum of Modern Art has a large collection of textured paintings by famous artists.
Frequently Asked Questions
What’s The Best Paint For Textured Backgrounds?
Acrylic paint is the top choice because it dries fast and works well with texture mediums. Oil paint can be used for slow blending, but it takes longer to dry. Watercolor is usually too thin and does not build texture well.
Can I Use Household Items To Create Texture?
Yes! Many artists use sponges, combs, forks, or old credit cards to add unique patterns and effects. You don’t need expensive tools—be creative with what you have at home.
How Long Does A Textured Canvas Take To Dry?
Drying time depends on the thickness of the texture. Thin layers can dry in a few hours, but thick modeling paste may need 24 hours or more. Always let each layer dry before adding new paint or effects.
How Do I Fix Cracks In My Texture?
If cracks appear, try applying thinner layers or misting the canvas with water as it dries. For deep cracks, let the area dry completely, sand it smooth, and add more texture medium.
Can I Paint Over A Finished Textured Background?
Absolutely. Many artists create a textured background first, then paint their main subject on top. Just be sure the texture is fully dry before adding details.
Painting a textured background canvas is a satisfying and creative process that anyone can master with a bit of practice. Don’t be afraid to experiment with new tools and techniques—you’ll discover effects and styles that are uniquely yours. The most important thing is to enjoy the process and let your imagination guide you.