If you’ve ever admired a beautifully detailed nail art, a crisp eyeliner flick, or tiny fine lines in a painting, you’ve seen the magic of a liner brush. This small, simple tool is essential for artists, makeup lovers, and crafters who want to add fine detail to their work.
But using a liner brush for detail work is not as easy as it looks. It takes the right technique, some practice, and a good understanding of how the brush works. Whether you’re working on your first detailed design or looking to perfect your skills, this guide will help you unlock the full potential of the liner brush.
What Is A Liner Brush?
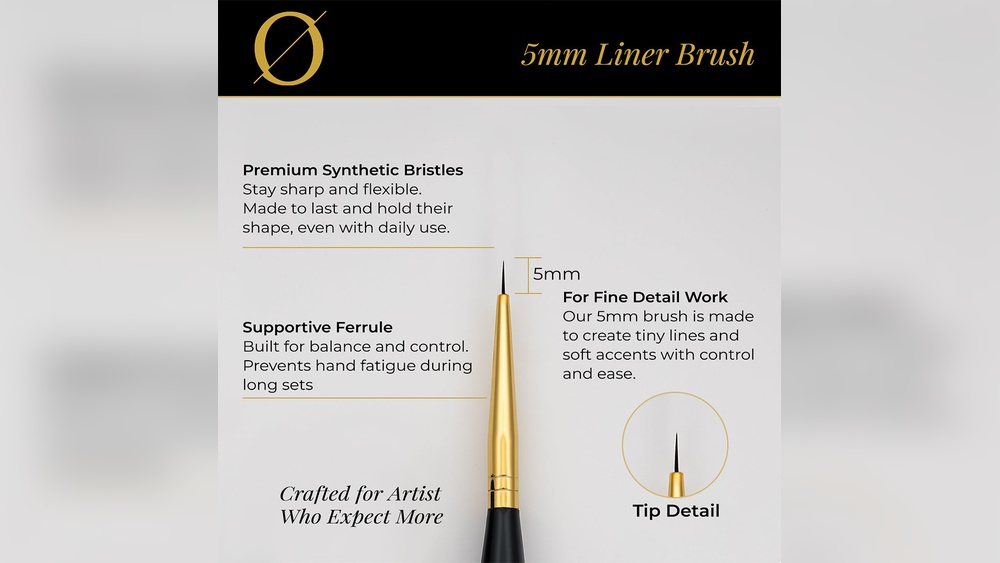
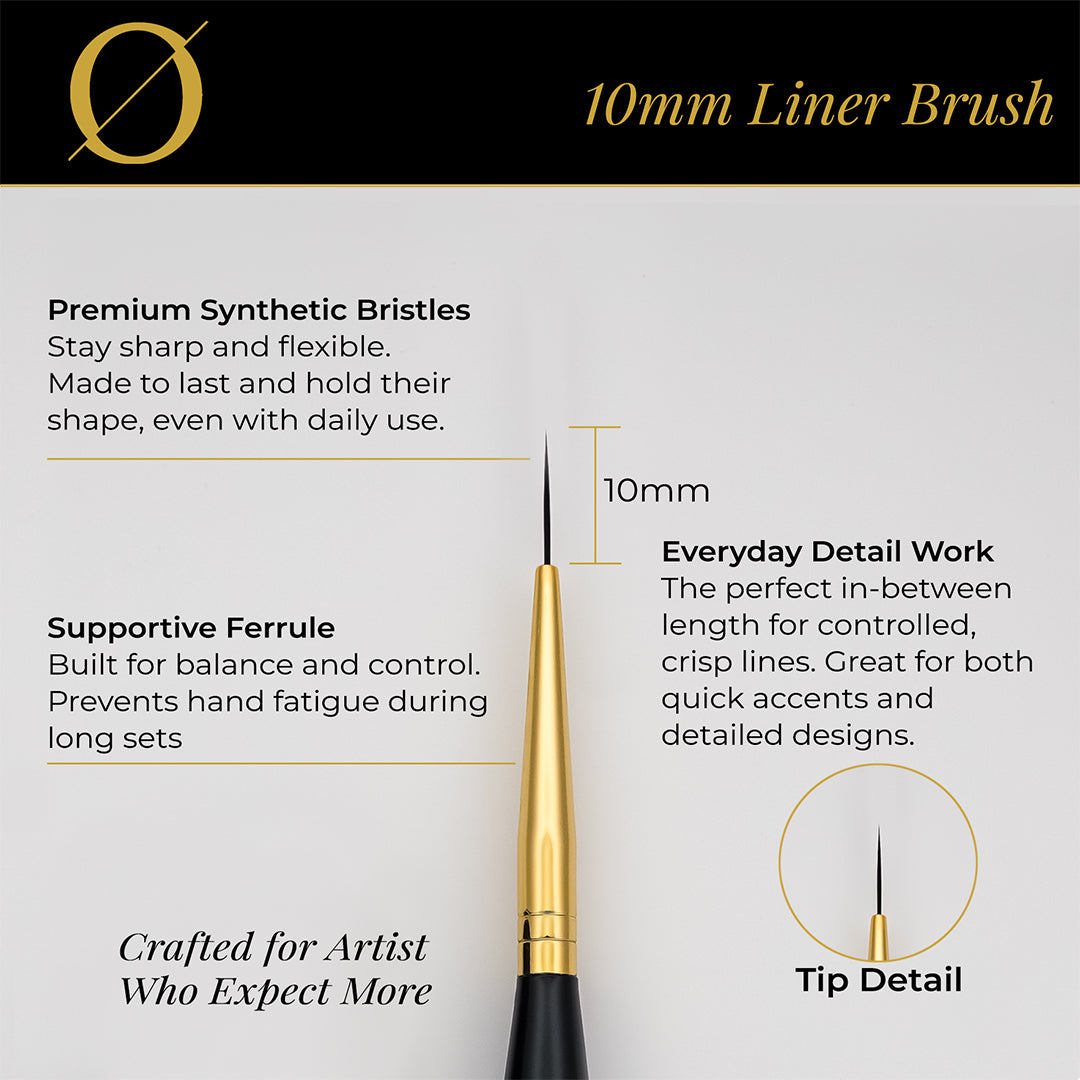
A liner brush is a thin, pointed brush designed for making fine lines and tiny details. It’s used in painting, nail art, makeup, and other crafts. The bristles are usually longer than those of a regular detail brush, which lets you draw longer, uninterrupted lines. Liner brushes come in different sizes and shapes, but all are designed to give you precision and control.
Common Uses For Liner Brushes
- Nail Art: Drawing stripes, swirls, or tiny flowers on nails.
- Makeup: Creating sharp eyeliner or filling in brows with hair-like strokes.
- Acrylic or Watercolor Painting: Adding highlights, outlines, or intricate textures.
- Model Painting: Adding fine lines on miniatures or scale models.
- Crafting: Writing or drawing on ceramics, glass, or fabric.
Types Of Liner Brushes
Understanding the different types of liner brushes helps you pick the right one for your project. Here’s a quick comparison of the most common types:
| Type | Shape | Typical Use |
|---|---|---|
| Standard Liner | Long, pointed tip | Fine lines, writing, outlining |
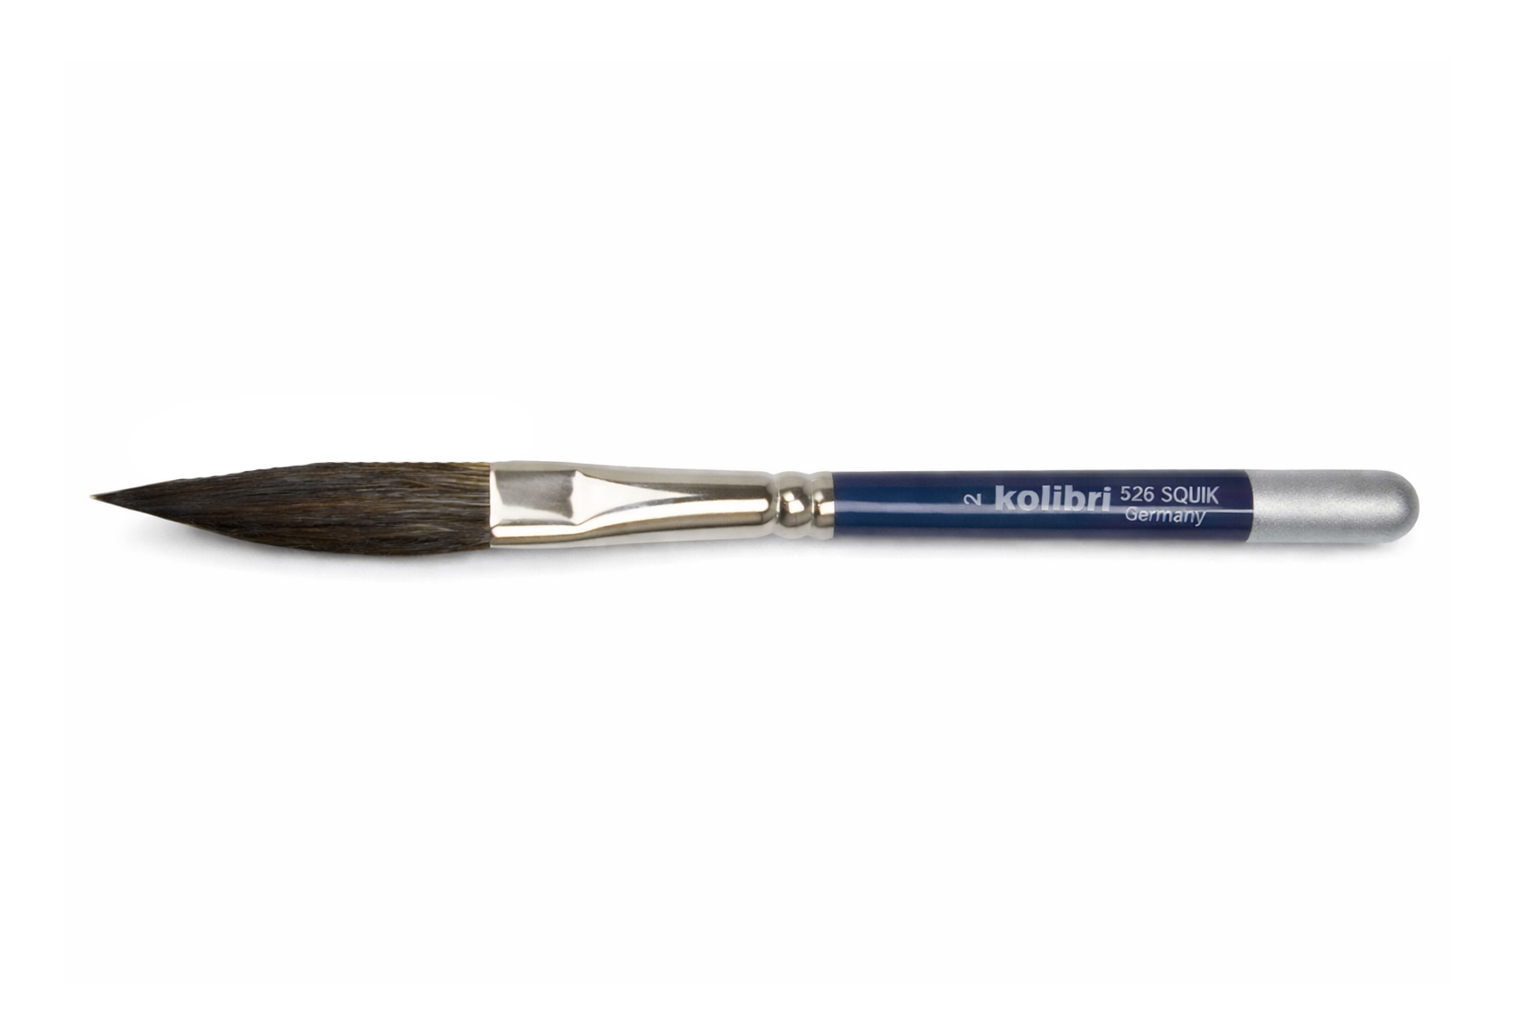
| Rigger Brush | Very long bristles, thin | Long, continuous lines (e.g., ship rigging in art) |
| Script Liner | Extra fine, flexible | Lettering, calligraphy, scrollwork |
| Short Liner | Shorter bristles, firm | Controlled, short strokes |
Pro tip: The longer the bristles, the more paint or product the brush can hold. But long bristles are harder to control, especially for beginners. Shorter bristles give you more stability for tiny details.
Choosing The Right Liner Brush
Not all liner brushes are created equal. Here’s what to consider before buying or using one:
- Bristle Material
- Synthetic bristles: Good for acrylics, gel liners, and nail art. They are durable and easy to clean.
- Natural bristles: Better for watercolor and softer paints. They hold more liquid but can be more delicate.
- Bristle Length and Shape
- Longer bristles: Make long, fluid lines.
- Shorter bristles: Provide more control for tiny, short marks.
- Handle Length
- Short handles: Great for close-up detail work.
- Long handles: Preferred by artists who paint on easels.
- Firmness
- Stiffer brushes: Help with crisp lines but can be harder to maneuver.
- Softer brushes: Smoother flow, but less control.
- Size
- Liner brushes are numbered by size. A size 0 or 1 is very fine. For most detail work, sizes 0, 00, or 1 work best.
- Budget
- High-quality liner brushes can last years if cared for. Cheap brushes shed bristles and lose shape quickly.
Preparing Your Liner Brush
Before you start, proper preparation will make a big difference:
- Clean the brush: New brushes often have glue or residue. Wash gently with mild soap and warm water.
- Reshape the tip: Use your fingers to shape the tip to a sharp point.
- Dampen (for paint): If using water-based paint, lightly dampen the bristles before dipping in paint.
- Remove excess product: Don’t overload the brush. Wipe off extra paint or gel on the palette or bottle rim.
Extra insight: Many beginners skip reshaping the brush tip before use. This can cause uneven lines and frustration. Taking a few seconds to reshape makes fine detail work much easier.
Loading The Liner Brush With Product
Getting the right amount of product on your liner brush is key:
- For paint: Roll the tip in thinned paint, turning as you go. The brush should be saturated but not dripping.
- For gel or cream: Swipe the tip across the product, then spin to a point.
- For liquid: Dip just the tip, then tap off excess.
If your lines skip or look dry, you probably need more product. If they are too thick or puddled, you need less.
| Medium | Best Loading Method | Common Mistake |
|---|---|---|
| Watercolor | Dampen, then dip tip | Overloading, causing splotches |
| Acrylic Paint | Thin paint, roll brush | Paint too thick, lines break |
| Gel Eyeliner | Swipe, shape tip | Clumps on bristles |
| Nail Polish | Wipe excess, use small drops | Too much product, pooling |
Basic Techniques For Detail Work
Mastering a liner brush starts with a few simple but powerful techniques.
Holding The Brush
Hold the brush like a pen for control, with your hand resting on the table or surface. For very fine lines, use your pinky finger as a brace against the surface, which helps steady your hand.
Making Straight Lines
- Place the tip where you want to start.
- Use a light touch. Pressing harder makes thicker lines.
- Pull the brush toward you, not away, for more control.
- Move your whole arm, not just your fingers, for long straight lines.
Creating Curves And Swirls
- Rotate your wrist gently as you pull the brush.
- Practice on scrap paper or a nail tip to get the motion right.
- Use more paint for smooth curves—dry brushes will skip.
Building Up Detail
- Start with the largest details first.
- Add smaller elements after, working from big to small.
- Let each layer dry before adding more lines if using paint.
Dots And Stippling
- Use just the tip for tiny dots.
- Tap gently for even circles.
- For fine stippling (dotted shading), use a drier brush.
Non-obvious insight: Many people try to make lines with a dry brush for more control, but this actually causes skipping and ragged edges. A properly loaded, damp brush gives smoother lines and better control.

Credit: www.amazon.com
Advanced Tips For Perfect Detail
Once you’re comfortable with the basics, these tips will help you get professional results:
- Thin Your Paint: For paint, thin it with a drop of water or medium so it flows easily. Thick paint clogs the bristles and makes jagged lines.
- Rotate the Brush as You Work: Spinning the brush slightly between your fingers keeps the tip sharp and lines crisp.
- Use a Guide: For straight lines, use a ruler or tape as a guide. For curves, lightly sketch with pencil first.
- Work in Good Light: Detail work is hard on your eyes. Use a bright lamp or daylight.
- Take Breaks: Eyes and hands get tired quickly. Take short breaks to avoid shaky lines.
- Practice on Test Surfaces: Before working on the final piece, test your technique on paper, plastic, or an old nail tip.
Cleaning And Caring For Your Liner Brush
A liner brush will only perform well if you care for it properly:
- Clean immediately after use, especially with acrylic or gel products. These dry hard and ruin bristles.
- Use gentle brush cleaner or mild soap. Avoid harsh chemicals.
- Rinse until water runs clear. Paint or makeup left in the bristles causes them to splay.
- Reshape the tip while wet and lay flat to dry.
- Store upright or flat, never tip-down in a jar, to avoid bending the bristles.
Pro tip: Never let your liner brush sit in water or solvent for long periods. This can loosen the glue and make the bristles fall out.
Credit: origennailart.com
Common Mistakes And How To Avoid Them
Even experienced artists make mistakes with liner brushes. Here’s how to avoid the most frequent issues:
- Overloading the brush: Too much product leads to blobs and smears. Always remove excess.
- Using the wrong brush size: For tiny details, use the finest brush. Don’t try to “force” a thick brush to make a thin line.
- Holding too far from the tip: Hold close for detail work. Holding far back reduces control.
- Not cleaning between colors: Mixing colors on the brush creates muddy, dull lines.
- Working too quickly: Rushing detail work often leads to wobbly, messy lines.
Real-world Examples: Liner Brush In Action
Let’s look at three scenarios where a liner brush makes a big impact:
Nail Art
For a delicate lace pattern, a liner brush lets you draw fine, curved lines that mimic real lace. Start with a base color, then use white polish and a size 00 liner brush to draw small loops and dots. If you make a mistake, clean up with a bit of acetone on the brush.
Watercolor Illustration
To add whiskers to an animal portrait, load a rigger brush with slightly thinned black paint. With a steady hand, flick out from the nose to create whiskers that taper to a fine point.
Eyeliner Flick
For a sharp cat eye, dip a liner brush in gel or liquid liner. Start at the outer corner of the eye, draw a thin line upward, then connect back to the lash line. Clean up edges with a cotton swab if needed.
Practice Exercises To Improve Your Skills
Practice is the only way to master the liner brush. Try these exercises:
- Lines of Different Thickness: Draw parallel lines, changing pressure to make some thicker and some thinner.
- Curved Patterns: Practice swirls, waves, and S-shapes.
- Tiny Script: Write your name as small as possible.
- Dot Rows: Make a row of evenly spaced dots for steadiness.
- Miniature Outlines: Outline a small shape (like a star or heart) without lifting the brush.
Comparison: Liner Brush Vs. Detail Brush
It’s easy to confuse a liner brush with a detail brush, but they serve different roles. Here’s a side-by-side comparison:
| Feature | Liner Brush | Detail Brush |
|---|---|---|
| Bristle Length | Long, thin | Short, pointed |
| Best For | Long lines, script | Tiny dots, controlled small details |
| Flexibility | More flexible | Stiffer |
| Paint/Product Capacity | Holds more | Holds less |
When To Replace Your Liner Brush
No brush lasts forever. Signs it’s time for a new one:
- Bristles are frayed or splayed.
- The tip won’t form a point, even after cleaning.
- Bristles fall out or feel loose.
- Product won’t wash out completely.
A good brush, with care, can last a year or more with regular use.
Additional Resources
For more in-depth information on brush care and painting techniques, the Jackson’s Art Blog offers expert advice for both beginners and advanced users.
Credit: www.everythingairbrush.com
Frequently Asked Questions
What Is The Best Way To Clean A Liner Brush After Using Acrylic Paint?
Clean the brush immediately with mild soap and lukewarm water. Swirl the brush gently in your palm until all paint is removed. Rinse, reshape the tip, and lay flat to dry.
Can I Use A Liner Brush For Both Nail Art And Painting?
Yes, but clean the brush thoroughly between uses. Using separate brushes for each medium is better to avoid contamination or damage.
Why Do My Lines Look Shaky When Using A Liner Brush?
Shaky lines often result from an unsteady hand or working too quickly. Rest your hand on the surface, breathe steadily, and move slowly. Practicing with guiding lines can help.
How Do I Thin Paint For Liner Brush Work?
Add a drop of water or acrylic medium and mix well. The paint should flow easily but not be watery. Test on scrap before applying to your project.
Are Expensive Liner Brushes Worth The Investment?
High-quality brushes often last longer, hold their shape, and give better results. If you use a liner brush often, investing in a good one is worth it.
A liner brush is a small tool with big potential. With the right techniques and a bit of practice, you can create fine lines, intricate details, and impressive designs on any surface. Take your time, care for your tools, and enjoy the process as your skills grow.