
Drip painting brings a sense of freedom and excitement to art. If you want to create beautiful, abstract pieces with little artistic experience, drip painting crafts are an excellent choice. This approach turns your home into a creative studio, where anyone can express themselves through color and movement. Even children and complete beginners can enjoy the process. But to get results you’re proud to display, it’s important to understand the right techniques, tools, and safety tips.
Let’s explore everything you need to know to start making drip painting crafts at home—step by step, with practical advice for each stage.
What Is Drip Painting?
Drip painting is a style of abstract art where paint is dripped, splattered, or poured onto a surface. This method became famous thanks to artists like Jackson Pollock, who used it to express emotion and energy. You don’t need a background in art to try this. The focus is on movement, color, and letting go of control.
Drip painting works with many surfaces—canvas, wood, paper, glass, or even fabric. It is especially popular for home decoration because every piece is unique.
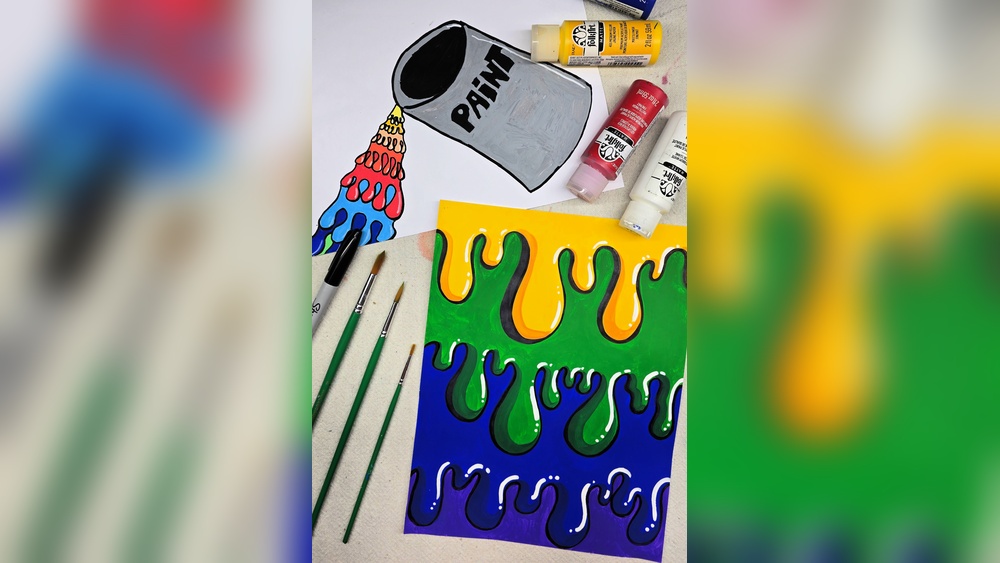
Essential Materials For Drip Painting Crafts
Before you begin, gather your materials. Using the right supplies makes your project easier and your results better.
| Material | Purpose | Beginner Tip |
|---|---|---|
| Canvas or thick paper | Main painting surface | Canvas boards are affordable and sturdy. |
| Acrylic paint | Colorful, water-based paint | Choose student-grade for first projects. |
| Plastic cups & stir sticks | Mixing and pouring paint | Reuse yogurt cups to save money. |
| Protective gloves & apron | Keep hands and clothes clean | Latex gloves are easy to find. |
| Plastic sheet or old newspaper | Protect work area | Cover a large area—paint splashes far! |
| Water and paper towels | Clean brushes and hands | Keep these nearby for quick cleanups. |
You can add extras like silicone oil for special effects, or use squeeze bottles and droppers for more control.
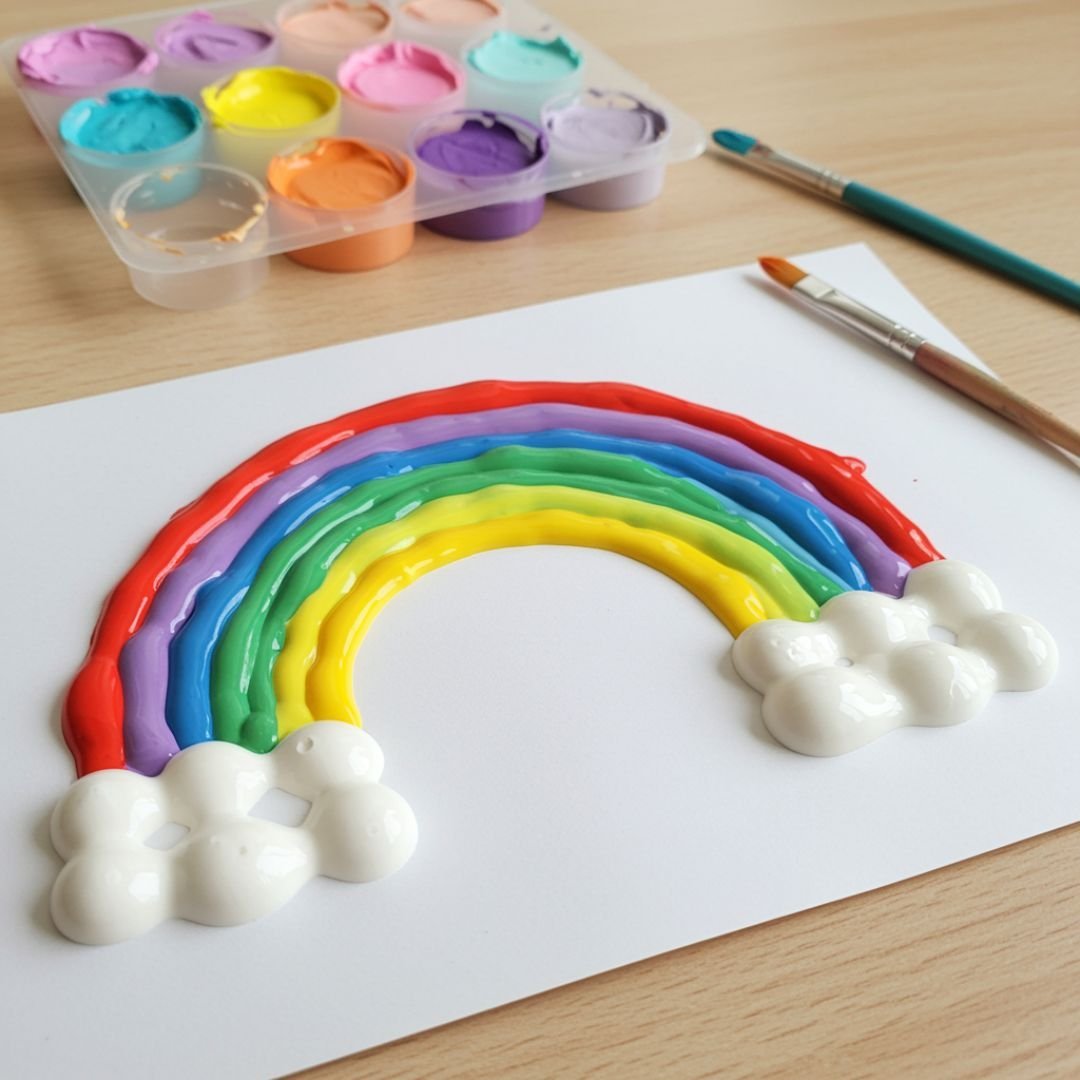
Credit: www.mothercould.com
Setting Up Your Space
Drip painting is messy. Proper preparation saves time and stress.
- Choose a large, flat area—a garage, backyard, or kitchen floor (with plastic covering).
- Lay down a plastic sheet or old newspapers at least 3 feet wider than your canvas on all sides.
- Wear old clothes or an apron. Paint can splatter far.
- Keep water, towels, and gloves within reach.
- If possible, work in a well-ventilated area to avoid breathing paint fumes.
How To Prepare Paint For Drip Painting
Acrylic paint is the most popular choice for home drip art. But paint straight from the bottle is often too thick. It needs to be thinned for smooth dripping.
Mixing The Paint
- Pour paint into a plastic cup—about 2–3 tablespoons per color.
- Add water slowly—start with a few drops and stir with a stick.
- Aim for a “honey” consistency—the paint should flow off a stick but not be watery.
- Test drip: Lift a stick and let paint fall into the cup. If it forms a smooth line, it’s ready.
- Repeat for each color you want to use.
Non-obvious tip: If your paint cracks after drying, it was probably too thick or dried too quickly. Use less paint per layer, or add a few drops of acrylic pouring medium (available at craft stores) for flexibility.
Basic Drip Painting Techniques
You can experiment with many approaches. Here are the most popular:
1. Direct Drip
Hold a loaded brush or stick above the canvas and let paint drip onto the surface. Move your hand to create lines or puddles.
2. Pour And Tilt
Pour paint directly onto the canvas, then tilt the canvas to let the paint flow. This creates organic patterns and color blends.
3. Flicking
Dip a brush in paint, then flick your wrist to splash droplets. This gives a speckled, energetic effect.
4. Squeeze Bottle Lines
Fill a squeeze bottle with thin paint and draw lines or circles by squeezing gently.
5. Layering Colors
Let each color dry partially before adding the next. This builds depth and prevents muddy mixes.
| Technique | Best For | Difficulty |
|---|---|---|
| Direct Drip | Bold, random art | Easy |
| Pour and Tilt | Soft, blended effects | Medium |
| Flicking | Dynamic energy | Easy |
| Squeeze Bottle | Controlled shapes | Medium |
| Layering | Complex, multi-color art | Advanced |
Step-by-step Guide: Creating Your First Drip Painting
Ready to try it? Here’s how to complete your first piece in about 1 hour (excluding drying time).
- Prepare your workspace as described above. Place your canvas flat.
- Mix your colors in separate cups, thinning each to honey-like consistency.
- Choose your base color (often white or black). Pour this in the center and tilt the canvas to spread.
- Drip or pour other colors over the base. Use sticks, brushes, or squeeze bottles as you like.
- Tilt the canvas gently to move paint and blend colors.
- Add more paint as desired, but avoid over-mixing to keep colors bright.
- Let the painting dry flat for at least 24 hours. Do not touch or move it while drying.
- Clean up immediately—acrylic paint is harder to remove once dry.
Practical tip: Test your technique on a piece of cardboard before using your real canvas. This builds confidence and saves material.
Creative Ideas For Drip Painting Projects
Drip painting is not just for wall art. You can use this method to decorate many items around your home:
- Flowerpots: Turn plain terracotta pots into colorful displays.
- Picture frames: Add a splash of color to old frames for a modern look.
- Gift cards: Make personalized cards with mini drip paintings.
- Tote bags: Use fabric paint and drip onto cloth for a wearable artwork.
- Furniture edges: Brighten the sides of shelves or tables with a drip border.
Non-obvious insight: Use painter’s tape to mask off areas before dripping. When you peel the tape off, you get crisp lines and shapes for a more graphic effect.
Common Mistakes And How To Avoid Them
Drip painting is forgiving, but some errors can spoil your piece.
- Using paint that is too thick—it will not drip smoothly and may crack.
- Over-mixing colors—can lead to muddy or gray results.
- Touching the painting before it is dry—this can ruin textures and blend colors unintentionally.
- Not protecting your workspace—paint can get everywhere, including shoes and pets.
- Choosing the wrong surface—thin paper will warp; use canvas, thick paper, or wood.
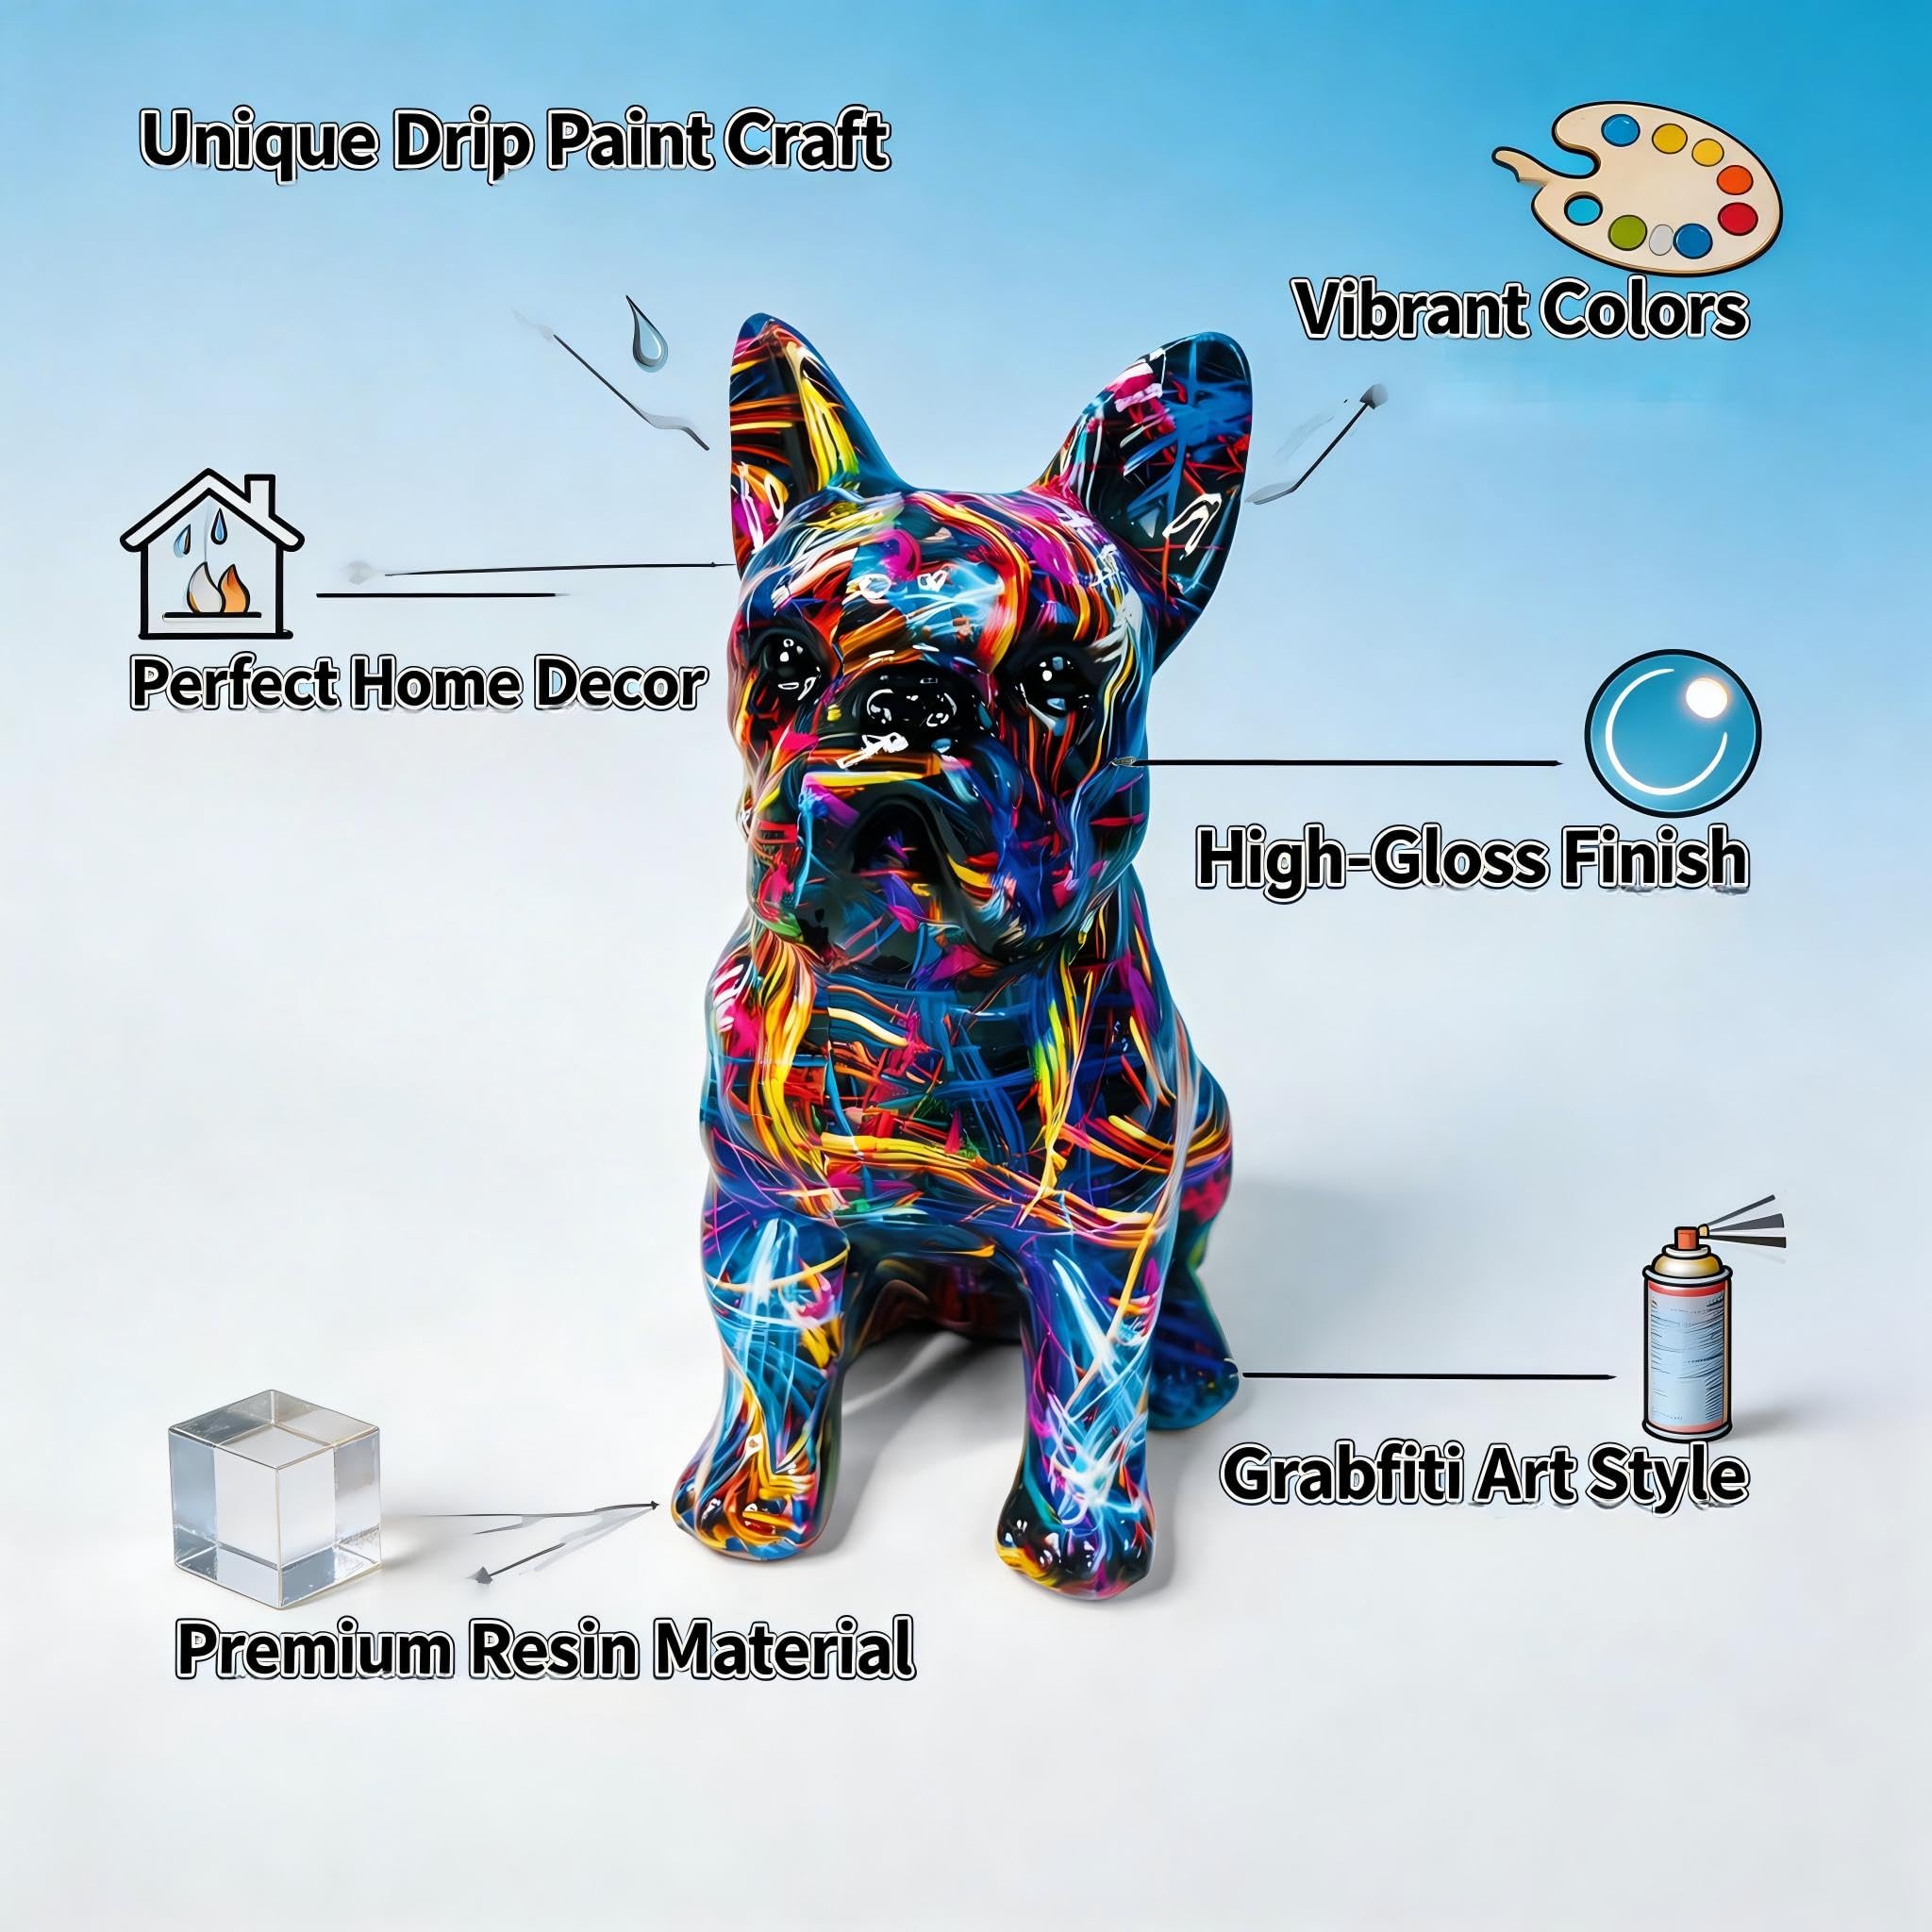
Credit: www.amazon.com
How To Care For And Display Drip Paintings
A finished drip painting can last for many years with proper care.
- Let the painting dry completely—at least 24–48 hours for thick layers.
- Seal the surface with a clear acrylic spray or varnish. This protects the colors and adds shine.
- Frame your work or hang it directly with command strips or nails.
- Avoid direct sunlight to prevent fading.
- Dust gently with a dry cloth—never use water or cleaners.
Advanced Tips For Unique Effects
Once you feel comfortable, try these ideas to level up your drip painting:
- Add silicone oil (a few drops) to create “cells”—bubbly, organic shapes in your paint.
- Use a hair dryer or straw to blow paint and form waves or lines.
- Sprinkle salt on wet paint for a textured effect (works best with water-based paint).
- Try metallic or neon paints for extra visual impact.
- Layer with markers or pens after drying to add outlines or details.

Credit: www.amazon.com
Safety Tips For Drip Painting At Home
While acrylic paint is generally safe, there are a few precautions to keep in mind:
- Ventilate your area—some paints have mild fumes.
- Avoid skin contact—wear gloves, especially if you have sensitive skin.
- Keep paints away from children and pets—never leave paint cups unattended.
- Clean up spills quickly—dried paint can be hard to remove from floors and fabrics.
- Dispose of paint water in a sink, not outside, to protect the environment.
For more tips on safe painting at home, visit the CDC art safety page.
Cost Comparison: Diy Vs. Store-bought Drip Art
If you’re wondering whether to buy or make your own drip art, consider this simple cost breakdown:
| Item | DIY Drip Painting | Store-Bought Drip Art |
|---|---|---|
| Average Cost | $10–$30 (for supplies) | $50–$200 (per artwork) |
| Unique Design | Yes, always unique | Sometimes mass-produced |
| Fun/Creative Value | High—personal experience | Low—you only display |
| Time Needed | 1–2 hours per painting | None |
Making your own is not only cheaper—it’s also much more rewarding!
Frequently Asked Questions
How Long Does Drip Painting Take To Dry?
Drip paintings usually take 24–48 hours to dry, depending on the thickness of the paint and the humidity of the room. Thicker layers may need longer. Avoid moving or touching your painting during this time.
Can I Use Other Types Of Paint For Drip Painting?
Acrylic paint is best for beginners because it’s water-based and dries quickly. You can use watercolor for paper projects or enamel for glass, but each type needs different preparation and drying times. Always check the paint’s label for surface compatibility.
What Surfaces Can I Use For Drip Painting?
Drip painting works well on canvas, thick paper, wood panels, glass, and some fabrics. Thin paper or cardboard may warp. For fabric, use fabric paint to ensure the design lasts after washing.
How Do I Keep My Colors From Mixing Into Brown?
To avoid muddy results, let each layer dry partially before adding the next. Also, don’t over-tilt or over-mix on the canvas. Use colors next to each other on the color wheel for harmonious blends.
Is Drip Painting Safe For Kids?
Yes, with supervision. Use non-toxic, water-based acrylic paints and cover the workspace. Make sure children wear gloves and old clothes. Always clean up together after the project.
Drip painting crafts are a fantastic way to relax, explore color, and create unique art for your home. With a little preparation and the tips above, you’ll be ready to start your own creative journey—even if you’ve never painted before.
Enjoy the process and let your imagination lead the way!


