Painting your own minimalist wall art is both fun and rewarding. You don’t need to be a professional artist, and you don’t need expensive tools. With a few simple supplies and a clear plan, you can create stylish wall decor that matches your space and personality. Minimalist art is known for its clean lines, simple shapes, and use of negative space, making it perfect for beginners and anyone who wants a modern look in their home.
This guide will walk you through every step to create your own minimalist wall art. You’ll learn how to plan your design, pick the right materials, prepare your canvas, and use painting techniques for a professional finish. Along the way, you’ll discover tips that even many first-timers miss, plus answers to common questions.
Let’s turn your blank wall into a masterpiece!
Why Choose Minimalist Wall Art?
Minimalist art is more than just a trend. It’s about simplicity and clarity. In a world full of noise and clutter, minimalist wall art helps create a peaceful, relaxing atmosphere. It works well in almost any room—living rooms, bedrooms, offices, and even bathrooms.
Many people love minimalist art because it’s easy to match with any style of furniture or decor. Whether your home is modern, rustic, or classic, minimalist pieces add elegance without overpowering the space. Plus, creating your own art lets you choose the colors and shapes that fit your taste.
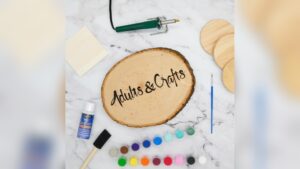
Materials And Tools Needed
Before you start, gather all your supplies. Here’s what you’ll need for a basic minimalist painting:
- Canvas or art paper (16×20 inches is a good size for beginners)
- Acrylic paints (choose 2-4 colors)
- Painter’s tape (for sharp edges)
- Paintbrushes (flat and round, in small and medium sizes)
- Pencil and ruler
- Palette or plate for mixing paints
- Cup of water (for cleaning brushes)
- Paper towels or rags
- Drop cloth or old newspaper (to protect your work area)
Optional but helpful:
- Palette knife (for texture)
- Easel
- Gloves (to keep hands clean)
- Varnish (for a finished look)
Acrylic paint is recommended because it’s easy to use, dries quickly, and cleans up with water. If you want a glossy or matte finish, you can add a varnish at the end.
:strip_icc()/colorful-painting-mantelpiece-d61bdfea-0bc87b9d67054574813b79e479b15fdc.jpg)
Credit: www.bhg.com
Planning Your Minimalist Wall Art
Choosing Your Design
Minimalist art is all about intentional simplicity. Start by looking at examples online or in design magazines. Notice the use of space, lines, and limited colors. Some common minimalist designs include:
- Geometric shapes (circles, squares, triangles)
- Line art (simple lines forming faces, plants, or objects)
- Color blocks (large areas of a single color)
- Abstract forms (shapes that suggest movement or calm)
You can sketch your idea on paper first. Don’t worry about perfection—minimalist art is forgiving. If you’re unsure, start with a simple design like a few overlapping circles or a bold horizontal line.
Selecting Colors
Choose 2 to 4 colors that work well together. Minimalist art often uses neutral shades (white, black, gray, beige), but you can add one or two bold colors (such as blue, green, or gold) for interest.
When picking colors, consider your room’s decor. Do you want the art to stand out or blend in? For a calm effect, use similar shades. For a statement piece, choose contrasting colors.
Insider tip: Test your colors on a small piece of paper before painting the canvas. Sometimes, colors look different when dry or under different lighting.
Sizing And Placement
Think about where your art will hang. Measure your wall space. For most rooms, a 16×20 inch canvas fits well, but you can go bigger for a dramatic effect.
Here’s a quick reference for common canvas sizes:
| Canvas Size | Best For | Visual Impact |
|---|---|---|
| 12×16 in | Small spaces, galleries | Subtle |
| 16×20 in | Living rooms, bedrooms | Balanced |
| 24×36 in | Large walls, feature pieces | Bold |
If you want to make a group of paintings, arrange several smaller canvases together. This adds interest without making the art feel heavy.
Preparing Your Workspace And Canvas
Set up your workspace in a well-lit area. Lay down a drop cloth or old newspaper to catch drips. Make sure you have enough room to move around your canvas.
If you’re using canvas, it’s usually ready to paint. If you use art paper, tape it to a hard surface to keep it flat. Use painter’s tape to mask off areas you want to keep white or to create straight lines.
Beginner tip: Always wash your hands before starting. Oils from your skin can affect how paint sticks to the canvas.
Credit: www.etsy.com
Step-by-step Painting Process
1. Sketch Your Design
Lightly draw your design with a pencil and ruler. Keep lines faint so they don’t show through the paint. If you make a mistake, gently erase and redraw.
2. Mask With Painter’s Tape
Use painter’s tape to block off shapes or lines. Press the tape down firmly to prevent paint from leaking underneath. For curves, cut the tape into thin strips or use flexible tape designed for curves.
3. Mix Your Colors
Pour a small amount of each paint onto your palette. Mix colors if needed to get the exact shade you want. Remember, acrylic paint dries a bit darker.
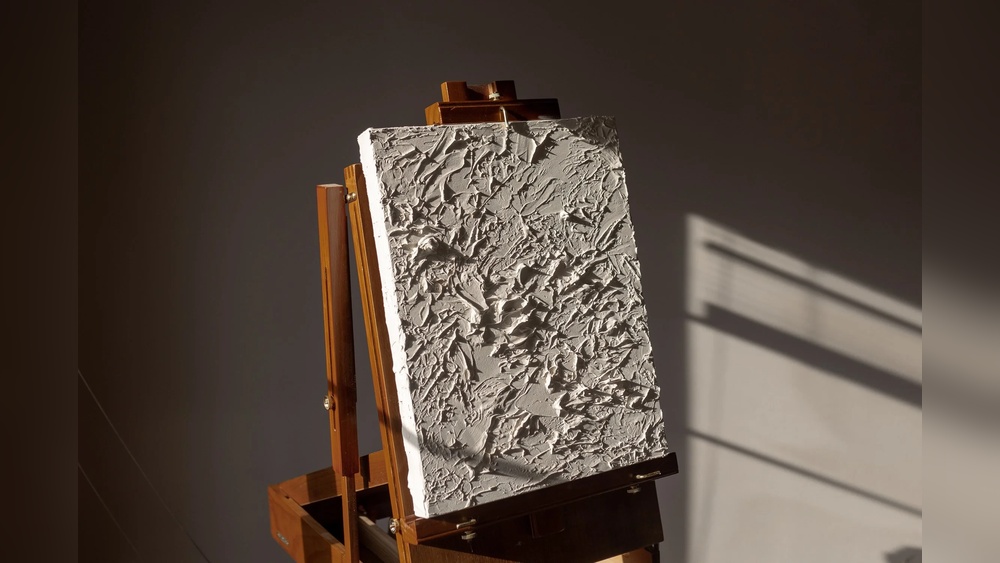
4. Paint The Main Shapes
Use a flat brush for large areas and a round brush for edges or details. Apply paint in thin, even layers. Let each layer dry (usually 10-20 minutes) before adding another coat.
If you want a textured look, try using a palette knife to spread paint.
5. Remove Tape Carefully
Once the paint is dry to the touch, gently peel off the tape. Pull slowly at a 45-degree angle to avoid tearing the paint.
Non-obvious insight: If you wait too long, the tape can stick and pull up paint. If you remove it too soon, wet paint can smudge. Timing is key.
6. Add Final Touches
Check your painting for any uneven areas or gaps. Touch up with a small brush. If you want, add a small detail or a signature in the corner.
7. Let It Dry
Acrylic paint dries quickly, but let your painting sit for at least 24 hours before hanging, especially if you used thick layers.
8. Seal Your Artwork (optional)
For extra protection and a polished look, apply a clear acrylic varnish. Choose matte, satin, or gloss depending on your preference. Use a clean, dry brush and follow the product instructions.
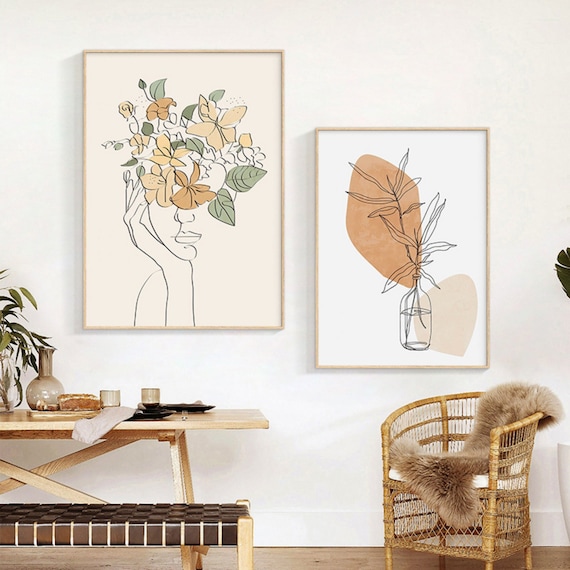
Displaying Your Minimalist Wall Art
How you hang your art is almost as important as how you paint it. Minimalist pieces look best with simple frames or even unframed, especially on white or light-colored walls.
Here are some display ideas:
- Hang at eye level (about 57-60 inches from the floor to the center)
- Use a floating frame for a modern look
- Group several pieces together for a gallery wall
- Place above a sofa, bed, or console table
Practical tip: Use two hooks or nails for larger canvases to keep them level.
Common Mistakes And How To Avoid Them
Even simple art can go wrong if you’re not careful. Here are mistakes beginners often make and how to avoid them:
- Using too many colors: Stick to 2-4 colors for a true minimalist feel.
- Skipping the plan: Always sketch your design before painting.
- Not waiting for paint to dry: Be patient between layers and before removing tape.
- Ignoring the wall color: Make sure your art doesn’t blend into the wall.
- Overworking the design: Minimalist art is about less, not more. Know when to stop.
Creative Ideas For Minimalist Diy Art
Want to add your own twist? Try these ideas:
- Paint a single bold line in metallic gold on a white canvas.
- Use two overlapping circles in different shades of blue for a calming effect.
- Create a grid of black lines on a beige background.
- Make a set of three canvases with variations of the same shape.
- Experiment with negative space—let most of the canvas show.
You don’t need to follow trends. Minimalist art is about expressing your vision in a simple way.

Credit: www.youtube.com
Cleaning Up And Caring For Your Art
After finishing, clean your brushes with soap and water. Store paints with lids tightly closed. If you get paint on your clothes, wash with cold water before it dries.
To keep your art looking fresh:
- Dust gently with a soft, dry cloth
- Avoid direct sunlight to prevent fading
- Do not hang in damp areas (like bathrooms) unless sealed with varnish
Minimalist Art: Diy Vs. Buying
Is it worth making your own art instead of buying? Here’s a quick comparison:
| DIY Minimalist Art | Store-Bought Art |
|---|---|
| Personalized, unique | Often mass-produced |
| Low cost (under $25 for supplies) | Can cost $50-$500+ |
| Fits your style perfectly | Limited to available designs |
| Creative satisfaction | Instant decor solution |
Making your own minimalist wall art is budget-friendly and satisfying. You control every part of the process, from choosing colors to the final brush stroke.
For more on minimalist art history and ideas, you can explore resources like the Wikipedia Minimalism page.
Frequently Asked Questions
How Do I Make Sure My Lines Are Straight?
Use a ruler and painter’s tape. Stick the tape down firmly and paint over the edge, then peel off slowly when dry. For long lines, work in sections and check your tape for bubbles.
Can I Use Other Types Of Paint Besides Acrylic?
Yes. You can use oil paint or watercolor, but each has different drying times and effects. Acrylic is best for beginners because it’s easy to control and dries fast.
What If I Make A Mistake While Painting?
Let the paint dry, then cover the mistake with white paint or gesso. Once dry, repaint your design. Minimalist art allows for easy correction because of the simple shapes and solid colors.
How Can I Make My Art Look More Professional?
Take your time with preparation. Use quality brushes, tape for clean edges, and let each layer dry fully. A final coat of varnish adds a professional touch.
Is Minimalist Wall Art Suitable For Small Rooms?
Absolutely. Minimalist art can make a small room feel bigger by using light colors and simple shapes. Choose a size that fits the wall—don’t overcrowd the space.
Creating minimalist wall art yourself is about enjoying the process and making your space feel more like you. With clear steps, a little patience, and your personal style, you can turn any blank wall into a piece of modern art.