
Painting a whale for wall art DIY is a wonderful way to add personality and calmness to any room. Whether you love the ocean, want a playful touch for a child’s space, or just enjoy creating things with your own hands, this project can be deeply satisfying.
Many people think painting a large mural is hard, but with the right plan, tools, and a few helpful tips, anyone can do it—even if you are not a professional artist. This guide will walk you through every part of the process, from choosing your wall and materials to adding the finishing touches.
You will also learn insights and common mistakes to avoid, so your whale wall art looks beautiful and lasts for years.
Planning Your Whale Wall Art
Before you touch a brush or open a paint can, take time to plan. A good plan makes painting smoother and more enjoyable.
1. Choose The Right Wall
Pick a wall that gets attention but is not too busy. The best walls are:
- Clean and flat (no heavy texture)
- Large enough for your whale design
- Free from direct sunlight, which can fade colors
- Not behind furniture that will cover the art
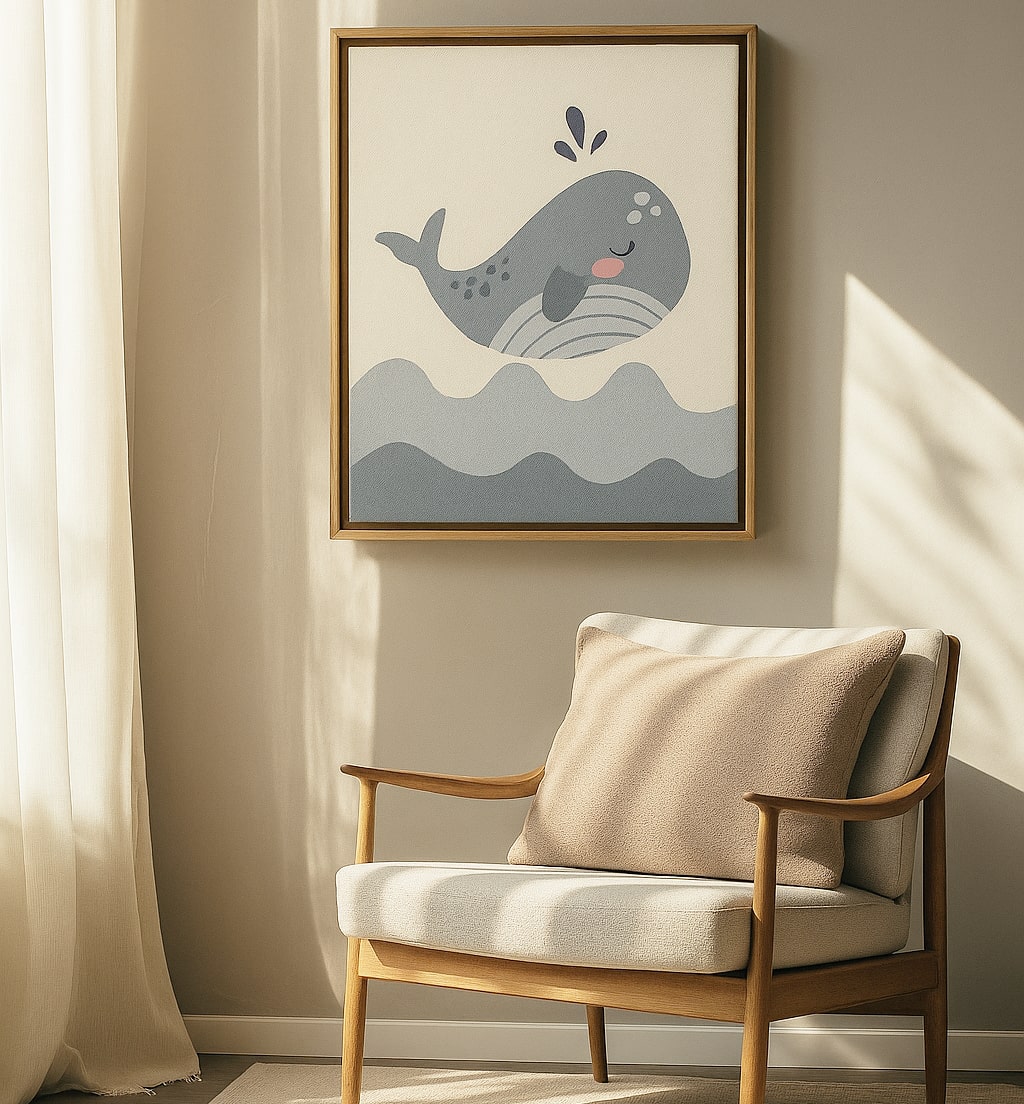
2. Decide On Whale Style And Size
Do you want a realistic whale or a more cartoon look? Search for photos or illustrations for inspiration. Measure your wall and decide how big you want the whale to be. Most people choose a whale that is 3 to 5 feet long for a medium-sized wall.
3. Gather Reference Images
Find clear images of whales from books, the internet, or nature magazines. Look for side views, which are easier to paint and look great as wall art.
4. Sketch Your Design
Use a large sheet of paper or digital drawing tool. Play with the whale’s position—horizontal, diving, or breaching. Add details like splashes, waves, or a baby whale if you like. Remember, simple designs often work best for DIY wall art.
Materials And Tools Needed
Having the right materials is key for a smooth experience. Here’s what you need for a typical whale wall art project:
| Material | Purpose | Tips |
|---|---|---|
| Primer | Prepares the wall | Helps paint stick better |
| Wall paint (base color) | Background color | Choose light blue, white, or pale gray |
| Acrylic paints | Whale and details | Water-based for easy clean-up |
| Pencils & Eraser | Sketch outline | Soft pencils erase easily |
| Brushes (various sizes) | Painting large and small areas | Wide for backgrounds, fine for details |
| Painter’s tape | Mask edges | Keeps lines sharp |
| Drop cloth | Protect floor | Old sheets work too |
| Palette or plate | Mix paint | Plastic or ceramic is best |
| Step stool or ladder | Reach high areas | Check for safety |
| Rags or paper towels | Clean up spills | Keep handy |
Pro tip: Test your paints on a scrap board before using them on the wall. This helps you see the true color after drying.
Preparing The Wall
A clean, smooth wall makes your art look professional. Here’s how to get ready:
- Clean the wall with mild soap and water. Remove dust, grease, and spider webs.
- Repair holes or cracks with wall putty. Let it dry, then sand smooth.
- Apply primer if your wall is dark or stained. This helps colors stay bright.
- Paint the base color (background) if you want something other than your current wall color. Let it dry fully—this may take several hours.
Drawing The Whale Outline
Getting the outline right is important, but don’t worry if you make mistakes—pencil lines erase easily.
Methods For Drawing
- Freehand sketching: If you feel confident, lightly draw the whale with pencil directly on the wall.
- Grid method: Draw a grid on your reference image and a matching one on the wall. Copy section by section for accuracy.
- Projector: If you have a projector, project the whale image onto the wall and trace.
- Transfer paper: Place transfer paper under your whale sketch, tape to the wall, and trace the lines.
Extra tip: Step back often to check the shape from a distance. This helps spot awkward angles or proportions.
Painting The Whale
This is where the wall comes alive. Take your time, and remember—layers matter more than perfection.
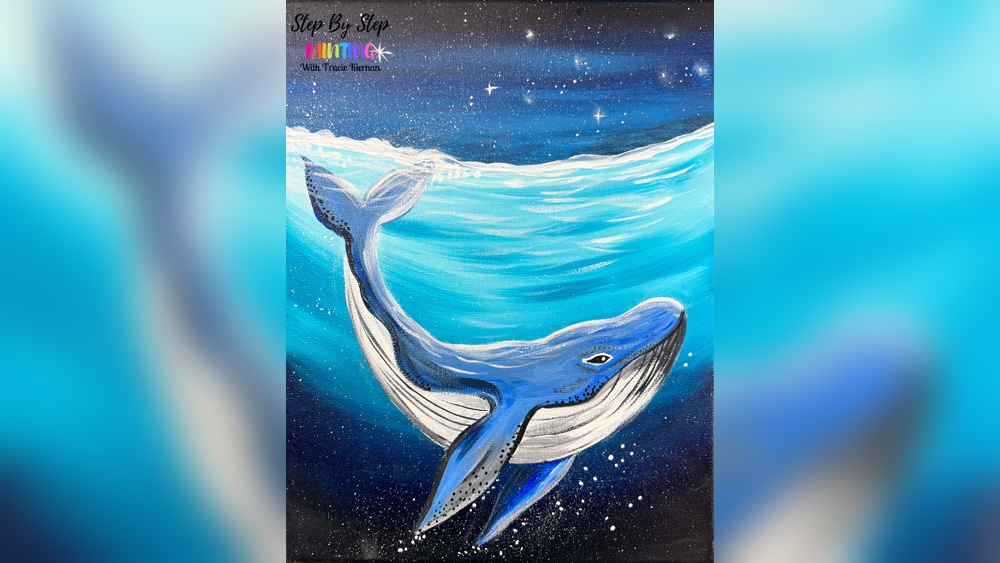
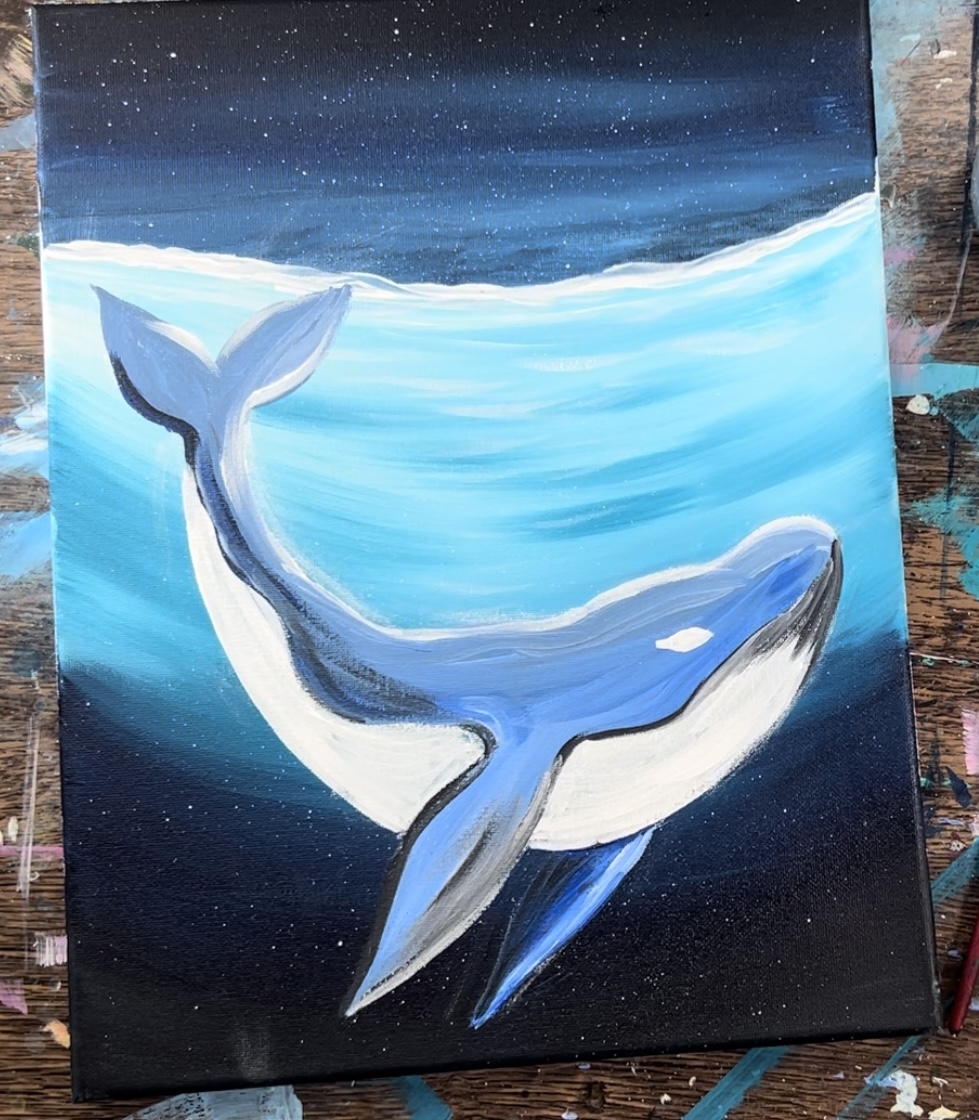
1. Start With The Main Whale Body
Mix the main whale color using blue, gray, and a bit of white. Paint inside your outline with a medium or large brush. Use long, smooth strokes following the whale’s body.
Don’t rush: Let the first layer dry. Add a second coat for solid color.
2. Add Shading And Details
Whales have gentle shadows and highlights. Use a slightly darker color for the belly and sides, and a lighter one for the top.
- Blend colors while the paint is wet for a natural look.
- Add the eye and mouth with a fine brush and a dark color.
- Paint fins, tail, and water splashes last.
3. Create Water Effects
Use thin, watery blue or white paint for splashes. Flick the brush for tiny drops. Add gentle waves or bubbles around the whale for movement.
4. Outline (optional)
For a cartoon style, outline the whale with black paint or a paint pen after the main colors are dry. For a realistic look, skip this step.
Non-obvious insight: Use a damp sponge to soften lines and blend paint, creating smooth transitions that look more natural.
Letting The Art Dry And Finishing Touches
Allow your whale mural to dry completely before touching or adding extra details.
- Remove painter’s tape carefully to avoid peeling paint.
- Erase any visible pencil lines gently.
- Stand back and check for missed spots or areas that need a touch-up.
- Add your signature or date in a corner if you wish.
Important: Wait at least 48 hours before wiping the wall or hanging things nearby to prevent smudging.
Credit: stepbysteppainting.net
Comparing Paint Types For Wall Art
Choosing the right paint makes a big difference in look and durability. Here’s a quick comparison:
| Paint Type | Pros | Cons | Best For |
|---|---|---|---|
| Acrylic | Dries fast, easy clean-up, bright colors | Can dry too quickly for blending | Most wall art |
| Latex (wall paint) | Durable, covers large areas fast | Limited color mixing | Backgrounds |
| Oil | Rich colors, blends well | Slow drying, strong smell | Professional murals |
For most DIY wall whale art, acrylic paint is the easiest and safest choice.
Common Mistakes And How To Avoid Them
Even experienced DIYers make mistakes. Here are some to watch for:
- Skipping wall prep: This leads to peeling or uneven paint.
- Using the wrong paint: Craft paint can fade or wash off. Always use wall-safe or acrylic paints.
- Painting over wet layers: This can mix colors by accident and cause smudges. Be patient.
- Drawing too dark: Heavy pencil lines may show through paint. Use a light touch.
- Ignoring lighting: Paints can look different under sunlight or artificial light. Test colors first.
- Overworking the paint: Too much brushing can make colors muddy. Less is often more.
- Forgetting to step back: Looking at your art from a distance helps you see the big picture.
Credit: canvasa.co.uk
Creative Ways To Make Your Whale Wall Art Unique
Want your whale art to stand out? Try these ideas:
- Add ocean backgrounds with waves, coral, or fish.
- Paint a baby whale swimming next to the big one.
- Use glow-in-the-dark paint for stars or bubbles.
- Add a quote about the sea or whales in a playful font.
- Attach 3D items like small shells or wood pieces for extra texture.
Non-obvious insight: You can add texture to your whale using a dry brush or sponge. This gives the illusion of rough whale skin, making your mural more realistic.
Caring For Your Whale Wall Art
Wall art can last many years with proper care:
- Dust gently with a soft, dry cloth.
- Avoid harsh cleaners or scrubbing.
- If your art is in a child’s room, teach kids not to scratch or draw on the wall.
- For small scuffs, touch up with leftover paint.
If you plan to repaint or move, you can cover the mural with primer and paint, but take a photo first to remember your work.
When To Call A Professional
Most whale wall art DIY projects are doable for beginners. But if your wall is very large, textured, or if you want a very detailed or realistic whale, hiring a mural artist can be a good investment. They can also seal the art for extra durability, especially in high-humidity rooms like bathrooms.
To find mural artists and see examples, check local art groups or search online. For inspiration and reliable painting tips, the WikiHow mural painting guide is a trusted resource.
Frequently Asked Questions
How Long Does It Take To Paint A Whale Mural?
The time depends on the size and detail. For a medium whale (3-5 feet long), most people spend 6 to 10 hours from start to finish, including drying time. Large or complex murals may take several days.
Do I Need To Be Good At Drawing To Paint A Whale On My Wall?
No, you do not need to be an expert. Simple whales look great, and using the grid method or a projector can help anyone create a good outline. The key is to go slowly and check your work often.
What If I Make A Mistake While Painting?
Most mistakes are easy to fix. Let the paint dry, cover the area with background color, and try again. For small errors, a damp cloth or cotton swab can wipe off fresh acrylic paint.
Which Colors Work Best For Whale Wall Art?
Shades of blue, gray, white, and black are most common for whales. You can add touches of purple, turquoise, or even pink for a creative twist. Always test colors on the wall to see how they look in your room’s light.
Can I Remove The Whale Mural Later?
Yes. To remove, clean the wall, prime over the mural, and repaint with your wall color. The art will be covered, but may need two coats of paint to fully hide dark colors.
Painting a whale for wall art DIY is more than just decorating—it’s about expressing creativity and making a space feel special. With good planning, the right tools, and a bit of patience, you can create beautiful ocean-inspired art that brings joy for years. Remember: every brushstroke is unique, and even small imperfections add character to your mural. Enjoy the process and let your creativity flow!

Credit: www.amazon.com


