Painting a flower for wall art is a creative journey anyone can enjoy, even without advanced art skills. A simple flower can turn a plain wall into a vibrant space, adding warmth and personality to your home. If you’ve ever looked at DIY art and thought, “I can’t do that,” this guide will change your mind.
You don’t need to be a professional artist—just follow clear steps, use the right tools, and let your imagination lead. By the end, you’ll not only have a beautiful flower on your wall but also new confidence in your artistic abilities.
Why Paint Flowers For Wall Art?
Flowers are a favorite subject for wall art because they are timeless, colorful, and easy to adapt to any style. They can be bold and modern or soft and classic. Painting your own flower gives you control over colors, size, and design, matching your space perfectly. Plus, hand-painted art adds a personal touch that store-bought prints can’t match.
Choosing The Right Flower And Style
Before you start, decide what type of flower and art style fit your room.
Popular Flowers For Diy Wall Art
- Sunflower: Bright, cheerful, and simple shapes.
- Rose: Elegant and classic, with soft curves.
- Daisy: Minimalist look, works well in modern rooms.
- Lotus: Symbolic and graceful, great for calming spaces.
- Tulip: Gentle shape, perfect for spring vibes.
Art Styles To Consider
- Realistic: Focuses on detail and true colors.
- Abstract: Uses bold colors and shapes, not exact copies.
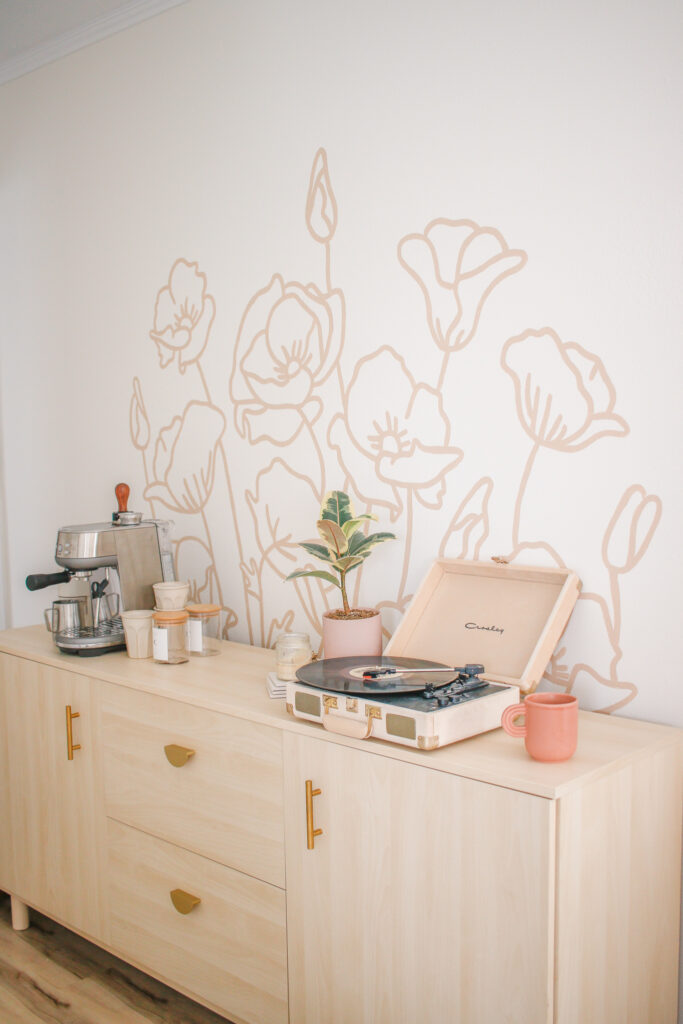
- Line Art: Simple outlines, great for beginners.
- Watercolor: Soft edges, blends colors beautifully.
Think about your wall color, room style, and how much time you want to spend. For beginners, daisy or sunflower shapes are easiest.

Credit: feelingnifty.com
Gathering Materials And Tools
The right materials make painting smoother and more enjoyable. Here’s a checklist to help you prepare:
Essential Materials
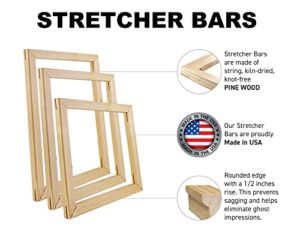
- Canvas or thick paper: Choose a size that fits your wall space. Canvas is best for a more permanent look.
- Acrylic paints: These dry fast, are easy to use, and come in many colors.
- Brushes: At least three types: flat, round, and fine detail.
- Palette: For mixing colors.
- Pencil: For sketching the outline.
- Eraser: To correct mistakes before painting.
- Water cup: For cleaning brushes.
- Paper towels: For drying brushes and cleaning up.
- Painter’s tape: To keep edges clean if you want a border.
Optional Extras
- Varnish: Protects finished art and makes colors pop.
- Reference photo: Helps with details and color choices.
Having quality brushes and paints makes a difference. Cheap supplies can lead to frustration—bristles fall out, or colors look dull. If you’re unsure, visit an art supply store and ask for beginner-friendly options.
Planning Your Wall Art Design
Jumping straight to painting can lead to mistakes. Take a little time to plan:
Decide On Placement
Look at your wall and decide where you want the flower. Will it be a single large bloom, a group, or a pattern? Use painter’s tape to mark the spot on the wall or canvas. Step back and check the size—sometimes, what looks good close up feels too small or large from across the room.
Sketch A Rough Outline
Use a pencil to lightly draw the basic shapes of your flower. Don’t worry about perfect lines—these are just guides. Focus on the main parts: petals, stem, and center. For more complex flowers, break them into simple shapes (circles, ovals, triangles).
Choose Your Color Palette
Pick 3–5 main colors. Too many colors can look messy, while too few may feel flat. Consider:
- Wall color: Pick colors that stand out.
- Room style: Calm blues and greens for peaceful rooms, bright reds and yellows for energy.
- Flower type: Traditional colors or something playful?
Testing colors on scrap paper helps avoid surprises.
Step-by-step: How To Paint A Flower For Wall Art Diy
Here’s a practical approach you can follow, even if you’re new to painting.
1. Prepare Your Workspace
Cover your work area with newspaper or an old cloth. Good lighting helps you see true colors. Organize your materials so everything is within easy reach.
2. Sketch The Flower
Use your pencil outline as a map. Draw lightly—if you make a mistake, it’s easy to erase. For a daisy, draw a circle for the center, then add oval petals around it. For a rose, start with a tight spiral for the middle and add larger petal shapes around it.
3. Block In Basic Colors
Start with your largest brush. Paint the main shapes (petals, leaves, center) in solid colors. Don’t worry about details yet—just get the color areas down.
- Petals: Use the main petal color.
- Center: Use a contrasting color.
- Leaves: Paint with green or another leaf color.
Let the paint dry before adding another layer. Acrylics dry in about 10–20 minutes.
4. Add Depth And Shadows
Mix a little bit of black or a darker color with your petal paint. Use this to add shadows where petals overlap or curve. For highlights, add a touch of white or yellow. This simple step makes your flower look more realistic and less flat.
5. Paint The Details
Switch to a smaller brush. Outline the petals, add lines to show folds, and paint little dots or textures in the flower’s center. Don’t rush—small details can make the flower pop.
6. Refine And Clean Up
Step back and look at your art from a distance. Fix any uneven edges. If you went over the lines, use a clean brush with the background color to tidy up.
7. Optional: Protect Your Art
Once the painting is fully dry, apply a thin coat of clear varnish. This step makes the colors brighter and protects your art from dust and sunlight.
Tips For Success
Beginners often make small mistakes that can be avoided. Here are some insights:
- Test colors first: Paint a small area on scrap paper to see how colors look when dry.
- Layer paint: Don’t try to finish in one pass. Multiple thin layers look better than one thick layer.
- Keep brushes clean: Wash your brush often to avoid muddy colors.
- Don’t worry about perfection: Handmade art should show your style.
A common beginner error is using too much water with acrylics. This makes colors weak and paper or canvas soggy. Another is adding details too early—start with big shapes, then move to small details.
Credit: mikylacreates.com
Creative Variations
You don’t have to follow a classic flower painting. Here are ways to make your wall art unique:
- Add a quote: Paint a short phrase or word next to the flower.
- Try metallic paint: Add gold or silver details for a modern touch.
- Use mixed media: Glue on fabric or paper for petal textures.
- Paint a flower silhouette: All black or white, for a bold look.
- Make a flower border: Repeat small flowers around the edge of your wall or canvas.
Experimenting is how you discover your favorite style.
Framing And Hanging Your Artwork
How you display your flower painting affects the final look.
Framing Options
| Frame Type | Best For | Effect |
|---|---|---|
| Simple wood frame | Classic rooms | Warm, traditional look |
| No frame (gallery wrap) | Modern spaces | Clean, contemporary vibe |
| Floating frame | Statement pieces | Art appears to “float” off the wall |
Hanging Tips
- Use a level for straight art.
- Hang at eye level—usually 57–60 inches from the floor to the center.
- For big walls, group smaller flower paintings together.
If your flower is painted directly on the wall, you’re done! For canvas or paper, framing adds a polished finish and protects your art.

Credit: persialou.com
Common Problems And Solutions
Even with care, some issues pop up. Here’s how to handle them:
| Problem | Why It Happens | Quick Fix |
|---|---|---|
| Paint bleeds outside lines | Too much water or paint | Let dry, cover with background color |
| Colors look dull | Low-quality paint or too much water | Add another layer or use better paint |
| Petals look flat | No shadows or highlights | Add darker and lighter shades |
| Canvas warps | Too much water | Use less water, let dry flat |
If you make a mistake, let the paint dry, then paint over it. Acrylics are forgiving—you can always try again.
Example: Painting A Simple Sunflower
Let’s walk through a specific example for clarity.
- Draw a circle in the center for the flower’s heart.
- Sketch long, thin petals around the circle.
- Paint the center with dark brown.
- Block in petals with yellow.
- Add a second layer of yellow for brightness.
- Use orange to add shadows near the center.
- Highlight petal tips with a lighter yellow.
- Paint green leaves if desired.
This method works for other flowers too—just change the petal shape and colors.
Inspiring Ideas For Flower Wall Art
If you want to go beyond a single flower, consider these ideas:
- Create a flower mural: Cover an entire wall with different flowers.
- Paint a seasonal series: Spring tulips, summer daisies, autumn mums, winter poinsettias.
- Use geometric backgrounds: Paint flowers over shapes like triangles or circles.
- Make a matching set: Three canvases, each with a different flower, hung side by side.
These projects let you practice new skills and add variety to your home.
Where To Learn More
If you want to see real artists in action or get more flower ideas, check out tutorials on YouTube or visit local art classes. For more on painting basics and styles, explore resources like Wikipedia’s painting article.
Frequently Asked Questions
How Do I Choose The Right Paint For Wall Art?
Use acrylic paints for most DIY wall art. They are easy to handle, dry fast, and work on canvas or walls. For a softer look, try watercolors on thick paper, but remember they can be harder to control.
Can I Paint Directly On My Wall, Or Should I Use Canvas?
Both are possible. Painting on canvas is easier to move and change later. Painting directly on the wall gives a big impact but is harder to change. If you rent your home, canvas is safer.
What If I Make A Mistake While Painting?
Let the paint dry, then paint over the mistake with your background color. Acrylics are good for this—you can layer them without problems. Don’t worry if it’s not perfect; small flaws add character.
How Can I Make My Flower Painting Look More Professional?
Use shadows and highlights to add depth. Pay attention to brushwork—smooth strokes for petals, rougher for centers or leaves. Framing your art also makes it look finished.
Where Can I Find Inspiration For Flower Wall Art?
Look at nature photos, visit art websites, or browse Pinterest and Instagram. Studying real flowers helps you understand shapes and colors. Try sketching from a photo before painting.
Painting a flower for wall art is a rewarding project that adds beauty and personality to your space. With some planning, practice, and patience, you’ll create art you’re proud to display. Don’t be afraid to make it your own—every brushstroke is part of your unique story.