Are you struggling to achieve smooth, seamless color transitions with your acrylic paints on canvas? Wet blending acrylics can seem tricky at first, but once you master the right techniques, your paintings will come alive with vibrant, natural gradients.
In this guide, you’ll discover simple, effective ways to wet blend acrylics directly on your canvas—no more fighting against fast-drying paint or ending up with harsh lines. Keep reading, and you’ll unlock tips that will transform your acrylic work, making your colors flow effortlessly and your artwork truly shine.
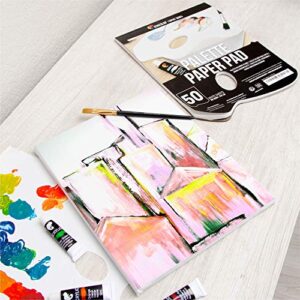
Credit: stepbysteppainting.net
Materials Needed
Gathering the right materials makes wet blending acrylics on canvas easier. Good supplies help you control paint and create smooth transitions. These basics set the stage for successful blending.
Use quality items designed for acrylic painting. This section guides you through the key materials needed to start blending with confidence.
Choosing The Right Acrylic Paints
Select paints with a creamy consistency and high pigment. Heavy body acrylics hold texture well but dry slower. Fluid acrylics spread easily and blend smoothly. Choose colors that mix well without becoming dull. Avoid cheap paints that dry too fast or crack.
Selecting Brushes For Blending
Pick soft, synthetic brushes for smooth blending. Flat brushes cover large areas evenly. Filbert brushes help create soft edges and curves. Use clean brushes to avoid muddy colors. Keep a few sizes handy for different details.
Preparing Your Canvas
Prime the canvas with gesso for a smooth surface. Let it dry completely before painting. Stretch the canvas tightly to prevent warping. Use a palette to mix colors easily. Have water and a cloth nearby to clean brushes quickly.

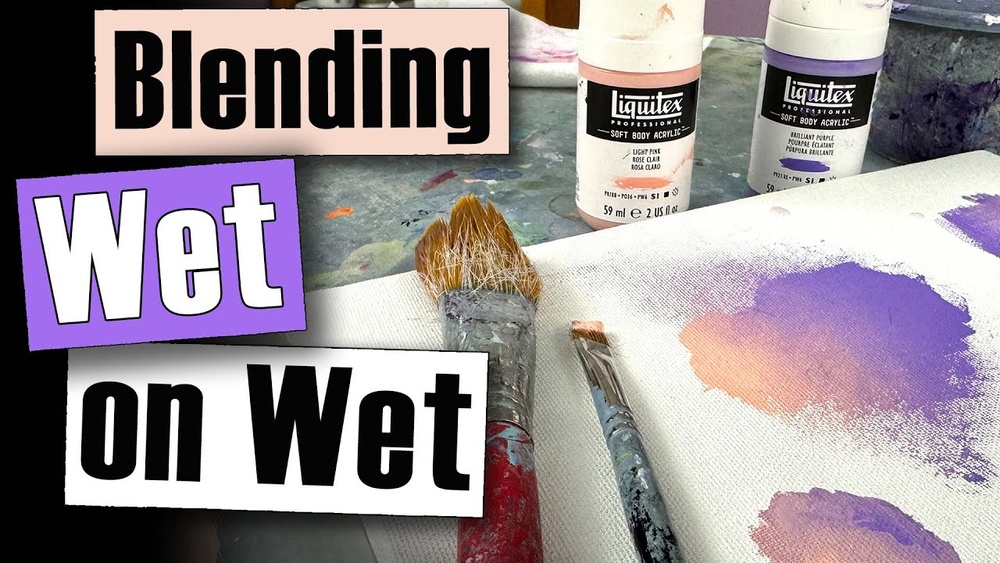
Credit: www.youtube.com
Setting Up Your Workspace
Setting up your workspace is key to wet blending acrylics on canvas. A neat, well-lit area helps you focus. It also makes the painting process smooth and enjoyable. Preparing your materials and space before starting saves time and avoids frustration.
Organizing Paints And Tools
Arrange your acrylic paints in order of use or color. Place them within easy reach to keep your flow steady. Gather brushes, palette knives, water containers, and mixing palettes nearby. Use containers or trays to hold small items and avoid clutter. Keep extra rags or paper towels close for quick clean-ups.
Maintaining Proper Lighting
Good lighting shows true colors and details on your canvas. Use natural light or daylight bulbs for the best effect. Position your light source to avoid shadows on your work area. A bright, even light helps you see subtle blending and color transitions clearly. Adjust lighting throughout the day if needed to keep consistent brightness.
Keeping Brushes Clean And Wet
Wet blending requires brushes to stay moist and clean. Rinse brushes often in water to prevent paint from drying on bristles. Use a damp cloth or sponge to wipe brushes between color changes. Keep a small container of clean water near your palette. This practice helps maintain smooth strokes and prevents muddy colors.
Preparing Paint For Wet Blending
Preparing paint for wet blending is a crucial step to achieve smooth color transitions on canvas. Proper preparation ensures that the paint flows well and blends evenly without drying too fast. This process involves mixing the right colors, adjusting paint consistency, and loading the brush correctly.
Mixing Colors And Consistency
Start by mixing the colors you want to blend on your palette. Choose colors that work well together for smooth gradients. Mix enough paint to cover the area on the canvas. Keep the paint thick but spreadable. Avoid paint that is too runny or too stiff. Thick paint can hold texture, while thin paint dries too fast for blending.
Adding Water Or Mediums
Add a small amount of water or acrylic medium to adjust the paint consistency. Use water sparingly; too much water weakens the paint’s color and adhesion. Acrylic mediums help slow drying time and improve flow without losing pigment strength. Mix thoroughly to create a creamy, smooth texture. This balance allows the paint to stay wet longer for better blending.
Loading The Brush Properly
Load your brush with enough paint for smooth application. Avoid overloading the brush to prevent dripping. Dab the brush lightly on the palette edge to remove excess paint. Use soft, flexible brushes for blending to create gentle strokes. A well-loaded brush helps you control the paint flow and blend colors cleanly on the canvas.
Wet Blending Techniques
Wet blending is a popular acrylic painting method that creates smooth color transitions. It involves mixing colors directly on the canvas while the paint is still wet. This technique allows for soft gradients and natural blends that add depth to your artwork.
Learning how to control wet paint helps you achieve seamless effects. The right brushwork and timing are crucial. Use these wet blending techniques to improve your acrylic paintings on canvas.
Applying Paint In Adjacent Areas
Start by placing two or more colors close to each other on the canvas. Keep the paint thick enough to stay wet longer. Avoid spreading the paint too thin, or it will dry quickly. Work quickly to keep the edges soft for blending. This step sets the base for smooth transitions.
Using Soft, Circular Brush Strokes
Use a clean, soft brush for blending. Apply gentle circular strokes over the edges where colors meet. This motion helps mix the paint evenly without removing it. Keep the pressure light to avoid harsh lines. Circular strokes create a natural, gradual fade between colors.
Feathering For Smooth Transitions
Feathering involves lightly dragging the brush from one color into another. Use a dry or slightly damp brush to soften the boundary. Move your brush in short, quick strokes to blend the paint gently. This technique smooths out any sharp edges and creates a flawless gradient.
Tips To Avoid Common Mistakes
Wet blending acrylics on canvas can be tricky for many artists. Mistakes often happen but can be avoided with simple tips. These tips help keep your colors fresh and vibrant. They also keep your painting smooth and lively.
Focus on controlling your brush and paint moisture. Avoid mixing colors too much. Keep paint wet enough for blending but not too watery. These small steps improve your results and make blending easier.
Preventing Overblending
Overblending removes texture and depth from your painting. Stop blending as soon as the edges soften. Use light brush strokes and avoid scrubbing the paint. Work quickly to keep the paint fresh. This keeps your painting lively and interesting.
Maintaining Paint Wetness
Acrylic paint dries fast. Keep your palette covered or use a wet palette. Spray water lightly on your paint to slow drying. Work in small sections to blend before paint dries. Keep a spray bottle nearby for quick moisture touch-ups.
Avoiding Muddy Colors
Muddy colors come from mixing too many colors or dirty brushes. Clean your brush between colors. Limit mixing to two or three colors at once. Use pure colors for blending, not old mixed paint. This keeps your colors bright and clear.
Advanced Wet Blending Methods
Advanced wet blending methods help artists create smooth transitions and rich textures. These techniques go beyond simple brush blending to add depth and interest. Using different tools and approaches can enhance your acrylic paintings on canvas.
These methods require some practice but offer great rewards in color and texture control. Experiment with glazing, palette knives, and mixing wet and dry blending to expand your skills.
Using Glazing And Layering
Glazing means applying thin, transparent layers of paint over dry areas. This technique builds color slowly and adds glow to your work. Layering lets you adjust tones without losing detail underneath.
Start with a light glaze and let it dry before adding another. Each layer changes the color slightly and creates depth. Use glazing to soften edges or add shadows smoothly.
Incorporating Palette Knives
Palette knives add texture and sharp lines to your wet blending. They spread paint differently than brushes, producing unique effects. Use a knife to scrape, lift, or drag paint across the canvas.
This method works well for rough textures and bold strokes. It can mix colors directly on the canvas for natural transitions. Experiment with the angle and pressure for varied results.
Combining Wet And Dry Blending
Combine wet blending with dry blending to control smoothness and texture. Wet blending mixes colors on the canvas while they are still wet. Dry blending blends edges after the paint has dried slightly.
This mix allows sharper details and soft gradients in the same painting. Use dry blending with a dry brush or sponge to soften edges carefully. It creates a balanced finish with both smooth and textured areas.
Troubleshooting Blending Issues
Blending acrylics on canvas can be tricky. Sometimes, the paint does not blend as smoothly as expected. Troubleshooting these common problems helps improve your painting technique. Understanding how to fix blending issues will save time and frustration. Below are solutions for typical blending problems.
Fixing Harsh Edges
Harsh edges appear when paint dries too fast or brushes are too dry. Soften edges by lightly brushing over them with a clean, damp brush. Use gentle, circular strokes to blend colors together. Work quickly while paint is still wet for better results. Adding a small amount of water or acrylic medium can also help smooth transitions.
Reviving Dried Paint Areas
Dried paint can block smooth blending and create uneven texture. To fix this, spray a fine mist of water on the dried area. Let it sit for a few seconds to soften the paint. Then, use a wet brush to gently blend the softened paint. Avoid scrubbing hard to prevent damaging the canvas surface.
Correcting Color Bleeding
Color bleeding happens when colors mix unintentionally and look messy. To control this, separate colors with a dry brush stroke before blending. Work with smaller paint amounts to avoid excess wetness. Clean your brush often to stop unwanted mixing. Using painter’s tape can also keep colors in defined areas.
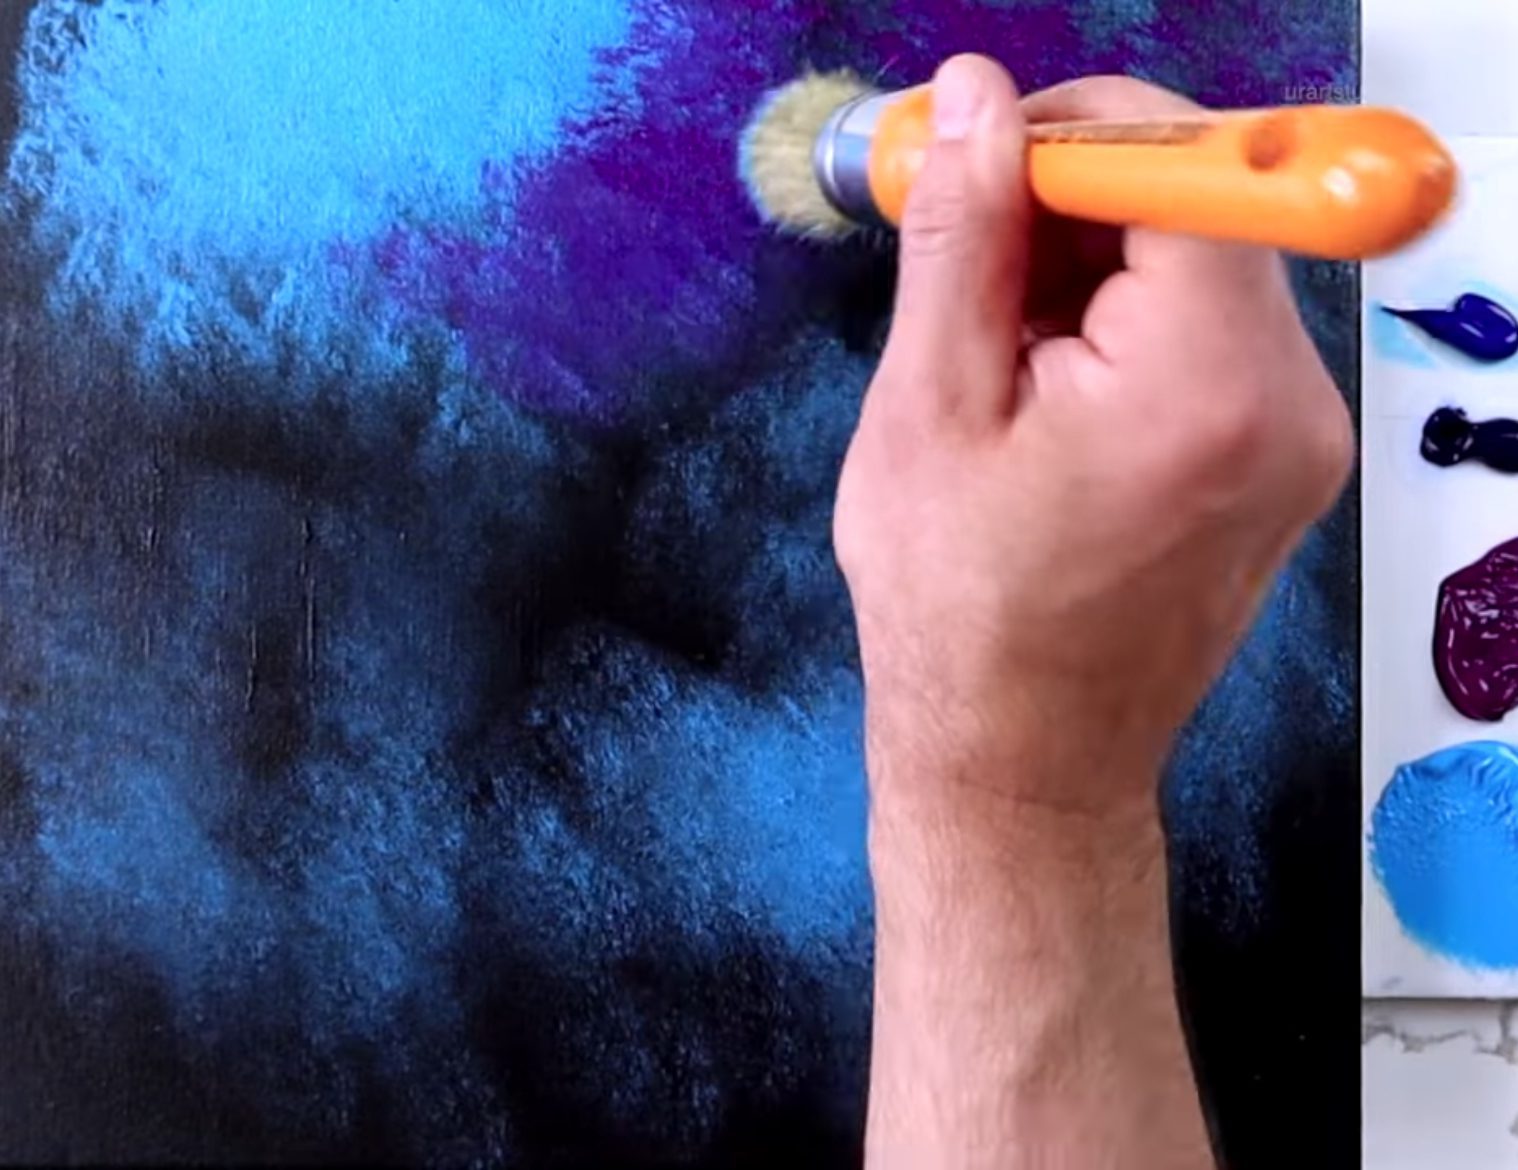
Credit: urartstudio.com
Practice Exercises
Practice exercises help improve your wet blending skills on canvas. They build control over paint flow and brush strokes. Repeating simple tasks trains your hand and eye coordination. These exercises prepare you for more complex blending techniques. Practice regularly to see steady progress in your artwork.
Simple Gradient Blends
Start by painting two colors side by side on the canvas. Use a clean, damp brush to gently drag the paint where the colors meet. Move the brush back and forth to soften the line. This creates a smooth gradient from one color to the other. Focus on keeping the paint wet for easier blending.
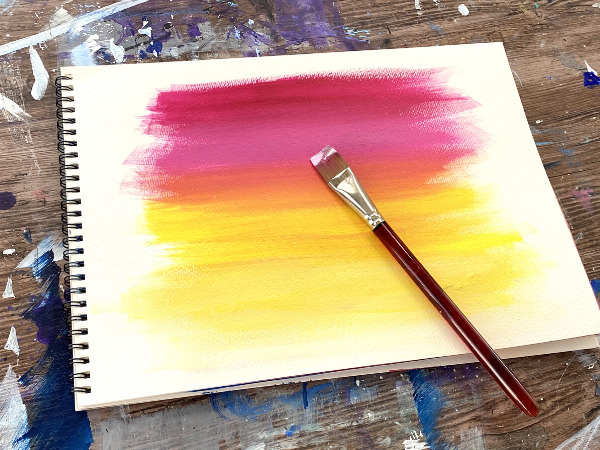
Blending Multiple Colors
Apply three or more colors next to each other on the canvas. Use a soft brush to blend the edges between each color. Work quickly before the paint dries. Try blending warm colors like red, orange, and yellow for practice. This exercise helps you manage transitions between several hues in one painting.
Creating Textured Transitions
Load your brush with thick paint and apply it in short strokes. Blend the edges lightly to keep some texture visible. Use different brush sizes to vary the texture. This technique adds depth and interest to your blends. Practice controlling both smooth and textured areas for balanced paintings.
Frequently Asked Questions
Can You Blend Acrylics On Canvas?
Yes, you can blend acrylics on canvas by applying wet paint layers and smoothing edges with a damp brush. Work quickly before paint dries.
Can You Do Wet On Wet With Acrylics?
Yes, you can do wet on wet with acrylics by working quickly before the paint dries. Use slow-drying mediums or retarder to extend blending time. This technique allows smooth transitions and soft edges, similar to oil painting effects. Practice helps achieve better control and results.
How To Wet Blend Acrylic Paint?
Apply two acrylic colors side by side on canvas. Use a damp, clean brush to gently mix where they meet. Work quickly before paint dries.
What Are Common Acrylic Blending Mistakes?
Common acrylic blending mistakes include overblending, using dry brushes, ignoring paint drying times, applying thick layers, and poor color transitions.
Conclusion
Wet blending acrylics on canvas brings life to your artwork. Start with fresh paint and work quickly to keep it wet. Use gentle brush strokes to mix colors smoothly. Avoid overblending to keep texture and vibrancy. Practice helps you improve your blending skills.
Enjoy the process and experiment with colors. Your paintings will look more natural and dynamic. Wet blending adds depth and beauty to acrylic art. Keep practicing, and your confidence will grow each time.