Do you want to turn a plain tote bag into a unique piece of art that shows off your style? Painting your own DIY tote bags at home is easier than you think, and it’s a fun way to get creative without needing expensive tools or skills.
Imagine carrying a bag that’s not just useful but also a true reflection of your personality. In this guide, you’ll discover simple steps, handy tips, and clever tricks to paint your tote bag beautifully and make it last. Ready to transform your tote and impress everyone around you?
Keep reading and let’s get started!

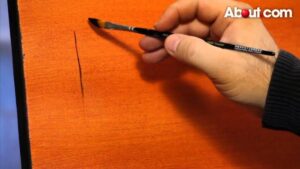
Credit: www.youtube.com
Choosing The Right Tote Bag
Choosing the right tote bag is the first step to creating a stunning DIY painted masterpiece. The bag you pick will affect how your paint looks, how long it lasts, and how easy the painting process is. Think about the material, size, and shape before you dive into your design.
Material Types
Not all tote bags are created equal. Cotton and canvas totes are the most popular for painting because they absorb paint well and hold colors vibrantly. Polyester or synthetic bags can be tricky since paint might not stick properly or could crack over time.
I once tried painting on a nylon tote, and the paint kept peeling off after a few washes. That taught me to stick with natural fibers like cotton or canvas for better results. Do you want a tote that feels soft or one that’s sturdy and long-lasting? That choice will guide your material pick.
Size And Shape Options
The size of your tote bag determines how much space you have for your artwork. Smaller totes are great for simple, bold designs or initials, while larger bags allow for detailed scenes or patterns. Consider how you plan to use the tote after painting—do you want a roomy bag for groceries or a compact one for daily essentials?
Shapes matter too. A square tote offers a flat surface that’s easier to paint on, while a rounded or gusseted tote may challenge your design’s layout. Have you thought about how the bag’s handles and seams might affect your painting area?
Prepping Your Bag
Once you have the perfect tote, prepping it is crucial. Start by washing the bag without fabric softener to remove any factory finishes or dirt. This helps the paint stick better and prevents colors from fading quickly.
Iron the bag to create a smooth, flat surface for painting. If the fabric is very loose, you can stretch it over a piece of cardboard or a wooden frame inside the bag. Prepping your tote properly sets the stage for your creativity to shine without frustration.

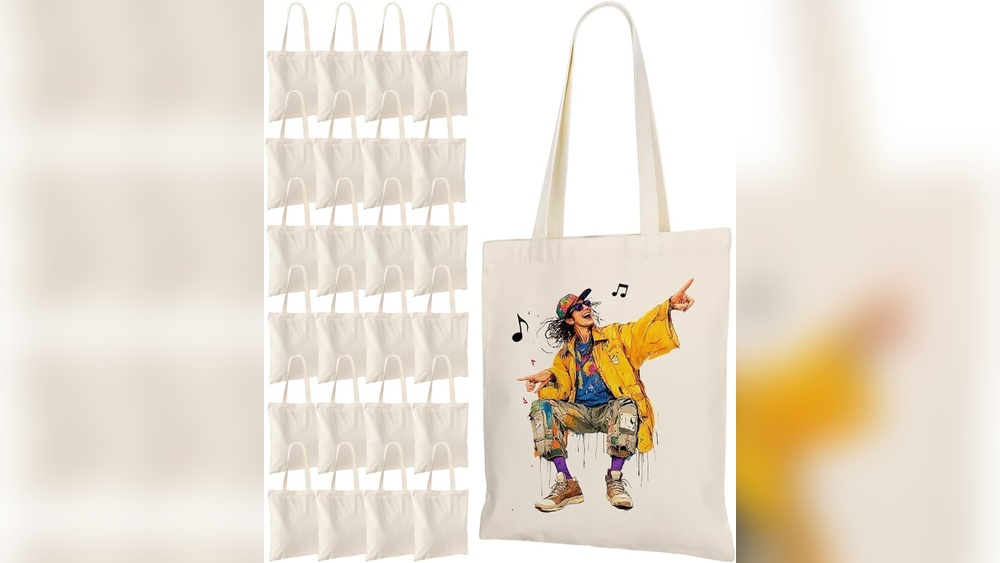
Credit: www.amazon.com
Selecting Paints And Supplies
Selecting the right paints and supplies makes your DIY tote bag project easier and more fun. Choosing suitable materials ensures your design looks good and lasts long. Focus on paint types, brushes, and extra tools for best results.
Fabric Vs Acrylic Paint
Fabric paint sticks well and stays soft after drying. It works best for tote bags you want to wash often. Acrylic paint is cheaper and easy to find. It can crack or peel if not sealed properly. Use fabric paint for durable, washable bags. Acrylic paint suits decorative bags or quick projects.
Brushes And Tools
Use soft brushes to avoid rough paint marks. Flat brushes cover large areas quickly. Fine tip brushes help with small details. Sponges create interesting textures. Foam brushes prevent streaks. Choose brushes based on your design style and size. Clean brushes right after use to keep them in good shape.
Additional Materials
Use a palette or plate to mix colors. Painter’s tape helps create clean edges. Cardboard inside the bag stops paint from bleeding through. Stencils offer easy patterns and shapes. Fabric markers add fine lines or text. A spray bottle with water can blend paints smoothly. Prepare your workspace to avoid mess and enjoy painting.
Design Ideas For Tote Bags
Designing your DIY tote bag adds a special touch to your project. It makes your bag unique and fun to use every day. Here are some easy and creative design ideas for your painted tote bags.
These ideas work well for beginners and those with some painting experience. Choose one that fits your style and enjoy the process.
Simple Patterns
Simple patterns are perfect for a clean and stylish look. Use shapes like stripes, dots, or triangles. They are easy to paint and look great on any tote bag.
Start with one color or mix two for a bold contrast. Keep your brush strokes neat for the best effect. Simple patterns help your bag stand out without too much effort.
Stencils And Stamps
Stencils and stamps make painting quick and accurate. You can buy or make your own stencils with paper or plastic sheets. Place the stencil on the bag and paint over it.
Stamps can be made from sponges, potatoes, or rubber. Press the stamp in fabric paint and press it on the tote bag. This method creates repeated designs with ease.
Stencils and stamps give your bag a professional look. They are great for detailed or complex designs without freehand skills.
Freehand Art
Freehand art lets you express your creativity fully. Draw flowers, animals, or abstract shapes directly onto the tote bag. Use fabric markers or fine brushes for detail.
Freehand painting may take more practice but is very rewarding. Each brush stroke shows your personal style. Don’t worry about mistakes; they add character.
Try simple sketches first and build up your confidence. Freehand designs make your tote bag truly one of a kind.
Step-by-step Painting Process
Painting your own tote bag at home can be a fun and rewarding project. Following a clear step-by-step process ensures your design looks great and lasts long. This guide breaks down the painting process into simple stages to help you create your perfect DIY tote bag.
Setting Up Your Workspace
Choose a clean, flat surface with good light. Cover the area with newspaper or plastic to protect it. Gather all your tools: tote bag, fabric paint, brushes, palette, water cup, and paper towels. Keep a cardboard piece inside the tote bag to prevent paint from bleeding through. Organizing your materials helps you paint smoothly without interruptions.
Transferring Designs
Select a design or sketch your own on paper. Use a pencil to lightly draw the outline on the tote bag. For complex designs, use transfer paper or stencil for accuracy. Make sure the lines are faint to avoid showing under the paint. This step sets a clear guide for your painting and reduces mistakes.
Applying Paint Layers
Use fabric paint for durability and color vibrancy. Start with thin layers to avoid cracking. Let each layer dry before adding the next. Use small brushes for details and larger ones for backgrounds. Build up colors gradually to get the right shade and depth. Avoid overloading the brush to keep the paint even.
Drying Techniques
Allow the paint to air dry completely before handling the tote bag. This usually takes 1-2 hours depending on paint thickness. For faster drying, use a fan or place the bag in a warm, dry spot. After drying, heat set the paint with an iron on low heat, using a cloth between the iron and the paint. This step helps the design stay vibrant after washing.
Sealing And Finishing
Sealing and finishing your painted DIY tote bags is essential. It helps keep the colors bright and prevents the paint from cracking or washing away. Proper sealing also protects your artwork from everyday wear. Follow these simple steps to make your tote bag last longer and look great.
Heat Setting Methods
Heat setting is the most common way to seal fabric paint on tote bags. Use a dry iron on medium heat without steam. Place a thin cloth or parchment paper over the painted area. Press the iron gently for 3 to 5 minutes, moving it slowly. This helps the paint bond with the fabric fibers. You can also use a heat press or EasyPress tool if available. Let the bag cool before touching the painted part.
Protective Coatings
After heat setting, apply a protective coating for extra durability. Use fabric sealants or clear acrylic sprays made for textiles. Spray a thin, even layer over the painted design in a well-ventilated area. This layer guards against fading and scratches. Avoid heavy coats to keep the fabric flexible. Let the coating dry completely before using the tote bag.
Washing Tips
Proper washing extends your painted tote bag’s life. Turn the bag inside out before washing. Use cold water and mild detergent. Hand washing is best to prevent paint damage. If using a machine, select a gentle cycle. Avoid bleach and harsh chemicals. Air dry the bag; do not use a dryer. These steps help keep your paint vibrant and intact.
Troubleshooting Common Issues
Troubleshooting common issues helps you paint DIY tote bags with ease. Small problems can affect your final design. Fixing these quickly keeps your project looking great. The following tips solve frequent paint problems on fabric.
Paint Bleeding
Paint bleeding happens when colors spread beyond lines. Use painter’s tape or stencils to keep edges sharp. Apply thin layers of paint to reduce bleeding. Let each layer dry before adding more paint. Using fabric paint made for textiles also helps control bleeding.
Uneven Coverage
Uneven coverage makes your tote bag look patchy. Spread paint evenly using a flat brush or sponge. Multiple thin layers give better results than one thick coat. Allow paint to dry fully between layers for smooth coverage. Avoid overloading your brush with paint to prevent clumps.
Fixing Mistakes
Mistakes happen during any painting project. Quickly blot wet paint with a clean cloth to reduce smudging. Use a small brush dipped in water to gently blend or lift fresh paint. For dried paint, carefully scrape off excess with a craft knife. Touch up areas with matching paint to hide errors.
Creative Inspiration And Tips
Creative inspiration fuels every DIY tote bag painting project. It sparks new ideas and pushes your skills. This section shares simple tips to boost creativity and make your designs unique. Follow these ideas to create eye-catching tote bags at home.
Mixing Colors
Start with basic colors and blend them to make new shades. Use a palette or small containers for mixing. Try soft pastels or bright tones to match your style. Test colors on paper before painting the tote bag. Mixing colors adds depth and interest to your design.
Combining Techniques
Use different painting methods for a unique look. Try sponging, stenciling, or freehand drawing. Layer colors and shapes to create texture. Experiment with brush sizes for details or broad strokes. Combining techniques makes your tote bag more creative and fun.
Personalizing Your Design
Add your name, favorite quotes, or symbols to the tote bag. Use stencils or write freehand for a personal touch. Choose designs that show your personality or hobbies. Personalizing makes the tote bag special and perfect for gifts. Small details can turn simple bags into art.
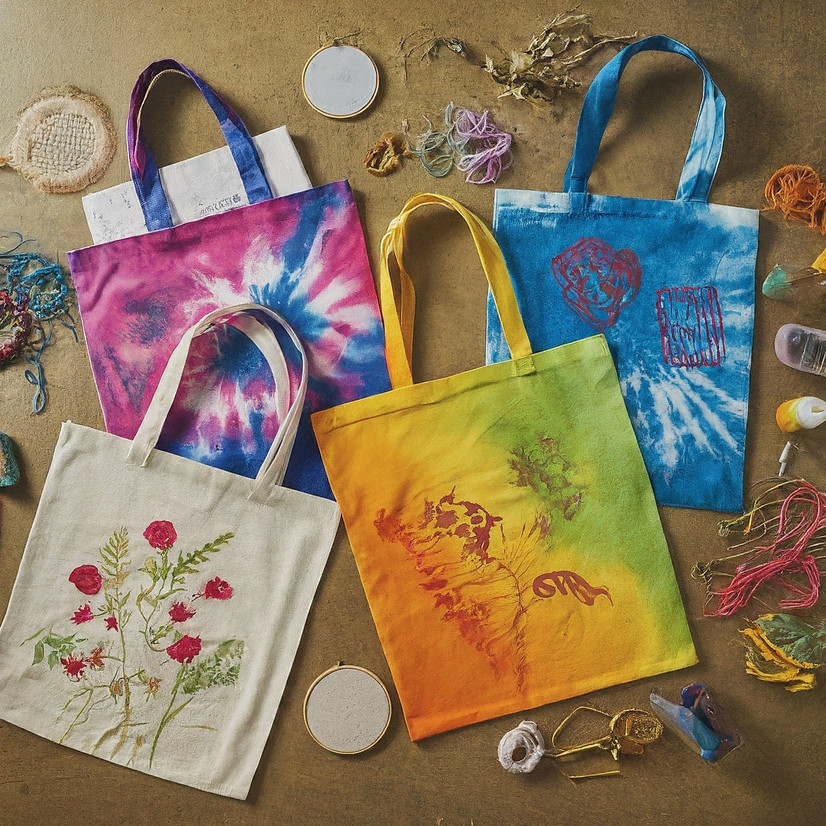
Credit: www.bagzdepot.com
Frequently Asked Questions
What Kind Of Paint Do You Use To Paint Tote Bags?
Use fabric paint or acrylic paint designed for textiles to paint tote bags. Heat-set the paint with an iron to ensure durability. Fabric paints offer better washability and flexibility, making them ideal for long-lasting designs on canvas tote bags.
What Are Some Easy Tote Bag Painting Ideas?
Try simple patterns like stripes, polka dots, or floral designs. Use stencils for shapes or hand-paint quotes. Experiment with ombre effects or geometric patterns. Fabric paint works best for durability. Seal with heat to ensure long-lasting color.
How To Seal A Tote Bag Painting?
Seal a tote bag painting by heat-setting fabric paint with a dry iron. Use a pressing cloth and apply heat for 2-3 minutes. This fixes the paint and prevents fading or cracking.
Will Acrylic Paint Stay On Fabric?
Acrylic paint can stay on fabric if heat-set properly. Use a dry iron or EasyPress with a pressing cloth. Washing may fade untreated paint.
Conclusion
Painting your own tote bags at home brings fun and creativity together. Use fabric paint for best results and easy washing later. Remember to let your design dry fully before heat setting with an iron. Simple steps make the process enjoyable and rewarding.
Now, you can carry a unique bag that shows your style. Try different colors and patterns to keep creating more. Enjoy your DIY painted tote bags every day!