
Are you ready to add a splash of color and creativity to your walls without breaking the bank? DIY watercolor wall art is an easy and fun way to transform any space in your home.
Whether you’re a complete beginner or just looking to try something new, these simple tips will guide you through the process step by step. By the end, you’ll have beautiful, personalized artwork that reflects your style and brightens up your room.
Let’s dive in and discover how you can create stunning watercolor wall art that you’ll be proud to display!
Materials Needed
Starting your DIY watercolor wall art project means gathering the right materials. The tools you choose affect how your artwork turns out. Prepare all supplies beforehand to enjoy a smooth painting experience. This section covers everything needed, from paper to paints and brushes.
Essential Supplies
Begin with basic supplies that every watercolor artist uses. Watercolor paints come in tubes or pans. A mixing palette helps blend colors easily. Have clean water containers to rinse brushes. Paper towels or cloths are useful to control moisture. Use a pencil for light sketching if needed. Tape helps secure your paper to the workspace, preventing warping. A flat surface with good lighting completes your setup.
Choosing The Right Paper
Watercolor paper matters most. It must absorb water without tearing or buckling. Look for paper labeled “watercolor” for best results. Choose heavier paper, at least 140 lb (300 gsm). Cold-pressed paper offers a good texture that holds paint well. Hot-pressed paper is smooth but less textured. Avoid regular printer paper as it damages easily with water. Test small sheets before buying large packs.
Selecting Watercolors And Brushes
Select watercolors based on quality and color range. Student-grade paints are affordable and suitable for beginners. Artist-grade paints offer richer pigments and better blending. Start with a basic palette of primary colors to mix many shades. Choose brushes with synthetic or natural bristles. Round brushes of various sizes work well for detail and washes. Flat brushes help cover larger areas smoothly. Keep brushes clean to maintain their shape.
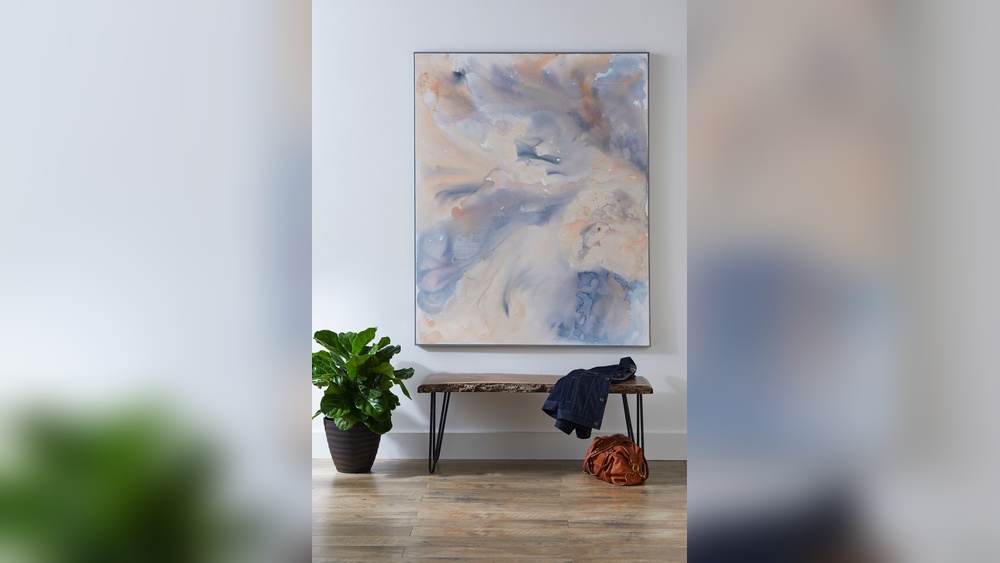
Credit: blog.mimeophotos.com
Basic Techniques
Understanding basic watercolor techniques helps you create beautiful wall art. These methods form the foundation for your DIY projects. Mastering them allows you to control paint flow and color blending. Experimenting with these techniques boosts your confidence and creativity.
Wet-on-wet Method
Apply clean water to your paper before adding paint. This technique makes colors spread softly and blend naturally. It creates smooth transitions and dreamy effects. Use this method for backgrounds or abstract shapes. Work quickly because the paper dries fast.
Wet-on-dry Method
Paint directly onto dry paper for sharper edges and details. This approach gives you more control over shapes and lines. It works well for adding layers or accents. Allow each layer to dry before adding the next. This technique helps build depth in your artwork.
Color Mixing Tips
Start with a basic palette of primary colors: red, blue, and yellow. Mix small amounts on a palette to create new shades. Test colors on scrap paper before applying to your art. Use water to lighten colors and achieve soft tones. Avoid mixing too many colors to keep colors vibrant.
Preparing Your Canvas
Preparing your canvas sets the stage for beautiful watercolor wall art. Proper preparation helps paint flow smoothly and creates vibrant effects. Skipping this step can cause uneven color or damage to your canvas. Follow these simple tips to get your surface ready.
Soaking The Canvas
Begin by soaking your canvas lightly with clean water. Use a foam brush or spray bottle for even coverage. This keeps the paper moist and prevents paint from soaking too fast. A wet surface helps colors blend softly and smoothly.
Working In Sections
For larger canvases, work in small parts at a time. Wet one section, paint it, then move to the next. This keeps your canvas from drying unevenly. It also gives you better control over color flow and blending.
Using Masking Fluid
Masking fluid protects areas you want to keep white or paint-free. Apply it before wetting your canvas. Let it dry completely before adding watercolor. After your painting dries, peel off the masking fluid to reveal clean, sharp edges.
Creating Your Design
Creating your own watercolor wall art starts with a clear design idea. This step shapes the whole process. Choose a style that fits your space and mood. Keep the design simple to enjoy the painting journey. Use colors that make you feel calm and happy. Your design can be abstract, floral, or even based on a photo. Each choice brings a unique look to your wall.
Simple Abstract Patterns
Abstract patterns use shapes and colors freely. Start with easy forms like circles, lines, or dots. Blend colors softly to create smooth transitions. These patterns add a modern touch to any room. They are perfect for beginners since they do not need precision. Experiment with color mixes for a vibrant or soft look. Abstract art allows creativity without strict rules. This freedom makes the painting process relaxing and fun.
Floral And Nature Themes
Floral designs bring life to your walls. Paint leaves, flowers, or trees with loose brush strokes. Use light and dark shades to add depth. Nature themes create a peaceful and fresh feel indoors. Choose simple flowers like daisies or tulips to start. Layer colors gently for a natural look. This style fits well in living rooms or bedrooms. It connects your space with the outdoors in a soft way.
Turning Photos Into Watercolor Art
Transform photos into watercolor art for a personal touch. Pick a clear photo with simple shapes and colors. Trace the main lines lightly on your paper. Paint using soft washes to mimic the photo’s tones. This method blends realism with artistic style. It works well for portraits or landscapes. The result is a unique piece full of memories. This approach adds a special story to your home decor.
Adding Details
Adding details to your DIY watercolor wall art brings depth and interest. It transforms simple washes into captivating designs. Small touches can highlight your creativity and make your art stand out.
Focus on enhancing textures and shapes. Use techniques that build layers and sharpen edges. These methods help create a balanced and polished look.
Layering And Glazing
Layering means painting multiple transparent washes on top of each other. Each layer should dry before adding the next. This builds color richness and subtle shadows.
Glazing uses thin, transparent colors to adjust tones. It gives your painting a glowing effect. Use a light hand and watery paint for smooth transitions.
Defining Shapes And Edges
Clear shapes help your artwork look sharp and focused. Use a small brush to outline or darken edges. This technique makes elements pop from the background.
Soft edges blend colors gently for a dreamy feel. Combine hard and soft edges to guide the viewer’s eye. This balance adds visual interest and movement.
Using Fineliners For Accents
Fineliners add crisp details that watercolor can’t achieve alone. Use waterproof pens to draw fine lines or patterns over dry paint. This highlights textures and adds contrast.
Try dots, lines, or small shapes to decorate. Fineliners are perfect for adding delicate accents without overpowering your painting.
Finishing Touches
Finishing touches bring your DIY watercolor wall art to life. They add personality and protect your work. These steps make your artwork ready to hang and enjoy.
Tearing And Framing
Tear the edges of your paper carefully for a rustic look. Use a ruler and a craft knife for clean lines if you prefer. Choose a frame that matches your room style and artwork size. Frames highlight your painting and give it a polished finish. Consider mats to add space around your art and make it stand out.
Protecting Your Artwork
Watercolor art is delicate and needs protection. Spray a fixative to prevent smudging and fading. Use UV-protective glass in the frame to block sunlight damage. Avoid placing art in direct sunlight or humid areas. Store extra paintings flat and in a dry place to keep them safe.
Displaying Your Wall Art
Pick a spot with good lighting but no harsh sun. Hang your art at eye level for the best view. Group smaller pieces together for a gallery wall effect. Use simple hooks or adhesive strips to avoid wall damage. Change your display regularly to refresh your space and mood.
Common Mistakes To Avoid
Creating DIY watercolor wall art can be rewarding. Mistakes can spoil your work. Avoiding common errors improves your results. Focus on technique and material care. Here are the top mistakes to watch out for.
Overwatering
Using too much water weakens the paint. Colors may appear faded or blurry. Paper can buckle and wrinkle easily. Control water amount on your brush. Dab off excess water before painting. Work in thin layers for better control.
Color Bleeding Issues
Colors may run into each other unexpectedly. This creates messy, unclear shapes. Let one color dry before adding another. Use painter’s tape for clean edges. Avoid heavy paint application near wet areas. Test color flow on scrap paper first.
Improper Paper Handling
Touching wet paper causes smudges and damage. Rough handling can tear or crease your paper. Always use clean, dry hands while painting. Store paper flat or taped to a board. Use watercolor paper designed for this medium. Proper handling keeps your art crisp and neat.

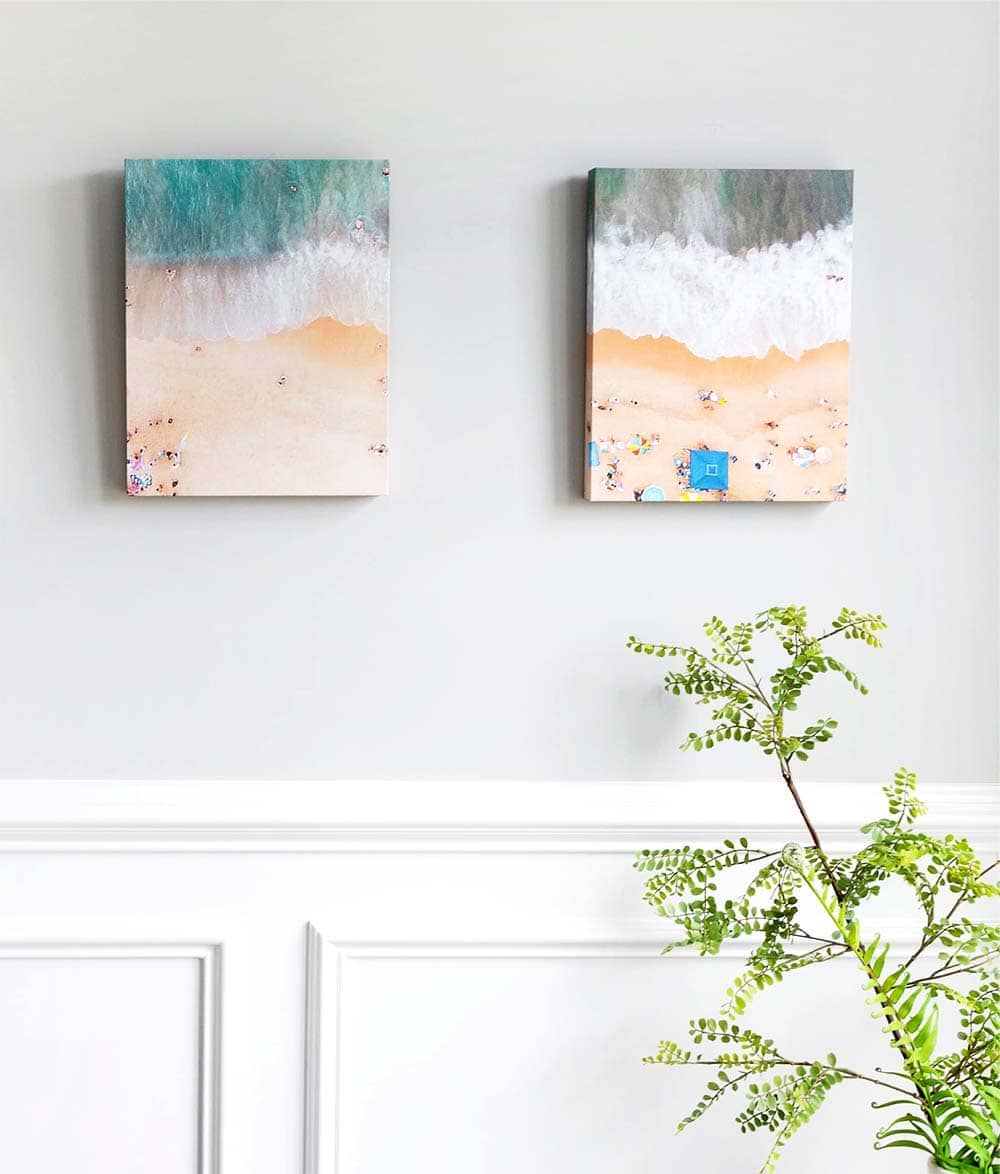
Credit: www.walmart.com
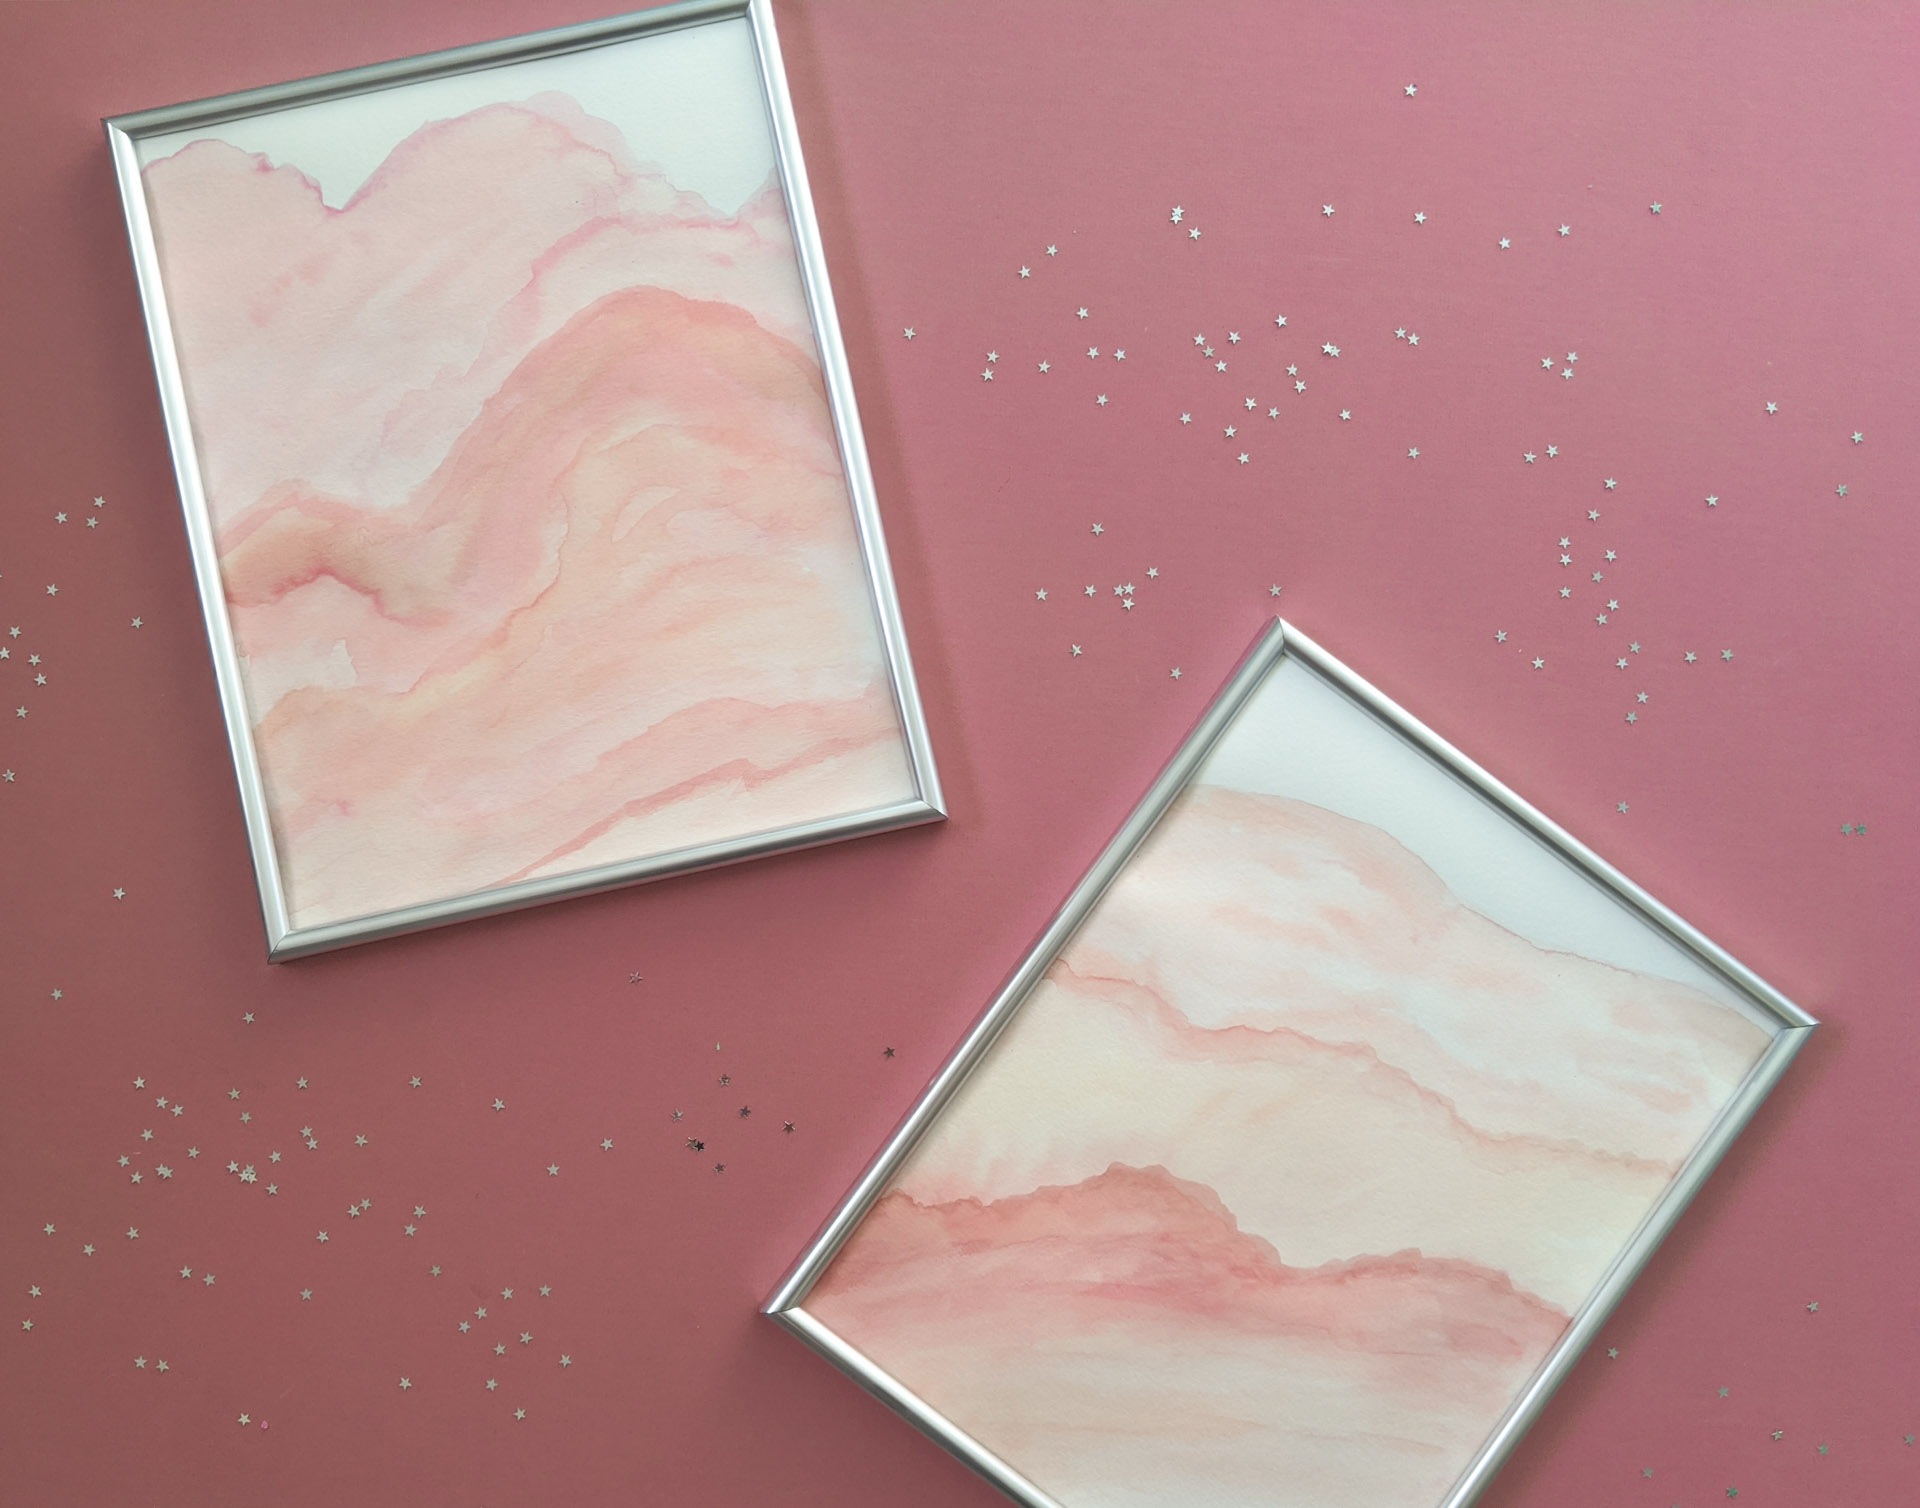
Credit: www.decoist.com
Frequently Asked Questions
What Materials Do I Need For Diy Watercolor Wall Art?
You need watercolor paper or canvas, watercolor paints, brushes, a palette, water, and paper towels. Optional items include masking tape and a pencil for sketching.
How Do I Start A Watercolor Wall Art Project?
Begin by sketching your design lightly on paper or canvas. Soak the paper lightly with water for wet-on-wet effects. Mix your colors on the palette before painting.
What Techniques Work Best For Watercolor Wall Art?
Wet-on-wet and wet-on-dry techniques create different textures. Layer glazing adds depth. Practice blending colors and gradients for smooth transitions in your artwork.
How Can I Prevent Watercolor From Drying Too Fast?
Work in small sections and keep water handy to re-wet areas as needed. Use a spray bottle or damp cloth to maintain moisture on your paper.
Conclusion
Creating your own watercolor wall art brings joy and personal style to any space. Practice mixing colors and simple techniques to build confidence. Use plenty of water and let each layer dry before adding details. Remember, mistakes can lead to unique effects.
Keep your supplies handy and enjoy the creative process. Your walls will soon reflect your artistic touch with charming, handmade watercolor pieces. Start small, have fun, and watch your skills grow with every brushstroke.


