Oil painting studies are a powerful way to improve your skills and create beautiful artwork. Many artists, beginners and professionals, use oil painting studies to understand light, color, and form without the pressure of a finished masterpiece. If you want to unlock your creative abilities, learning how to do an oil painting study is a smart step. You don’t need perfect English or years of experience—just the right approach, good tips, and a willingness to practice.
This guide shares practical advice and detailed methods to help you get the most from every oil painting study. You’ll discover not only the basic steps but also insights that many beginners miss. Each section is built to help you avoid common mistakes and make real progress, even if you’re just starting.
Let’s explore how to turn your practice studies into powerful tools for growth as an artist.
What Is An Oil Painting Study?
An oil painting study is a small or simple painting made to practice or explore ideas. It’s not meant to be a finished, perfect artwork. Instead, it’s a tool for learning. Artists use studies to:
- Test color combinations and techniques
- Understand light and shadow
- Try out compositions before making a larger piece
Studies are usually quicker and less detailed than full paintings. They let you experiment without the fear of making mistakes, which is important for building confidence.
Why Oil Painting Studies Matter
Many new artists rush into large, detailed paintings. But without practice, they often feel frustrated or stuck. Oil painting studies offer several unique benefits:
- Fast learning. You can try ideas quickly, without worrying about perfection.
- Less pressure. Mistakes are okay—studies are for practice.
- Better understanding. Repeating studies helps you really “see” color, shape, and light.
- Creative freedom. You can play, change, and adjust your approach often.
Professional artists use studies all the time. For example, Claude Monet painted dozens of studies for his famous water lily series. Studies help you grow, not just finish a painting.
Credit: www.wallpics.com
Essential Materials For Oil Painting Studies
You don’t need expensive supplies to start oil painting studies. Here’s what you need:
| Item | Why It Matters | Tips |
|---|---|---|
| Oil paints (basic colors) | Core medium for color mixing and practice | Start with primary colors + white |
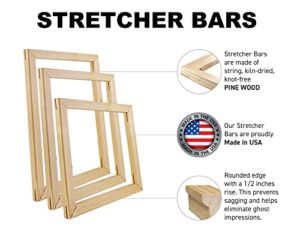
| Brushes (various sizes) | Different shapes for different effects | Flat, round, filbert are most useful |
| Small canvas or canvas paper | Surface for practice; smaller size saves paint | 8×10” or smaller is ideal for studies |
| Palette and palette knife | For mixing colors cleanly | Glass or disposable palettes are easy to clean |
| Medium (linseed oil or solvent) | Adjusts paint flow and drying time | Use sparingly to avoid slow drying |
| Rags or paper towels | For cleaning brushes and mistakes | Keep plenty on hand |
You can add more supplies as you gain experience, but these basics are enough to begin.
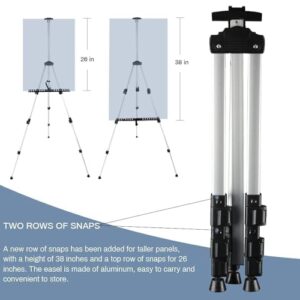
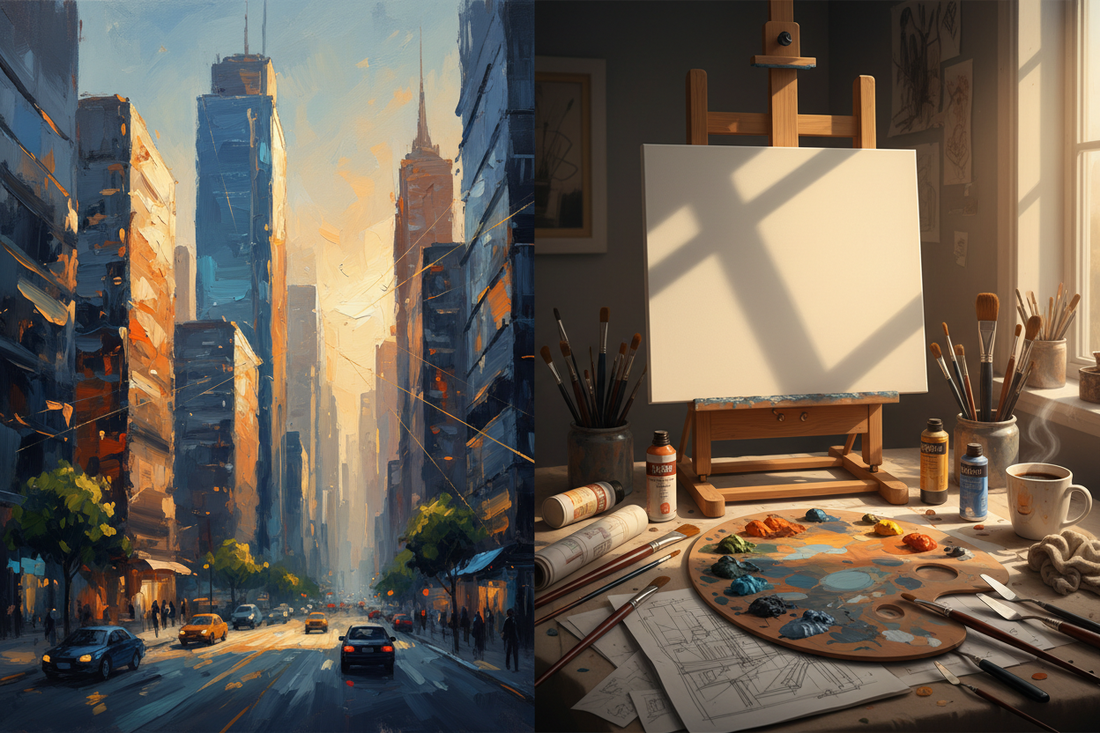
Setting Up Your Workspace
A comfortable, organized space makes painting studies easier and more enjoyable. Consider these points:
- Choose a well-lit area. Natural light is best, but a bright lamp can work.
- Protect your table or floor with newspaper or plastic.
- Keep your paints, brushes, and palette within easy reach.
- Set up your subject (object, photo, or scene) where you can see it clearly.
A tidy workspace helps you focus on learning, not searching for supplies.
Steps To Start An Oil Painting Study
Many beginners feel lost when starting. Here’s a simple process to follow:
- Choose your subject. Pick something simple—a fruit, mug, or photo reference.
- Sketch the basic shapes. Use a pencil or thin brush to outline the major shapes. Don’t worry about details.
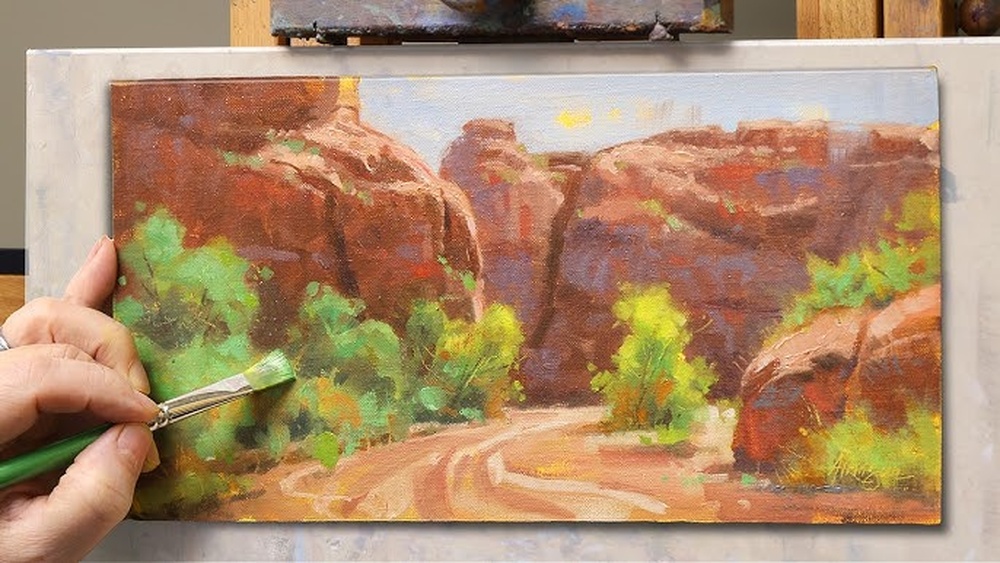
- Block in main colors. Mix and apply the largest color areas. Focus on big shapes, not tiny lines.
- Add shadow and light. Look for where the darkest and brightest areas are. Paint these next.
- Refine edges and details. Only add detail where it matters. Keep some areas loose.
- Step back and review. Look from a distance—do the shapes and values work?
- Make changes if needed. Adjust colors or shapes. It’s a study, so change is part of the process.
- Stop before it feels finished. The point is learning, not perfection.
Even a 30-minute study can teach you a lot. Over time, you’ll get faster and more confident.
Key Tips For Successful Oil Painting Studies
Let’s dive into the most effective ways to get the most from your oil painting study. Each tip is practical, based on real artist experience.
1. Work Small And Fast
A study is not a finished painting. Use a small canvas and limit your time—30 to 60 minutes. This trains you to capture the essence of a subject, not every detail.
2. Focus On One Idea
Every study should have a purpose. For example, focus on light, color harmony, or a certain brush technique. This makes your practice more valuable.
3. Use Limited Colors
Try using only three or four colors plus white. This simplifies mixing and helps you understand color relationships. Many old masters used limited palettes.
4. Squint To See Values
Values mean how light or dark something is. Squint your eyes at the subject—this blurs details and makes the lights and darks clearer. Painting good values is more important than color.
5. Don’t Overblend
It’s easy to blend oil paint too much, making everything soft and muddy. Try leaving brushstrokes visible. This gives your study energy and life.
6. Clean Your Brush Often
If you don’t clean your brush, colors mix on the bristles and turn muddy. Wipe your brush on a rag between colors. Use a little solvent if needed.
7. Take Progress Photos
Take a quick photo every few steps. Later, you can see how your painting developed and learn what worked or didn’t.
8. Try Different Subjects
Don’t just paint the same thing every time. Try still life, landscapes, portraits, or even abstract shapes. This builds a wider skill set.
9. Use Reference Images
If you can’t paint from life, use high-quality photos. Many websites offer free photo references for artists.
10. Compare With The Real Thing
If you’re painting an object, pause and compare your study with the real item. Notice what’s different and adjust your painting.
11. Experiment With Tools
Try palette knives, different brush shapes, or even your fingers. Studies are a safe way to discover new effects.
12. Learn From Mistakes
If a study goes “wrong,” don’t throw it away. Write down what didn’t work. Mistakes teach more than easy successes.
13. Set A Timer
Give yourself a strict time limit—this stops you from overworking the painting. Fast studies improve decision making.
14. Use Mediums Wisely
Mediums change how paint acts. Try a little linseed oil for smoother strokes or skip it for rougher texture. Don’t use too much; too much medium can make paint runny or slow to dry.
15. Analyze Master Paintings
Look at studies or sketches by famous artists. Notice how loose and simple they are compared to finished works. Try copying a master study for practice.

Credit: www.youtube.com
Common Mistakes And How To Avoid Them
Every beginner makes mistakes, but you can learn to spot and fix them quickly.
| Mistake | Why It Happens | How to Fix |
|---|---|---|
| Overworking details | Trying to make a study look like a finished painting | Set a timer; focus on big shapes and values |
| Muddy colors | Not cleaning brush or mixing too many colors at once | Clean brush often, use limited palette |
| Ignoring values | Focusing only on color, not light and dark | Squint, paint lights and darks first |
| Too much medium | Thinking medium is always needed | Use just a drop; paint can be used straight from the tube |
A helpful insight: Beginners often believe that more blending makes a painting look “realistic.” In truth, confident brushstrokes and clear values are more important.
Going Deeper: Practice Routines For Oil Painting Studies
If you want faster progress, build a regular practice routine. Here’s how:
- Paint one study every day or week. Consistency beats long breaks.
- Use a sketchbook or canvas pad for studies. This keeps them together for review.
- Try a “series” of studies on one subject (e.g., apples under different lights).
- Review old studies to spot improvements and patterns.
A study routine builds muscle memory and visual understanding. Over time, you’ll notice real growth in your art.
How To Learn More And Stay Inspired
Artists sometimes lose motivation or feel stuck. Here are practical ways to stay inspired:
- Join online art communities for feedback and support.
- Visit art museums or galleries—look for artist studies, not just finished paintings.
- Watch demonstration videos by experienced oil painters.
- Take a local or online workshop. Interaction helps you see mistakes and improve.
- Keep a “mistake board”—display your worst studies and write what you learned from each.
A non-obvious tip: Ask other artists to critique your studies, not just your finished work. Honest feedback on your process helps you improve much faster.
For more examples and history of oil painting studies, you can explore the Wikipedia page on oil painting.
Frequently Asked Questions
What Is The Main Goal Of An Oil Painting Study?
The main goal is practice, not perfection. Studies help you understand color, light, and composition without pressure. They are tools for learning and testing ideas before making a larger, finished painting.
How Long Should An Oil Painting Study Take?
Most studies take 30 to 90 minutes. The point is to work quickly and focus on big shapes, not details. Some studies are even faster—just 10 or 15 minutes. Speed trains your eye and hand.
Can I Do Oil Painting Studies From Photos?
Yes, you can use photo references if painting from life is not possible. Just make sure the photos have good lighting and clear shapes. Painting from life is best for learning, but photos are a useful option.
What Are The Best Subjects For Oil Painting Studies?
Simple objects with clear light and shadow work best—fruit, cups, bottles, or flowers. You can also do studies of landscapes, portraits, or even abstract shapes. The key is to pick something not too complex for quick practice.
Should I Varnish Or Frame My Oil Painting Studies?
Usually, studies are not varnished or framed. They are for practice, not display. If you really like a study, let it dry fully before varnishing or framing. Most artists keep studies in a portfolio or sketchbook for reference.
Oil painting studies are a powerful way to grow as an artist. By following these tips and routines, you’ll build real skills and confidence. Remember, every study—good or bad—teaches you something new. Keep painting, keep experimenting, and enjoy the journey of learning with every brushstroke.
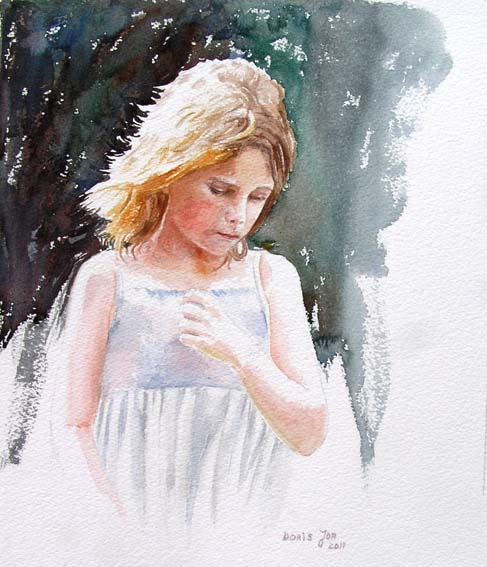
Credit: www.dorisjoa.com