Marble run painting is a creative and exciting activity that turns ordinary marbles and paint into colorful works of art. Kids love the surprise of watching colors mix and swirl as marbles roll across paper. Unlike many crafts, marble run painting is easy to set up, clean, and adapt for different ages.
It’s a hands-on project that brings together art, science, and a bit of engineering. Parents and teachers will appreciate how it encourages creativity while also supporting skills like hand-eye coordination and color recognition.
Many parents ask, “How do I start marble run painting with my kids? ” or “What supplies do I need? ” This guide answers those questions step by step, with tips for success and ways to make the activity even more fun.
You’ll find comparisons of different materials, clear instructions, and suggestions to avoid common mistakes. Whether you want a quick rainy-day project or a memorable group activity, marble run painting is a fantastic choice.
What Is Marble Run Painting?
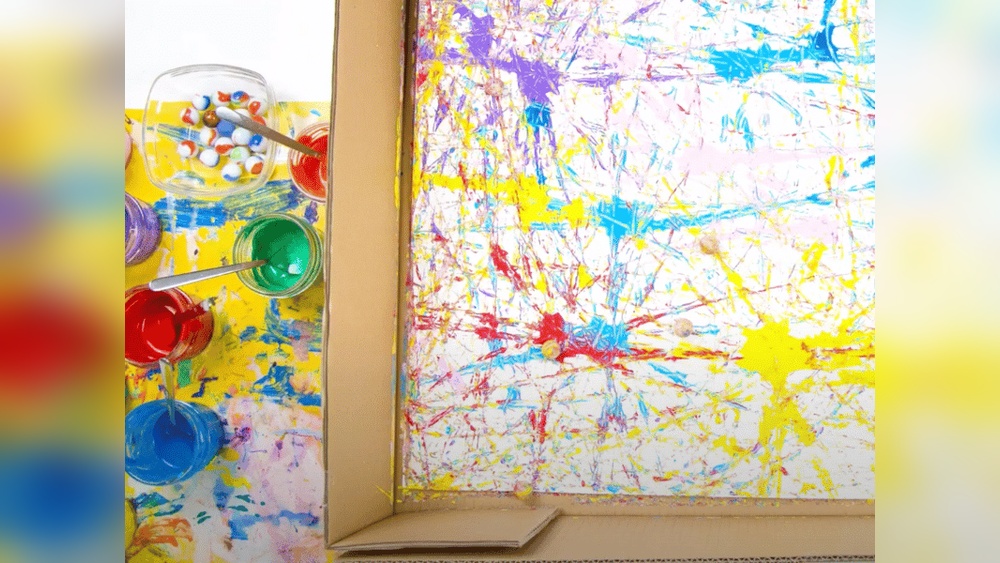
Marble run painting is an art activity where marbles are coated with paint and rolled over paper to make colorful patterns. The rolling action creates unique lines, swirls, and textures. No two paintings are ever the same. Kids love the process because it feels like play, but the results are beautiful enough to hang on the wall.
The activity can be as simple as using a box and a few marbles, or more complex with homemade marble runs built from tubes and ramps. It is suitable for preschoolers, elementary-age kids, and even older children who want to experiment with art.
Benefits Of Marble Run Painting
This activity offers more than just fun. Here are some of the main benefits:
- Creativity boost: Kids choose their own colors and patterns.
- Fine motor skills: Picking up marbles and moving the box helps develop hands and fingers.
- Color mixing: Children see how colors blend in real time.
- Problem-solving: Adjusting speed, angles, and marble numbers encourages thinking.
- Sensory experience: The sound and feel of marbles rolling add a sensory dimension.
Teachers often use marble run painting in classrooms for these reasons. It’s a favorite in art therapy, too.

Credit: www.youtube.com
Materials Needed For Marble Run Painting
You don’t need expensive supplies. Most items are already at home or easy to find. Here’s a list of what you’ll need:
- Paper: Use thick paper like cardstock or watercolor paper. Thin paper might tear.
- Marbles: Standard glass marbles work best, but you can use small balls or beads.
- Paint: Washable tempera or acrylic paints are ideal for kids.
- Tray or shallow box: Cookie sheets, cardboard box lids, or plastic bins hold the paper and marbles.
- Spoons or tongs: For moving marbles without messy hands (optional).
- Cups or bowls: For holding and coating marbles in paint.
- Aprons or old clothes: Paint can splash.
Comparing Paper And Paint Options
Let’s see how different choices affect your results:
| Paper Type | Pros | Cons |
|---|---|---|
| Printer Paper | Cheap, easy to find | Tears easily, warps with paint |
| Cardstock | Sturdy, smooth surface | Costs a bit more |
| Watercolor Paper | Very strong, best for lots of paint | Most expensive |
| Paint Type | Pros | Cons |
|---|---|---|
| Washable Tempera | Easy cleanup, safe for kids | Colors may be lighter |
| Acrylic | Vivid colors, dries fast | Can stain clothing |
Step-by-step Guide To Marble Run Painting
It’s easy to get started. Here’s a clear process anyone can follow.
1. Prepare The Work Area
Set up a table with all your supplies. Cover surfaces with newspaper or a plastic cloth. Put kids in aprons or old shirts. This makes cleanup simple and lets everyone relax.
2. Set Up The Tray Or Box
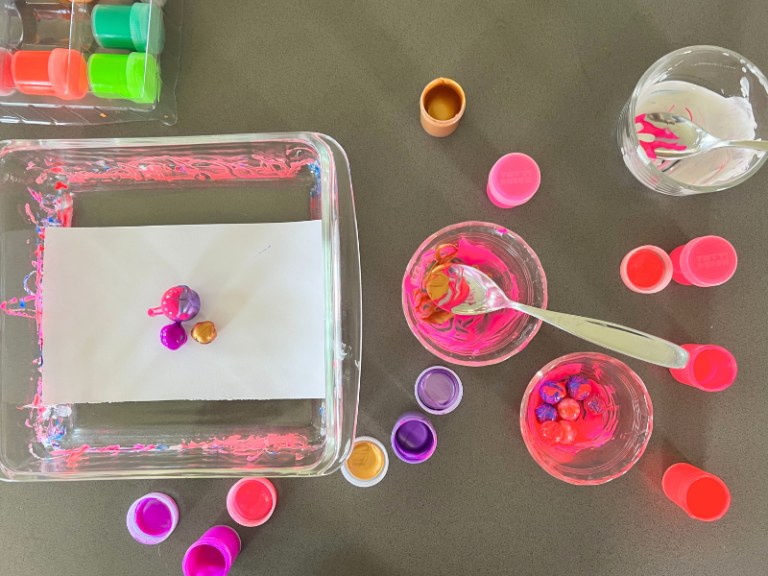
Place a sheet of paper inside your tray or box. Make sure it fits flat. If needed, use a small piece of tape on the corners to stop it from sliding.
3. Add Paint To Marbles
Pour a small amount of each paint color into separate cups or bowls. Drop in a marble and swirl it so the marble gets coated evenly.
Pro Tip: Use a spoon or tongs to pick up the marble, so paint stays on the marble and not on hands.
4. Drop Marbles Onto Paper
Place the paint-covered marble on one side of the paper. Use two hands to gently tilt and roll the tray, moving the marble across the paper. Watch as lines and swirls appear.
Want more color? Repeat with different marbles and paints. Add more marbles at the same time for crisscrossing lines.
5. Experiment With Techniques
Try these ideas for new effects:
- Use different sizes of marbles for thicker or thinner lines.
- Mix two colors on one marble.
- Use pipettes or droppers to add dots of paint before rolling.
- Change the angle of the tray for faster or slower marble movement.
6. Let The Art Dry
Carefully lift the paper from the tray and lay it flat to dry. Drying time depends on paint type and thickness—usually 30 minutes to 2 hours.
7. Display Or Reuse
Hang the finished art for everyone to see. You can also cut the painted paper into shapes for cards, bookmarks, or collages.
Credit: artfulparent.com
Safety And Clean-up Tips
Marble run painting is safe, but here are a few tips:
- Supervise young children, especially with small marbles (choking hazard).
- Choose washable paint for easy cleanup.
- Keep wipes or wet cloths nearby for quick hand cleaning.
- If using a group, write each child’s name on their paper before painting.
For a fast clean-up, soak marbles in warm soapy water and rinse trays before paint dries.
Creative Variations To Try
Kids can enjoy marble run painting again and again by changing the process. Here are some fresh ideas:
1. Glow-in-the-dark Painting
Use glow-in-the-dark paints and turn off the lights to see the patterns shine. This is great for parties or sleepovers.
2. Nature-inspired Marbles
Try rolling pinecones, acorns, or small rocks instead of marbles. Each object makes a unique pattern.
3. 3d Marble Run Structures
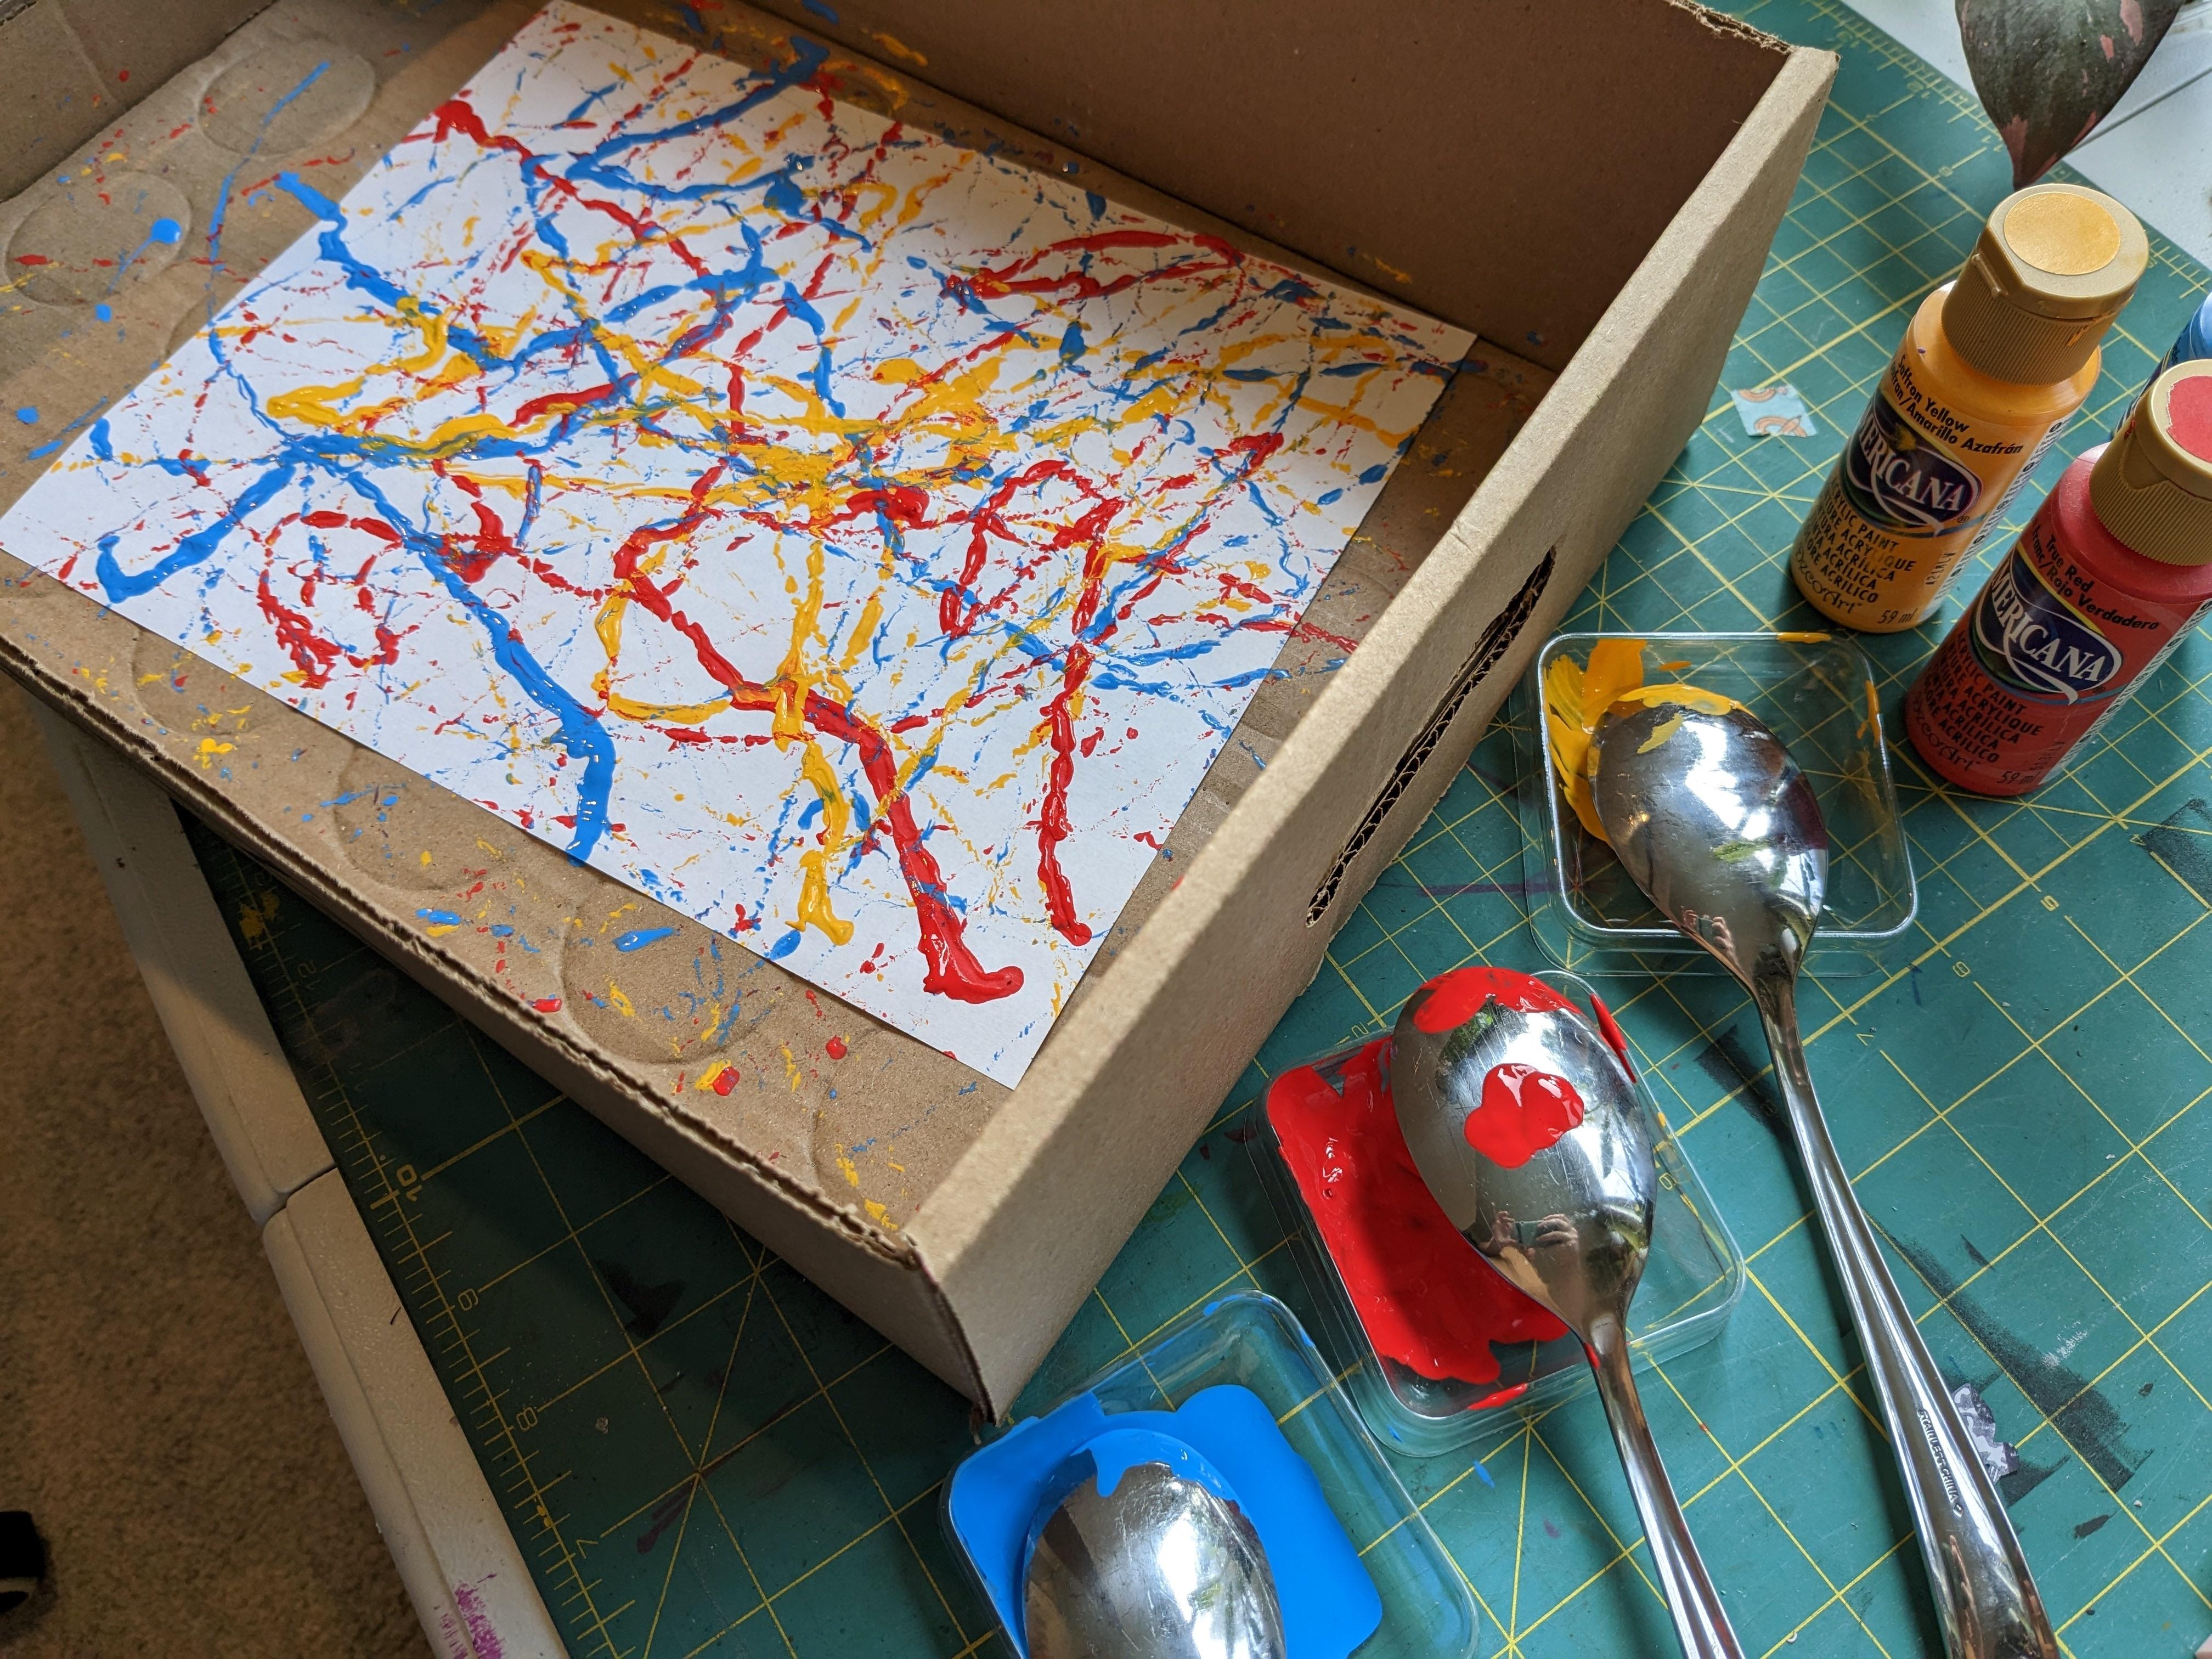
Build a simple marble run using cardboard tubes, ramps, and funnels. Drop painted marbles at the top and watch as they roll through the run and onto the paper.
4. Group Art Projects
Use a large tray with a big sheet of paper. Let several kids take turns rolling marbles. This encourages teamwork and makes a giant, collaborative artwork.
5. Themed Creations
Pick color themes: ocean blues, fiery reds, or spring greens. Challenge kids to create art inspired by seasons, holidays, or favorite animals.
Credit: www.pbsutah.org
Common Mistakes And How To Avoid Them
Many beginners make the same errors when starting marble run painting. Here’s how to avoid them:
- Using too much paint: A thin coating works better. Too much can make a sticky mess.
- Skipping thick paper: Thin paper will rip or crumple. Choose sturdy options.
- Not taping paper: The paper may slide in the tray, ruining the design.
- Overcrowding marbles: Too many marbles can turn colors muddy. Start with one or two.
Making Marble Run Painting Educational
This activity is more than just art—it can teach important skills.
- Science: Talk about gravity, force, and motion as marbles roll.
- Math: Count marbles, compare line lengths, or measure drying time.
- Color theory: Discuss primary and secondary colors, or what happens when colors mix.
- Language skills: Ask kids to describe their art or tell a story about what they made.
Teachers can link marble run painting to STEM lessons or use it for sensory play.
Comparing Marble Run Painting To Other Kids’ Art Activities
How does marble run painting stack up against other popular art projects? Here’s a quick look:
| Activity | Creativity | Mess Level | Setup Time | Skill Development |
|---|---|---|---|---|
| Marble Run Painting | High | Medium | Low | Motor, color, science |
| Finger Painting | Medium | High | Low | Sensory, fine motor |
| Sticker Collage | Low | Low | Very Low | Hand-eye, design |
| Brush Painting | High | Medium | Medium | Art skills, technique |
Insight: Marble run painting offers a nice balance of creativity and manageable mess, making it ideal for home or classroom use.
Non-obvious Tips For Success
Even experienced parents and teachers miss a few tricks:
- Warm marbles: If marbles are cold, paint may not stick well. Let them reach room temperature first.
- Rotate the tray: Change the direction of the tray for more complex patterns. It teaches kids about cause and effect.
- Reuse paint: After painting, leftover colors in the tray can be swirled with a brush for extra backgrounds or new projects.
- Set up a drying rack: Use a dish rack or string a clothesline indoors for fast, organized drying.
- Try textured marbles: Some craft stores sell bumpy or swirled marbles that make new kinds of lines.
When To Use Marble Run Painting
This activity is perfect for:
- Birthday parties: Each child creates a unique take-home art piece.
- Rainy days: Indoor fun that doesn’t need much space.
- Art class: Works well for individual or group projects.
- Family time: Siblings and parents can join in.
- Therapy sessions: Used in occupational therapy for motor skills and self-expression.
Where To Find Inspiration And Resources
For more ideas, look for examples on Pinterest, YouTube, or art education blogs. Museums and children’s activity centers sometimes offer marble run painting workshops. Books about process art often include this project too.
For a deeper look at the science behind marble painting and child development, check this Process Art resource on Wikipedia.
Frequently Asked Questions
What Age Is Marble Run Painting Best For?
Marble run painting is ideal for children ages 3 and up. Always supervise young kids because marbles are a choking hazard. Older kids can try more advanced techniques or even design their own marble runs.
Can I Use Other Objects Instead Of Marbles?
Yes! Small balls, beads, or even toy cars with round wheels can be used. Each object makes a different pattern. Just make sure items are easy to clean and not too heavy for the tray.
How Do I Keep Paint From Getting Everywhere?
Set up in an easy-to-clean area, use aprons, and keep wipes handy. Choose washable paint and remind kids to keep marbles in the tray. If you want zero mess, try marble painting with dry tempera powder and a spray bottle.
What If I Don’t Have A Tray?
You can use a sturdy cardboard box lid, baking sheet, or even a plastic storage container. Just make sure the edges are high enough to keep marbles from escaping.
Can I Use This Activity With Groups?
Absolutely! Give each child their own tray or set up a large group art station. Write names on papers before starting to keep track. For big groups, rotate supplies to avoid waiting.
Marble run painting is more than just an art project—it’s a joyful, hands-on experience that inspires kids to create, explore, and learn. With simple supplies and a flexible setup, anyone can try it at home or in a classroom. The process is as valuable as the finished artwork, and every child leaves with a sense of pride and discovery.
Give marble run painting a try and watch creativity roll!