Hand and foot painting is a classic activity that brings smiles to both kids and adults. It’s more than just messy fun—this creative process helps children explore colors, textures, and shapes while making memorable keepsakes. Whether you’re a parent, teacher, or caregiver, foot and handprint painting can become a joyful experience with a few simple steps.
Let’s discover how you can set up this activity, guide kids through each stage, and create art that you’ll cherish for years.
Why Foot And Handprint Painting Is Great For Kids
Kids love to get their hands dirty. But foot and handprint painting is more than just play—it’s a strong tool for early learning and development. When children press their hands or feet into paint and onto paper, they learn about cause and effect, practice fine and gross motor skills, and build their imagination.
This activity is also a great way for families to bond. Each print becomes a unique memory, capturing the size and shape of a child’s hand or foot at a certain age. As the years go by, these prints often become treasured reminders of early childhood.
What You Need: Materials And Preparation
Before you begin, having the right materials ready makes everything smoother. Here’s what you’ll need for a successful painting session:
- Washable, non-toxic paint – Make sure the paint is safe for children’s skin.
- Large sheets of paper or canvas – Heavier paper (like cardstock or watercolor paper) works best.
- Paintbrushes or sponges – For spreading paint evenly.
- Wet wipes or a bowl of soapy water – For quick cleanup.
- Old towels or aprons – To protect clothes and surfaces.
- A flat workspace – A table covered with newspaper or plastic, or even the floor.
Pro tip: Always check the paint label for “non-toxic” and “washable.” This makes cleaning up much easier and keeps kids safe.
Setting Up The Painting Area
A little preparation can prevent big messes. Choose a space where kids can move freely, and cover the floor and table with old newspapers or a plastic sheet. Put out all the supplies within easy reach. If you’re painting with several children, give each one their own set of materials to avoid fights or spills.
It’s smart to have a plan for cleaning up. Keep a roll of paper towels, wet wipes, and a bowl of warm water nearby. Also, remind kids to wear old clothes or an apron.
Step-by-step: How To Do Foot And Handprint Painting
1. Choosing The Paint
Pick washable poster paint or finger paint specifically designed for children. These are easier to wash off skin and won’t stain clothes as easily as acrylic or oil paints. For babies or toddlers with sensitive skin, test a small spot first.
2. Preparing The Paint
Pour a small amount of paint onto a paper plate or shallow tray. If you want to make special shades, let kids mix colors themselves using a brush or popsicle stick. This can be a fun lesson about color blending.
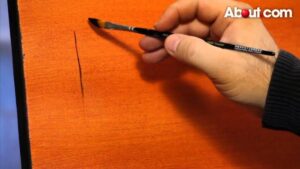
3. Applying Paint To Hands Or Feet
Use a paintbrush or sponge to coat the child’s hand or foot with a thin, even layer of paint. Avoid making it too thick, or the print will be smudgy. If you’re using more than one color, paint each finger or toe a different shade for a rainbow effect.
4. Making The Print
Ask the child to press their painted hand or foot onto the paper, then lift straight up without sliding. This helps create a clear, defined print. Encourage kids to try different angles or overlaps to create flowers, animals, or abstract patterns.
5. Cleaning Up
As soon as each print is done, wipe hands and feet with a wet wipe or wash them in warm, soapy water. This stops the paint from drying and makes cleaning easier. Let the artwork dry flat before moving or displaying.
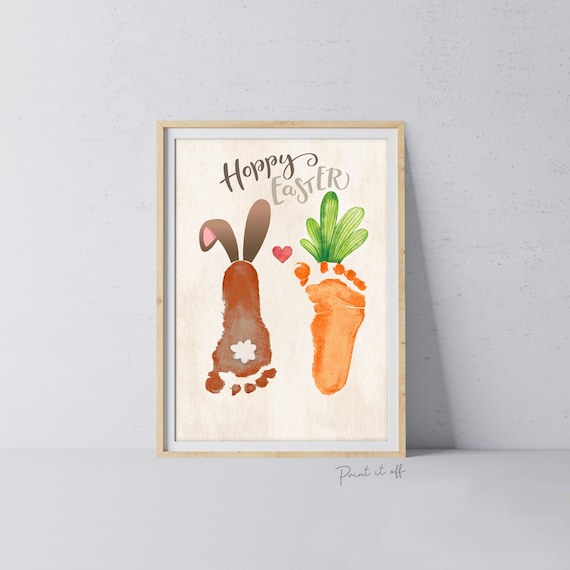
6. Decorating And Adding Details
Once the prints are dry, use markers, crayons, or more paint to turn them into creative creatures, trees, or family portraits. For example, a handprint can become a turkey, fish, or a flower by adding eyes, beaks, or petals.
Creative Ideas For Foot And Handprint Painting
Foot and handprint art is limited only by your imagination. Here are some favorite projects that are simple, yet impressive:
- Handprint Flowers: Make a bouquet by stamping several handprints in a circle, then drawing stems and leaves.
- Footprint Butterflies: Use two side-by-side footprints as butterfly wings, and draw the body in the center.
- Holiday Cards: Create Christmas trees from green handprints or Valentine’s hearts from two overlapping handprints.
- Animal Art: Turn a footprint into a dinosaur or a handprint into a lion’s mane.
- Family Trees: Each family member adds their handprint as a leaf on a painted tree trunk.
These projects help kids see how simple shapes can become something magical with a little creativity.
Safety Tips For Painting With Kids
While hand and foot painting is safe when done right, a few rules keep everyone healthy and happy:
- Always use non-toxic, washable paint.
- Supervise young children at all times.
- Avoid painting on open cuts or irritated skin.
- Clean up spills immediately to prevent slipping.
- Do a quick allergy test if your child has sensitive skin.
If you’re working with a group, remind everyone not to touch their eyes or mouth until they’ve washed their hands.

Credit: www.gluedtomycraftsblog.com
Common Mistakes And How To Avoid Them
Many beginners face the same challenges. Here’s what to watch out for:
- Too much paint: Thick layers lead to blurry prints. Less is more.
- Pressing too hard: Ask kids to press gently. Too much pressure can make the paper tear or the print smear.
- Not cleaning up quickly: Dried paint is harder to remove from skin and surfaces.
- Using the wrong paper: Thin paper can wrinkle or tear. Always choose something sturdy.
- Skipping test prints: Try a test on scrap paper before making the final print.
Remember, every print is unique. Imperfections often make the artwork more charming.
Age-by-age Guide: Adapting The Activity
Not all kids are the same, and age matters. Here’s how to adjust the process:
| Age Group | Best Practices | Adult Help Needed |
|---|---|---|
| Babies (0-2) | Use one color; adult presses hand/foot | Full help |
| Toddlers (2-4) | Allow color choice; guide printing | Close help |
| Preschool (4-6) | Let kids paint own hands/feet | Some supervision |
| School Age (6+) | Encourage complex designs | Minimal help |
As kids grow, let them take more control. This builds confidence and independence.
Comparing Paint Types For Kids’ Hand And Footprint Art
Choosing the right paint makes a difference. Here’s a quick side-by-side look:
| Paint Type | Pros | Cons |
|---|---|---|
| Washable Tempera | Easy to wash, bright colors | Can be watery, dries matte |
| Finger Paint | Thick, safe for skin | Limited color range |
| Acrylic Paint | Rich colors, lasts longer | Harder to wash off, not for young kids |
For most kids’ activities, washable tempera or finger paint is best.
How To Save And Display Kids’ Hand And Footprint Art
Once you have a masterpiece, you’ll want to keep it safe. Here’s how:
- Let it dry fully: Don’t rush this step. Wet paint can smudge your art.
- Frame or laminate: Use a simple frame or clear contact paper to protect the print.
- Hang it proudly: Display on the fridge, a wall, or in a scrapbook.
- Make gifts: Turn prints into cards, calendars, or even T-shirts for family.
If you want to save artwork long-term, store it in a cool, dry place, away from direct sunlight.

Credit: scribbledincco.com
Two Surprising Insights Most Beginners Miss
While foot and handprint painting feels easy, there are some tips that even many adults overlook:
- Vary the surface: Prints look very different on rough vs. smooth paper. Try canvas, wood, or even fabric for special gifts.
- Use negative space: Don’t be afraid to leave parts of the paper blank. A single print in the center can be more striking than a crowded page.
These small changes can make your kid’s art look more professional and unique.
Making Foot And Handprint Painting Educational
Beyond art, this activity can boost learning. Here are a few ways to add value:
- Teach about symmetry: Show how left and right hands or feet are similar, but not identical.
- Discuss body awareness: Ask kids to compare sizes and shapes of their prints as they grow.
- Explore nature: Use prints to make animals, trees, or flowers, then talk about those subjects.
For more educational craft ideas, check out resources like NAEYC’s Early Childhood Art page.
Credit: www.etsy.com
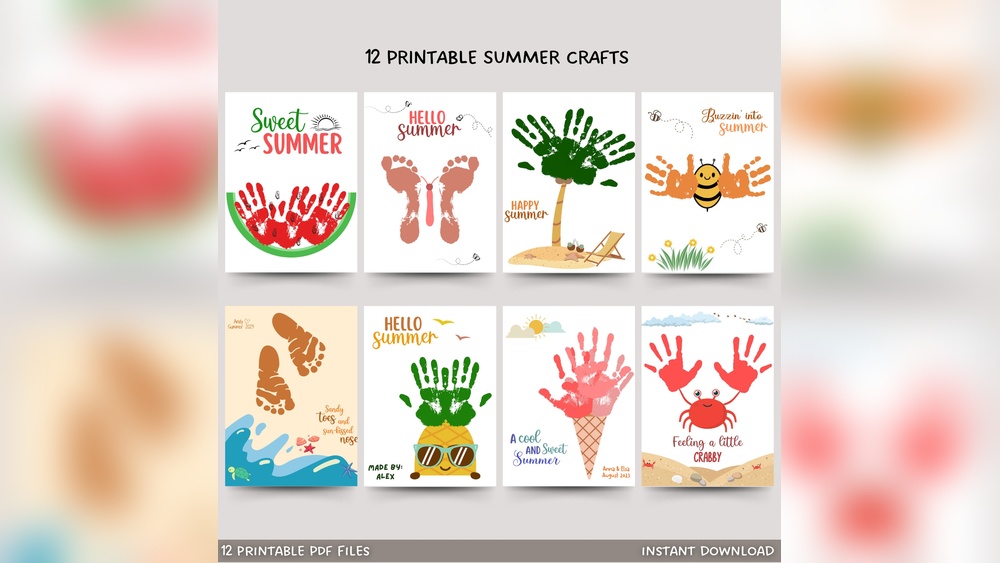
Easy Variations For Every Season
Change up your foot and handprint painting to fit any holiday or season:
- Spring: Handprint tulips, butterfly footprints
- Summer: Sunflowers, ocean fish
- Fall: Tree leaves, pumpkins
- Winter: Snowmen, holiday trees
These seasonal themes keep kids interested year-round.
Frequently Asked Questions
How Do I Remove Paint Stains From Clothes Or Skin?
Most washable paints come off with soap and water. For stubborn stains on clothes, soak in cold water before washing. On skin, use baby oil or a gentle scrub if needed.
Can I Use Regular Acrylic Paint For Hand And Foot Prints?
It’s better to use washable, non-toxic paint made for kids. Acrylics are harder to remove and may cause skin irritation, especially for young children.
How Can I Make Sure The Prints Look Clear?
Apply a thin, even layer of paint and press gently. Use heavier paper and avoid too much paint. Practice on scrap paper before making the final artwork.
What Are Some Unique Ideas For Gifts Using Hand And Foot Prints?
Turn prints into personalized greeting cards, calendars, or decorate tote bags and mugs. Family members love gifts that show a child’s growth.
Is Foot And Handprint Painting Safe For Babies?
Yes, if you use non-toxic, baby-safe paint and supervise closely. Always wash hands and feet immediately after painting, and avoid open cuts.
Creating hand and footprint art with kids is more than a craft—it’s a joyful way to bond, learn, and celebrate creativity. With the right tools and a bit of planning, you’ll make memories (and masterpieces) that last a lifetime.