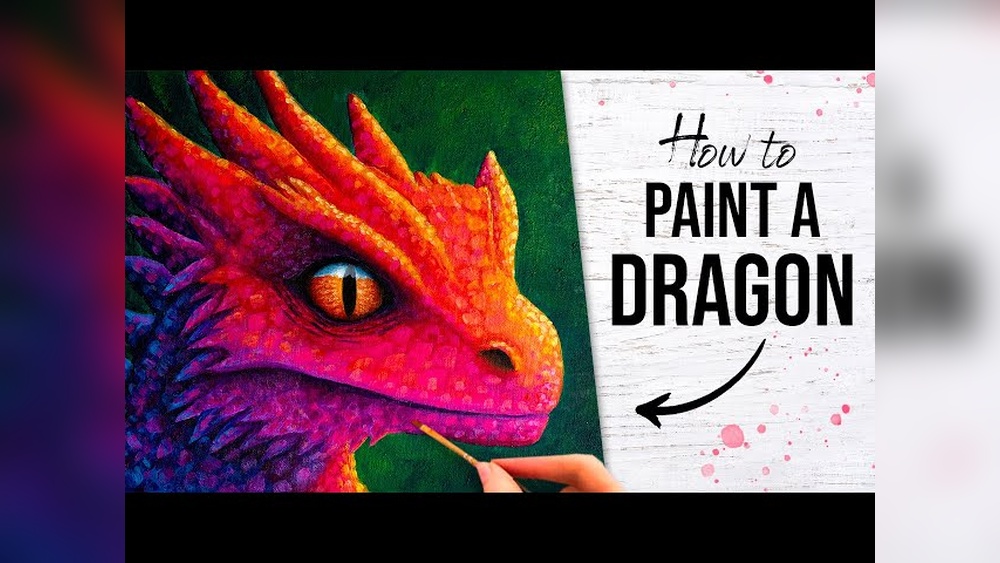
Are you ready to bring a fierce and magical dragon to life on your canvas? Painting a dragon with acrylics might sound challenging, but with the right steps, you can create a stunning artwork that captures its fiery spirit and majestic presence.
Whether you’re a beginner or looking to sharpen your skills, this guide will walk you through easy-to-follow techniques that make painting your dragon fun and rewarding. Get your brushes ready—your epic masterpiece is just a few strokes away! Keep reading, and discover how to turn your imagination into a vibrant, eye-catching dragon painting.
Gathering Supplies
Gathering the right supplies is the first step to painting a dragon with acrylic paint. Having quality materials makes painting easier and more enjoyable. Prepare everything before you start to avoid interruptions. This section covers choosing paints, brushes, and setting up your workspace.
Choosing Acrylic Paints
Select paints made specifically for acrylic use. These dry quickly and have bright colors. Choose a variety of colors for shading and details. Basic colors like red, blue, yellow, black, and white help mix many shades. Look for paints with good pigment quality for vibrant results.
Selecting Brushes
Use brushes designed for acrylic painting. Synthetic brushes hold paint well and clean easily. Pick different sizes: small for details, medium for shapes, large for backgrounds. Flat brushes help with sharp edges. Round brushes are good for curves and fine lines. Keep your brushes clean to last longer.
Preparing Your Workspace
Set up a clean, well-lit area to paint. Cover surfaces with newspaper or plastic to protect from spills. Have water and paper towels nearby to rinse brushes. Use a palette or plate to mix paints. Keep your supplies organized to work smoothly. A comfortable chair and good posture help you paint longer.

Credit: www.youtube.com
Sketching The Dragon
Sketching the dragon is the first step in creating a beautiful acrylic painting. This stage sets the foundation for your artwork. A clear sketch helps guide your brush and colors. Take your time to make the sketch simple and accurate. Start with light pencil lines so you can erase and adjust easily.
Focus on the dragon’s shape and size before adding details. This method keeps the drawing balanced and easy to follow. A well-planned sketch makes the painting process smoother and more enjoyable.
Basic Shapes And Proportions
Begin with basic shapes to build your dragon’s form. Use circles, ovals, and triangles for the head, body, and limbs. These shapes help keep the dragon’s proportions correct. Draw lightly to keep the sketch flexible. Check the size of each part compared to the others. For example, the head should not be too big or too small. Use simple lines to connect the shapes and form the dragon’s body. This step creates a clear guide for your painting.
Adding Details To The Outline
Once the basic shapes are in place, start adding details to the outline. Draw the dragon’s eyes, nostrils, and mouth with small, careful lines. Sketch the wings, claws, and tail with more definition. Add scales or spikes lightly to show texture. Keep the lines clean and avoid heavy shading. This detail work will help you paint with precision. Avoid overworking the sketch to keep it fresh and easy to follow.
Blocking In Colors
Blocking in colors is the first step to bring your dragon painting to life. It helps set the foundation for the final artwork. This stage focuses on laying down large areas of color without worrying about details. It allows you to see the overall color scheme and shapes clearly. With acrylic paint, blocking in colors is quick and effective because the paint dries fast. Keep your brush strokes loose and confident. Avoid mixing too many colors at this point. The goal is to cover the canvas and prepare for the next steps.
Base Color Application
Start with the base color that covers most of the dragon’s body. Choose a mid-tone color that matches your vision. Use a large brush to fill in these areas smoothly. Don’t press too hard; let the paint glide on the canvas. This layer sets the tone for your dragon. It also helps you avoid mistakes later. Paint in simple shapes that follow the dragon’s form. Avoid adding any fine lines or details now. The base color acts as a backdrop for shadows and highlights.
Establishing Light And Shadow
Next, add light and shadow to give your dragon depth. Identify where the light hits the dragon and where shadows fall. Use lighter shades for the areas that catch light. Darker shades show the parts in shadow. Blend these colors softly to create smooth transitions. This step builds the dragon’s three-dimensional look. Avoid using pure black or white; instead, mix them with your base color. Keep the shapes simple and blocky at this stage. This will guide your final details and textures.

Credit: www.amazon.com
Painting Dragon Features
Painting dragon features brings your artwork to life. These details add depth and character. Focus on wings, scales, eyes, facial details, claws, and tail. Each part needs special care and technique. Acrylic paint works well for these textures and effects.
Use thin brushes and layers to build up colors. Blend shades smoothly for a natural look. Contrast helps to highlight important areas. Follow these tips to paint striking dragon features.
Wings And Scales
Start with the wings by blocking in base colors. Use lighter shades on the edges to show light. Add veins with a fine brush for realism. For scales, paint small overlapping shapes. Use varied tones to create depth. Dry brush with a lighter color to highlight scale texture. This adds a three-dimensional effect.
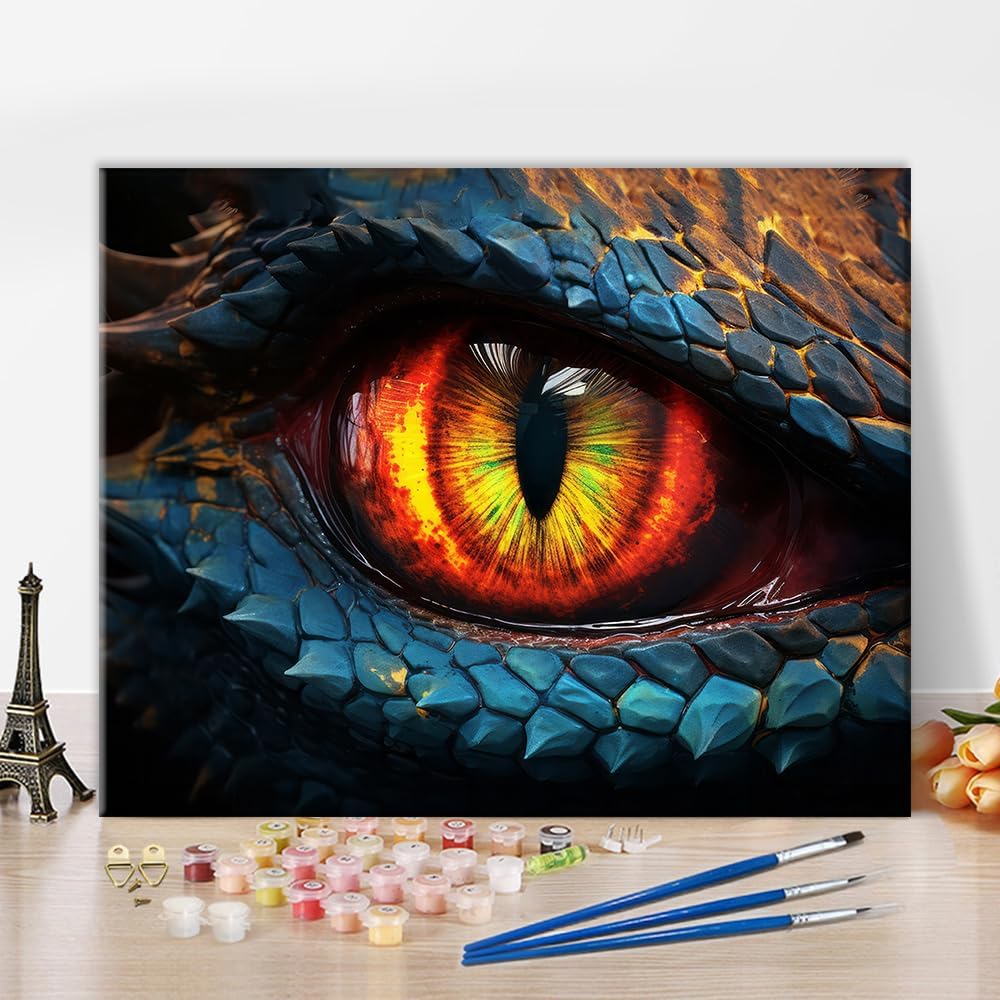
Eyes And Facial Details
Paint the eyes with a bright base color. Add a dark pupil and a small white dot for shine. This makes the eyes look alive. Shade around the eyes to create depth. Use thin lines to show wrinkles or facial texture. Keep details sharp but subtle to avoid overpainting.
Claws And Tail
Use dark colors for claws to make them stand out. Highlight edges with a lighter shade for shape. Add small scratches or texture for realism. Paint the tail with smooth color transitions. Show muscle curves with soft shading. Add spikes or patterns to enhance the tail’s look.
Adding Texture And Depth
Adding texture and depth brings your dragon painting to life. It creates a sense of realism and makes your dragon stand out. Acrylic paint works well for this because it layers easily and dries fast. Focus on building up the surface with different techniques. This gives your dragon scales, skin, and wings a rich, three-dimensional look.
Layering Techniques
Start by applying thin layers of paint. Each layer changes the color slightly and adds richness. Use a dry brush to add rough textures for scales or skin. Let each layer dry before adding the next. This prevents colors from mixing too much and keeps details sharp. Use thicker paint for raised parts like horns or claws. Layering creates natural shadows and highlights.
Highlighting And Shading
Highlighting uses light colors on raised areas to show light hitting the surface. Use a small brush to add highlights to scales and edges. Shading uses darker colors in recessed areas. This adds depth and makes parts look farther back. Blend the edges between highlights and shadows softly. This makes your dragon look round and textured. Contrast between light and dark brings energy to your painting.
Final Touches
The final touches bring your dragon painting to life. This stage is about perfecting every part. Small adjustments can make a big difference in the artwork’s impact. Take your time and be patient. Focus on sharpening details and enhancing the background. These finishing steps ensure your dragon looks complete and vibrant.
Refining Details
Use a fine brush to sharpen scales and claws. Add thin lines for texture on the wings and body. Highlight the eyes with a small white dot for shine. Deepen shadows to create depth and contrast. Blend colors gently for smooth transitions. Check for any areas that need more color or corrections. Refined details make your dragon appear more realistic and striking.
Adding Background Elements
Choose simple shapes or colors that complement your dragon. Soft gradients or clouds work well behind the figure. Add subtle hints of fire, smoke, or stars for atmosphere. Keep the background less detailed to keep focus on the dragon. Use light washes of color to avoid overpowering the main subject. Background elements create a mood and add context to your painting.
Common Mistakes To Avoid
Painting a dragon with acrylics can be fun and rewarding. Yet, certain common mistakes can spoil your work. Avoiding these errors helps your dragon look more lively and realistic. Here are key mistakes to watch out for.
Not Preparing The Surface Properly
Skipping surface preparation leads to poor paint adhesion. Always clean and prime your canvas or board. This step ensures smooth paint application and better color vibrancy.
Using Thick Paint Layers Early On
Applying thick paint in the first layers hides details and slows drying. Start with thin, smooth layers. Build up thickness gradually for depth and texture.
Ignoring Light And Shadow
Flat dragons lack dimension and interest. Study light direction before painting. Add shadows and highlights to create a three-dimensional effect.
Mixing Colors Without Testing
Unplanned colors may clash or look dull on your dragon. Test mixes on a scrap paper first. Adjust colors until you get the perfect shade.
Overworking The Painting
Too much reworking can muddy colors and damage layers. Paint with confidence and know when to stop. Let each layer dry before adding more detail.
Neglecting Brush Care
Dirty brushes affect paint flow and color purity. Clean brushes thoroughly after use. Store them properly to keep bristles in good shape.
Credit: www.michaels.com
Color Tips For Dragons
Choosing the right colors brings your dragon to life. Colors set the mood and show your dragon’s personality. Bright colors can make your dragon look fierce or magical. Dark colors add mystery and strength. Think about the story behind your dragon before picking colors.
Mixing colors carefully gives your dragon depth. Use shades that work well together. Avoid too many bright colors at once. Balance is key for a beautiful painting.
Choosing Impactful Colors
Start with a base color that fits your dragon’s theme. Reds and oranges create a fiery feel. Blues and greens give a cool, calm look. Purple adds a magical touch. Earth tones like brown and gray make your dragon look strong and natural.
Use contrasting colors for details. Bright yellow or white scales can stand out against dark skin. Avoid colors that blend too much. Contrast helps your dragon look more interesting and clear.
Using Highlights For Realism
Highlights add light and shine to your dragon. Use a lighter shade of your base color for highlights. Apply them where light hits, like the top of the head, wings, and scales.
Small touches of white paint on eyes and claws make them pop. Blend highlights softly for a natural look. This step gives your dragon depth and makes it look three-dimensional.
Cleaning And Maintenance
Cleaning and maintenance are essential to keep your acrylic painting tools in good shape. Proper care helps your brushes last longer and your paints stay fresh. This saves money and improves your painting experience. Follow simple steps to maintain your tools after each session.
Brush Care
Clean brushes immediately after use. Acrylic paint dries fast and can ruin bristles. Use warm water and gentle soap to wash brushes. Rinse until water runs clear. Shape bristles back to original form. Dry brushes flat or with bristles pointing down. Avoid leaving brushes soaking in water. This damages the handle and bristles.
Storing Acrylic Paints
Keep acrylic paints in a cool, dry place. Avoid direct sunlight and high temperatures. Make sure paint lids are tightly closed. This prevents paint from drying out. Store paints upright to avoid leaks. Use airtight containers for extra protection. Check paints regularly for any signs of drying or thickening. Proper storage keeps paints usable for a long time.
Frequently Asked Questions
How To Make A Dragon In Paint?
Start by sketching the dragon’s shape in Paint. Use the brush tool to add colors and basic shading. Add details like scales and eyes with smaller brushes. Blend colors for depth. Finally, refine outlines and highlights to complete your dragon artwork.
What Are Common Mistakes When Drawing Dragons?
Common mistakes when drawing dragons include ignoring anatomy, overcomplicating details, inconsistent scales, poor wing structure, and lacking dynamic poses.
How To Draw Dragon Very Very Easy?
Start by drawing a simple “U” shape for the body. Add ears and eyes above the “U. ” Sketch wings and a tail with curved lines. Use basic shapes like circles and triangles for details. Keep lines smooth and simple to create an easy dragon drawing quickly.
What Colors Are Best For Dragon Art?
Bright colors like red, orange, and yellow create powerful dragon art. Blues, greens, and purples add mystical effects. Use contrasting shades for depth and highlights to enhance details. Choose colors that match your dragon’s theme and mood for the best visual impact.
Conclusion
Painting a dragon with acrylics can be fun and rewarding. Start with simple shapes to build its form. Use bright colors to make your dragon stand out. Add layers slowly to create depth and texture. Take your time and enjoy each step of the process.
Practice helps improve your skills over time. Keep experimenting with different shades and details. Soon, you will create dragons that look alive and vibrant. Let your imagination guide your brush. Painting dragons is a great way to express creativity and have fun.