
Are your plain flower pots looking a bit dull? You don’t need to buy new ones to brighten up your garden or home.
With just a few simple steps, you can transform your old pots into colorful, eye-catching pieces that reflect your style. Imagine turning a basic clay pot into a vibrant work of art—all from the comfort of your own home. Whether you’re a beginner or just looking for easy DIY ideas, this guide will show you how to paint DIY flower pots that last and impress.
Ready to give your plants the perfect new home? Let’s get started!

Credit: nuwave.lt
Choosing The Right Pots
Selecting the right pot is an important step before painting. The pot material, size, and shape affect the painting process. It also impacts how your design will look. Choose pots that suit your style and project needs. This section helps you understand key differences to pick the best pot for painting.
Terracotta Vs Plastic
Terracotta pots have a natural, earthy look. They absorb water and air, which helps plants grow well. Their rough surface holds paint nicely. Painting terracotta requires sealing to protect the pot from moisture. Plastic pots are lightweight and cheap. They are smooth, so paint may peel without proper preparation. Use special primers for plastic pots. Both types work well for DIY painting but need different care.
Pot Size And Shape
Choose pot size based on the plant you want to grow. Small pots suit herbs and succulents. Large pots fit bigger plants or flowers. Shape matters too. Round pots offer a classic look. Square or geometric pots create a modern feel. Flat surfaces are easier to paint with detailed designs. Curved pots challenge your brush control but look unique. Pick size and shape that match your painting skills and style.

Credit: ispydiy.com
Gathering Supplies
Gathering the right supplies is the first step to painting DIY flower pots at home. Having good materials makes the painting process smooth and enjoyable. It also helps your pots look beautiful and last longer. Prepare everything before you start to avoid interruptions.
Paint Types To Use
Choose paint that sticks well to pots. Acrylic paint works great on most surfaces. It dries fast and comes in many colors. Outdoor spray paint is perfect for plastic or metal pots. It prevents fading from sun and rain. Avoid water-based paints that peel easily.
Brushes And Tools
Use different brushes for different effects. Flat brushes cover large areas quickly. Small round brushes help with details and patterns. A sponge can create interesting textures. Have a palette or plate to mix colors. Keep some water nearby to clean brushes.
Protective Materials
Protect your work area with newspapers or old cloth. Wear gloves to keep paint off your hands. Use a mask if spraying paint to avoid inhaling fumes. Cover your clothes with an apron or old shirt. Prepare a space with good airflow for drying your pots.
Preparing The Pots
Preparing the pots is the first key step in painting DIY flower pots at home. Proper preparation helps the paint stick well and last longer. It also gives your pots a smooth and clean surface to work on. This process requires cleaning, sanding, and sealing the pot surface. Each step improves the final look and durability of your painted pots.
Cleaning And Drying
Start by removing dirt, dust, and old paint from the pot. Use warm water and a mild soap to scrub the surface gently. A soft brush or cloth works best for this. Rinse the pot thoroughly to wash away all soap residue. Let the pot dry completely before moving to the next step. Moisture can cause paint to peel or bubble later.
Sanding For Better Adhesion
Sanding creates a rough surface that helps paint stick better. Use fine-grit sandpaper to rub the pot gently. Focus on smooth or glossy areas that might resist paint. Sand evenly all around the pot. After sanding, wipe off the dust with a damp cloth. This step is especially important for plastic or glazed pots.
Sealing The Pot Surface
Sealing protects the pot and improves paint adhesion. Apply a clear primer or sealer made for the pot material. Use a brush or spray sealer in a well-ventilated area. Let the sealer dry fully before painting. Sealing prevents moisture from reaching the pot and stops paint from peeling. It also creates a smooth base for your paint colors.
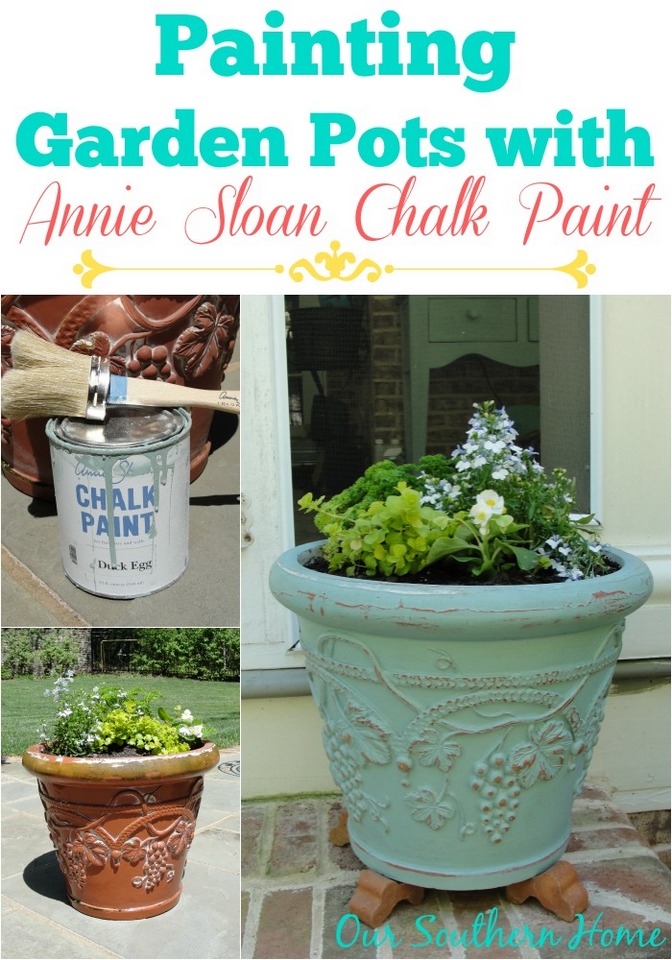
Credit: www.oursouthernhomesc.com
Applying Base Coats
Applying a base coat is the first important step in painting DIY flower pots at home. It creates a smooth surface for the colors to stick and last longer. A good base coat also helps the final design look bright and even. Taking time with this step improves the overall finish of your project.
Choosing Base Colors
Select base colors that match or complement your main design. Light colors like white or beige help bright colors pop. Dark base coats work well if you want a deep or moody look. Choose paint made for outdoor use if your pots will sit outside. Acrylic paints are popular because they dry fast and resist water.
Techniques For Smooth Coverage
Start with clean, dry pots for the best paint hold. Use a wide, soft brush to apply thin, even layers. Avoid thick coats to prevent drips and clumps. Paint in one direction for a smooth finish. Let each layer dry before adding another. Multiple thin coats give better coverage than one thick coat.
Drying Tips
Let the base coat dry fully before painting details. Drying time changes based on paint type and room temperature. Place pots in a warm, dry spot with good air flow. Avoid direct sunlight to prevent uneven drying or cracking. Patience here stops smudging and makes your paint last longer.
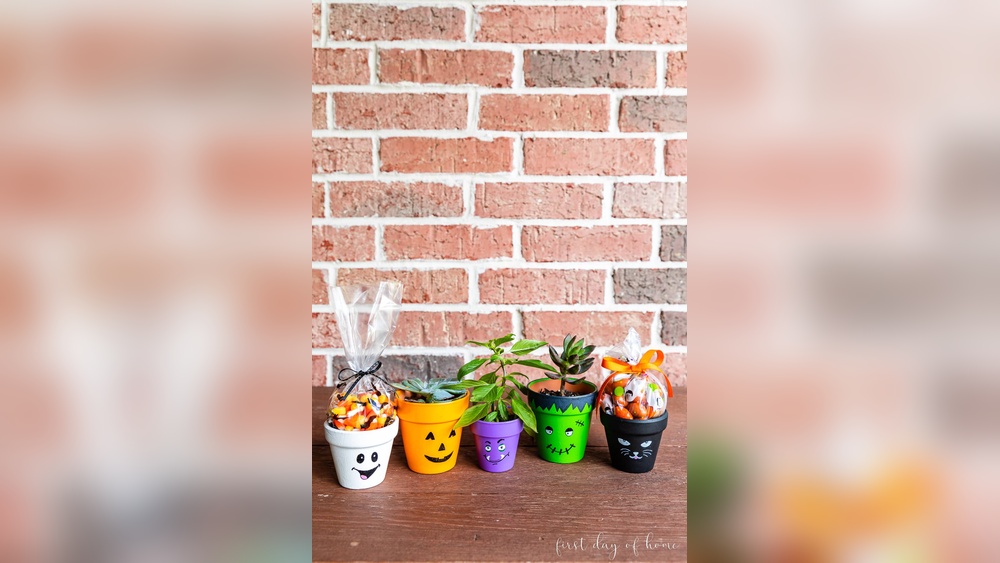
Creating Designs
Creating designs on your DIY flower pots makes them unique and charming. It lets you express your creativity clearly. Simple or complex patterns can transform plain pots into art pieces. This section explains easy ways to create beautiful designs. Choose a method that fits your skill and style.
Sketching Patterns
Start by lightly sketching your design on the pot with a pencil. This helps plan your artwork before painting. Use simple shapes like dots, lines, or flowers for a clean look. Erase any mistakes gently to avoid damaging the pot surface. Sketching gives a clear guide for painting and avoids errors.
Using Stencils And Tape
Stencils and tape create sharp, neat designs fast. Choose stencils with shapes you like or cut your own from paper. Secure the stencil or tape firmly on the pot to stop paint bleeding. Paint inside the stencil with a small brush or sponge. Remove the stencil carefully while paint is still wet for clean edges.
Freehand Painting Ideas
Freehand painting offers full freedom to create unique patterns. Use fine brushes for details or bigger brushes for broad strokes. Try simple designs like stripes, zigzags, or polka dots. Let your imagination guide you. Mistakes can turn into new design elements. Practice on paper first to build confidence.
Adding Details
Adding details to your DIY flower pots brings them to life. It transforms simple shapes into art pieces. Small touches make a big difference. These details add depth and personality. Let’s explore easy ways to enhance your painted pots.
Layering Colors
Start with a base color. Let it dry fully before adding another layer. Use a lighter or darker shade for contrast. Layering colors creates texture and interest. Apply thin coats to avoid clumps. Blend edges gently for a smooth look. This technique gives your pot a rich, vibrant feel.
Highlighting And Shadows
Highlights make parts of the pot pop. Use a lighter paint on raised areas. Shadows create depth on recessed sections. Use a darker shade in these spots. This contrast adds realism and style. Paint small strokes to mimic natural light. It helps your flower pot look more three-dimensional.
Using Metallic Or Glitter Paints
Metallic paints add a shiny, elegant touch. Use gold, silver, or bronze for a classic look. Glitter paints bring sparkle and fun. Apply them over dry paint layers. Use sparingly to keep it tasteful. These paints catch light and draw attention. Perfect for a special, eye-catching pot design.
Sealing And Finishing
Sealing and finishing your painted DIY flower pots protects your artwork. It also helps the paint last longer, especially outdoors. Proper sealing keeps water from damaging the paint or the pot itself. This step makes your pots look polished and professional.
Choosing The Right Sealant
Select a sealant made for outdoor use if your pots will be outside. Acrylic sealants work well for painted terracotta pots. They protect against water, sun, and dirt. Choose a clear sealant to keep your colors bright. Make sure the sealant matches the type of paint you used.
Applying Varnish Or Topcoat
Use a soft brush or spray for even sealant application. Apply thin, smooth coats to avoid drips or bubbles. Let each coat dry before adding the next one. Two to three coats usually offer strong protection. Cover all painted surfaces and edges for full protection.
Curing And Drying Time
Allow your sealed pots to dry completely before use. Drying times vary by sealant type and room temperature. Most sealants need at least 24 hours to cure well. Avoid touching or moving the pots during this time. Proper curing ensures a tough, long-lasting finish.
Common Mistakes To Avoid
Painting your own flower pots at home is a fun and creative project. Yet, beginners often make mistakes that affect the final look. Avoiding these common errors will save time and effort. It also helps your pots look great longer.
Skipping Surface Preparation
Clean the pot well before painting. Dirt and dust stop paint from sticking properly. Use soap and water to remove grime. Let the pot dry fully. Rough surfaces help paint hold better. Lightly sanding the pot creates a good base.
Overloading Paint
Apply thin layers of paint. Thick coats drip and take longer to dry. Multiple thin coats give a smooth finish. Wait for one layer to dry before adding the next. This method prevents cracking and peeling later.
Ignoring Sealant Steps
Seal your painted pot to protect the design. Sealants guard against water and weather damage. Use a clear spray or brush-on sealer. Apply sealant on both inside and outside. Skipping this step risks paint bubbling and fading fast.
Care And Maintenance
Painting your own flower pots is fun and rewarding. To keep them looking great, proper care and maintenance is key. Painted pots face dirt, water, and weather. Simple steps help protect your designs and extend pot life.
Cleaning Painted Pots
Clean pots gently using a soft cloth or sponge. Avoid harsh scrubbing that may damage the paint. Use mild soap and water to remove dirt and stains. Rinse well and let the pot air dry completely before use. Regular cleaning prevents buildup that can harm paint.
Protecting From Weather
Painted pots outside face sun, rain, and cold. Place pots in shaded or covered areas to reduce sun fading. Bring pots indoors during harsh weather or freezing temperatures. Apply a clear sealant to protect paint from moisture and UV rays. Reapply sealant yearly for best results.
Touching Up Paint
Small chips or cracks may appear over time. Keep some of the original paint handy for touch-ups. Lightly sand the damaged area to smooth edges before repainting. Apply paint in thin layers and let dry fully. This keeps pots looking fresh and colorful longer.
Frequently Asked Questions
What Kind Of Paint Do You Use On Flower Pots?
Use acrylic or outdoor spray paint for flower pots. Seal with a clear varnish to protect against moisture and fading.
How To Paint Flower Pots At Home?
Clean and dry the pot thoroughly. Apply a primer or sealer for better paint adhesion. Use acrylic paint and a brush to add designs. Let each coat dry before applying the next. Finish with a clear varnish to protect the paint from moisture and weather.
How To Get Acrylic Paint To Stay On Terracotta Pots?
Clean and dry the terracotta pot thoroughly. Apply a primer or base coat. Paint with acrylics in thin layers. Seal with a clear acrylic sealer to protect and ensure durability.
How To Avoid Mistakes When Painting Pots?
Clean and dry pots thoroughly before painting to ensure adhesion. Apply thin, even coats of paint. Seal pots properly to prevent peeling or bubbling. Use suitable paint for the pot material. Let each layer dry completely before adding the next.
Conclusion
Painting DIY flower pots at home is simple and fun. Clean your pots well before starting. Use thin paint layers for a smooth finish. Let each coat dry completely before adding the next. Seal your pots to protect your artwork from water damage.
Personalize your pots with colors and patterns you love. This project brightens your garden and home space. Enjoy creating unique pots that show your style. Keep practicing to improve your painting skills. Happy painting and happy planting!


