
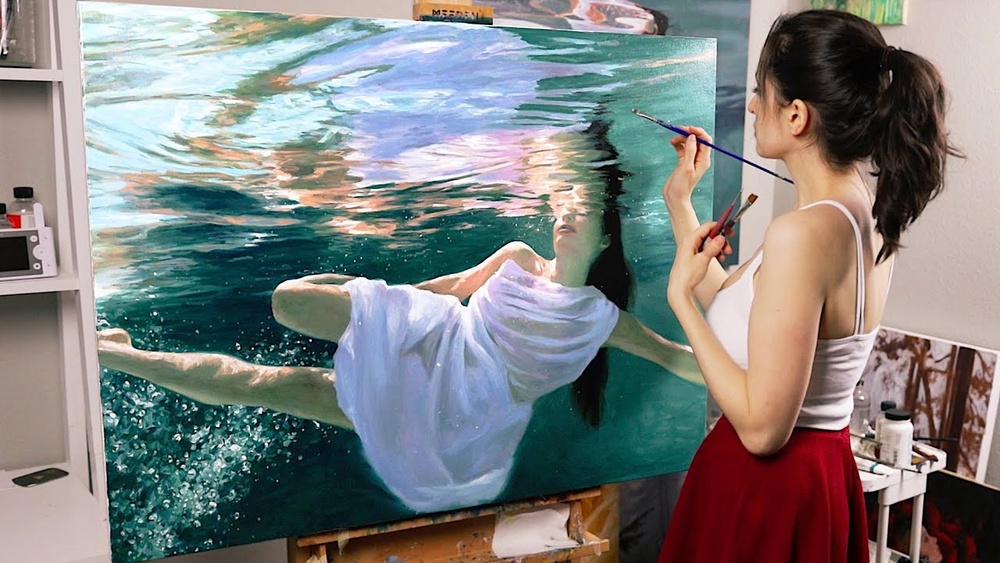
Painting underwater scenes in oil is a fascinating challenge. Water transforms everything—light, color, shapes, and even the feeling of space. Many artists dream of capturing the mystery and beauty of the underwater world, from the shimmering sunbeams to the gentle movement of fish and plants.
But translating this scene to canvas is not easy. If you want to paint underwater in oil painting, you need to understand more than just how to use a brush. You must know how water changes what you see, and how to express that with paint.
This article guides you through every step, from planning your underwater painting to final touches. You’ll learn how to pick the right colors, show the effect of light underwater, and avoid mistakes that often ruin underwater paintings. With practical advice, clear steps, and artist-tested insights, you’ll be ready to dive into oil painting and create underwater scenes that feel alive.
Understanding Underwater Light And Color
One of the most important things in underwater painting is understanding light. Water changes how light behaves. It bends, scatters, and weakens light, especially as it travels deeper. Sunlight becomes softer and colors look different than on land.
How Light Changes Underwater
- Color loss: Red disappears first, then orange, yellow, and green as you go deeper. Only blue and violet light go far.
- Diffusion: Sunlight breaks into rays and soft patterns. Shadows are less sharp.
- Value shift: Everything becomes lighter and less contrasty with depth.
For example, a red fish at 10 meters depth may look gray or blue, not red. This is because red light is filtered out. Understanding this helps you choose the right colors in your painting.
Choosing The Right Colors
Underwater scenes are not just blue. You’ll find greenish, turquoise, and even purple tones. Use a cool color palette, but add touches of warm color for interest—like orange coral or yellow fish close to the viewer.
Practical tip: Mix a little ultramarine blue or phthalo blue into all your colors, even your “white” areas, to create a sense of water. Avoid using pure white or black, which can look flat and unnatural.
Example Color Palette
Here’s a basic palette for underwater oil painting:
- Titanium White (cool, bright highlights)
- Ultramarine Blue (depth, shadows)
- Phthalo Blue (rich water color)
- Viridian Green (sea greens)
- Yellow Ochre (subtle warm lights)
- Alizarin Crimson (muted purples, shadows)
- Burnt Umber (softening colors)
Planning Your Underwater Composition
A great underwater painting starts with strong planning. Think about what you want to show: a coral reef, a school of fish, a diver, or just the play of light on sand.
Reference Gathering
Get good reference photos. Underwater photos are everywhere online, but you can also visit aquariums or use your own photos. Notice:
- How light rays cut through water
- How colors fade with distance
- How the water surface looks from below
Non-obvious insight: Look for “layers” in the scene—foreground (like close coral), midground (fish, plants), and background (blue water fading into distance). This adds depth.
Sketching Your Idea
Make quick thumbnail sketches. Try different placements for your main subject, and decide where the light comes from. Underwater, light usually comes from above, but sometimes from the side if you’re near the surface.
Don’t crowd the painting with detail. Leave open water areas for the eye to rest. This also makes your subject stand out.
Step-by-step Process: Painting Underwater In Oil
Now, let’s go step by step through the process. Each stage builds the effect of underwater space.
1. Prepare Your Surface
Choose a smooth canvas or panel. Underwater scenes often have soft edges, and smoother surfaces help you blend paint easily.
Prime your canvas with a cool-colored ground—light blue or blue-gray. This gives your painting an instant underwater mood and helps unify the colors.
2. Block In Large Shapes
Use thin paint (more turpentine, less oil) to block in the largest color areas. Don’t worry about detail yet—focus on showing where the water, rocks, plants, and main subjects are.
Tip: Paint the background water first. Use a big brush and move quickly. Soft transitions matter more than sharp edges.
3. Build Up Value And Depth
Underwater, things get lighter and bluer with distance. Use this to create depth:
- Foreground: Stronger color, more contrast, and sharper edges.
- Midground: Softer edges, less contrast, colors shift to blue/green.
- Background: Very soft, mostly blue/gray, almost no detail.
This is called atmospheric perspective. It’s even stronger underwater because water particles scatter light.
4. Add Details And Focal Points
When the background is dry, add your main subject—fish, coral, or objects. Use warmer colors and more detail in the foreground. Add highlights where light hits surfaces.
Non-obvious insight: Even shadows underwater are not fully black. Mix a touch of blue and green into your darks for a natural look.
5. Paint Light Rays And Surface Effects
One of the most magical parts of underwater scenes is the light rays. Here’s how to paint them:
- Mix a thin, milky blue-white color.
- Use a soft brush or your finger to lightly drag the paint downward from the “surface.”
- Keep rays soft and don’t overdo them—just a few are enough.
To show the water surface from below, use swirling strokes and brighter highlights. Remember, the surface is wavy, not a flat line.
6. Glaze For Realism
Glazing is a classic oil painting technique. When your painting is dry, use thin, transparent layers of color to adjust the mood.
For example, glaze a thin layer of ultramarine blue over everything but the closest objects to “push” the background farther away.
Practical tip: Use glazing to fix colors that look too strong or too warm.
7. Final Touches
Check your painting for unity. Do the colors feel connected? Is the main subject clear? Add small highlights (tiny dots of bright white or yellow) to bubbles or fish eyes for sparkle.
Let your painting dry slowly. Oil paint takes time to cure, but this slow drying also lets you blend and adjust as you work.
Common Mistakes And How To Avoid Them
Even experienced artists make errors with underwater scenes. Here’s what to watch out for:
- Using too much white: Pure white is rare underwater; it looks chalky. Use blue-white or green-white instead.
- Over-detailing the background: Distant objects should be simple and soft.
- Ignoring color loss: Remember, reds and oranges fade first with depth. Don’t paint bright red fish in deep water.
- Hard edges everywhere: Soft transitions are key. Use blending for a natural look.
- Flat lighting: Show sunlight coming from above, not from all directions.
- No sense of depth: Use overlapping, size changes, and color shifts to show space.

Credit: rachel-shirley.blogspot.com
Essential Materials For Underwater Oil Painting
Having the right tools makes a big difference. Here’s a quick comparison of common painting surfaces for underwater scenes:
| Surface | Blending Ease | Texture | Best For |
|---|---|---|---|
| Stretched Canvas | Good | Medium to Rough | General painting, larger works |
| Canvas Panel | Very Good | Smooth to Medium | Studies, small paintings |
| Wood Panel | Excellent | Very Smooth | Detailed, soft transitions |
Other materials you’ll need:
- Oil paints (see palette above)
- Soft brushes (flat, filbert, and round)
- Palette knife (for mixing)
- Odorless mineral spirits (for thinning)
- Linseed oil or walnut oil (medium)
- Rags or paper towels
- Glazing medium (optional)
Creating A Sense Of Movement
Water is always moving, even if gently. To make your painting feel alive:
- Use curving brushstrokes for plants and fish.
- Vary the direction and softness of your strokes.
- Show bubbles, floating sand, or tiny particles.
- Let some edges “disappear” into the background.
Here’s a simple table comparing techniques for showing movement:
| Technique | Effect | When to Use |
|---|---|---|
| Soft Blending | Gentle water flow | Background, water areas |
| Dry Brush | Texture, sand, or rough coral | Foreground details |
| Glazing | Atmosphere, color shifts | Final layers, mood adjustment |
Advanced Tips For Realistic Underwater Effects
- Paint the effect, not the thing: Focus on how light and color change, not just what objects look like.
- Use photo references for light patterns: Try to copy the exact way sunlight ripples on the sand.
- Vary the water color: Near the surface, use more turquoise; deeper, more blue/violet.
- Add “haze” with glazing: A final blue glaze can create distance and unity.
- Balance detail: Sharp detail only in the foreground; keep the rest loose.
Extra insight: Sometimes, painting a faint reflection of the water surface on objects adds realism. For example, a fish near the surface may have a wavy highlight on its back.
Practice Exercise: Simple Underwater Scene
Try painting a basic underwater scene to practice:
- Block in a light blue background.
- Paint a sandy bottom with curved strokes.
- Add a few rocks or plants in the foreground.
- Paint a simple fish shape in the middle.
- Use a soft brush to add sunlight rays from the top.
- Glaze a thin layer of blue over the bottom half to push it back.
This exercise will help you understand how layers, color, and light work together.

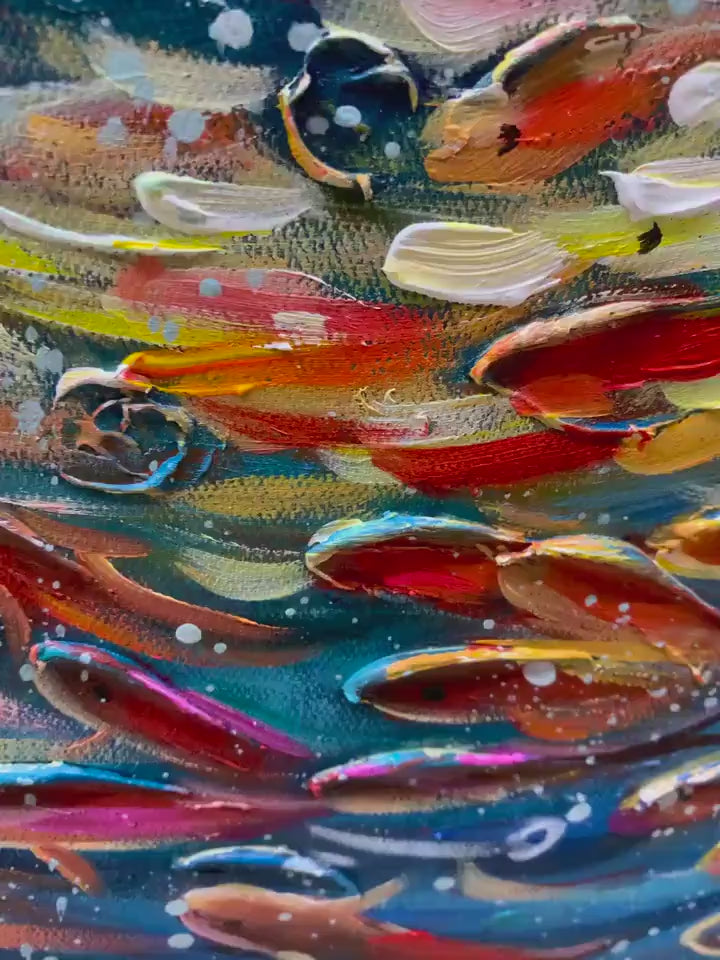
Credit: www.etsy.com
Exploring Other Artists’ Underwater Works
Looking at the work of other artists helps you see what’s possible. Artists like Wyland and David Miller are famous for their underwater paintings. Notice how they use color, light, and composition to create mood.
For more inspiration and technical info, you can visit this Wikipedia page on Underwater Art.
Frequently Asked Questions
What Is The Best Way To Show Depth In An Underwater Oil Painting?
Use color shifts (bluer, lighter in the background), soft edges, and less detail as you move farther from the viewer. Overlapping shapes and changes in value also create depth.
How Do I Paint Light Rays Underwater?
Mix a thin, pale blue or blue-white color. Use a soft brush to gently drag rays downward from the top of the painting. Make sure they are soft and blended, not hard lines.
Do I Need Special Paints For Underwater Oil Painting?
You can use standard artist-grade oil paints. Focus on having a good range of blues and greens. Transparent colors help with glazing for realistic effects.
Why Do My Underwater Paintings Look Flat?
This often happens if you use too much white, don’t shift colors with depth, or put too much detail in the background. Try softening edges, glazing with blue, and simplifying distant shapes.
Is It Okay To Use Photos As References?
Yes, using underwater photos is very helpful. Try to combine several photos and add your own imagination, so your painting is unique.
Painting underwater scenes in oil is both a science and an art. The more you observe and experiment, the better your paintings will become. With practice, you’ll learn to capture the mood, light, and beauty of the underwater world—making viewers feel as if they are swimming below the surface with you.
Credit: montcarta.com


