Have you ever wanted to capture the gentle beauty of rain in your artwork? Painting rain with acrylic paint might seem tricky at first, but with the right techniques, you can create stunning, lifelike raindrops and rainy scenes that feel almost real.
In this guide, you’ll discover simple steps and expert tips that make painting rain easy and fun. Whether you’re a beginner or looking to improve your skills, this article will help you bring your rainy day visions to life on canvas.
Ready to turn your brush into a rain-maker? Let’s get started!
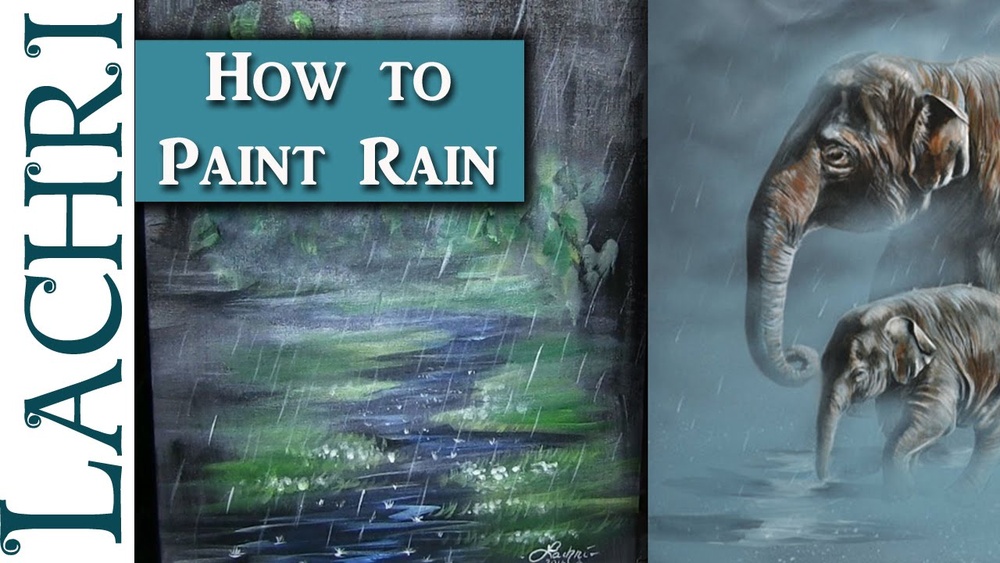
Credit: www.youtube.com
Choosing The Right Materials
Choosing the right materials is the first step to painting rain with acrylic paint. The right tools make the process easier. They help you create the soft, wet look of rain.
Good materials let you focus on your technique, not on fixing mistakes. Knowing what to pick saves time and effort. It also improves your final artwork.
Selecting Acrylic Paints
Use high-quality acrylic paints with bright pigments. Choose colors like blue, gray, white, and a little black. These colors mimic the rainy sky and water drops well.
Thinner paints work better for rain effects. You can mix paint with water or acrylic medium. This makes the paint flow smoothly and look transparent.
Brush Types And Sizes
Pick soft brushes for smooth strokes. Round brushes help create thin rain lines. Flat brushes are good for wider strokes and background washes.
Use small brushes for fine details. Bigger brushes cover large areas quickly. A fan brush can add texture and blur rain streaks.
Additional Tools
A palette or mixing tray is essential for blending colors. Use sponges or cloth to dab and soften edges. Spray bottles add a misty effect by spraying water lightly.
Paper towels help remove excess paint. Masking tape can create sharp lines or protect parts of the canvas. These small tools add more control to your painting.

Credit: www.wikihow.com
Preparing Your Canvas
Preparing your canvas is the first step to paint rain with acrylics. A well-prepared surface helps your colors stand out. It also makes your painting last longer. Taking time to prepare sets a strong base for your work.
Follow simple steps to get your canvas ready. Each step builds on the last. This ensures a smooth, vibrant painting.
Surface Priming
Priming the canvas creates a smooth layer for paint. Use gesso, a white primer, to cover the surface. Apply one or two thin coats with a brush. Let each coat dry before adding the next. This stops paint from soaking into the fabric. It also helps colors stay bright.
Background Colors
Choose background colors that match rainy scenes. Soft blues, grays, or muted greens work well. Paint the entire canvas with these colors. Use broad strokes to cover the area evenly. Let the background dry before adding details. This layer sets the mood for your rain painting.
Sketching The Composition
Lightly sketch your rain scene on the dry background. Use a pencil or a thin brush with diluted paint. Mark where raindrops, clouds, and objects will go. Keep lines simple and clear. This guide helps you paint with confidence. Avoid heavy lines; they can show through paint.
Capturing Rainfall Basics
Painting rain with acrylics needs a clear plan. Rain looks simple but is tricky to paint well. You must think about how rain falls and how it feels. Capturing rainfall basics helps bring rain to life on your canvas. Focus on shapes, direction, and layers for a natural look.
Use thin layers to build depth. Transparent glazes can add realism. Small details make a big difference in rain paintings. These steps guide your brush to create real-looking rain.
Rain Shape And Direction
Rain does not fall straight down. It moves in lines or slants. Use thin, quick strokes to show this motion. Vary the length and thickness of drops. Some drops look long, others short. This variety makes rain look natural and alive.
Layering Techniques
Start with a dark background to show rainy skies. Paint light rain shapes on top. Add more layers to create depth. Each layer should be lighter and thinner. Let each dry before adding the next. This builds the feeling of rain falling through the air.
Using Glazes For Transparency
Glazes are thin, see-through paint layers. They help make rain look soft and wet. Mix paint with water or medium to make glazes. Paint glazes over dry layers. This adds shine and a blurred effect. Use glazes to show light passing through rain drops.
Adding Realistic Rain Effects
Adding realistic rain effects brings life to acrylic paintings. It makes the scene feel fresh and dynamic. Rain is tricky to paint because it involves movement and reflections. Using simple techniques can create rain that looks real and natural. Focus on light, texture, and small details to capture raindrops and wet surfaces.
Creating Raindrop Highlights
Start by mixing white paint with a tiny bit of water. Use a fine brush to paint small dots and short lines. These represent the bright spots where light hits raindrops. Vary the size of the highlights for a natural look. Place them sparingly on leaves, windows, or any surface catching rain.
Keep the highlights sharp and bright. Avoid overloading the canvas with too many dots. This keeps the rain effect subtle and believable.
Depicting Splash And Ripples
Raindrops hitting puddles make splashes and ripples. Use a small, round brush to paint tiny circles around splash points. Paint thin, curved lines spreading outward for ripples. Keep the lines light and soft to show water movement.
Focus on the center of the splash with a white highlight. Gradually fade the ripples outward using diluted paint. This adds depth and realism to water surfaces.
Incorporating Reflections
Wet surfaces reflect light and colors differently. Paint reflections using softer brush strokes and muted colors. Use horizontal strokes for water or shiny ground. Mirror the colors of objects above the wet area but blur them slightly.
Adding reflections makes rain scenes feel real and immersive. It shows the wetness and shine caused by rain. Balance the reflections with raindrop highlights for a complete effect.
Enhancing Depth And Atmosphere
Enhancing depth and atmosphere is key to making rain paintings feel alive and real. Using acrylic paint, you can create layers and effects that give the scene space and mood. The way you treat edges, shadows, and movement changes how the rain looks and feels.
Blurring And Softening Edges
Rain is not sharp or clear in real life. Blurring edges helps mimic this softness. Use a dry brush or sponge to gently blend the rain lines into the background. This creates a misty effect that adds depth. Avoid hard edges that make rain look fake or flat.
Using Contrast And Shadows
Contrast makes your rain stand out. Use darker shadows behind rain streaks to lift them forward. Shadows give volume to drops and show light direction. Shadows under objects like umbrellas or trees add realism. Keep contrasts subtle but visible for a natural look.
Suggesting Movement
Rain is always moving. Show this by painting rain streaks at slight angles. Vary the length and thickness of drops to create rhythm. Use quick, light brush strokes to suggest falling drops. Movement makes the rain feel alive and dynamic, not static or boring.
Common Mistakes To Avoid
Painting rain with acrylics can be tricky. Many artists make common mistakes that weaken their work. Avoiding these errors helps your rain look real and lively. Focus on simple tips to improve your painting today.
Overcrowding The Scene
Too many rain lines can confuse the eye. Overcrowding makes the painting look messy. Use fewer, well-placed strokes to show rain clearly. Leave space for other elements in your scene. This balance keeps your painting clean and easy to understand.
Ignoring Light Sources
Rain looks different depending on light direction. Ignoring light makes rain appear flat and fake. Observe where light hits your rain drops or streaks. Add highlights or shadows to match the light source. This small step adds depth and realism.
Flat Color Application
Using one flat color for rain looks dull. Rain has variations in tone and transparency. Mix lighter and darker shades to create movement. Use thin layers to show rain’s natural softness. This technique brings life to your rain painting.
Finishing Touches
Finishing touches bring your acrylic rain painting to life. They enhance colors and protect your work. These final steps make sure your artwork stays beautiful for years. Focus on varnishing and preserving to complete your project.
Varnishing Options
Varnish adds shine and protects the paint. Choose between glossy, satin, or matte finishes. Glossy varnish makes colors bright and wet-looking. Satin offers a soft shine without too much glare. Matte gives a flat, smooth finish with no shine.
Apply varnish with a clean brush or spray. Use thin, even coats. Let the first coat dry before adding another. Avoid thick layers to prevent cracking. Varnishing also protects from dust and UV light.
Preserving Your Artwork
Keep your painting away from direct sunlight. Sunlight can fade colors over time. Store in a dry, cool place to avoid moisture damage. Use acid-free backing and mats if framing your work.
Handle the painting with clean hands. Oils and dirt can damage the surface. Clean dust gently with a soft brush or cloth. Proper care keeps your rain painting vivid and fresh.

Credit: www.wikihow.com
Frequently Asked Questions
How Do I Create Realistic Rain With Acrylic Paint?
To paint realistic rain, use thin, vertical brush strokes with diluted paint. Add highlights for raindrops and blend softly to mimic motion.
What Brush Types Work Best For Painting Rain?
Use fine liner or fan brushes for delicate rain lines. Soft, synthetic brushes help create smooth, transparent rain effects.
How Can I Show Rain Splashes In Acrylic Painting?
Depict rain splashes with small, irregular white or light blue dots. Use a dry brush or flick paint gently for natural splatter.
Should I Use Layering To Paint Rain Scenes?
Yes, layering adds depth. Start with background washes, then add rain streaks and highlights in successive layers for realism.
Conclusion
Painting rain with acrylics takes practice and patience. Start with light strokes and add layers slowly. Use thin brushes to create fine raindrops. Blending colors softly helps show rain’s motion. Don’t rush; enjoy each step of the process. Your painting will look more natural over time.
Keep trying and experimenting with techniques. Soon, you will create beautiful rainy scenes. Painting rain can be relaxing and fun. Remember, every artist improves with practice. Keep your brushes ready and paint your rainy day.