
Painting a shadow box for display can transform a simple container into a stunning piece of decor. Shadow boxes are more than just frames; they are small showcases for memories, collections, or artwork. With the right techniques, colors, and a bit of creativity, your shadow box can match your style and highlight the objects inside.
But painting a shadow box is not only about looks; it also protects the materials inside and helps the display last longer. Whether you want to create a modern, rustic, or playful look, knowing how to paint a shadow box properly will make a big difference.
This guide takes you through every step, from choosing materials to adding final touches, so your shadow box stands out in any room.
Understanding Shadow Boxes
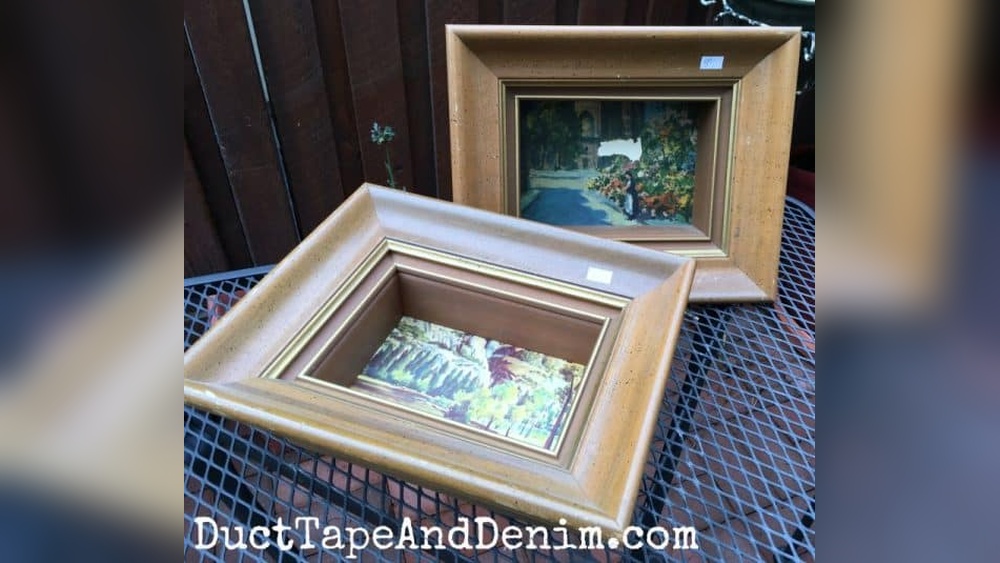
A shadow box is a deep frame, usually with a glass front, designed to display and protect objects, keepsakes, or art. People use shadow boxes for medals, sports memorabilia, shells, dried flowers, or even small toys. The depth allows for three-dimensional displays, and the box keeps items safe from dust and touch.
There are many types of shadow boxes:
- Wooden shadow boxes are common and easy to paint.
- Plastic shadow boxes are lightweight but need special preparation.
- Metal shadow boxes are rare but strong.
The size, depth, and material of your box will affect how you paint it.
Preparing Your Shadow Box
Before picking up a paintbrush, good preparation is key. Skipping these steps can lead to peeling paint, uneven color, or damage to your items.
- Empty the box: Remove all objects, glass, and backing.
- Clean the surface: Dust, fingerprints, or oils can ruin paint adhesion. Use a damp cloth with mild soap for wood or plastic. Let it dry fully.
- Inspect for damage: Look for cracks, dents, or rough spots. For wood, sand lightly with fine-grit sandpaper. For plastic, use a plastic-friendly filler if needed.
- Tape off areas: Use painter’s tape to protect glass edges, hinges, or any parts you don’t want painted.
- Prime the surface: Primer helps paint stick and creates an even base. For wood, use a wood primer; for plastic, use a plastic primer. Let the primer dry as recommended.
Pro tip: Many beginners forget to clean and prime. This often causes the paint to bubble or scratch easily. Take your time with prep—it pays off.
Choosing Paint And Tools
The right paint type and tools can make painting easier and give you better results.
Best paint types for shadow boxes:
- Acrylic paint: Dries fast, low odor, works on wood and plastic.
- Spray paint: Gives an even coat, good for a smooth, modern finish.
- Chalk paint: Good for a rustic or vintage look, easy to distress.
Tools you’ll need:
- Flat and detail brushes (for corners and edges)
- Small paint roller (for larger surfaces)
- Painter’s tape
- Sandpaper (fine, 220-grit)
- Drop cloth or old newspapers
- Gloves and mask (for spray paint)
Paint finish matters:
- Matte: Soft, non-reflective, hides flaws.
- Satin: Slight sheen, easy to clean.
- Gloss: Shiny, makes colors pop but shows more flaws.
Non-obvious insight: If your shadow box has a glass front, remember that glossy paints inside can reflect light and distract from your display. Matte or satin finishes are often better for the inside.
Planning Your Design
Before painting, plan your design. Think about:
- Theme: What are you displaying? Medals might look good with a navy or black background. Seashells pop against pale blue or sand colors.
- Color scheme: Choose colors that match your room or highlight the objects inside.
- Accent techniques: You can add stripes, stencils, or ombré (color fade) effects for interest.
- Inside vs. outside: Decide if you want to paint both, or just one. Painting the inside makes the display more dramatic.
Here are some design ideas and the effect they create:
| Design Idea | Best For | Visual Effect |
|---|---|---|
| Solid Color | Modern rooms, bold displays | Clean, simple background |
| Distressed Look | Vintage objects, rustic decor | Worn, antique feel |
| Ombre Effect | Art, natural collections | Soft color transition |
| Stenciled Patterns | Themed displays (sports, nature) | Personalized background |
Extra tip: Take a photo of your shadow box and sketch your ideas on paper or digitally. This helps you visualize before painting.
Credit: wexelart.com
Painting The Shadow Box: Step-by-step
Now you’re ready to paint. Here’s how to get smooth, lasting results.
1. Set Up Your Workspace
Choose a well-ventilated area. Cover your surface with a drop cloth or old newspapers. Gather all your tools.
2. Apply Primer
If you haven’t already, apply a thin, even layer of primer. Let it dry fully—usually about 1 hour for most primers.
3. Paint The Outside
Use a flat brush or roller for large areas. Paint with the grain (for wood) or in one direction (for plastic/metal). Don’t overload the brush; thin coats prevent drips.
- Wait for the first coat to dry (usually 30–60 minutes).
- Lightly sand with fine sandpaper for smoothness.
- Wipe away dust, then add a second coat.
- Repeat if needed for full coverage.
4. Paint The Inside
Switch to a smaller brush for corners and edges. For backgrounds or special effects, use painter’s tape to create clean lines or sections.
- For a solid color, use a brush or small roller.
- For ombré, blend two or three colors while still wet.
- For stencils, hold or tape the stencil and dab paint with a sponge.
Let each layer dry before adding details or another coat.
5. Add Details
Once the main color is dry, you can add:
- Stencils or hand-painted designs
- Metallic edges (with gold/silver paint)
- Chalk paint details (distress with sandpaper after drying)
Beginner mistake: Many people rush detail work before the base is dry. Always let the previous layer cure to avoid smudging.
6. Seal The Paint
For extra durability, especially if the box will be handled, spray or brush on a clear sealer. Choose matte, satin, or gloss to match your paint. Let it dry as directed.
Creative Ideas For Shadow Box Displays
Painting is only part of the story. How you display items inside can make your shadow box unique.
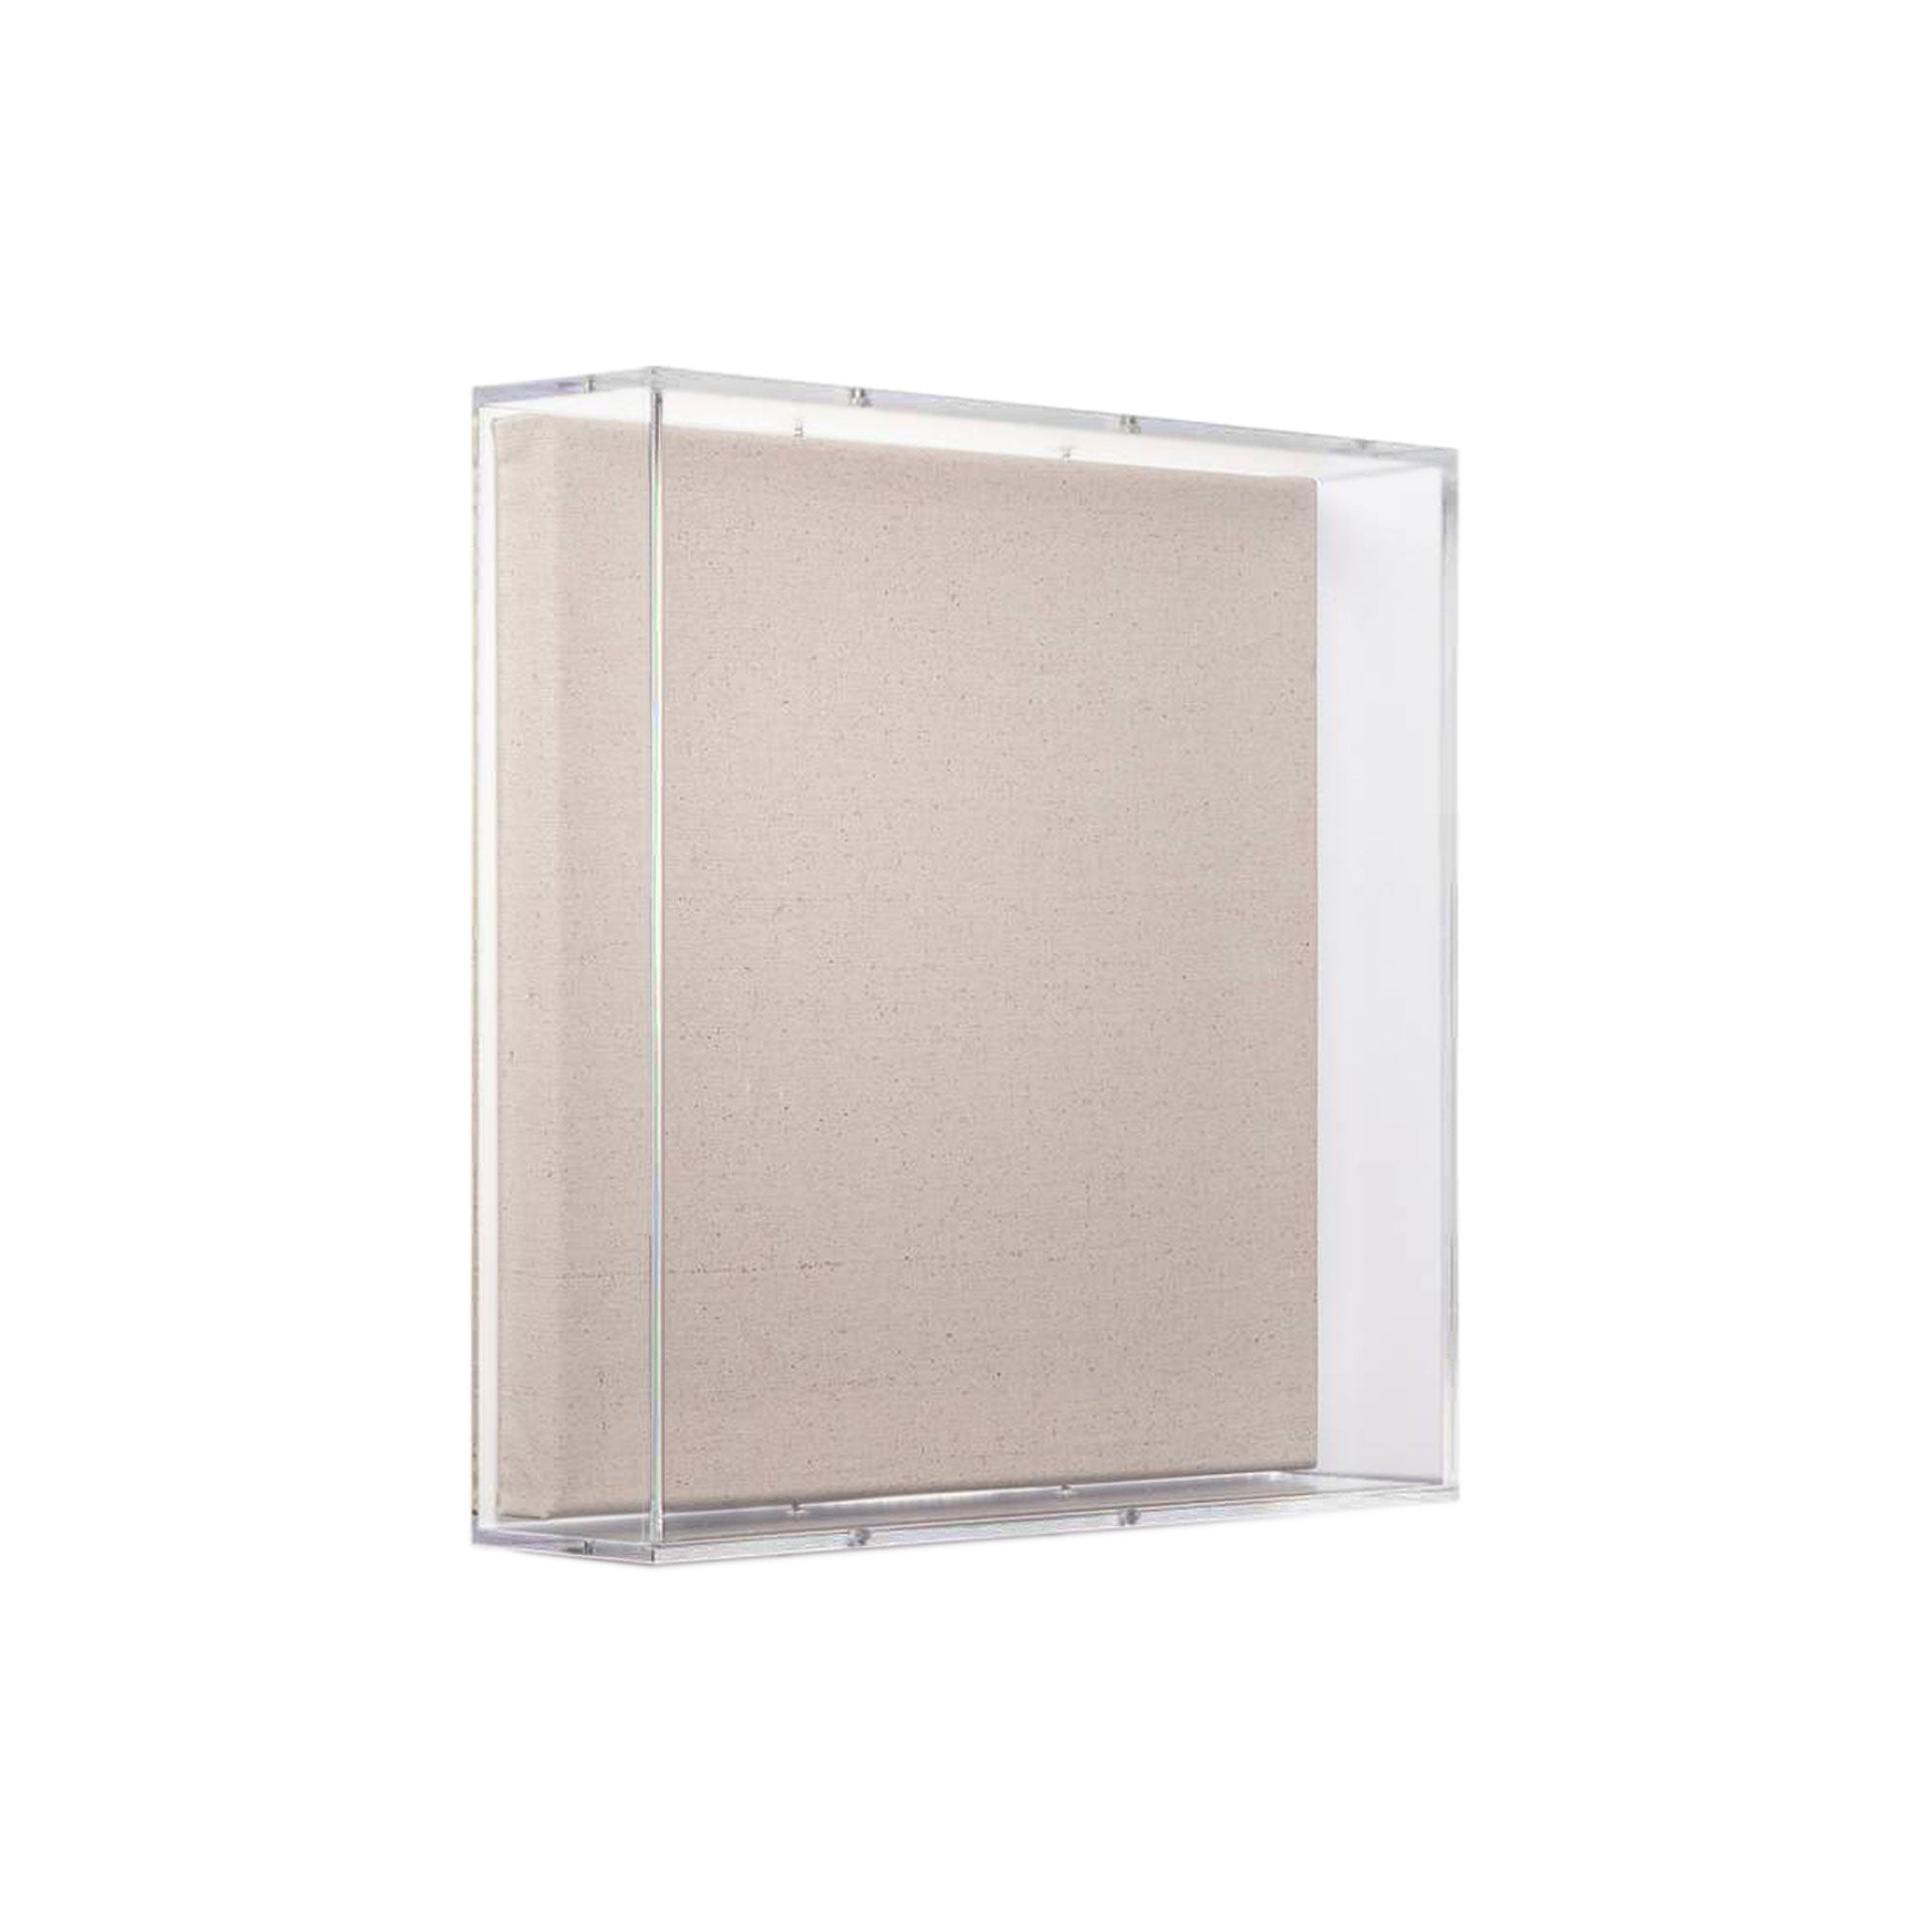
- Use fabric backgrounds: Glue or staple fabric inside before putting objects in. Linen, velvet, or burlap add texture.
- Layer objects: Raise some items with foam blocks or pins to create depth.
- Add labels or captions: Write or print small labels for each item.
- Include lights: Battery LED strips or fairy lights can highlight your display.
Unexpected insight: Try painting a gradient or simple mural inside the box to act as a “scene” for your objects, like blue fading to white for beach shells.

Credit: www.youtube.com
Common Painting Mistakes (and How To Avoid Them)
Painting shadow boxes seems simple, but small mistakes can spoil the look.
- Skipping primer: Causes paint to peel or chip.
- Using the wrong paint: Not all paints stick to all surfaces—acrylic and spray paint work best.
- Overloading the brush: Thick coats drip and take longer to dry.
- Ignoring drying times: Rushing leads to smudges and fingerprints.
- Painting over dust or oils: Always clean and sand before painting.
If you make a mistake, let it dry, sand gently, and repaint.
Finishing Touches And Assembly
Once the paint is fully dry (wait at least 24 hours for best results), remove any painter’s tape carefully. Clean the glass and reassemble the box:
- Place the backing and glass (if removed) back in.
- Arrange your display items as planned.
- Secure everything in place.
- Mount or hang the shadow box using proper hardware for your wall type.
Pro tip: For heavy or valuable displays, use wall anchors or consult a professional for mounting.
Comparing Paint Types And Their Effects
Choosing the right paint has a big impact on both look and durability. Here’s a quick side-by-side comparison:
| Paint Type | Best For | Pros | Cons |
|---|---|---|---|
| Acrylic | Wood, plastic, inside/outside | Easy to use, fast dry, many colors | Needs sealer for durability |
| Spray Paint | Large, smooth surfaces | Even finish, fast application | Odor, needs ventilation |
| Chalk Paint | Rustic, vintage looks | No primer needed, easy to distress | Limited colors, soft finish |
Caring For Your Painted Shadow Box
To keep your painted shadow box looking fresh:
- Dust with a soft, dry cloth—avoid water or harsh chemicals.
- For glass, use a gentle glass cleaner sprayed on the cloth (not directly on the box).
- Avoid placing in direct sunlight, which can fade paint over time.
- Handle with clean hands to prevent fingerprints.

Credit: wisconsinmagpie.com
Real-life Examples
- Memory boxes: Painted in soft pastels with a satin finish, displaying baby shoes and photos.
- Sports memorabilia: Glossy black or team colors, with metallic accents for trophies and signed balls.
- Beach collections: Whitewashed or pale blue, ombré backgrounds, shells attached at different depths.
Each example shows how color and finish support the display’s theme and make the items stand out.
When To Consider Professional Help
If your shadow box is very valuable or large, or if you want a complex painted design (like a mural or custom lettering), hiring a professional painter or framer might be worth it. They have the right tools and experience to get a flawless look.
For most home projects, though, following the steps above will give excellent results.
Where To Find Inspiration
Look for ideas in home decor magazines, online galleries, or museum displays. Sites like Pinterest or Instagram offer many creative shadow box designs. You can also visit the Wikipedia page on shadow boxes to learn more about their history and uses.
Frequently Asked Questions
How Long Should I Wait Between Paint Coats?
It depends on the paint type, but most paints need 30–60 minutes between coats. Always check the label for the best results. For best durability, wait 24 hours after the final coat before assembling your shadow box.
Can I Paint A Shadow Box That Already Has A Finish Or Varnish?
Yes, but you should sand the surface lightly and use a primer made for glossy surfaces. This helps the new paint stick and prevents peeling.
What Is The Best Way To Paint Plastic Shadow Boxes?
Use a plastic primer first, then choose acrylic or spray paint labeled for plastic. Avoid thick coats; thin layers dry better and last longer.
How Do I Avoid Brush Marks Or Streaks?
Use a high-quality brush or a small roller. Apply thin coats and sand lightly between them. For a super-smooth finish, try spray paint in a well-ventilated area.
Is Sealing The Painted Shadow Box Necessary?
Sealing is not always required, but it protects the paint from scratches, dust, and sunlight. Use a clear acrylic sealer for most projects, especially if the box will be handled often.
Painting a shadow box is a rewarding project that blends creativity with craftsmanship. With thoughtful planning, careful preparation, and a bit of patience, you can create a display that’s both beautiful and personal. Every painted shadow box tells a story—make yours shine.


