Have you ever wanted to capture the charm and personality of your cat on canvas? Painting a cat with acrylic paint might seem tricky, but with the right steps, you can create a beautiful piece that truly shows your furry friend’s unique spirit.
Whether you’re a beginner or have some painting experience, this guide will help you bring your cat to life with vibrant colors and simple techniques. Keep reading, and soon you’ll be holding your own stunning cat portrait!
Choosing The Right Materials
Choosing the right materials is the first step to a beautiful cat painting. Good supplies make painting easier and more fun. They help you get the colors and details just right. Spend time picking items that fit your skill level and budget. This section explains what to choose for acrylic paints, brushes, and canvas preparation.
Selecting Acrylic Paints
Pick acrylic paints with bright and rich colors. Look for paints labeled “artist quality” for better pigment. These paints cover well and blend smoothly. Choose basic colors like black, white, and brown for the cat’s fur. Add colors like blue or green for the eyes. Avoid cheap paints; they can look dull and fade fast.
Picking Suitable Brushes
Choose brushes with soft, firm bristles. Synthetic brushes work well with acrylic paint. Get a variety of sizes: small for details, medium for fur, and large for background. Flat brushes help with broad strokes. Round brushes are good for fine lines. Clean brushes carefully after each use to keep them in shape.
Preparing Your Canvas
Use a canvas that is smooth and firm. A stretched canvas or canvas board both work well. Apply a layer of gesso to prime the surface. This makes the paint stick better and last longer. Let the gesso dry fully before painting. A well-prepared canvas improves your paint’s look and texture.
Planning Your Cat Painting
Planning your cat painting helps make the process clear and fun. It saves time and avoids mistakes. You prepare your ideas before starting with paint. This step helps create a better final piece.
Start with a good plan. Think about the cat’s shape, colors, and style. This way, your painting looks more real and lively.
Finding A Reference Image
Choose a clear photo of a cat for your painting. The image should show details like fur, eyes, and posture. Use a photo with good light and sharp focus. This helps you paint the cat more accurately. Pick a picture you like and want to paint.
Sketching The Cat Outline
Lightly draw the cat’s shape on your canvas. Use simple lines to mark the head, body, legs, and tail. Keep your sketch soft and easy to change. This outline guides your painting and keeps shapes correct. Focus on the cat’s main features and pose.
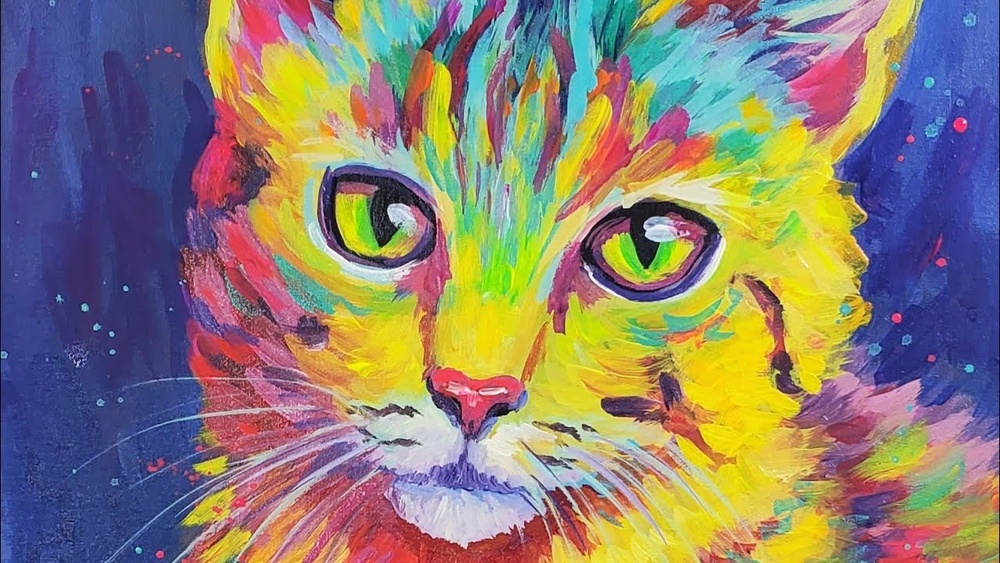
Deciding On Colors And Style
Pick colors that match your cat or your idea. You can choose natural colors or bright, fun ones. Decide if you want a realistic or a cartoon style. Choose thick or thin paint for different textures. Planning colors and style helps keep your painting focused.
Basic Painting Techniques
Basic painting techniques build the foundation for a great acrylic cat painting. These methods help create shape, color, and texture. Understanding these techniques makes your artwork more lively and realistic. Each step adds detail and depth to your cat painting.
Layering Paint For Depth
Layering paint means applying colors one on top of another. Start with light colors as a base. Let each layer dry before adding the next. This technique adds depth and makes the painting richer. Use thin layers to avoid hiding details. Build up shadows and highlights gradually.
Blending Colors Smoothly
Blending makes colors flow into each other without harsh lines. Use a clean, damp brush to soften edges between colors. Work quickly while the paint is wet. Blend fur colors gently to show natural transitions. Smooth blending gives your cat a soft, lifelike look.
Adding Texture To Fur
Texture shows the furry quality of a cat’s coat. Use a small, dry brush to create fine hair strokes. Vary brush pressure for different fur thickness. Short, quick strokes mimic real fur patterns. Adding texture makes your painting more interesting and realistic.

Credit: www.zieler.co.uk
Painting The Cat’s Features
Painting a cat’s features brings your artwork to life. Focus on the small details that make cats unique. Each feature has its own charm and needs special care. Use thin brushes and steady strokes. This helps create a realistic look. Take time to observe your cat’s face closely.
Capturing The Eyes
The eyes show a cat’s personality. Use bright colors for the iris. Add a tiny white dot to mimic light reflection. This makes eyes look shiny and real. Paint the pupils black, but keep them soft. Blend colors gently to avoid harsh lines.
Detailing The Nose And Mouth
Use soft pink or gray shades for the nose. Paint the shape carefully, with small strokes. The nose should look moist and smooth. For the mouth, paint a thin line under the nose. Add subtle shadows to show depth. Keep the mouth simple and delicate.
Highlighting Whiskers And Ears
Whiskers need fine, light strokes. Use a small brush or a fine liner pen. Paint them white or light gray for contrast. The ears have soft fur and shadows. Use light and dark colors to show curves. Add a touch of pink inside the ears for realism.
Finishing Touches
Finishing touches bring your cat painting to life. They add depth, interest, and protect your work. Small changes can make a big difference.
Focus on details that enhance the overall look. Use subtle effects to improve shadows and highlights. Think about the background to give context. Finally, seal the painting to keep colors bright.
Enhancing Shadows And Highlights
Darken shadows to add depth and form. Use a thin brush with darker paint. Blend gently for a soft transition.
Add highlights on fur tips and eyes. Use white or light colors with a fine brush. This makes your cat look more realistic and lively.
Adding Background Elements
Create a simple background to avoid distraction. Soft colors or blurred shapes work well. This helps the cat stand out.
Try adding a few light strokes or patterns. Keep them subtle to support the main subject. Background elements give your painting balance and interest.
Sealing The Painting
Use a clear acrylic sealer to protect your work. Choose matte or glossy finish based on your style.
Apply thin, even coats with a clean brush. Let each coat dry fully before adding another. Sealing prevents dust, dirt, and fading over time.

Credit: www.reddit.com
Tips For Success
Painting a cat with acrylic paint can be fun and rewarding. Success comes with some helpful tips. These tips guide you to avoid mistakes, care for your tools, and try new styles. Follow these simple ideas to enjoy your painting journey and improve your skills.
Avoiding Common Mistakes
Start with a clean, dry canvas. Use light sketch lines to plan your cat’s shape. Avoid heavy outlines that cover details. Paint in layers, letting each dry before adding more. Use thin paint to prevent clumps. Watch for colors that blend too much. Keep your cat’s eyes sharp and clear for a lively look.
Maintaining Your Brushes
Rinse brushes in water after every use. Use gentle soap to clean paint from bristles. Shape brushes with your fingers while wet. Store brushes flat or bristle-up to keep their form. Avoid letting paint dry on brushes. Well-kept brushes last longer and work better. Clean brushes help you paint smoothly and with control.
Experimenting With Styles
Try different brush sizes for varied effects. Use short strokes for fur texture. Explore blending colors for shadows and light. Paint cats in realistic or cartoon styles. Play with background colors to make your cat stand out. Experimenting keeps painting fun and helps you find your style. Don’t be afraid to try new ideas and techniques.
Credit: www.youtube.com
Frequently Asked Questions
What Supplies Are Needed To Paint A Cat With Acrylics?
You need acrylic paints, brushes, canvas, water, palette, and paper towels. Quality brushes and vibrant paints help create detailed fur textures. Prepare your workspace with good lighting for better color accuracy and precision.
How Do I Create Realistic Cat Fur With Acrylic Paint?
Use thin brush strokes in the direction of fur growth. Layer multiple colors starting with dark shades, then lighter highlights. Blend carefully for depth. Dry each layer before adding details to avoid smudging.
Can Beginners Paint A Cat Using Acrylic Paints?
Yes, beginners can paint cats with patience and practice. Start with simple shapes and basic colors. Follow step-by-step tutorials and use reference photos. Acrylics dry fast, allowing easy corrections and layering.
How Long Does Acrylic Paint Take To Dry On Canvas?
Acrylic paint usually dries in 15 to 30 minutes depending on thickness. Thin layers dry faster, while thick applications take longer. Allow full drying before adding more layers to avoid mixing colors unintentionally.
Conclusion
Painting a cat with acrylics can be fun and relaxing. Start with simple shapes and build details slowly. Use bright colors to bring your cat to life. Practice often to improve your skills. Enjoy each brushstroke and watch your artwork grow.
Keep experimenting with different styles and techniques. Your unique cat painting will tell a special story. Remember, patience and creativity make great art. Grab your brushes and start creating today!