
Are you looking to add a unique, personal touch to your living space without spending a fortune? Creating your own DIY abstract wall art at home is easier than you think—and it’s a fun way to express your creativity.
Imagine turning a blank canvas into a stunning piece that reflects your style and brightens any room. Whether you’re new to painting or just want a simple, modern design, this guide will walk you through every step. Ready to transform your walls and impress your guests with art you made yourself?
Let’s dive in and make something amazing together!
Materials Needed
Gathering the right materials is key to creating beautiful DIY abstract wall art. Each item plays a role in bringing your vision to life. Prepare well to enjoy a smooth painting experience at home.
Choosing The Right Paints
Select paints that suit your style and surface. Acrylic paints are popular for their quick drying time and bright colors. They work well on both canvas and walls. You can also experiment with oil or watercolor paints for different effects. Choose non-toxic paints for safe indoor use.
Selecting Brushes And Tools
Use a variety of brushes to create texture and detail. Flat brushes cover large areas, while round brushes help with fine lines. Sponges and palette knives add unique textures. Household items like old credit cards or toothbrushes can create interesting patterns. Keep your tools clean for better results.
Preparing Your Canvas Or Wall
Start with a clean, dry surface. Wipe the wall or canvas to remove dust and dirt. Prime the surface with a base coat if needed. This helps paint stick better and shows true colors. Tape off edges to keep lines neat. Let the primer dry completely before painting.
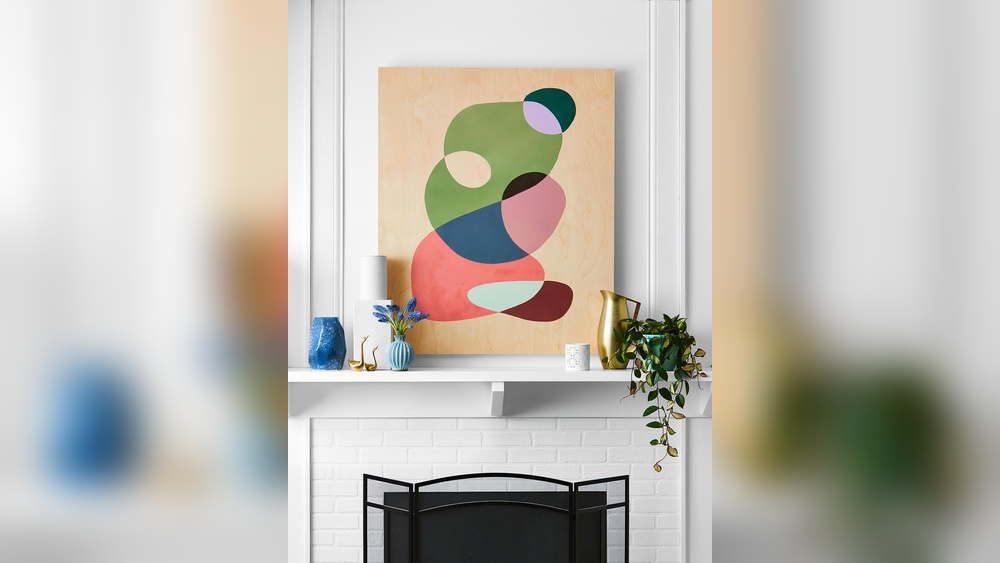
Credit: www.homedit.com
Setting Up Your Workspace
Setting up your workspace is the first step in creating DIY abstract wall art at home. A well-prepared area helps you work smoothly and enjoy the process. It also protects your home from paint spills and mess. Organizing your space keeps all tools within reach. This way, you stay focused on your art without interruptions. The right environment boosts creativity and motivation. Prepare your area carefully before starting your project.
Protecting Surfaces
Cover your table or floor with a plastic sheet or old newspapers. Use painter’s tape to secure the edges. This prevents paint from staining your furniture or floor. Place a drop cloth or cardboard under your canvas. Keep some paper towels or rags nearby for quick cleanups. Protecting surfaces saves time and stress later.
Organizing Supplies
Gather all your paints, brushes, and tools in one place. Use jars or cups to hold brushes upright. Arrange your paints by color or shade for easy access. Keep a palette or mixing tray ready for blending colors. Store water or cleaning solution within reach. Organizing supplies keeps your workflow steady and smooth.
Creating An Inspiring Environment
Choose a well-lit space with natural light if possible. Good lighting shows true paint colors and details. Play soft music to create a calm mood. Remove distractions like phones or noisy devices. Add simple decorations or plants to make the space inviting. An inspiring environment helps your creativity flow freely.
Basic Techniques
Starting with basic techniques helps build your confidence in DIY abstract wall art. These simple methods give your paintings interesting shapes and feelings. Using different tools and materials creates unique effects. Experimenting is part of the fun.
Brush Strokes And Texture
Brush strokes add motion and depth to your art. Try broad, sweeping strokes for a bold look. Use short, choppy strokes for energy and texture. Layer paint with different brush sizes to create contrast. Dry brushing adds rough texture to smooth surfaces. Each stroke changes how the light hits your painting.
Using Palette Knives
Palette knives create thick, textured layers of paint. Spread paint with the flat side for smooth coverage. Use the edge to carve lines or add sharp details. Scrape paint off for a distressed effect. Mixing colors on the canvas with a knife blends naturally. This tool helps you build rich, tactile abstract art.
Incorporating Mixed Media
Mixed media combines paint with other materials for unique textures. Add paper, fabric, or sand to your paint layers. Glue small objects onto the canvas for a 3D effect. Use markers or pens to draw over painted areas. This technique makes your artwork more dynamic and personal. Play with materials to discover exciting results.
Planning Your Design
Planning your design is the first step to creating DIY abstract wall art. It sets the foundation for a piece that feels balanced and visually appealing. Taking time to plan helps you avoid mistakes and makes the painting process smoother. Think about what you want to express and how colors, shapes, and composition work together. This section guides you through important choices that shape your artwork.
Choosing Color Schemes
Pick colors that match your room’s vibe and your mood. Use a mix of light and dark shades for depth. Limit your palette to three or four colors to keep it simple. Consider colors that complement each other for harmony. Bright colors add energy, while soft tones bring calmness. Test colors on paper before using them on canvas.
Exploring Shapes And Patterns
Abstract art relies on shapes, not clear images. Use circles, squares, triangles, or irregular forms. Try repeating a shape to create a pattern. Mix sharp edges with soft curves for interest. Play with size—large shapes draw attention, small shapes add detail. Sketch ideas on paper to see how shapes interact.
Balancing Composition
Balance means no part of your artwork feels too heavy or empty. Place shapes and colors so they guide the eye smoothly. Use the rule of thirds to position main elements off-center. Spread colors evenly but avoid perfect symmetry. Leave some blank space for breathing room. Step back often to check how your design feels overall.
Step-by-step Painting Process
Creating your own abstract wall art is a fun and rewarding project. The painting process involves simple steps anyone can follow. Understanding these steps helps you create a unique piece. Each stage builds on the last to bring your artwork to life. Below is a clear guide to the painting process.
Layering Colors
Start by choosing a base color for your canvas. Use a large brush to cover the surface evenly. Let the first layer dry completely before adding more paint. Pick two or three more colors that match or contrast well. Apply these colors in random shapes or strokes. Overlap some areas to see how colors mix. Keep layers thin to avoid muddiness. Layering adds richness and interest to the painting.
Adding Depth And Texture
Use different tools to create texture on your canvas. A palette knife or sponge works well for this. Dab or scrape paint gently to add raised areas. Try using thicker paint for more texture. Add small dots or lines with a thin brush. These details give your art a three-dimensional feel. Texture makes the painting more lively and engaging.
Final Touches And Details
Look at your painting from a distance. Add small shapes or highlights to balance the design. Use white or black paint for contrast if needed. Check edges and corners to avoid empty spaces. Let the painting dry fully before moving it. Seal your art with a clear varnish to protect it. These final steps complete your abstract wall art beautifully.
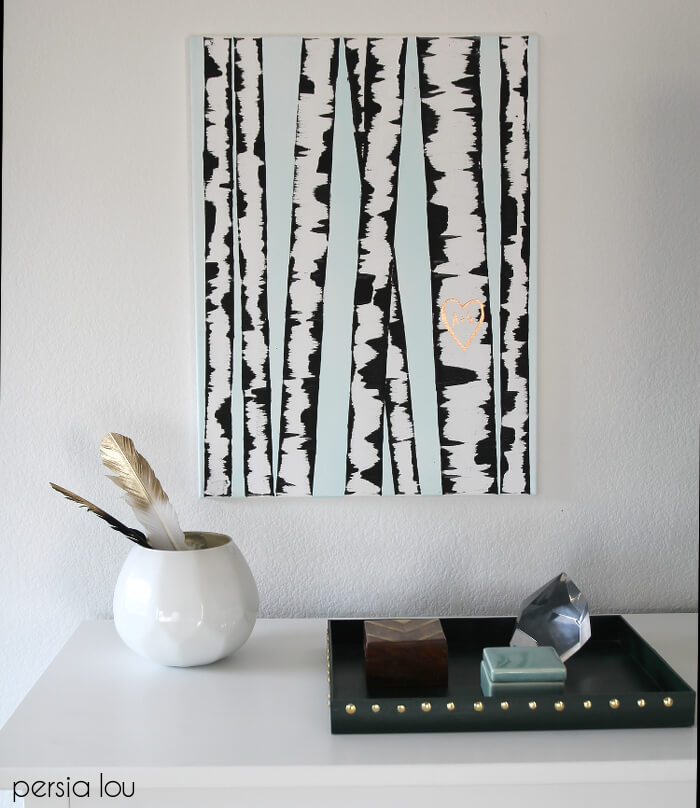
Credit: persialou.com
Creative Tips And Tricks
Creating DIY abstract wall art at home invites endless creativity. This section shares tips to spark your imagination and enhance your artwork. Simple techniques can transform your canvas into a unique masterpiece. Try new methods and tools to find your style. These creative tips will help you enjoy the process and get satisfying results.
Experimenting With Tools
Use different tools to create varied effects. Brushes are great but try sponges, palette knives, or even old credit cards. Each tool leaves a unique texture and pattern. Experiment with dabbing, scraping, or swirling paint. Let your hands guide you and enjoy unexpected results. Change tools often to keep your artwork lively and fresh.
Using Tape And Stencils
Tape and stencils help make clean lines and shapes. Use painter’s tape to block parts of the canvas before painting. Remove the tape carefully to reveal sharp edges. Stencils allow you to add detailed patterns without drawing. Layering tape and stencils creates depth and interest. This method adds structure to your abstract work.
Incorporating Texture Mediums
Add texture mediums like modeling paste or gel to your paint. These mediums thicken paint and create raised surfaces. Use a palette knife to spread texture for a 3D effect. Texture adds dimension and makes your art tactile. Try mixing texture mediums with paint for richer results. This step brings your abstract art to life.
Displaying Your Artwork
Displaying your DIY abstract wall art beautifully enhances your living space. Proper presentation highlights your creativity and protects your work. This section covers framing options, hanging techniques, and care tips. Each step helps your art stand out and last longer.
Framing Options
Choose a frame that suits your art style and room decor. Simple black or white frames keep focus on the artwork. Floating frames add depth and a modern look. Canvas wraps need no frame and offer a clean edge. Consider glass frames for protection but avoid glare. Select frames that complement your painting’s colors and textures.
Hanging Techniques
Pick the right height for eye-level viewing, usually about 57-60 inches from the floor. Use picture hooks or nails strong enough for the frame’s weight. Command strips work well for lighter pieces and avoid wall damage. Measure and mark the wall before hanging. Group smaller pieces for a gallery look or hang a single large piece to create a focal point.
Caring For Your Art
Keep your artwork away from direct sunlight to prevent fading. Dust gently with a soft cloth or brush regularly. Avoid placing art near heat sources or damp areas. Use a protective spray for canvas paintings if needed. Handle with clean hands or gloves to avoid oils and dirt. Proper care keeps your abstract art vibrant and beautiful for years.
:strip_icc()/decorating-do-it-yourself-wall-art-14-canvas-wall-art-projects-01b-e324094b65a649eba285d31d514c7f1c.jpg)
Credit: www.bhg.com
Troubleshooting Common Issues
Troubleshooting common issues in DIY abstract wall art saves time and improves results. Small errors happen, but they are fixable. Knowing how to handle them keeps your project on track. This section covers simple ways to fix mistakes, avoid paint cracks, and keep colors vibrant.
Fixing Mistakes
Use a damp cloth to wipe off fresh paint errors quickly. For dried paint, gently sand the area with fine sandpaper. Apply a new base coat before repainting. Mistakes in shapes or colors can be covered with thick paint layers. Thin brushes help correct small details without ruining the rest.
Avoiding Paint Cracks
Apply thin layers of paint instead of thick ones. Thick paint dries unevenly, causing cracks. Let each layer dry fully before adding the next. Use quality acrylic paint designed for wall art. Avoid painting in very hot or cold rooms. Proper ventilation helps paint dry smoothly and prevents cracking.
Maintaining Color Vibrancy
Seal your artwork with a clear acrylic varnish after it dries. This protects colors from fading and dust. Keep the art away from direct sunlight to prevent dullness. Clean the surface gently with a soft, dry cloth. Avoid harsh chemicals that can damage paint layers. Proper care keeps your abstract art fresh and bright for years.
Frequently Asked Questions
What Materials Do I Need For Diy Abstract Wall Art?
You need canvas or thick paper, acrylic paints, brushes, palette knives, and optional texture tools. These basic supplies make starting abstract wall art easy and affordable at home.
How Do I Choose Colors For Abstract Wall Art?
Pick colors that match your room’s décor or evoke your desired mood. Use complementary or analogous colors for harmony and balance in your artwork.
What Techniques Work Best For Diy Abstract Art?
Try layering paint, using palette knives, splattering, or texturing with household items. Experimenting helps create unique textures and visual interest in your abstract piece.
How Long Does It Take To Complete Abstract Wall Art?
Most DIY abstract wall art projects take 1-3 hours, depending on complexity and drying time. You can paint in multiple sessions for layering effects.
Conclusion
Creating DIY abstract wall art at home brings joy and creativity together. Use simple tools and colors to express your feelings. Experiment with shapes and textures to find your style. Each piece becomes unique and personal. Enjoy the process without worrying about perfection.
Your walls will gain a fresh, artistic look. This project suits all skill levels and budgets. Start today and watch your creativity grow. Art at home can be fun and rewarding. Give yourself time and patience to improve. Abstract art lets your imagination run free.


