Painting a dark background on canvas can completely change the mood and focus of your artwork. Many famous artists, from Rembrandt to Caravaggio, have used dark backgrounds to make their subjects stand out and to create a sense of depth.
If you are new to painting or want to improve your technique, learning how to achieve a smooth, rich dark background is a great skill. This guide will walk you through everything you need to know, from choosing the right materials to solving common problems beginners face.
Whether you work with oils, acrylics, or even gouache, you’ll find practical advice and hidden tips that make a big difference.
Why Paint A Dark Background?
A dark background does more than just fill empty space. It brings contrast, drama, and atmosphere to your painting. Light colors or bright subjects pop against darkness, catching the viewer’s eye. Dark backgrounds can also hide mistakes more easily and give you more flexibility when adjusting your composition. Many artists use them for portraits, still lifes, and even landscapes when they want to direct attention or create a certain mood.
Not all dark backgrounds are the same, though. There are differences in tone (warm vs. cool), texture (smooth vs. rough), and technique (layered vs. flat). Before you start painting, it’s useful to think about the effect you want to achieve.
Choosing The Right Materials
Your results depend heavily on your materials. The type of paint, brushes, and canvas you use can all affect how your dark background looks.
Paint Type
Most artists use acrylic or oil paint for dark backgrounds. Each has advantages:
| Paint Type | Drying Time | Blending Ability | Best For |
|---|---|---|---|
| Acrylic | Fast (minutes to hours) | Harder (dries quickly) | Beginners, quick projects |
| Oil | Slow (days to weeks) | Easier (stays wet longer) | Detailed, blended backgrounds |
Acrylic is good for quick backgrounds, while oil lets you blend and fix mistakes for longer. Gouache works for illustrations but can crack if applied too thickly.
Color Choice
For a deep black, artists often mix ultramarine blue and burnt umber rather than use store-bought black. This mix gives a richer, less flat look. You can also try dark purples, blues, or greens for a different mood. Pure black can sometimes look lifeless, so mixing your own dark colors often gives better results.
Canvas Preparation
A well-prepared canvas helps your paint stick and spread evenly. Most store-bought canvases are pre-primed with gesso, but adding another thin layer can help, especially if you use a lot of water or thinner. For very dark backgrounds, some artists tint the gesso with a little paint to avoid white spots showing through.
Brushes And Tools
For large areas, a flat brush or a wide synthetic brush works best. Rollers and sponges are also useful for very smooth backgrounds. For blending, a fan brush or soft mop brush can help.
Planning Your Composition
Before you start, take a few minutes to plan. Decide where your subject will go and how much of the canvas will be dark. Some artists sketch lightly in pencil or charcoal, others use a grid or transfer a drawing.
Placing the dark background first helps you see the overall balance. It is usually best to paint the background before adding details, so you don’t have to work around finished objects or figures.
Step-by-step: Painting A Dark Background
Here’s a step-by-step process you can follow, with extra tips for a professional finish.
1. Prepare Your Workspace
Cover your table, set up good lighting, and have water or solvent nearby. Wear old clothes or an apron.
2. Prime The Canvas
If you want a super-smooth result, lightly sand the canvas and add another coat of gesso. Let it dry fully.
3. Mix Your Paint
Don’t just use paint straight from the tube. Mix a little ultramarine blue, burnt umber, and a touch of alizarin crimson or viridian green for richer blacks. Test your color on a scrap before applying.
4. Block In The Dark Area
Use a large brush to cover the area. Work quickly and evenly. For acrylics, dampen your brush to help the paint flow. For oils, add a bit of medium (like linseed oil or turpentine).
5. Smooth And Blend
If you want a flat, even background, work in one direction at first, then gently criss-cross your strokes. For oils, use a dry, soft brush to gently blend out any lines.
If you prefer a textured look, dab or swirl the paint with a sponge or bristle brush. This adds interest and can hide small flaws.
6. Fix Uneven Spots
Let the first layer dry. Most dark backgrounds need two coats to look deep and solid. Apply a second, thinner coat if the first looks patchy.
7. Clean Edges
If your painting has sharp edges (like a vase or figure), use painter’s tape or a small brush to keep lines crisp. Remove tape before the paint dries completely to avoid peeling.
8. Let It Dry
Don’t rush to paint over a wet background. Wait until it’s fully dry—especially with oils, which can take days.
Common Problems And Solutions
Even experienced artists run into trouble with dark backgrounds. Here’s how to solve the most common issues:
1. Streaks Or Brush Marks
Use a softer brush, add a bit more medium, and apply a second thin coat.
2. Patchy Color
Check if your paint is too thick or thin. Two thin coats are better than one thick one.
3. Cracking (with Acrylic Or Gouache)
Don’t apply the paint too thickly, and make sure each layer is dry before adding the next.
4. Paint Not Sticking
Make sure the canvas is clean and primed. Avoid greasy hands or tools.
5. Edges Bleeding Under Tape
Press the tape down well and remove it before the paint is fully dry.
Comparison: Dark Background Vs. Light Background
The choice between a dark or light background affects the whole feel of your painting. Here’s a quick side-by-side:
| Feature | Dark Background | Light Background |
|---|---|---|
| Focus | Draws eye to bright or light subjects | Can compete with light subjects |
| Atmosphere | Dramatic, moody, classical | Airy, open, modern |
| Forgiveness | Hides mistakes, easier to adjust | Shows errors more easily |
| Technique Needed | Blending and layering important | Clean edges, subtle value changes |

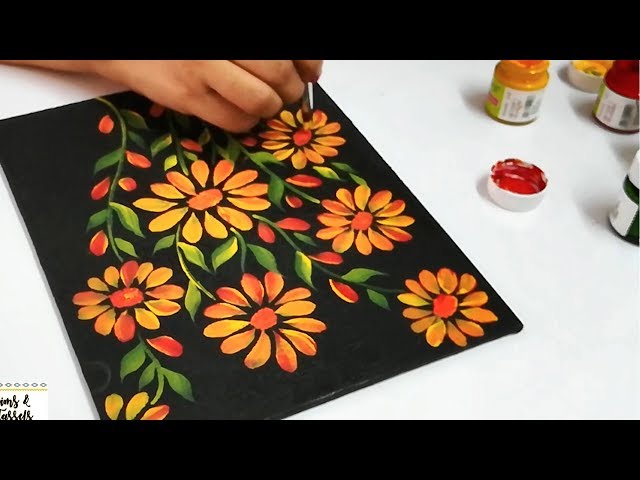
Credit: www.youtube.com
Special Techniques For Better Results
Gradients And Vignettes
A flat black can look dull. Try blending your dark color into a slightly lighter tone at the edges, or create a soft vignette by fading the color outwards. This draws the eye to the center and adds depth.
Glazing
For a deep, glowing black, use glazing. This means applying thin, transparent layers of color over a dry underpainting. Oils are especially good for this. Glazing lets you build up darkness slowly and adjust the tone as you go.
Spatter And Texture
Add interest by spattering a little lighter or darker paint with a toothbrush or splatter brush. This works well for abstract backgrounds or to suggest dust, stars, or atmosphere.
Masking
If your subject is very detailed, mask it with frisket film or painter’s tape. Paint your dark background, let it dry, then remove the mask for clean shapes.
Non-obvious Tips For Success
Many beginners forget these key ideas:
- Test your paint mix on a spare canvas or paper before using it on your main work. Lighting can change how dark colors look.
- Dark colors dry lighter in acrylic and darker in oil. Plan your mix accordingly.
- Work from big to small—cover the whole background first, then fix small spots.
- Keep your brush clean—dark paint can build up and turn muddy if not rinsed often.
- Don’t rely only on black—deep blues, greens, or purples can make backgrounds feel more alive.
Example: Classic Portrait With A Dark Background
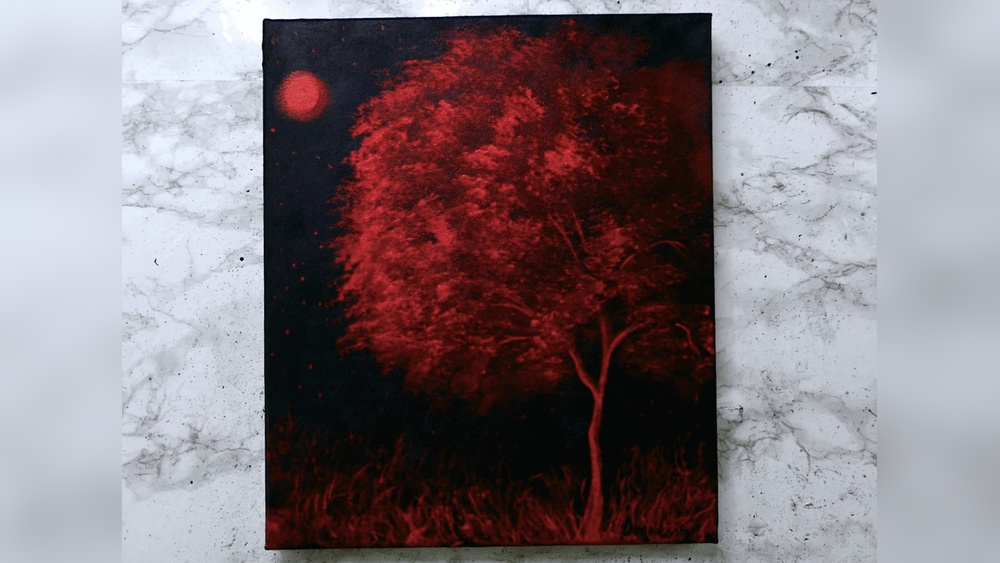
Imagine painting a portrait where the subject’s face is lit from the side. If you use a mix of ultramarine blue and burnt umber for the background, the skin tones will look warmer and more lifelike. By blending the edges into a slightly lighter brown or gray, you can make the face seem to emerge from the darkness, just like in the works of Old Masters.
Tools And Product Comparison
Choosing the right brush or canvas can save time and money. Here’s a quick look at popular options:
| Tool | Best Use | Cost (Approx.) | Durability |
|---|---|---|---|
| Flat Synthetic Brush | Smooth backgrounds | $8 – $15 | High |
| Foam Roller | Large, even coverage | $3 – $6 | Medium |
| Natural Bristle Brush | Textured effects | $6 – $12 | Medium |
| Sponge | Soft blends, dabbing | $2 – $5 | Low |

Credit: www.amazon.com
Cleaning Up And Protecting Your Painting
Once your dark background is dry, clean your brushes with soap and water (for acrylics) or mineral spirits (for oils). Store leftover paint in airtight containers. When your painting is fully finished and dry, consider sealing it with a varnish.
This protects the dark colors and gives an even shine.
If you plan to frame your work, make sure the background is fully dry to avoid sticking to the glass or mat.
Going Further: Learning From Masters
Many artists study classic paintings to see how dark backgrounds are handled. Visit museums, look at art books, or browse online collections. Notice how the best artists use color, light, and shadow—not just pure black.
For more technical details, the Wikipedia page on underpainting offers a useful overview of methods used by traditional painters.
Credit: www.youtube.com
Frequently Asked Questions
How Do I Avoid Streaks In My Dark Background?
Use a large, soft brush and work quickly. Apply two thin coats instead of one thick one. For oils, blend with a dry brush before the paint sets.
Can I Paint A Dark Background Over A Finished Painting?
Yes, but it’s harder to get clean edges. Mask or carefully paint around finished areas. If possible, plan your dark background first.
Which Is Better For Dark Backgrounds: Acrylic Or Oil?
Oil gives more time to blend and is often chosen for rich, smooth backgrounds. Acrylic is faster but dries quickly, so work in sections.
Why Does My Black Paint Look Flat Or Chalky?
Pure black can look lifeless. Mix in a little blue, brown, or even red to add depth. Too much white in the mix can also make it chalky.
How Do I Fix Patchy Spots After Drying?
Wait until the paint is fully dry, then gently sand rough spots and add another thin coat. Build up color slowly for the best result.
Painting a dark background on canvas is a rewarding skill that opens new creative possibilities. With careful preparation, the right materials, and these practical tips, you can create dramatic, professional-looking art that stands out. Take your time, experiment with color mixes, and don’t be afraid to paint boldly—you’ll see your work improve with every canvas.