
Painting your own wall art adds a special touch to any room. If you love flowers, learning how to paint a peony for wall art DIY can be a rewarding project. Peonies are known for their full, layered petals and romantic look. You do not need to be a professional artist to create beautiful peony art. With patience, the right tools, and step-by-step guidance, you can create a piece that feels both personal and stylish.
In this guide, you’ll discover everything you need to know, from selecting materials to mastering petal techniques. Whether you want a single bold bloom or a cluster of peonies, you’ll learn practical tips, avoid common mistakes, and finish with a painting you’ll be proud to hang.
Let’s turn a blank canvas into your own floral masterpiece.
Choosing The Right Materials
Before you start painting, having the right supplies makes all the difference. Quality materials help your colors look bright, your lines stay crisp, and your finished peony last longer on your wall.
Essential Materials
- Canvas or Wood Panel: Choose a canvas that fits your wall space. For beginners, 16×20 inches is a good size—not too small, not too big.
- Acrylic Paints: Acrylics dry quickly and are easy to use. You’ll need white, at least two pinks (light and dark), a touch of yellow, green, and a little red or purple for shadows.
- Brushes: A set of flat and round brushes is best. Flat brushes help with backgrounds; round brushes are good for petals.
- Palette: For mixing colors.
- Water Cup and Rag: To clean brushes and fix mistakes.
- Pencil and Eraser: For sketching your peony outline.
- Painter’s Tape (optional): Helps keep edges clean if you want a border.
Optional Tools
- Palette Knife: For texture.
- Reference Photo: Use a clear peony photo to guide your shapes and colors.
- Varnish: Adds a shiny finish and protects your painting.
Comparison: Canvas Vs. Wood Panel
| Material | Pros | Cons |
|---|---|---|
| Canvas | Lightweight, easy to hang, traditional look | Can sag if not stretched well |
| Wood Panel | Very sturdy, smooth surface, modern look | Heavier, more expensive |
Insight: Many beginners forget to test their paints on a scrap paper or old canvas. This step helps you see how colors mix and how much water to add.
Planning Your Peony Composition
A strong composition makes your peony painting stand out. Before you start, decide how you want your peony (or peonies) to fill the space.
Steps To Plan Your Artwork
- Find Inspiration: Look for peony photos or real flowers. Notice the way petals overlap and how light hits them.
- Decide on Quantity: One large peony creates drama; several smaller ones can look delicate and modern.
- Sketch Lightly: Use a pencil to outline the flower’s basic shape. Start with a circle for the center, then add oval shapes for main petals. Don’t worry about details yet.
- Think About Balance: Leave enough space around the flower. This gives your painting an airy feel and makes the peony the star.
- Consider Color Scheme: Classic peonies are pink, but you can use coral, red, or white. Think about what fits your room’s style.
Example Layouts
- Single Bloom: Focused in the center, fills the canvas.
- Cluster: Three peonies in different sizes, some leaves, staggered across the canvas.
- Side View: Peony off to the side, with petals trailing toward the edge.
Non-obvious tip: Trace a circle with a bowl for the peony center—this keeps proportions even, especially if you’re new to drawing.

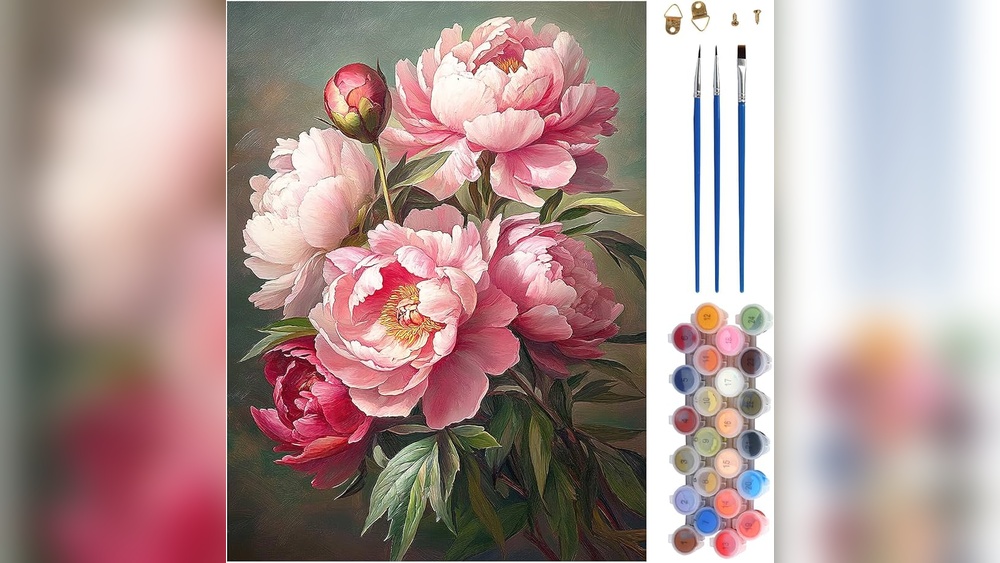
Credit: www.amazon.com
Mixing Peony Colors
Good color makes your peony look lively. Peonies are not just one flat pink; they have shades from white to deep magenta. Mixing your own colors gives your painting depth.
Basic Peony Palette
- Light Pink: Mix white with a little red.
- Medium Pink: Equal parts red and white, add a touch of yellow for warmth.
- Deep Pink: Mostly red, less white.
- Shadow Color: Add a dab of purple or blue to your pink.
- Highlight: Pure white.
- Yellow: For the center stamens.
- Greens: For leaves and stems, mix blue and yellow to get different shades.
Tips For Mixing
- Always start with a small amount of paint. Add more as needed.
- Use a palette knife for smoother mixing.
- Test colors on a scrap piece before using them on your painting.
Color Mixing Example
| Desired Color | Mix Recipe |
|---|---|
| Peony Petal Pink | 2 parts white, 1 part red, touch of yellow |
| Shadow Pink | 1 part medium pink, small bit of blue or purple |
| Leaf Green | 1 part yellow, 1 part blue, tiny bit of red to tone |
Insight: Beginners often forget to mix enough color for all petals. If you run out, it’s hard to match the exact shade again.
Painting The Background
A clean background helps your peony pop. There are several ways to paint backgrounds, depending on the look you want.
Simple Background Ideas
- Solid Color: Choose a neutral (white, gray, beige) or a soft pastel that matches your decor.
- Blended Gradient: Start with one color at the top, fade to a lighter color at the bottom.
- Abstract Wash: Use watered-down paint for a loose, dreamy effect.
Steps For Painting
- Start with a large flat brush.
- Cover the canvas evenly.
- Let the background dry completely before starting the flower.
- Use painter’s tape on canvas edges if you want a clean border.
Pro tip: Don’t use too much water with acrylics or the background can look streaky.
Sketching The Peony Outline
Once your background is dry, sketch your peony shape. This step helps you plan where each petal will go.
How To Sketch A Peony
- Draw a Center Circle: This is the heart of the flower.
- Add Outer Petals: Lightly sketch ovals or teardrop shapes around the center. Vary the size—some petals are large, some are small.
- Mark Leaf Locations: Add a few leaf shapes for balance.
- Keep Lines Light: You’ll paint over them, so don’t press hard.
Common Sketching Mistakes
- Making all petals the same size. Real peonies have uneven petals.
- Drawing petals too far from the center. Peony petals overlap closely.
Tip: Step back and look at your sketch from a distance. This helps you see if the shape looks natural.
Painting Peony Petals Step-by-step
Now comes the most exciting part: bringing your peony to life with paint. Take your time with this step. Layering is key.
Step 1: Paint The Base Layer
- Use your medium pink for the first layer.
- Paint each petal, following your sketch.
- Don’t worry about details—just fill the shapes.
Step 2: Add Shadows
- While the first layer is still wet, add shadow pink to the base of each petal.
- Blend where the colors meet, but keep the petal edges lighter.
Step 3: Paint Highlights
- Use a smaller brush and white paint.
- Add highlights to the edges and tips of petals.
- Highlights give the flower depth and make petals look soft.
Step 4: Build Layers
- Let the first layers dry.
- Add more color and detail to each petal.
- Use darker pinks for hidden petals and light pinks for petals in front.
Step 5: Detail The Center
- Use yellow for the stamens.
- Dot the center with a thin brush for a realistic touch.
Peony Painting Progression
| Layer | Purpose | Paint Used |
|---|---|---|
| Base | Shape of petals | Medium pink |
| Shadows | Depth and roundness | Shadow pink |
| Highlights | Light, realism | White |
| Details | Texture, center | Yellow, deep pink |
Non-obvious tip: Don’t over-blend. Keeping some brush strokes visible gives the petals a natural, ruffled look.
Painting Leaves And Stems
Leaves give your peony context and color contrast. They are usually deep green and have pointed tips.
How To Paint Leaves
- Mix a Natural Green: Blend blue and yellow, add a tiny bit of red for a muted look.
- Use a Medium Flat Brush: Start at the base and pull the brush out to form a leaf shape.
- Layer Colors: Add a lighter green on one side of the leaf for highlights, and a darker green on the other for shadow.
- Paint Stems: Use a thin brush and steady hand.
Leaf Placement Ideas
- One or two leaves peeking from behind the peony.
- A leaf crossing over the edge of the canvas for modern style.
Pro tip: Don’t make leaves too bright—they should support, not overpower, your flower.
Final Details And Finishing Touches
Details make your peony wall art feel finished and professional.
What To Check Before Finishing
- Are the petals and leaves dry?
- Do colors look balanced?
- Are there any empty areas that need fixing?
Adding Texture
- Use a palette knife to add thick paint to some petal tips.
- Add a few loose brush strokes for movement.
Sealing Your Painting
- Once fully dry, apply a thin layer of acrylic varnish for shine and protection.
- Let the varnish dry for 24 hours before hanging your art.
Extra tip: Sign your name in a corner with a small brush. It gives your art a personal touch.
Hanging And Display Tips
Your wall art deserves a good spot. Where and how you hang it affects how it’s seen.
Best Spots For Peony Wall Art
- Above the bed for a romantic touch.
- In the living room for a pop of color.
- In a hallway to brighten the space.
Hanging Tips
- Use sturdy hooks or nails.
- Hang at eye level—about 57 inches from the floor to the center of the painting.
- Pair with simple frames or leave canvas edges unframed for a modern look.
Pro advice: Group peony art with other botanical pieces for a gallery wall effect.
Avoiding Common Beginner Mistakes
Painting your own peony is fun, but easy mistakes can happen. Learn from others to get better results.
- Skipping Sketching: Always sketch before painting. It saves time and fixes errors early.
- Using Too Much Water: Acrylics don’t need much water. Too much makes colors run and look dull.
- Overblending: If you blend every color perfectly, petals lose their shape and energy.
- Ignoring Drying Time: Let each layer dry before adding more. This prevents muddy colors.
- Not Stepping Back: Look at your painting from a distance to check balance and shape.
Advanced tip: Try painting on a colored background for extra drama, like a dark blue or charcoal.
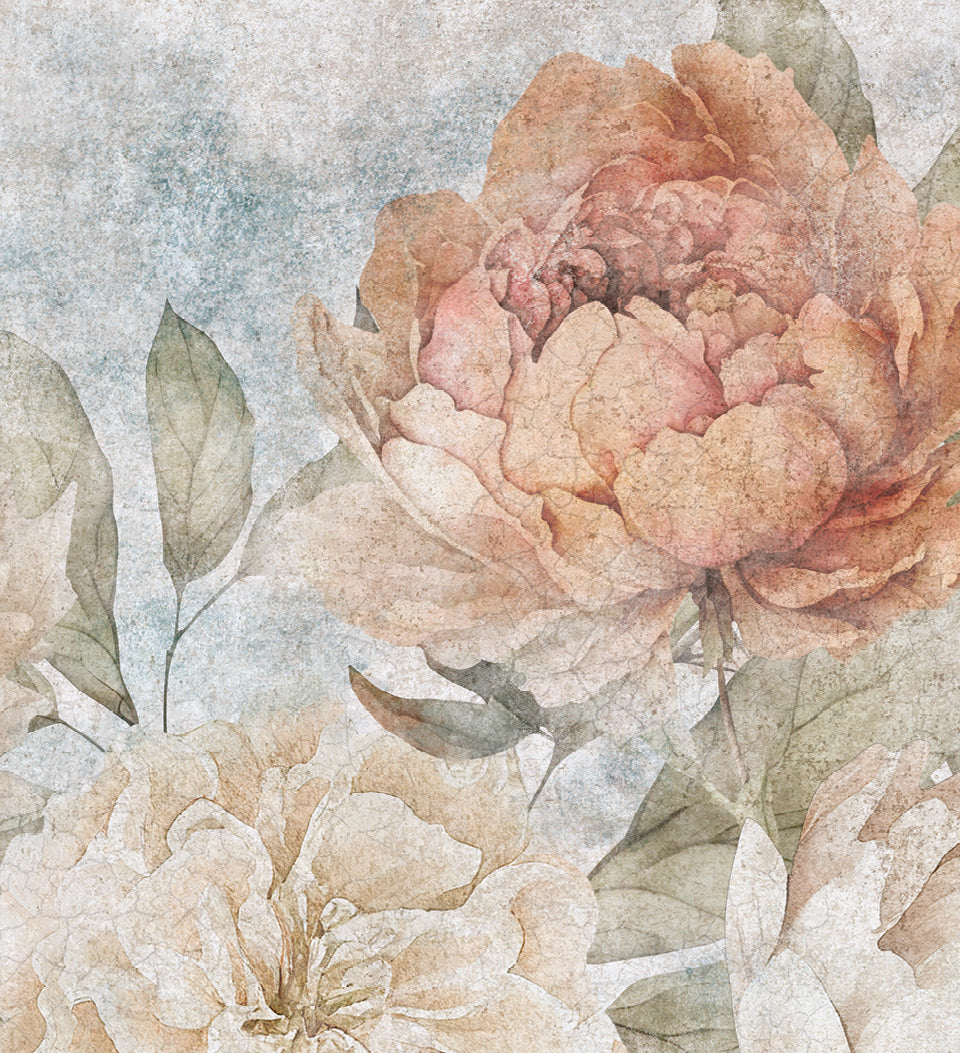
Credit: beijaflorworld.com
Learning From Other Artists
Studying other peony paintings helps you improve. Notice different styles—some artists use thick brush strokes, others paint in soft washes. You can find tutorials or inspirations on sites like The Met Museum.
Observation: Many modern artists paint peonies with bold, bright colors and loose shapes, which can look very fresh in a home.
Frequently Asked Questions
How Long Does It Take To Paint A Peony Wall Art Piece?
A simple painting may take 2-3 hours, while a detailed piece with layers and drying time can take a full day. Rushing can lead to mistakes, so set aside enough time.
Do I Need To Draw Well To Paint A Peony?
No. A light, basic sketch is enough. The painting comes alive with color and brushwork, not perfect lines. Practice helps, but you don’t need to be a skilled drawer.
What Type Of Paint Is Best For Beginners?
Acrylic paint is best. It’s affordable, dries quickly, and cleans up with water. Oils are harder to use and take longer to dry.
How Do I Fix Mistakes In My Painting?
Let the area dry, then paint over it with your background color. Once dry, repaint the petal or leaf. Acrylics are forgiving—mistakes are easy to cover.
Can I Use This Method For Other Flowers?
Yes. The steps (planning, sketching, layering color) work for most flowers—just adjust colors and petal shapes. Try roses, tulips, or sunflowers for more variety.
Painting a peony for wall art DIY is a journey—one where you learn, create, and enjoy the process. Every painting is unique, and each one tells a part of your story. With patience and practice, your walls can bloom with art that’s truly yours.
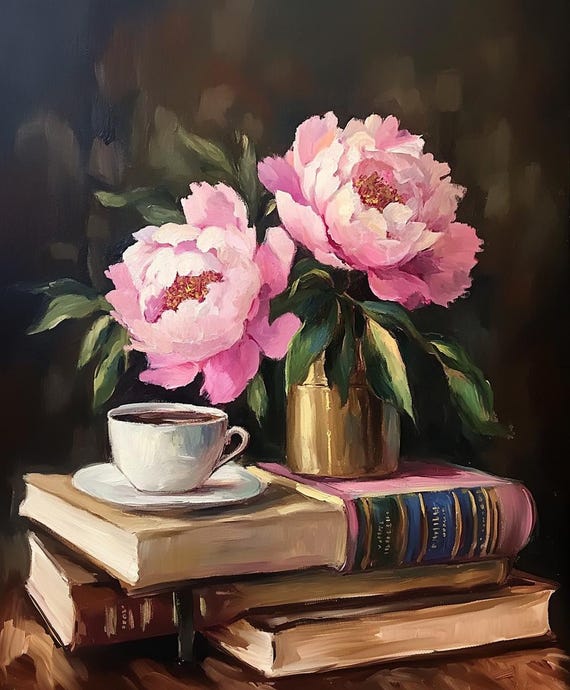
Credit: www.etsy.com


