
Have you ever wanted to capture the fierce energy and vibrant glow of fire with your own hands? Painting fire with acrylic paint might sound tricky, but with the right steps, you can create stunning flames that seem to flicker right off the canvas.
In this guide, you’ll discover simple techniques to mix colors, add depth, and bring your fiery masterpiece to life. Whether you’re a beginner or looking to sharpen your skills, this article will give you the confidence to turn your vision into a blazing reality.
Ready to ignite your creativity? Let’s dive in!
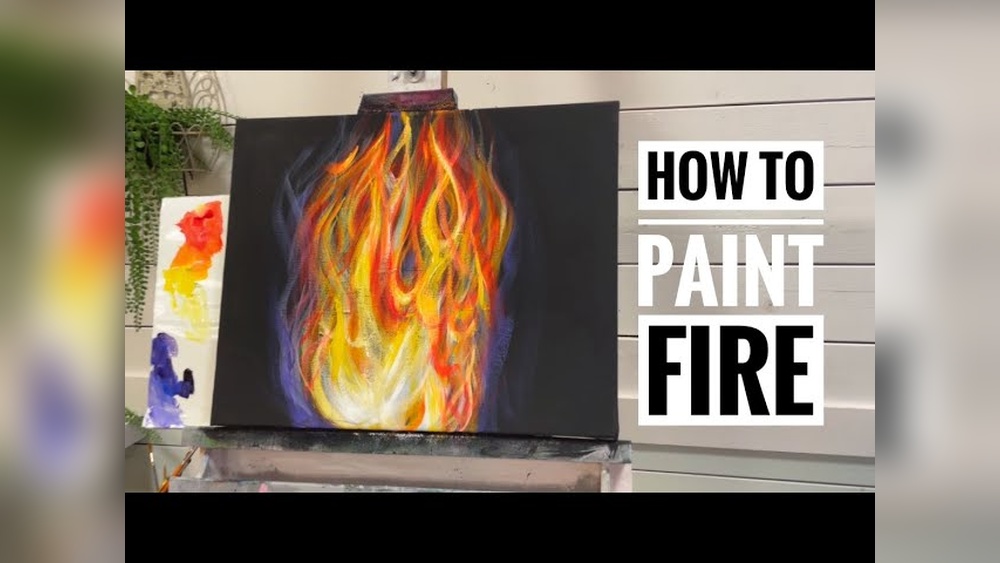
Credit: discover.hubpages.com
Choosing The Right Materials
Choosing the right materials is key for painting fire with acrylic paint. The right supplies help create bright, vivid flames. They also make the painting process easier and more enjoyable. Focus on paint colors, brush types, and other tools. These choices impact the final look of your artwork.
Selecting Acrylic Paint Colors
Pick colors that match real fire tones. Use bright yellows, oranges, and reds for the flames. Add white for highlights and black for shadows. Some artists include blue or purple for heat effects. Choose high-quality acrylic paints for better color payoff and blending.
Brush Types For Fire Effects
Use different brushes to create various flame shapes. Round brushes work well for smooth, curved edges. Fan brushes help add texture and wispy flames. Flat brushes can make sharp, bold strokes. Have small detail brushes for fine lines and flicks.
Additional Tools And Supplies
Gather extra items to improve your painting. A palette for mixing paint colors is essential. Water containers help clean brushes between colors. Paper towels or rags remove excess paint. Use a sketch pencil to outline the fire shape first. A spray bottle can keep the paint wet longer for blending.
Preparing Your Workspace
Preparing your workspace is the first step to painting fire with acrylic paint. A neat and organized area helps you focus better. It also makes the painting process smoother and more enjoyable. Setting up your space correctly sets the tone for a successful project.
Setting Up Your Canvas
Place your canvas on a sturdy easel or flat surface. Ensure it is at a comfortable height and angle. This position helps you paint details without straining your neck or eyes. Cover the area around the canvas to protect from paint splashes. Use newspaper or a plastic sheet for easy cleanup.
Organizing Paints And Brushes
Arrange your acrylic paints by color and shade near your workspace. Keep the warm colors like red, orange, and yellow within easy reach. Choose brushes of different sizes for fine lines and broad strokes. Clean brushes regularly to avoid mixing colors. A cup of water and paper towels should be close by for rinsing and drying brushes quickly.
Basic Fire Shapes And Forms
Understanding basic fire shapes and forms is key to painting realistic flames. Fire moves and changes shape quickly. Capturing this movement makes your painting feel alive. Start with simple shapes. Build up details as you go. This approach helps keep your work clear and dynamic.
Sketching The Fire Outline
Begin by drawing a light outline of the fire. Use soft, curved lines to show the flow of flames. Avoid straight or rigid shapes. Flames have a natural, wavy movement. Draw several peaks and dips to show flickering. Keep your lines loose and fluid. This sketch will guide your painting later.
Creating Dynamic Flame Shapes
Make flame shapes varied in size and direction. Mix tall, thin flames with short, rounded ones. Overlapping shapes add depth and movement. Pointed tips suggest active flames, while rounded bases show where fire starts. Leave some gaps between shapes to imply transparency. These shapes bring energy and life to your fire painting.

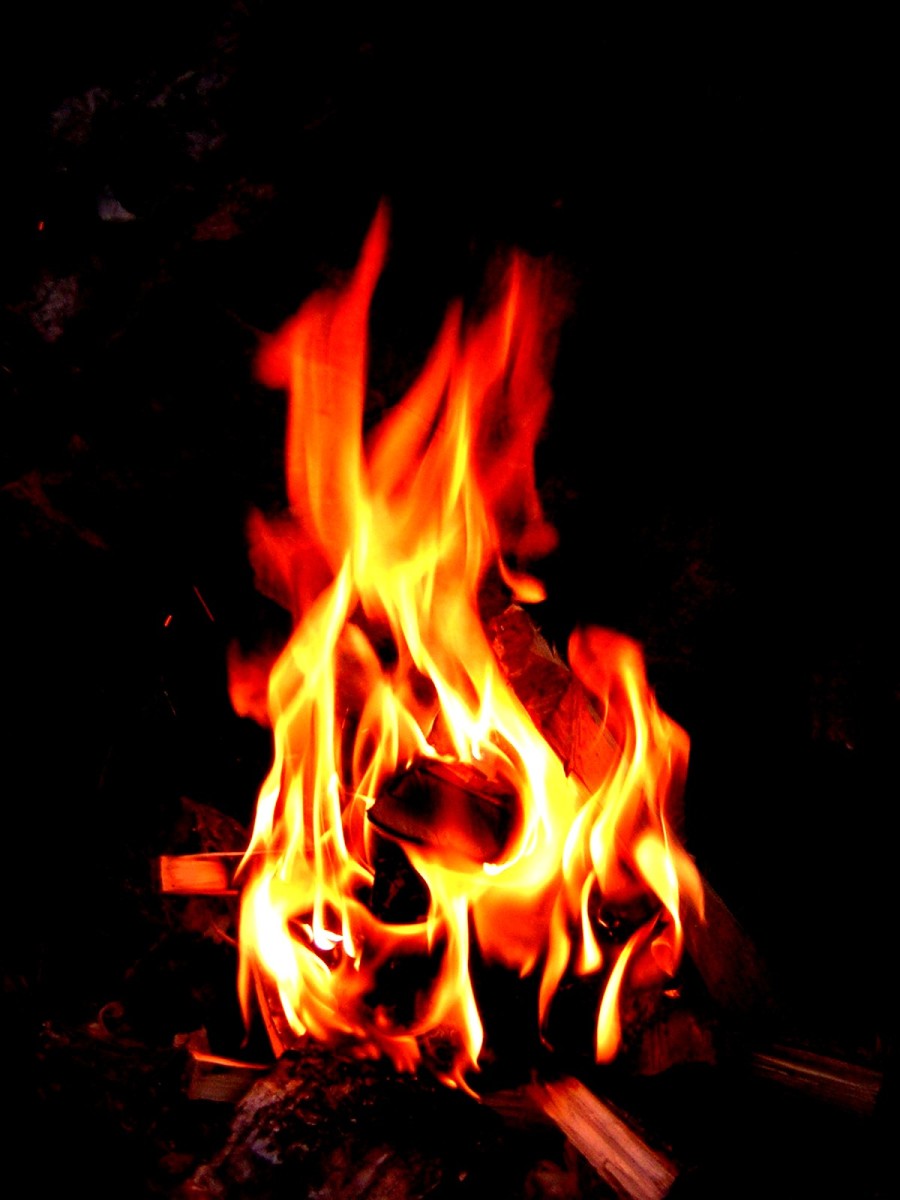
Credit: etchrlab.com
Layering Colors For Depth
Layering colors is key to creating fire that looks real and alive. Fire has many shades and tones. Using layers gives your painting depth and movement. Each layer adds detail and makes the flames glow. This technique helps the fire pop on the canvas. It makes the colors blend smoothly. You can build warmth and light with layering. The process takes patience but brings great results.
Starting With Base Colors
Begin with the basic colors of fire. Use bright reds, oranges, and yellows. Paint the largest shapes of flames first. Cover the whole fire area with these colors. Keep the strokes loose and flowing. This layer sets the stage for details later. Let the paint dry before adding more layers. This step makes sure your colors stay bright.
Adding Highlights And Shadows
Add lighter colors like white or pale yellow for highlights. Place these on the tips and hottest parts of flames. This shows the fire’s brightest spots. Use darker reds, browns, or even black for shadows. Paint shadows inside the flames and at the base. Shadows add depth and make flames look 3D. Blend highlights and shadows softly. This creates a smooth transition between colors.
Techniques For Realistic Flames
Creating flames that look real takes practice and the right techniques. Acrylic paint works great for this because it dries fast and you can layer colors easily. The key is to blend colors smoothly and add texture to mimic the flicker of fire. Use different brush strokes to bring the flames to life.
Blending And Feathering
Start with bright colors like yellow and white in the center. These show the hottest part of the flame. Blend outward to orange and red to show cooler parts. Use a clean, dry brush to feather the edges gently. This softens the transition between colors. Feathering creates the illusion of movement in the flames. Work quickly before the paint dries for smooth blending.
Using Dry Brush Effects
Dry brush technique adds texture and detail to flames. Use a stiff, dry brush with little paint on it. Lightly drag the brush over the surface to create streaks and sparks. This makes the flames look more lively and dynamic. Try different brush sizes to vary the effect. Dry brushing helps highlight the flickering tips of the fire.
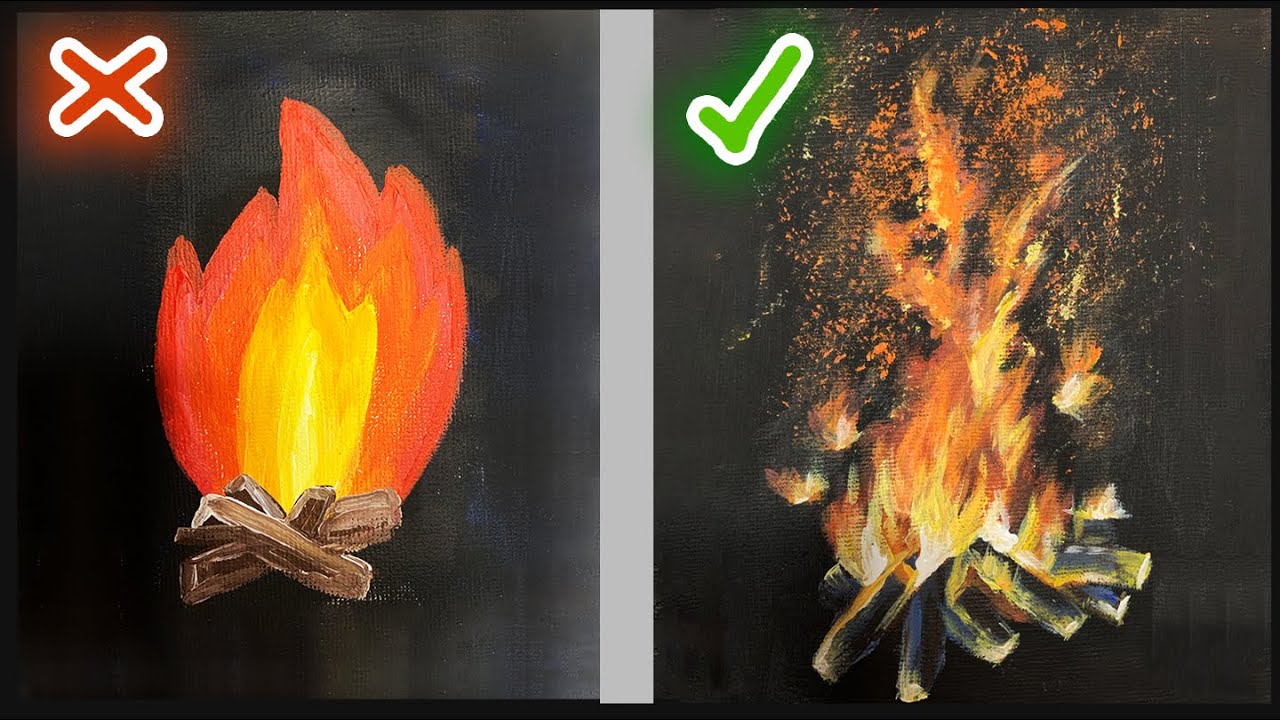
Credit: www.youtube.com
Enhancing Fire With Glow Effects
Enhancing fire with glow effects makes your painting more lively and real. Glow adds warmth and energy to flames. It helps your fire look like it’s alive and moving. Using glow effects with acrylic paint gives depth and brightness to your work. These simple steps will help you add glow that shines.
Adding Ambient Light
Ambient light is the soft glow around the fire. It shows how fire lights up nearby objects. Use light orange, yellow, and white paint for this effect. Blend these colors gently around the fire edges. This creates a natural glow. Paint softly to avoid hard lines. It makes the light look smooth and real. Use a dry brush or sponge for better blending. Keep the glow subtle but bright enough to see.
Creating Heat Waves
Heat waves make the air above fire look like it is moving. Use thin, wavy lines with light colors like white or pale yellow. Paint these lines above the flames. Use a small brush for fine strokes. Slightly blur the edges with a clean, dry brush. This shows the hot air shaking above the fire. Heat waves add motion and realism. Don’t paint too many lines; keep it simple. This keeps the effect natural and easy on the eyes.
Common Mistakes To Avoid
Painting fire with acrylic paint can be exciting and fun. Yet, beginners often make mistakes that ruin the effect. Avoiding these common errors helps create a realistic and vibrant flame. Keep your work clean and lively by watching out for these pitfalls.
Overworking The Paint
Overworking the paint blurs the sharp edges of flames. It makes the fire look muddy and dull. Acrylic paint dries fast, so avoid too much brushing. Use light, quick strokes to keep the texture alive. Let each layer dry before adding details. This keeps the colors bright and clear.
Ignoring Color Temperature
Fire has warm and cool tones that create depth. Ignoring color temperature makes the fire flat and lifeless. Use warm colors like red, orange, and yellow for the core. Add cool colors like blue or white at the edges for contrast. This gives the fire a glowing, natural look.
Final Touches And Sealing
After painting the main shapes and colors of the fire, the final touches bring it to life. These small details add depth and make the flames look real. Sealing your work protects it from dust and damage. It also keeps the colors bright for a long time. Let’s explore how to add those finishing details and seal your acrylic fire painting.
Detailing With Fine Brushes
Use a fine brush to add small lines and highlights. Paint thin, flicking strokes to mimic flickering flames. Bright yellows and whites work well for light spots. Dark reds and oranges create shadows inside the fire. These tiny touches make the fire seem to move and glow. Take your time. Step back often to check the effect.
Applying A Protective Finish
Choose a clear acrylic varnish to seal your painting. A matte finish keeps colors soft, while gloss makes them shine. Apply thin, even layers with a clean brush. Let each layer dry fully before adding another. This finish stops dust from sticking and prevents paint from fading. Store your artwork away from direct sunlight to keep it fresh.
Frequently Asked Questions
How Do You Start Painting Realistic Fire With Acrylics?
Begin with a dark background to make flames stand out. Use bright yellows and oranges in the center. Blend outward with reds and subtle hints of white for highlights.
What Colors Are Best For Painting Fire With Acrylic?
Use a mix of yellow, orange, red, and white. These colors create depth and realism. Black or dark brown can help with background contrast.
How Can I Create Glowing Effects In Acrylic Fire Paintings?
Apply thin layers of translucent paint for glow. Use white or light yellow highlights to mimic heat. Blend edges softly for a natural glow.
What Brush Techniques Work Well For Fire Textures?
Use fan brushes for soft edges. Detail brushes help paint sharp flame tips. Dry brushing can add texture and movement to flames.
Conclusion
Painting fire with acrylics takes practice and patience. Start with bright colors like yellow and orange. Blend them well to create a glowing effect. Use darker shades for shadows and depth. Keep your brush strokes loose and natural. Remember, each painting improves your skill.
Enjoy the process and experiment with colors. Fire looks alive when you capture its movement. You can create striking art with simple steps. Keep trying, and your paintings will shine.


