Are you ready to transform your walls, furniture, or crafts with stunning stencil designs? Using a stencil brush correctly can make all the difference between a messy, smudged pattern and a crisp, professional-looking finish.
But if you’ve ever struggled with paint bleeding or uneven edges, you’re not alone. The secret lies in how you load and apply the paint with your stencil brush. In this guide, you’ll discover simple yet powerful techniques that will help you master the art of stenciling—so your designs come out clean, sharp, and exactly how you envision them.
Keep reading to unlock the tips and tricks that will take your stencil projects from frustrating to flawless!

Credit: www.youtube.com
Stencil Brush Basics
Applying paint with a stencil brush requires specific techniques. These methods help achieve clean and sharp designs. Using the right motions and tools prevents paint from bleeding under the stencil. This section explains key paint application techniques for stencil brushes.
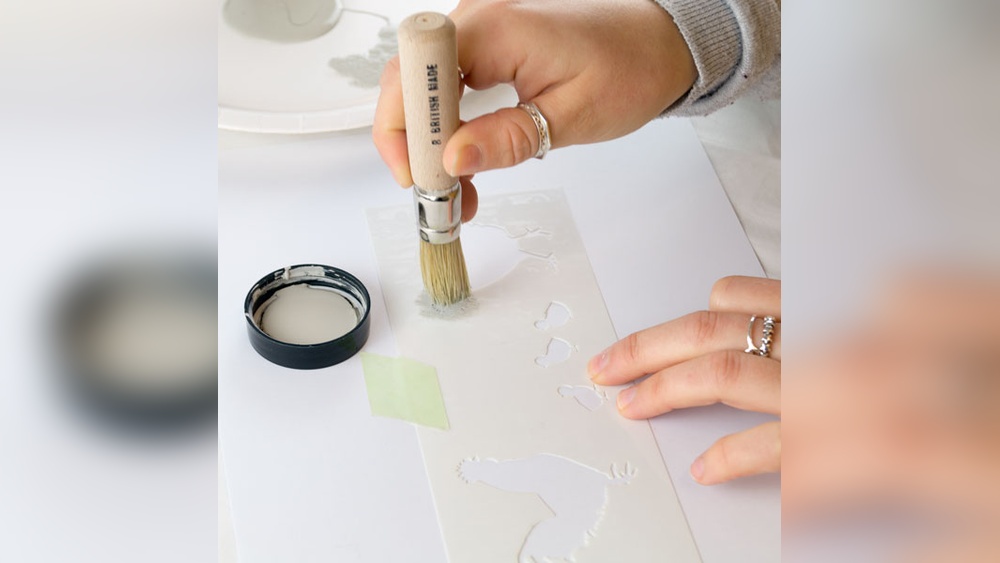
Pouncing And Dabbing Motion
Pouncing means tapping the brush up and down gently. Avoid brushing or sliding the brush across the stencil. This motion pushes paint through the stencil openings without spreading it. Dabbing uses the tip of the brush lightly to add paint in small amounts. Both motions control paint flow and keep edges crisp.
Using Foam Rollers
Foam rollers can replace stencil brushes for larger areas. Rollers hold less paint, reducing drips and smudges. Light, even rolling over the stencil applies thin paint layers. Roll slowly to avoid pushing paint under the stencil edges. Clean the roller after each use to maintain smooth application.
Building Thin Paint Layers
Applying paint in thin layers prevents bleeding. Start with a light coat, then let it dry. Add more layers to deepen color and coverage. Thin layers dry faster and reduce smudging risks. Patience during this process ensures a neat and professional stencil finish.

Credit: www.youtube.com

Credit: home.howstuffworks.com
Frequently Asked Questions
What Is The Trick To Using Stencils?
Use minimal paint and offload excess on a paper towel. Dab with a stiff brush or foam roller. Secure the stencil firmly. Apply thin layers with a pouncing motion to prevent bleeding and achieve crisp, clean lines. Build color gradually for best results.
How Do You Get Crisp Lines When Stenciling?
Use minimal paint and offload excess on a paper towel. Pounce with a stiff brush or foam roller. Secure the stencil firmly. Apply thin layers, building color gradually. Avoid swiping; tap paint through stencil openings for crisp, clean lines.
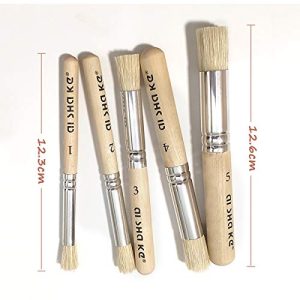
What Does A Stencil Brush Do?
A stencil brush applies paint through stencil openings using a dabbing motion. It prevents bleeding for sharp, clean designs.
How Do You Fix Mistakes When Stenciling?
Fix stenciling mistakes by gently dabbing paint with a clean, damp cloth or fine brush. Let it dry, then repaint carefully.
Conclusion
Using a stencil brush correctly makes your designs clean and sharp. Always remove extra paint before applying. Tap the brush gently through the stencil openings. Apply light layers to avoid paint bleeding. Secure the stencil firmly to keep it in place.
Practice these steps to improve your stenciling skills. With patience and care, your artwork will look professional and neat every time. Keep your brush clean for the best results. Enjoy creating beautiful stencil projects easily and confidently.