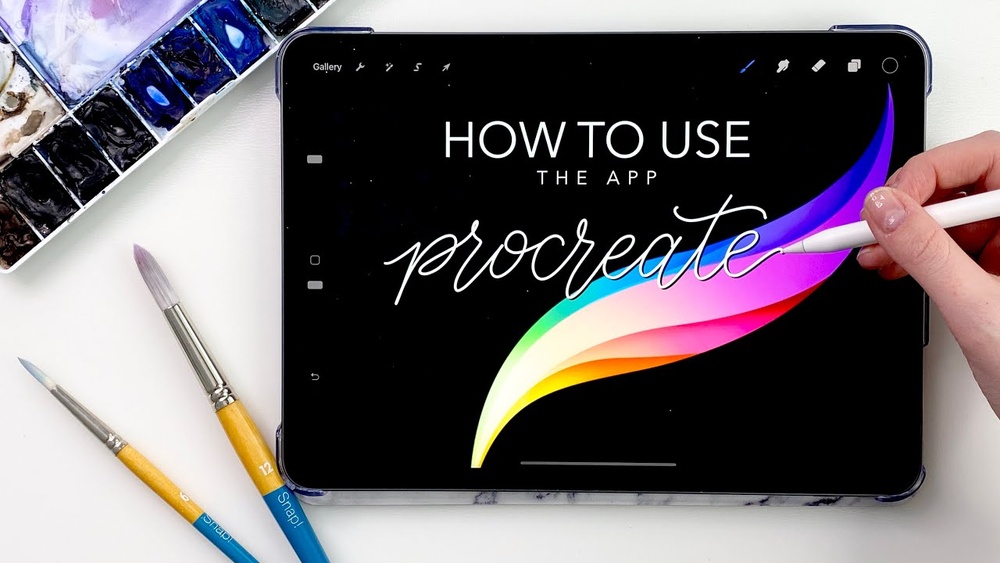
Are you ready to dive into the world of digital art but don’t know where to start? Procreate for beginners is the perfect app to bring your creative ideas to life, even if you’ve never picked up a digital brush before.
With its simple design and powerful tools, Procreate makes drawing, painting, and designing easy and fun. In this guide, you’ll learn how to use Procreate step-by-step, so you can create stunning artwork without feeling overwhelmed. Stick with me, and you’ll soon discover just how accessible and exciting digital art can be for beginners like you.
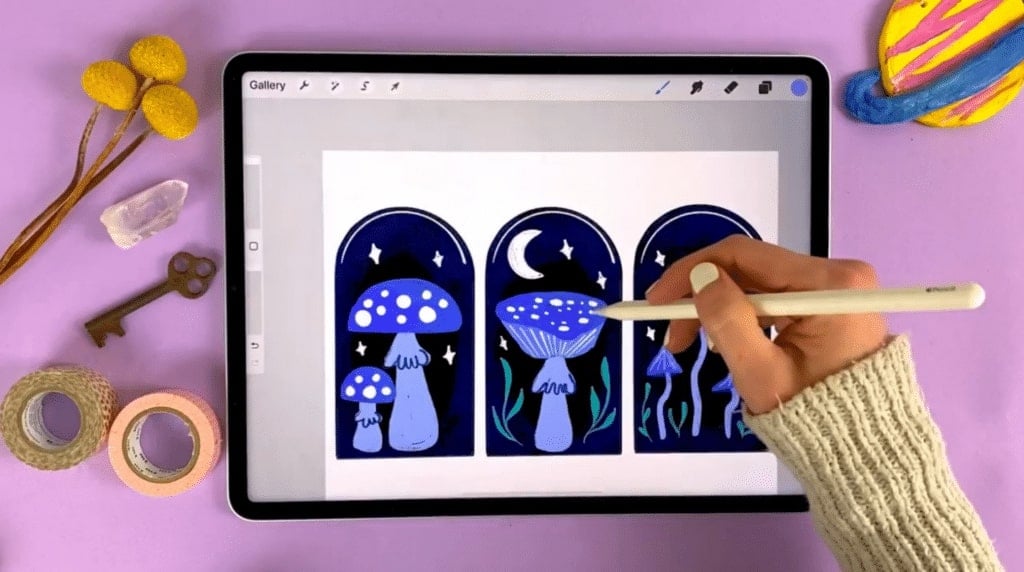
Credit: www.skillshare.com
Getting Started With Procreate
Starting with Procreate is simple and fun for new digital artists. This app offers tools that help beginners create art quickly. Before drawing, you need to install the app, set up your canvas, and learn the interface. Each step is easy to follow and helps you feel comfortable using Procreate.
Installing The App
Go to the App Store on your iPad. Search for “Procreate” in the search bar. Tap the download button to install the app. The app costs a small one-time fee. After installation, open Procreate and get ready to create.
Setting Up Your Canvas
Open Procreate and tap the plus (+) icon to create a new canvas. Choose a size that fits your project. You can select preset sizes or make a custom canvas. The size affects the quality and file size of your artwork. Start with a medium size to practice easily.
Navigating The Interface
The Procreate interface is simple and clear. On top, find tools like brush, smudge, and erase. The right side has undo and redo buttons. The left side controls brush size and opacity. At the top right, open layers and color panels. Spend some time tapping icons to learn their functions.
Essential Tools For Beginners
Starting with Procreate can feel exciting and a bit overwhelming. The app offers many tools that help create beautiful digital art. Knowing a few essential tools makes your drawing easier and more fun. These tools help beginners learn and improve step by step.
Focus on understanding brushes, layers, and drawing aids. These are the core parts that shape your artwork. Each tool has a simple function but gives you great control over your design.
Brushes And Their Uses
Brushes in Procreate are like real paintbrushes but digital. You can choose from pencils, inks, airbrushes, and more. Each brush creates a different texture or style. For example, use a pencil brush for sketching and an airbrush for soft shading. Experiment with brushes to find your favorite style. Adjust brush size and opacity to change the effect. This makes your artwork look natural and dynamic.
Using Layers Effectively
Layers are like sheets of transparent paper stacked on each other. They let you work on parts of your drawing without changing other parts. Use separate layers for sketching, coloring, and details. This way, fixing mistakes is easy and quick. You can also move or erase parts without affecting the whole image. Naming your layers helps keep your work organized. Learning to use layers saves time and improves your workflow.
Quickshape And Drawing Assist
QuickShape helps create perfect shapes like circles, squares, and triangles. Draw a shape and hold your finger to snap it into place. It saves time and makes your art look clean. Drawing Assist offers tools like symmetry and guides. Symmetry draws one side, and the app copies it on the other side. This is great for creating balanced designs. Use perspective guides to draw scenes that look real. These tools help you draw better, even if you are new.
Basic Drawing Techniques
Basic drawing techniques are the foundation of creating art in Procreate. These techniques help beginners build confidence and control. Simple steps like sketching, using guides, and adding color transform your ideas into drawings.