Painting autumn leaves in oil is a rewarding journey for artists of all skill levels. The rich colors, unique shapes, and warm light of fall offer endless inspiration. Oil paint, with its vibrant pigments and slow drying time, lets you capture every detail and mood.
But if you’re new to painting or struggle with leaf realism, you might find autumn leaves tricky. This guide will help you paint autumn leaves in oil with confidence, showing you clear steps, practical advice, and expert tips you won’t find elsewhere.
Why Paint Autumn Leaves In Oil?
Autumn leaves are a classic subject for oil painting. The color palette is diverse: reds, oranges, yellows, browns, and even purples. Oil paint’s flexibility lets you blend and layer these colors for realistic or expressive effects. Many artists choose oil for its ability to create texture, depth, and subtle transitions—qualities that make leaves look lifelike.
Painting autumn leaves is also a great way to improve your skills. You’ll learn how to mix colors, work with shapes, and handle light and shadow. Whether you paint a single leaf or a full landscape, you’ll grow as an artist.
Essential Materials For Painting Autumn Leaves In Oil
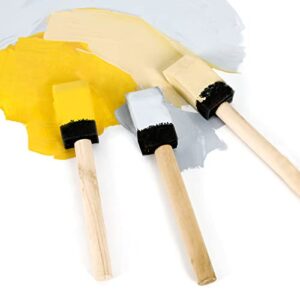
Before you start, make sure you have the right tools. Here’s what you’ll need:
- Oil paints: Get a basic set with primary colors, plus earth tones. Brands like Winsor & Newton or Gamblin offer good quality.
- Brushes: Use a mix of round, flat, and filbert brushes. Sizes 2–8 are ideal for leaves.
- Palette: Glass or wood palettes work well for mixing oil colors.
- Canvas or panel: Choose a primed canvas or oil-ready panel. For beginners, a small size (8×10 inches) is easier to manage.
- Mediums: Linseed oil or odorless mineral spirits help thin paint and clean brushes.
- Palette knife: Useful for mixing and applying paint in bold strokes.
- Rags or paper towels: For cleaning and wiping brushes.
- Reference photo or real leaves: Studying actual leaves helps with shape and color accuracy.
A common mistake is using too many colors or the wrong brush size. Stick to a limited palette and start with medium brushes. This keeps your painting controlled and avoids muddy colors.
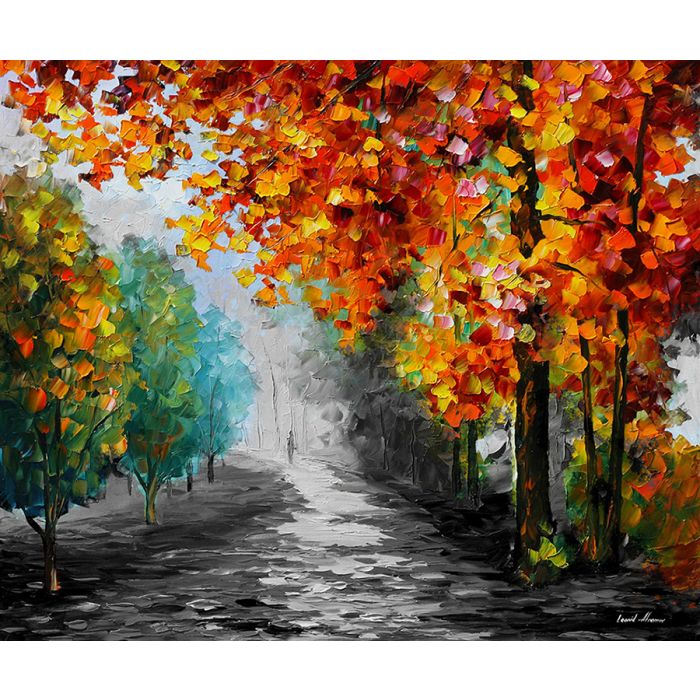
Credit: afremov.com
Understanding Autumn Leaf Colors
Autumn leaves show a unique mix of colors. To paint them well, you need to observe and mix these shades accurately. Here’s a quick comparison of typical autumn leaf colors and suggested oil paint mixes:
| Leaf Color | Suggested Oil Paint Mix | Common Tree Types |
|---|---|---|
| Bright Red | Cadmium Red + Alizarin Crimson + Touch of Yellow | Maple, Oak |
| Golden Yellow | Cadmium Yellow + Burnt Sienna | Birch, Aspen |
| Orange | Cadmium Orange + Burnt Umber | Sycamore, Sweetgum |
| Brown | Burnt Umber + Yellow Ochre | Oak, Chestnut |
| Purple | Alizarin Crimson + Ultramarine Blue | Dogwood, Redbud |
Many beginners skip mixing colors and just use paint straight from the tube. But autumn leaves rarely match a single color—mixing is key for realism.
Sketching Your Leaf Composition
Good composition makes your painting attractive. Decide if you want to paint a single leaf, a group, or a landscape. Use a soft pencil or thinned paint to sketch the outlines lightly on your canvas.
Tips for sketching leaves:
- Observe real leaves for shape accuracy.
- Vary leaf sizes and directions for natural look.
- Place leaves off-center for interesting compositions.
- Overlap leaves to show depth.
Avoid making leaves too symmetrical. Real leaves are imperfect, with torn edges, curves, and veins. Capture these details in your sketch.
Step-by-step Process: Painting Autumn Leaves In Oil
Painting autumn leaves involves several clear steps. Each stage builds your painting’s realism and beauty. Here’s how to do it:
1. Block In Main Colors
Start with the largest shapes. Use a medium brush and thinned oil paint to block in the main colors of each leaf. Don’t worry about details yet—focus on getting the basic color and shape right.
Tips:
- Use transparent colors for the first layer.
- Paint dark colors first, then lighter ones.
- Leave space for veins and highlights.
2. Add Shadows And Light
Autumn leaves have depth. Shadows and highlights make them look three-dimensional. Mix darker shades for shadow areas and lighter tones for sunlit spots.
How to do it:
- Identify the light source (from above, side, etc. ).
- Add shadow color to the underside or side of leaves.
- Use a lighter mix for highlights—often yellow or white.
- Blend edges gently for soft transitions.
A common mistake is forgetting the light source, which makes leaves look flat. Keep shadows consistent across all leaves.
3. Paint Leaf Veins And Edges
Leaf veins are delicate but important. Use a fine brush and mix a lighter or darker color than the leaf surface. Paint veins with gentle strokes, following the natural direction.
For edges:
- Use a small brush for jagged or torn edges.
- Add subtle color changes—brown or yellow—along the edges.
Avoid harsh lines. Real veins are soft and blend into the leaf.
4. Layer And Refine
Oil paint lets you add layers for more detail and richness. Wait for the first layer to dry a bit (usually a day), then add more paint for texture and color variation.
How to layer:
- Use thicker paint for highlights.
- Add extra color spots—red, orange, or green—for realism.
- Refine shapes and correct mistakes.
Professional tip: If you make a mistake, gently lift paint with a palette knife or rag, then repaint.
5. Final Touches
Once your leaves look realistic, finish with extra highlights and details. Use a clean brush and pure color for final spots—this makes leaves “pop” against the background.
- Add tiny white or yellow highlights for sunlight.
- Paint small imperfections for authenticity.
- Adjust background color if needed for contrast.
Don’t overwork the painting. Stop when the leaves look fresh and natural.
Common Autumn Leaf Painting Mistakes
Painting autumn leaves can be tricky, especially for beginners. Here are some pitfalls and how to avoid them:
- Using only one color: Real leaves have many shades. Mix colors for realism.
- Ignoring shadows: Shadows add depth. Always include them.
- Over-detailing too soon: Start with big shapes, add details later.
- Flat backgrounds: Make sure your background has color variation, not just a single flat tone.
- Hard edges: Leaf edges should be soft, not harsh.
Experienced artists often use a “lost and found” technique—some leaf edges are sharp, others are soft. This creates a natural look.
Practical Tips For Realistic Autumn Leaves
Painting leaves takes practice. Here are some proven tips:
- Study real leaves: Collect leaves and examine them under different light. Notice color changes and vein patterns.
- Take photos: Use reference photos for color accuracy.
- Use glazing: Thin layers of transparent paint (glazes) create rich color depth.
- Experiment with palette knives: Palette knives can make bold textures, especially for rough leaf edges.
- Try wet-on-wet and wet-on-dry: Wet-on-wet blends colors, while wet-on-dry adds sharp details.
One non-obvious insight: Leaves often have subtle blue or purple shadows. Adding a touch of cool color makes shadows more realistic.
Comparing Oil Painting Techniques For Autumn Leaves
Different oil painting techniques give different effects. Here’s a comparison of three common methods for autumn leaves:
| Technique | Effect | Best For |
|---|---|---|
| Alla Prima | Fresh, spontaneous look; wet-on-wet blending | Quick studies, expressive paintings |
| Layering (Glazing) | Deep, rich color; subtle transitions | Realistic leaves, detailed work |
| Impasto | Thick texture; bold highlights | Textured leaves, modern style |
Beginners often skip glazing, but it’s great for creating glowing leaf colors. Try different techniques to find your favorite.

Credit: www.masteroilpainting.com
How To Paint Autumn Leaves In Landscapes
If you want to paint autumn leaves as part of a landscape, there are extra steps:
- Paint background first: Sky, trees, ground.
- Use larger brushes for distant leaves and smaller brushes for close-up leaves.
- Add atmospheric perspective: Distant leaves are bluer and less detailed.
- Use color temperature: Warm colors for foreground, cool for background.
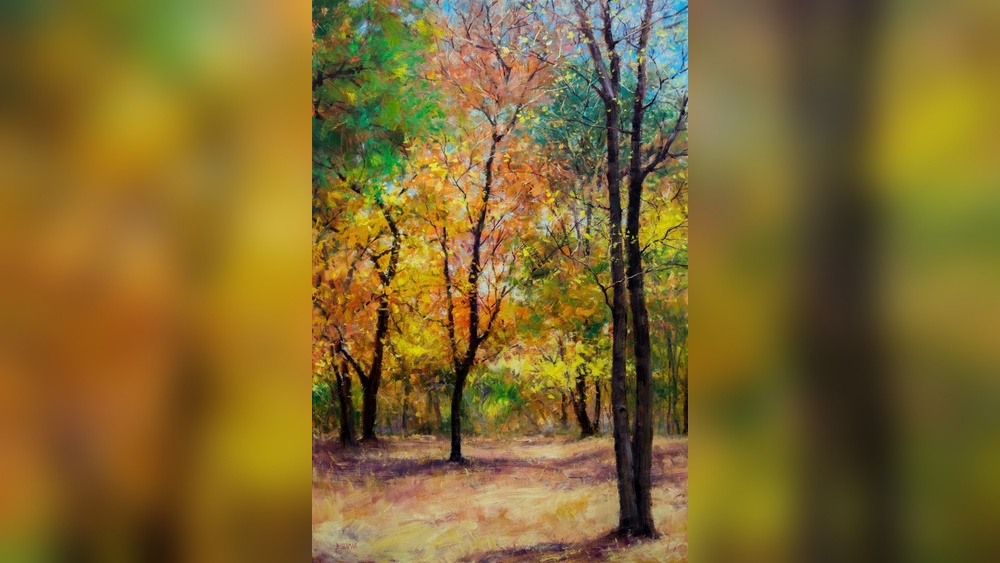
Example: In an autumn forest scene, foreground leaves are bright and detailed. Leaves in the distance are softer and cooler.
Drying, Varnishing, And Finishing Your Painting
Oil paintings dry slowly. Here’s what to expect:
- Touch dry: 2–7 days, depending on thickness.
- Fully dry: 1–6 months.
Once dry, you can varnish your painting for protection and shine. Use a removable varnish like Damar or synthetic varnish. Apply thinly with a clean brush.
Don’t varnish before the painting is fully dry—this can cause cracking.
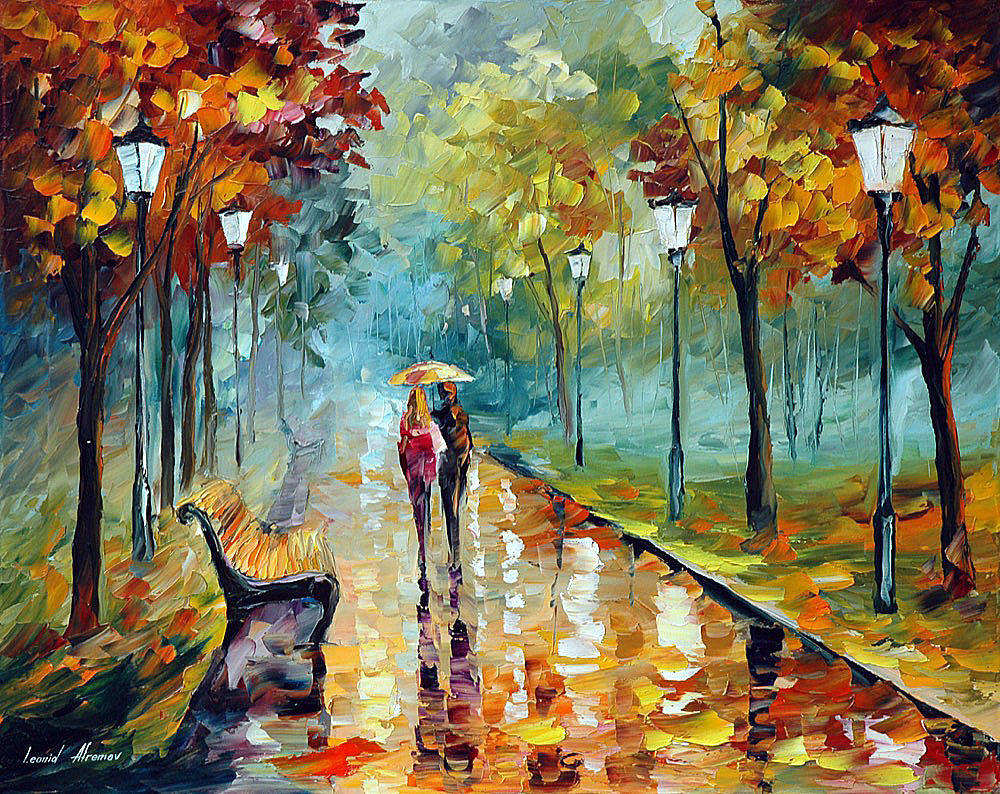
Credit: afremov.com
Storage And Display Tips
Finished oil paintings need care. Store in a cool, dry place. Avoid direct sunlight, which fades colors. Frame your painting to protect it from dust and damage.
Pro tip: If you paint on panels, add a backing to prevent warping.
Inspiring Examples Of Autumn Leaf Oil Paintings
Many famous artists have painted autumn leaves. For inspiration, search for works by Isaac Levitan, Claude Monet, or contemporary artists like Richard Schmid. You’ll see a variety of styles, from detailed realism to bold impressionism.
You can also find excellent tutorials and galleries on WikiArt.
Frequently Asked Questions
How Do I Mix Realistic Autumn Leaf Colors In Oil?
To mix autumn leaf colors, start with primary colors and earth tones. Add small amounts of red, yellow, or brown to match the leaf’s color. For example, mix cadmium yellow and burnt sienna for golden leaves. Adjust with white or blue to lighten or cool the color.
What Brush Sizes Are Best For Painting Leaves?
Medium round and filbert brushes (sizes 4–8) are best for main shapes. Use fine detail brushes (size 1–2) for veins and edges. Avoid very large brushes unless painting a landscape.
Can I Use Oil Paint Straight From The Tube?
You can, but mixing colors gives better realism. Tube colors are often too bright or flat for leaves. Blend colors on your palette for natural shades.
How Long Does Oil Paint Take To Dry?
Oil paint takes 2–7 days to become touch dry, depending on thickness and humidity. Full drying may take months. Use thin layers and let each dry before adding more.
Should I Varnish My Autumn Leaf Painting?
Yes, varnishing protects the painting and adds shine. Wait until the painting is fully dry (at least 6 months). Use a removable varnish and apply in a dust-free area.
Painting autumn leaves in oil is a wonderful way to celebrate nature’s beauty and grow your artistic skills. With patience, careful observation, and these expert tips, you’ll create paintings full of color, depth, and life. Remember, each leaf is unique—let your creativity guide you.
Autumn’s colors are fleeting, but your artwork will last for years.